In this guide, I will get into different approaches for implementing Helm on Ubuntu.
Note: The instructions and commands mentioned in this guide are performed on Ubuntu 22.04. These commands will also work on all Ubuntu flavors and Debian-based distributions without an issue.
Install Helm on Ubuntu
Helm offered several installation methods for Linux, and they can be used to install it on Ubuntu.
1. Using Snap
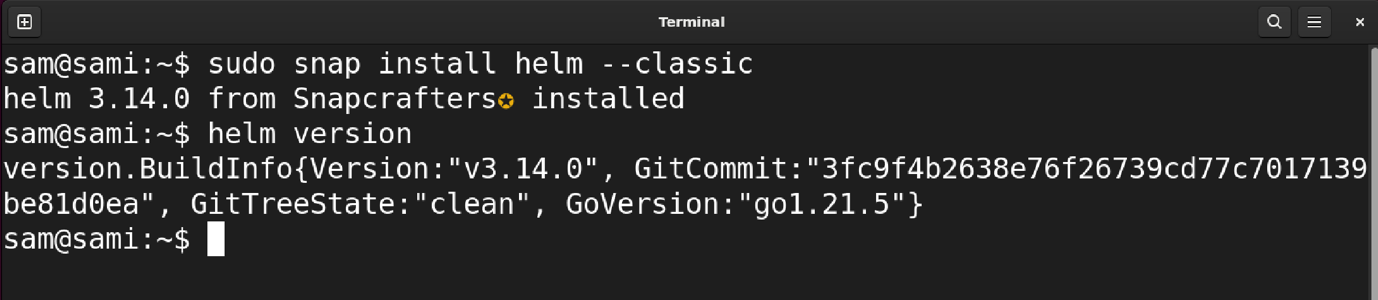
The snap package manager comes by default on Ubuntu and is the fastest way to get Helm up and running on it. To download and install the helm package, type the following command in the terminal.
The snap package is containerized and is normally larger in size compared to deb. If you want to remove it from the Ubuntu, then use the snap remove command.

2. Using Binary Release
The first method involves downloading the tar file from the official website.
Download the Linux version from Here.
Go to the directory where the file is downloaded using the cd command; in my case, it is downloaded in the Downloads directory.

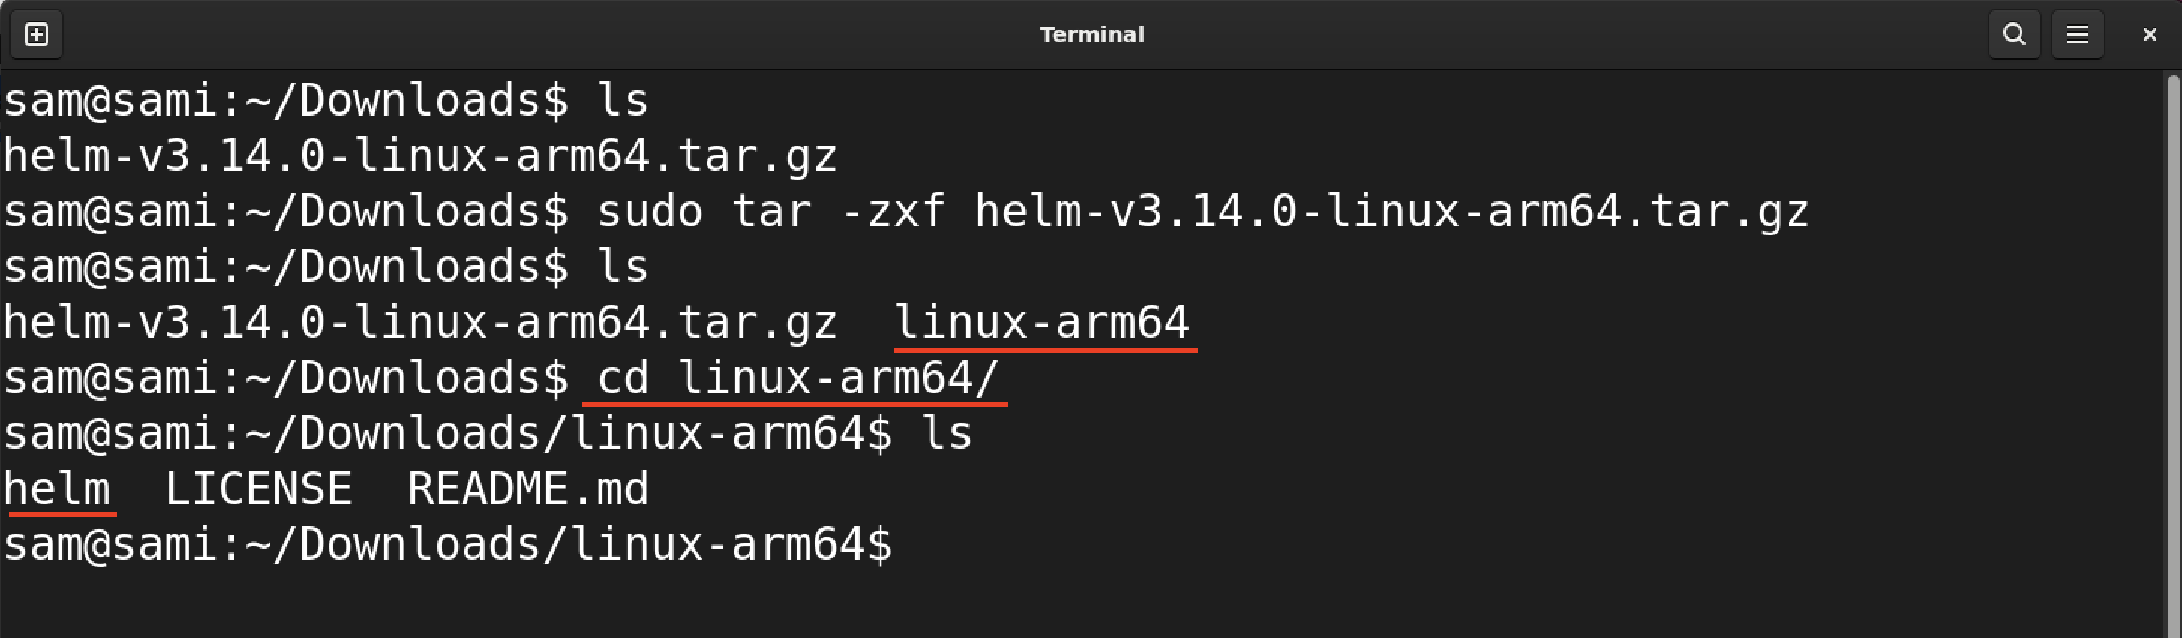
Untar the file using the Linux tar command.
In the above command, the z flag is used to uncompress the gz file, x to extract the archive, and f to read/write the mentioned file. In my case, the file name is helm-v3.14.0-linux-arm64.tar.gz.

After extracting the archive, a directory will be created in the current working directory with the name linux-arm64. The directory name may change depending on the file name.
Navigate to this directory using the cd command.
In this directory, you will get three files, helm, LICENSE, and README.md.
Move the helm binary to the /usr/local/bin directory using sudo and mv (move) commands.

That’s it! The Helm installation on Ubuntu is completed, verify the installation using helm version command.

The output signifies that the Helm has been installed on Linux.
To uninstall helm from Ubuntu, simply remove the helm from /usr/local/bin/ directory.
3. Using Script
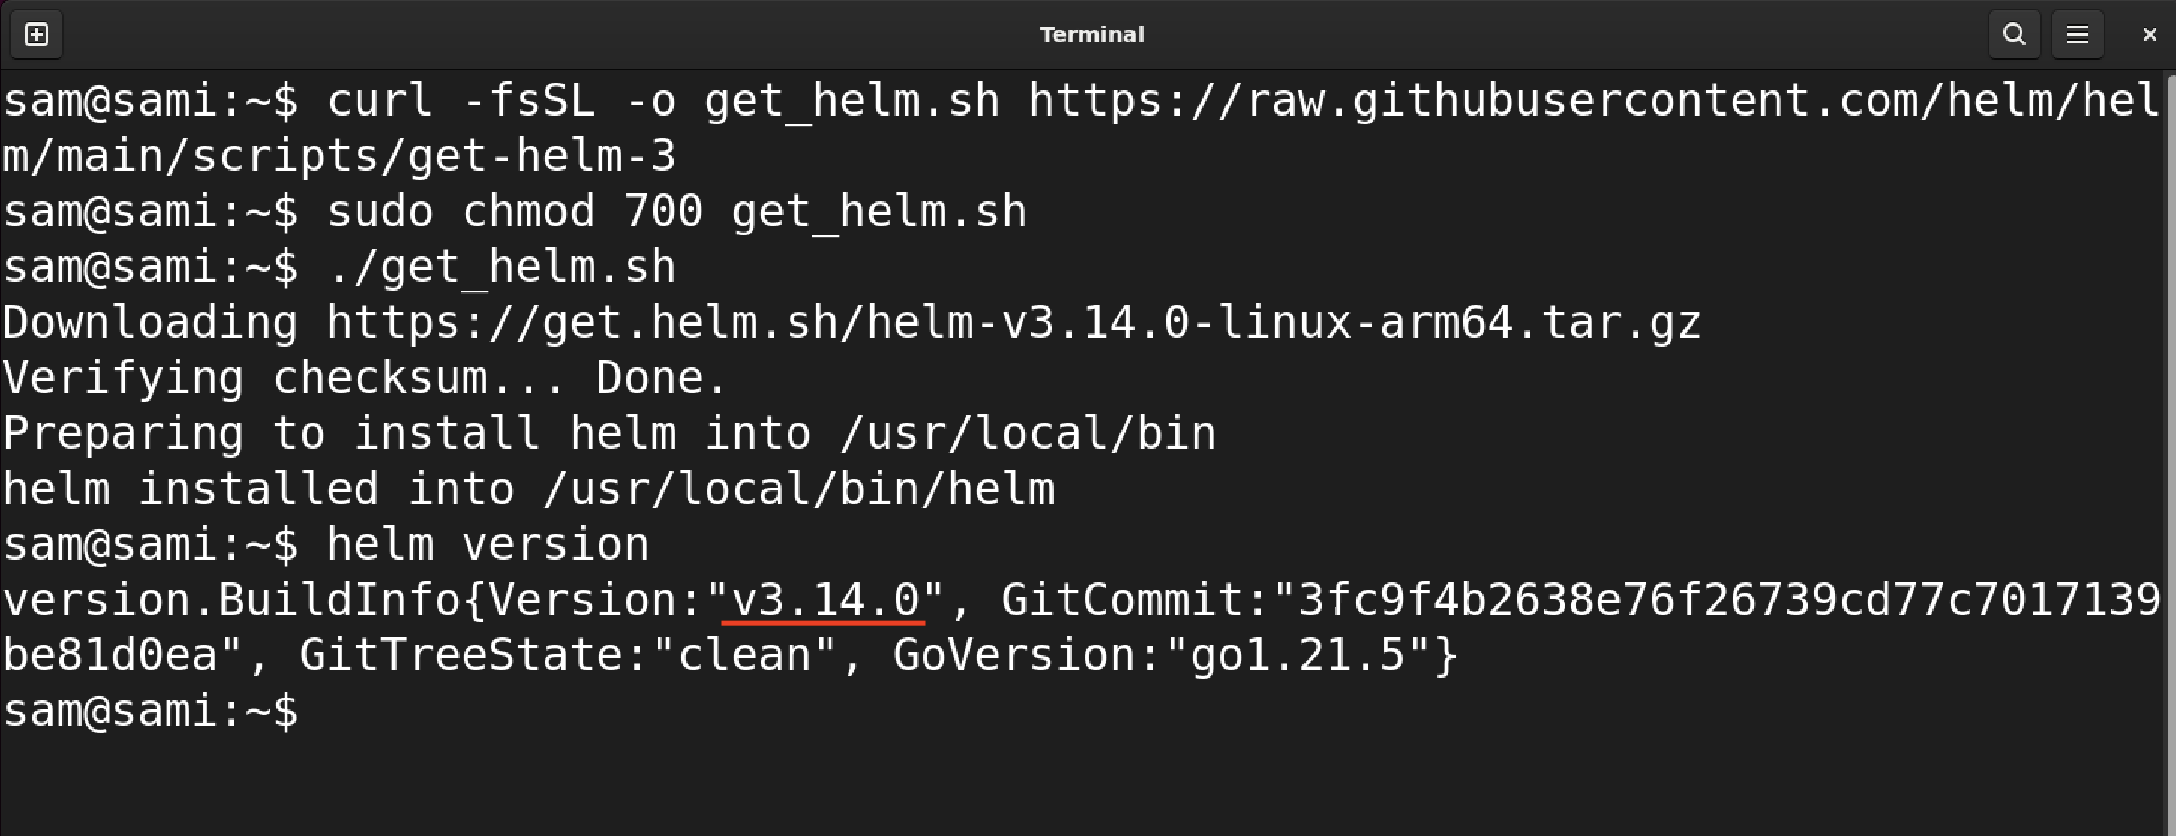
The second method to download and install Helm to Ubuntu is using the script. To download the latest script of Helm, execute the following command.
The aforementioned command retrieves the most recent Helm script and downloads it in the current working directory under the name get_helm.sh.
To make the script executable, give it the required permission using the chmod command.
Execute the script to begin the installation process.
The helm will download and install in the /usr/local/bin/ directory. Verify by checking its version.
To uninstall it, use the same approach mentioned at the end of method 2 (Using Binary Release).
4. Using APT
To install the Helm package to Ubuntu using APT, first, we need to add its repository; see the following steps.
First download and install the public key using.
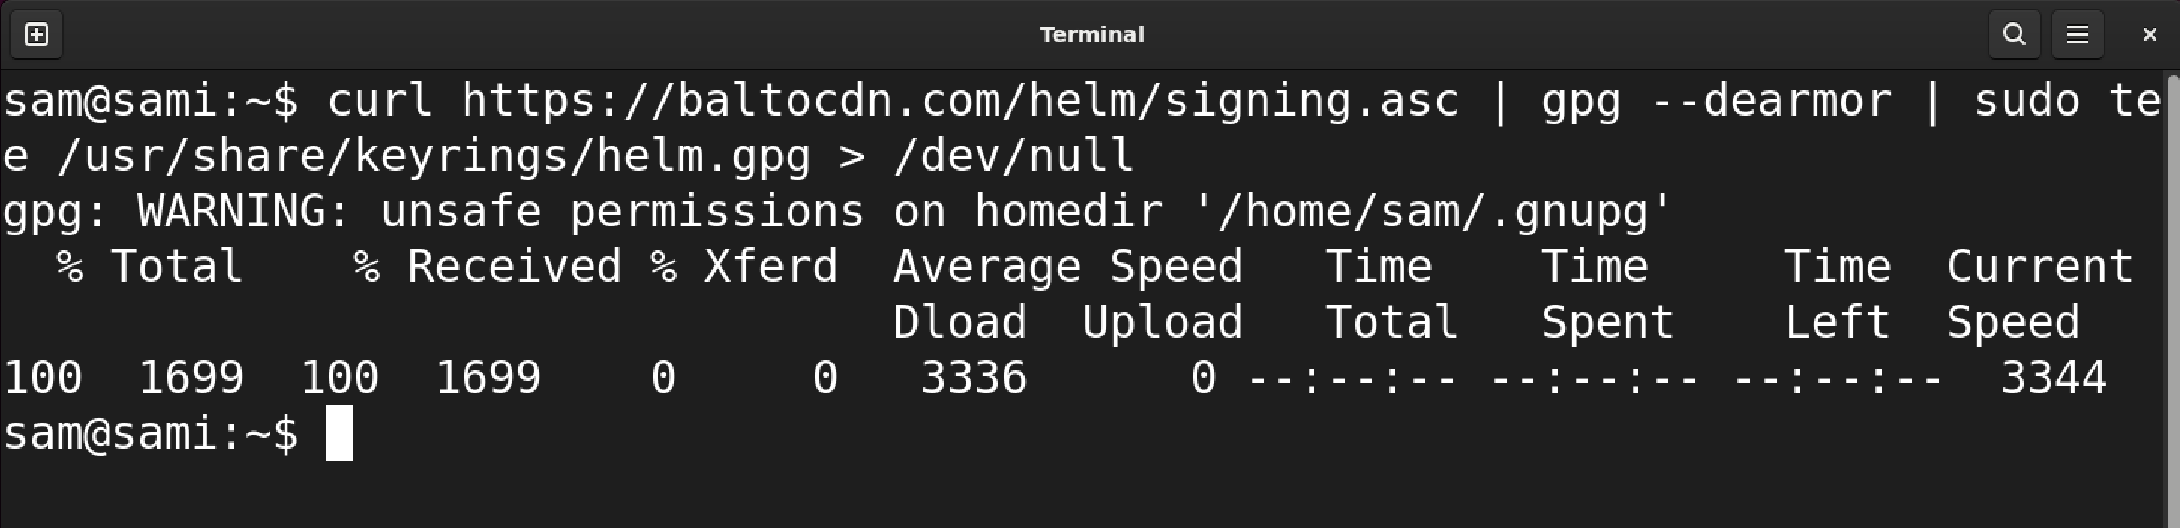
Here, curl https://baltocdn.com/helm/signing.asc is downloading the public ASCII armored key while gpg –dearmor is converting it to binary.
The tee /usr/share/keyrings/helm.gpg is writing the converted binary to the helm.gpg file.
You will not see any output because all the standard output is going to /dev/null.
Add the repository by executing the below-mentioned command.
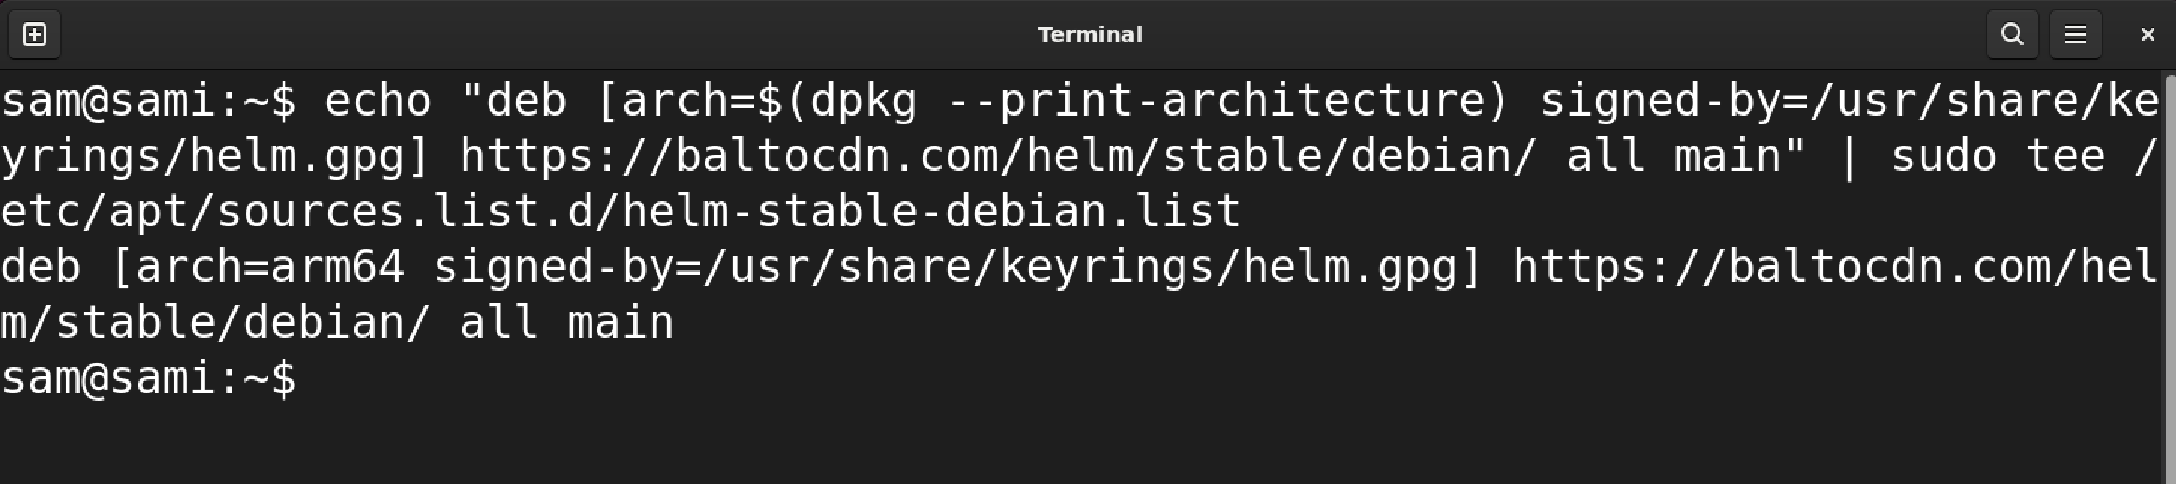
Here, the argument of the echo which contains the repository information is written to the sources.list.d/helm-stable-debian.list file.
Now, to access the repository through the secure HTTPS protocol, install the apt-transport-https package, though it is an optional step.
It should be noted that apt-transport-https package has been built in the APT since its 1.5 version and is available in the latest Ubuntu releases.

Now, update the repository list and install the helm using APT.

To verify, use the helm version command. But if it shows an error, then reboot the system.

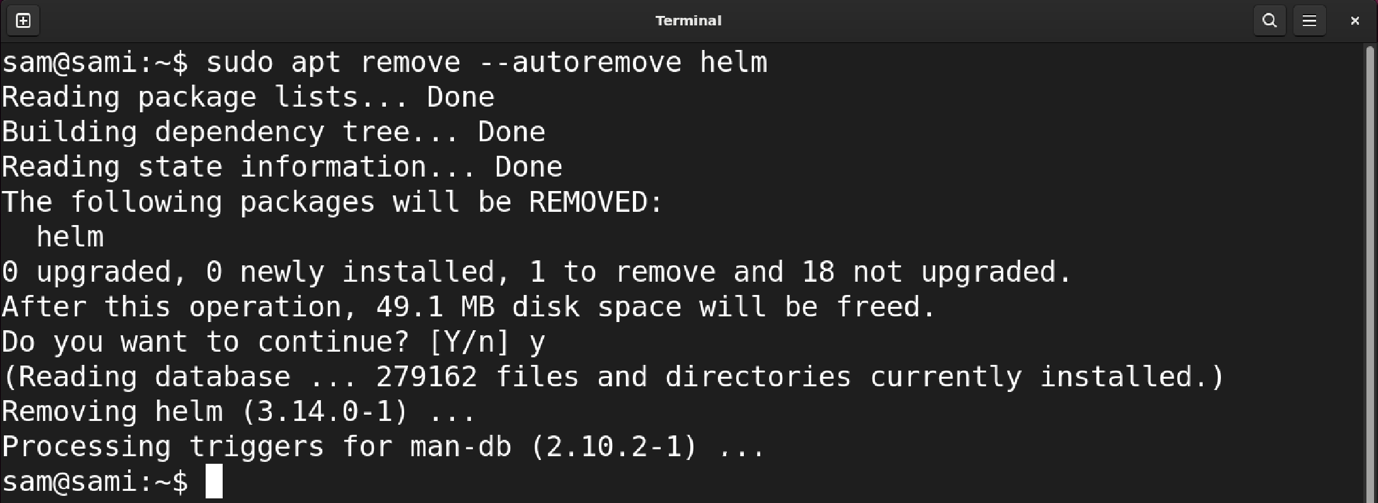
To uninstall it, use the following command.
Conclusion
In order to enhance the efficiency of Kubernetes package deployment, the Helm tool is used. There are various methods to install Helm on Ubuntu such as through Snap, APT, Script, and official Binary Release. In this tutorial, all of these methods are discussed. I prefer to install Helm using snap, as it can be done by just executing a single command. However, it also depends upon the system’s requirements. The uninstallation methods of Helm are also listed along with respective installation methods.