
How to install gThumb on Ubuntu
You can install the gThumb image viewer in two ways given below:
- Install gThumb using Ubuntu Software
- Install gThumb using the terminal of Ubuntu
How to install gThumb using Ubuntu Software Center
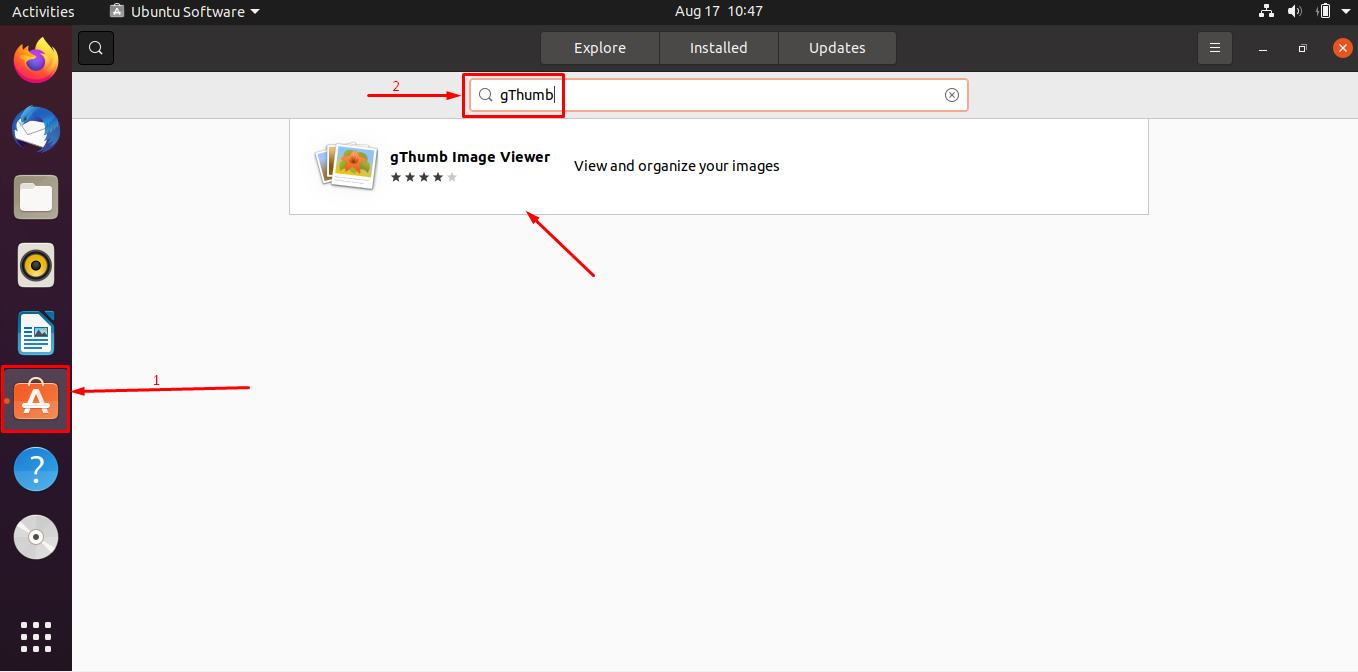
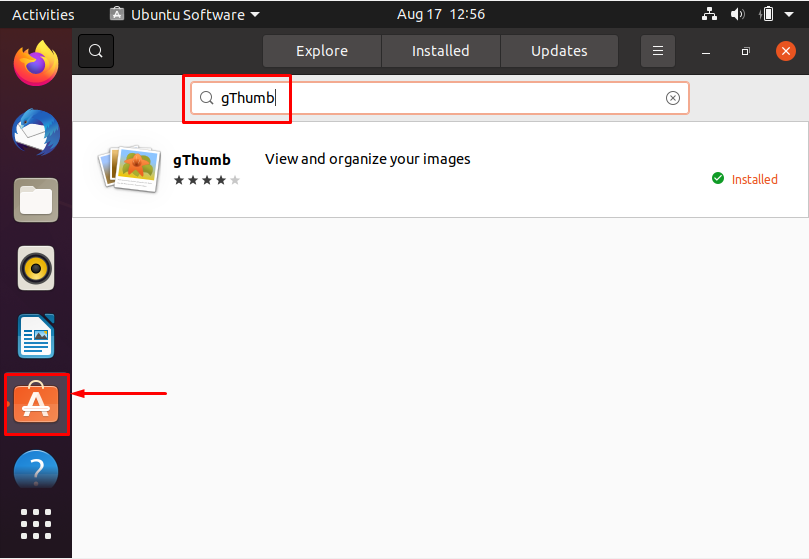
Open the “Ubuntu Software” application; and search for “gThumb” in the search bar. The result will be displayed in a while; Click on the required app as shown in the image below:
The time you clicked on the application; you can install it by clicking on the “Install” button as shown below:

When you click on this install button; it will ask you for authentication: enter your user password and hit enter from the keyboard:

After that, the installation will start, and the package will be installed in few moments:
Follow few simple steps to verify that the package is installed or not:
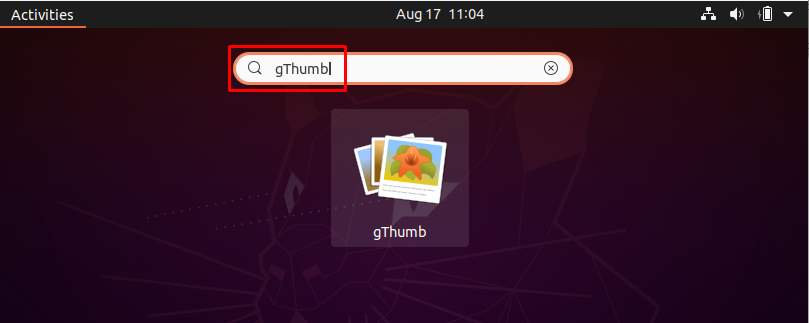
Click on the “Show Applications” icon, which is placed on the taskbar of Ubuntu:

Search here “gThumb” and you will notice the application icon on your screen:
How to install gThumb using the terminal in Ubuntu
Open the terminal by using the shortcut “Alt+Ctrl+T”; once it is opened, execute the following command to install gThumb image viewer on your Ubuntu:
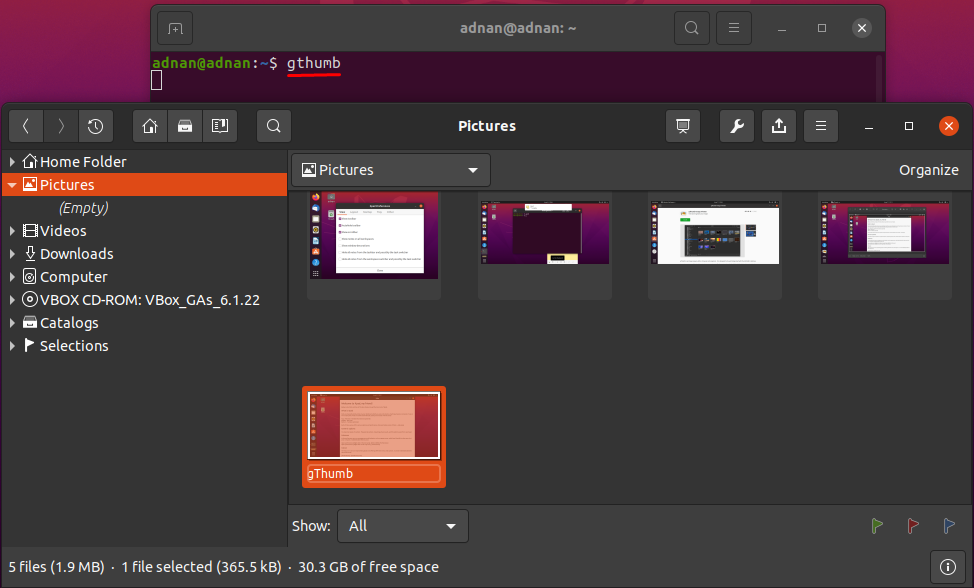
Once it is installed; open it by writing the name in the terminal and hit enter, as shown below:
How to use gThumb on Ubuntu
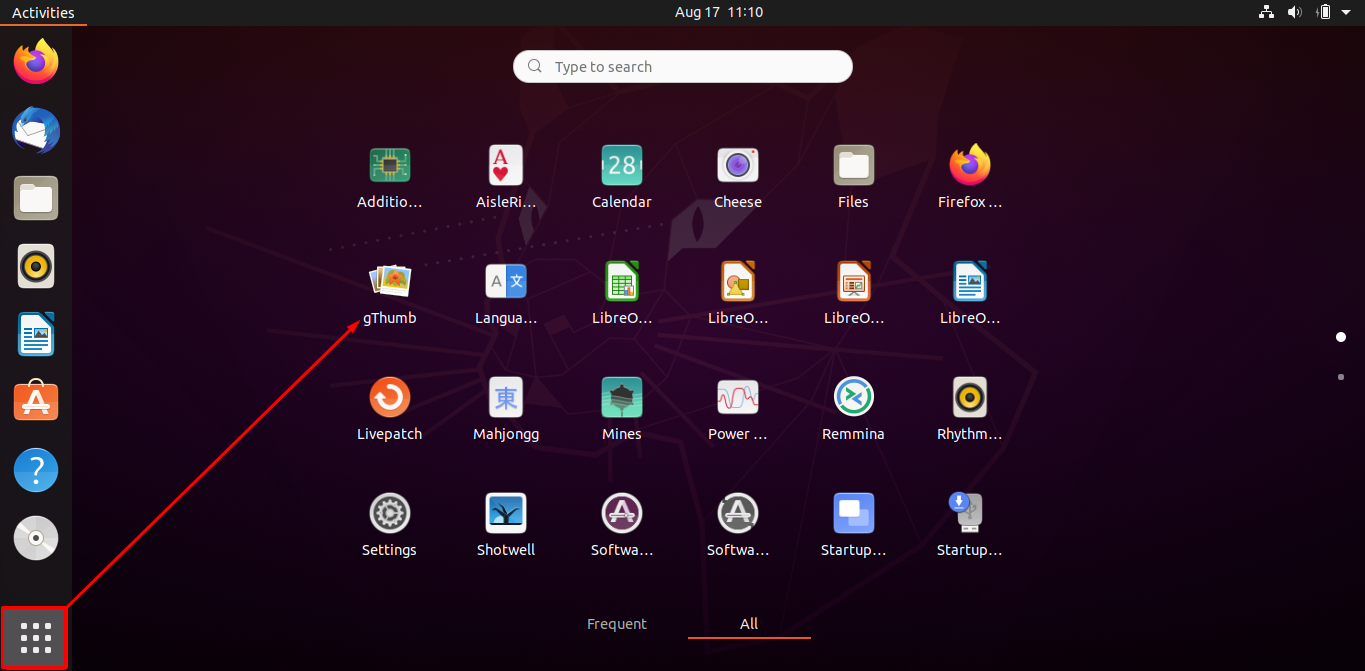
In this section, a brief discussion of the “gThumb” app will be provided. At first, open the application by searching it in “Show Application” of Ubuntu:
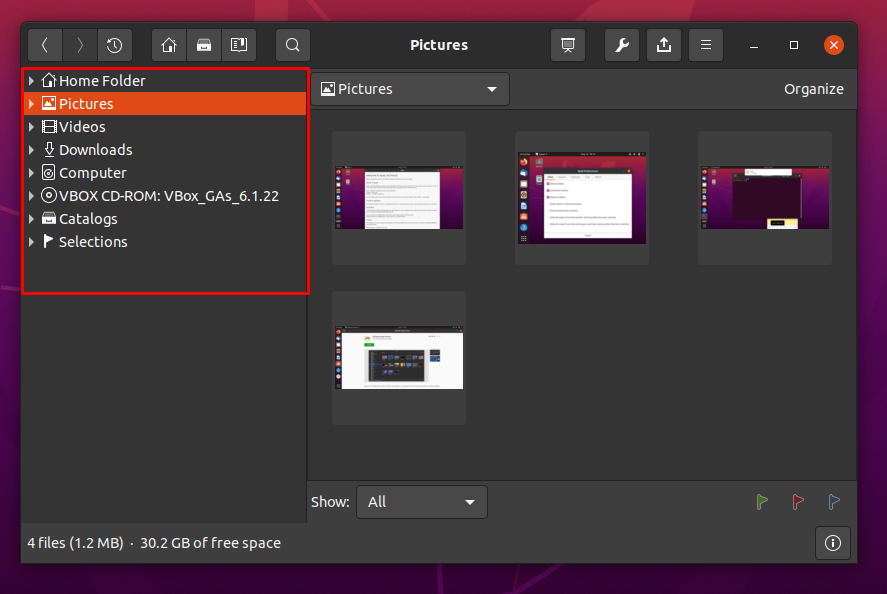
Click on the application icon to open it: by default, it will be in the “Pictures” directory:

On the left column of the gThumb’s window; you can choose files to form available directories as shown below:
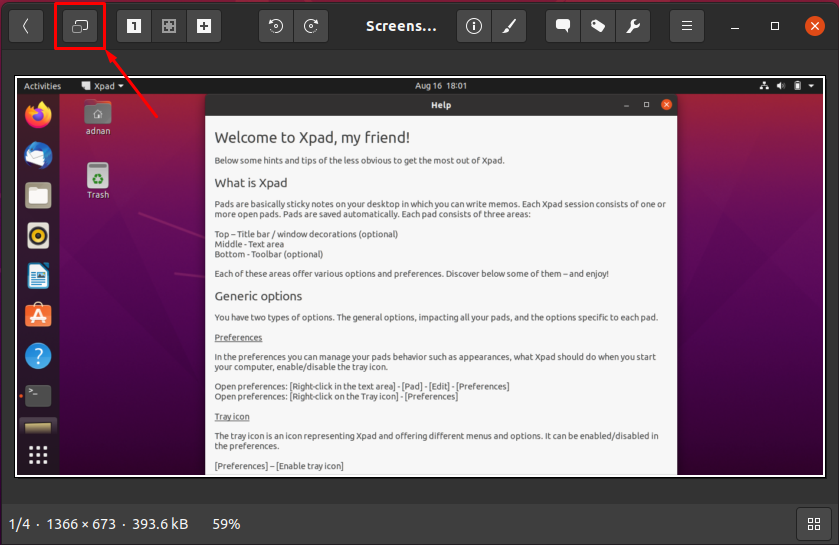
To get a deep insight, let’s click on any image available in the “Pictures” directory; when you select an image, you will observe some options on the upper side of the window, as shown below:

You can perform the following actions from the menu bar:
You can navigate to full-screen mode by clicking the first option as shown in the image below:
View the image in actual size; fit the image according to the screen; customize the zoom settings:

You can rotate the image as per your requirement:

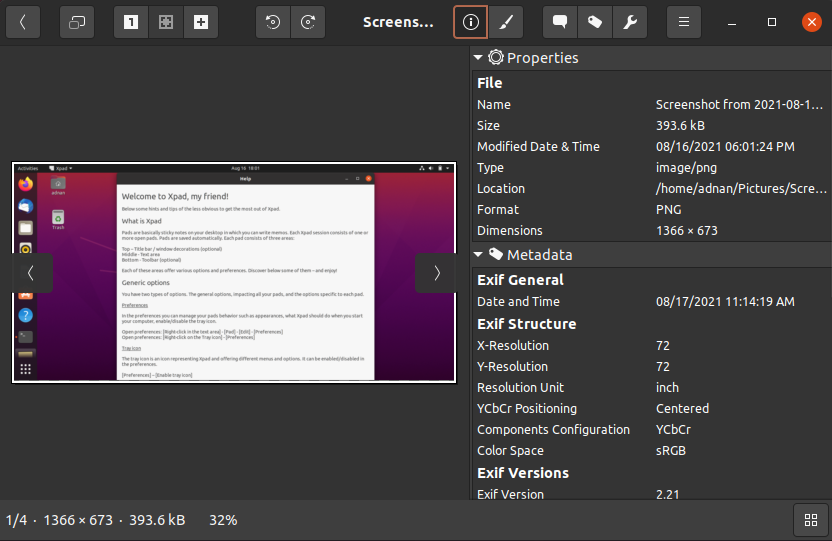
Click on the information icon to get the detailed information related to the selected image:

Once you click on the information icon, it will show you the related information on the right side of the window:
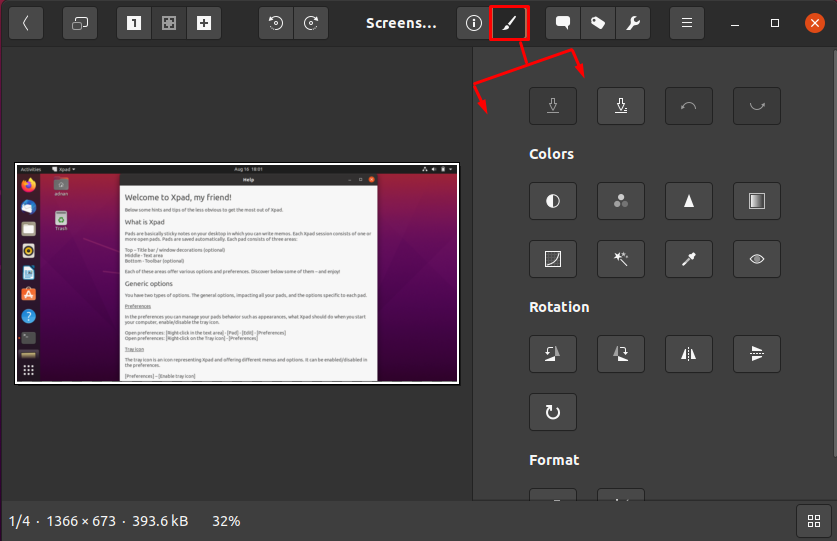
You can edit the selected image by clicking on the option as shown below:
With the help of the edit option, you can adjust the colors, detailed rotation, and resize settings:
You can add comments and tags to the image by using the option given below:
For comments:

For tags:
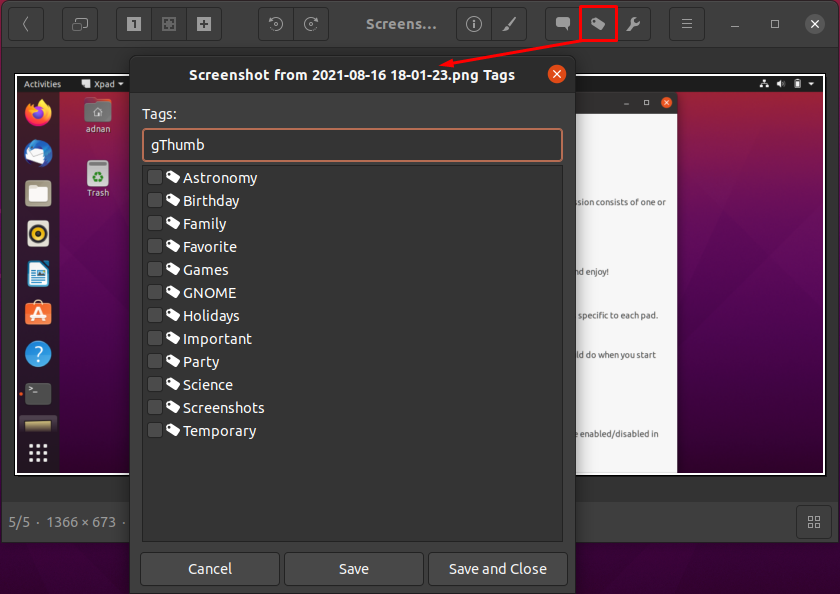
The comments and tags added will be displayed in the information tab of the image:

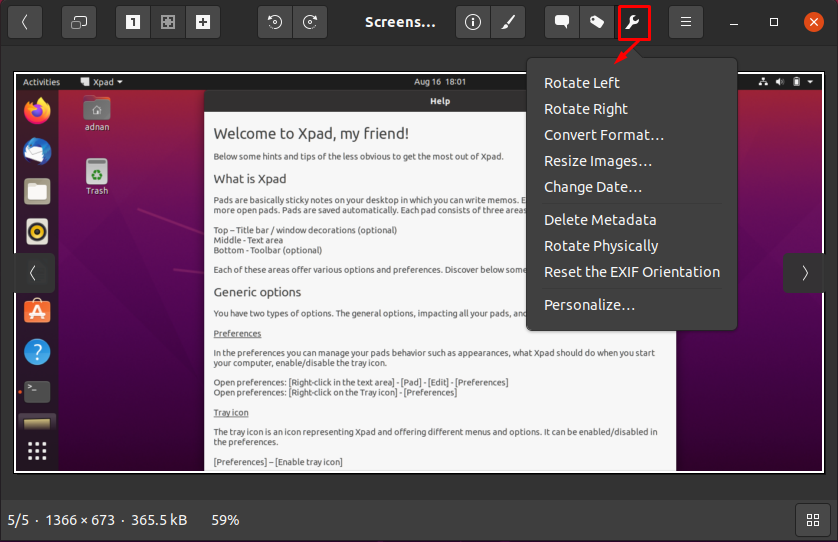
The setting tool icon contains the general settings, like rotate the image, change the format of the images, etc.
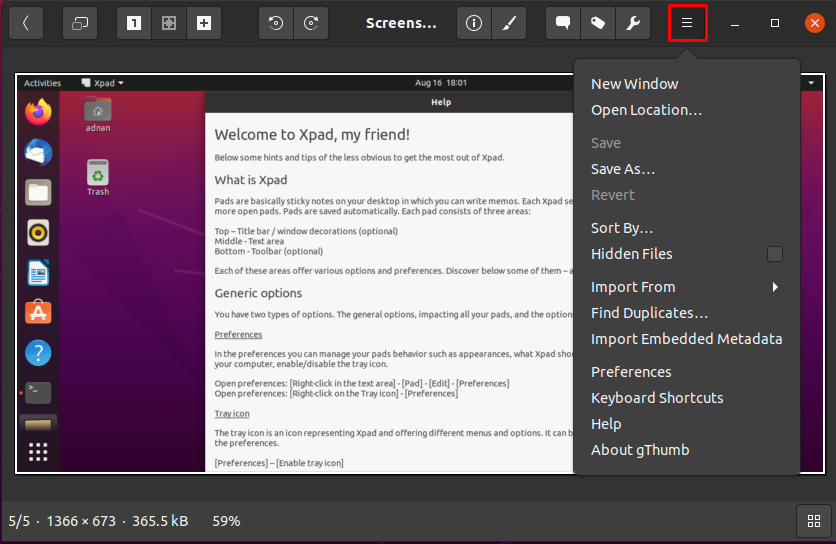
The last option on the menu bar contains the following options; opening the new window of gThumb, open the location of the file, save the document, find the duplicates of the existing file, etc.
How to remove gThumb
Using Ubuntu Software: Like installation, you can remove the gThumb using the GUI; open the “Ubuntu Software Center” and search for “gThumb”:
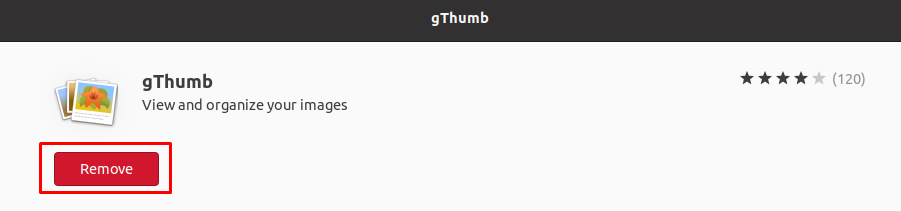
Click on it, and you will see a red button named “Remove”; click on the remove button to uninstall the package:
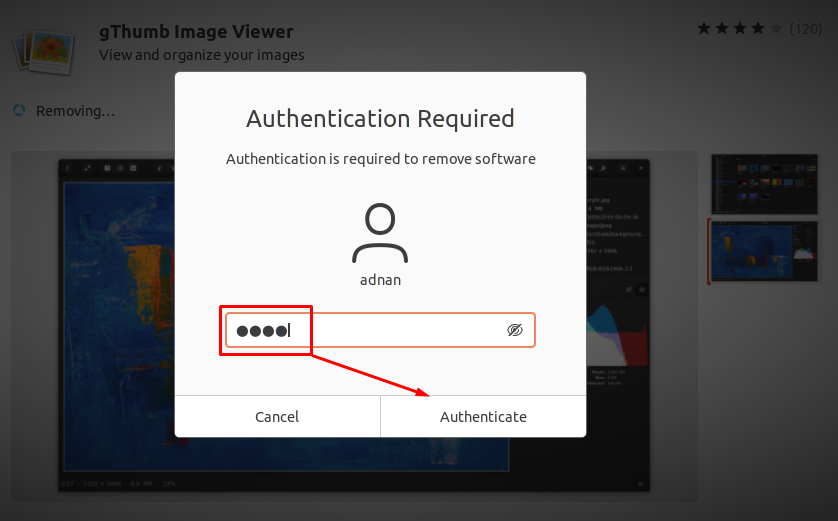
It will ask for user authentication; enter your user password, and the uninstallation will be started:
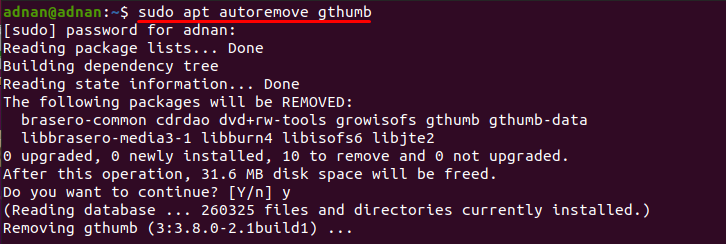
Using Terminal: You can install the package using the terminal by following the command given below:
Conclusion
Most of the operating systems have their default image viewers, but they usually contain only basic features that are restricted to view the image, rotate the image, etc. Users are always in search of getting the image viewer with advanced features where they can edit images or can add some elegant colors, filters to them, and much more. In this write-up, we have provided a detailed guide about gThumb, which is an image viewer for GNOME desktop environments. You can use this tool to perform some advanced operations on images, such as you can edit the images, export them to other file formats, and so on.