
GPT4All is based on LLaMa and GPT-J. It offers the flexible and powerful tools of AI for different applications. The training data for the GPT4All is smaller than the training data of the GPT3 and GPT4 models which means that this constraint makes this model limited in capabilities as compared to other models. Moreover, this model runs on local machines so it might be slower, and this depends on the system’s processing capabilities and speed (CPU).
Working on the GPT4All Model
GPT4All has Python bindings for both GPU and CPU interfaces that help the users to create an interaction with the GPT4All model using the Python scripts and makes the integration of this model into several applications. This model also contributes to the range expansion of the available existing language models and the compatible cutting-edge models. To grow this community even bigger, the developers are appreciated to submit pull requests for an indirect contribution to the project.
This article provides a step-by-step process to install the GPT4All on Ubuntu and the installation of the other necessary packages for the generation of responses using the GPT4All model. Getting started with the GPT4All model requires the installation of the mandatory components first. Make sure that Python is already installed on your systems. The recommended version of Python is version 3.7 or the ones that come later to it. After that, we are required to follow the following steps:
Installation Steps
- First, start by downloading the GPT4All’s repository from GitHub. The link to this website is mentioned here https://github.com/nomic-ai/gpt4all.git”. Following this step, we download the GPT4All installer for our respective operating systems from the official website of GPT4All.
- Extract the downloaded files to any file directory on our system.
- Open the command prompt or the terminal window and navigate to the GPT4All directory where we extract the downloaded files.
- Then, execute the command for the installation of the required Python package.
Step 1: Installation
To download and install the requirements for the Python packages and to install GPT4All, execute the following command to begin the installations:
Step 2: Download the GPT4All Model
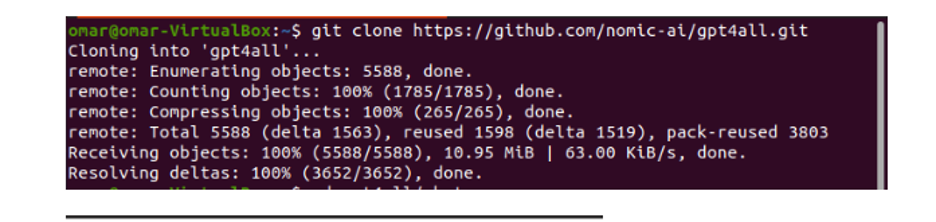
Either we can download or clone the GitHub repository from the GPT4All website link. To clone the repository, execute the following command:
This command clones the GPT4All repository to our local machines as shown in the following snippet:
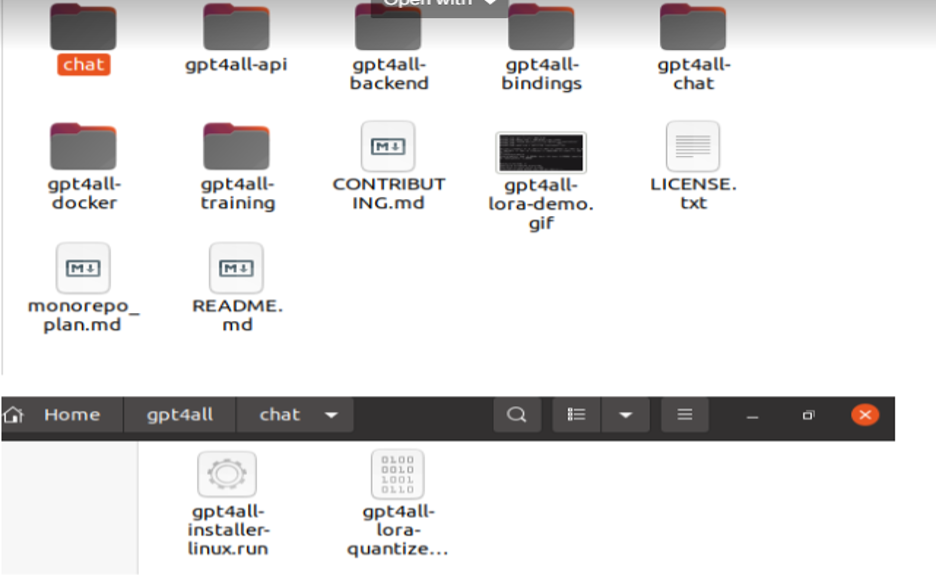
If we used the provided link to download the GPT4All installer, we must make sure that the model file is with the “.bin extension”. Then, we have to place this downloaded file in the chat directory folder where the GPT4All is downloaded.
Step 3: Model Checkpoint (Optional and Only Applicable When we Cloned the Repository)
If we cloned the GPT4All repository from the command window (Ubuntu), we need to download the “.bin extension” file. For this purpose, we download the extension directly from this link “https://the-eye.eu/public/AI/models/nomic-ai/gpt4all/gpt4all-lora-quantized.bin”.
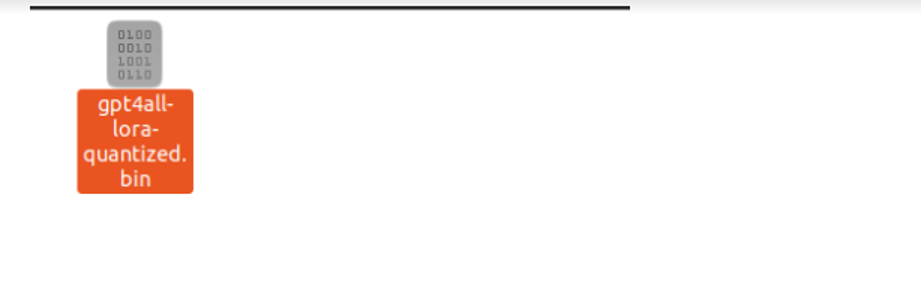
Once this is downloaded, move this file to the chat folder which is present in the cloned repository.
Step 4: Move the File to the Chat Folder
Now, we are required to navigate to the chat folder. When we are working on Ubuntu, we have to run the following command that navigates us to the chat folder. The command is mentioned as follows:
Either we directly downloaded the GPT4ll installer from the GPT4All website or we cloned the repository. At this point, we should be on the same step where we successfully downloaded the GPT4ALL repository and placed its “.bin extension” download file into the chat directory within the “GPT4All” folder.
Step 5: Run the Model
Once we moved to the chat folder, it is now time to run the model. We execute the following command on the Linux terminal:
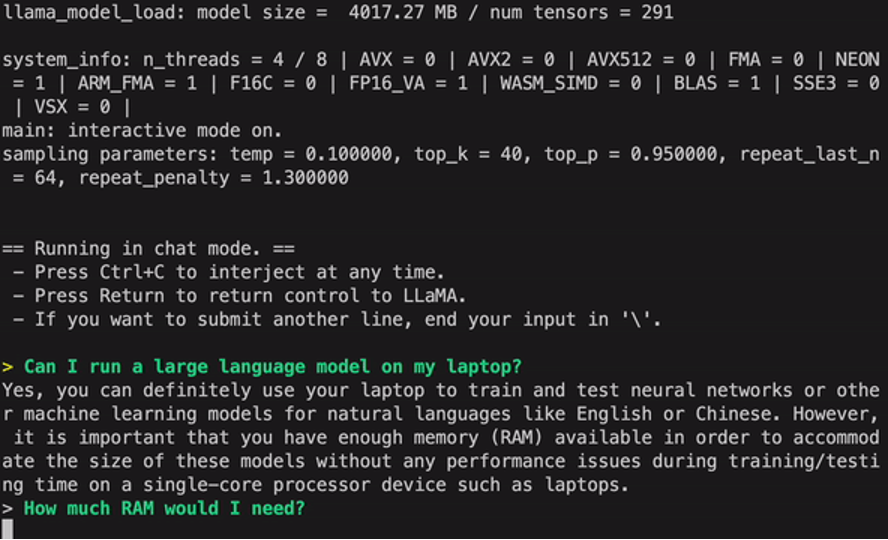
The command will start running the model for GPT4All. We can now use this model for the text generation through an interaction with this model using the command prompt or the terminal window or we may simply enter any text queries that we may have and wait for the model to respond to it. This model may take a little bit of processing time depending on the specifications of our system. But the benefit that this desktop model has over the ones that are available on the cloud is that we won’t have to worry about network issues since we are now running this model on local hardware.
We successfully run the GPT4all on our local machine. Keep in mind that GPT4All is still in the phases of improvement so we have to keep our installments up to date. The GPT4All repository can be easily updated anytime. All we have to do is to move to the main installation folder of the GPT4All model and simply request for “Git pull”. This model is yet to achieve the performance accuracy of the ChatGPT but it still standouts from those models by providing a desktop interface to its users.
Conclusion
The large-scale, easily accessible, and open-source alternative to the AI model that is similar to GPT3 is “GPT4ALL”. The step-by-step procedure that we explained in this guide can be followed to harness the power of this model for our applications and projects. This article sheds light on the installation method of the GPT4All model in Ubuntu. We discussed in detail the working methodology of this model with the pros and cons that are attached to it.