
After reading this tutorial, you’ll know how to access your Google Drive from your Files manager both using Gnome Online Accounts and Google Drive Ocamlfuse.
Accessing Google Drive on Debian 11 (Gnome Online Accounts)
Probably, you already have the Gnome Online Accounts package installed. In case you installed a different X window manager, install it by running the command below.

Once Gnome Online Accounts was installed, you can open the configuration panel by running the following command.

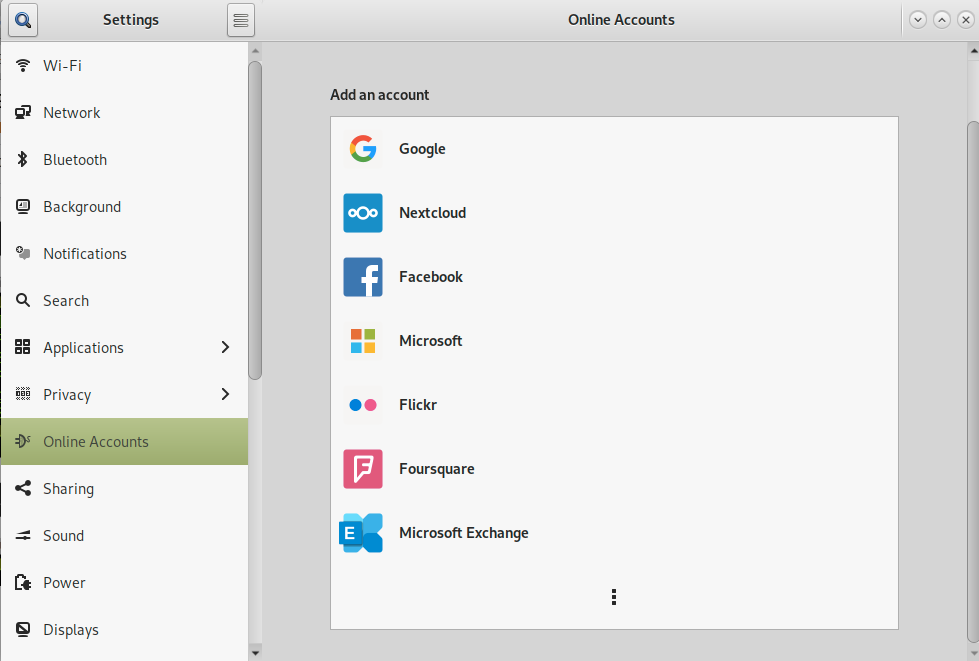
Once the Gnome Online Accounts is open as shown in the screenshot below, press the Google option (The first one) to add your Google Drive account.
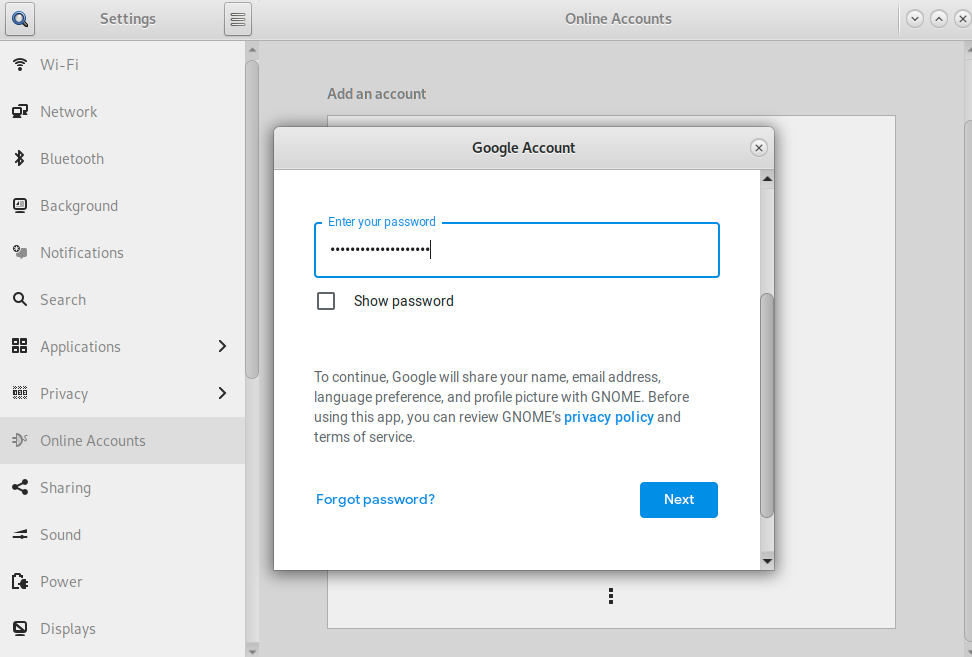
After clicking on Google, a new window will show up with a field to type your Google mail address. Type it and press the Next blue button.

A new window will request your password, fill it and press the Next blue button again.
Depending on your Google configuration, the process may request a 2-step verification. If that’s your case too, complete the verification steps you have chosen, otherwise continue to the next step of this tutorial.

Gnome Online Accounts will request permissions to access your Google applications including Google Drive. Press the Allow button to continue.

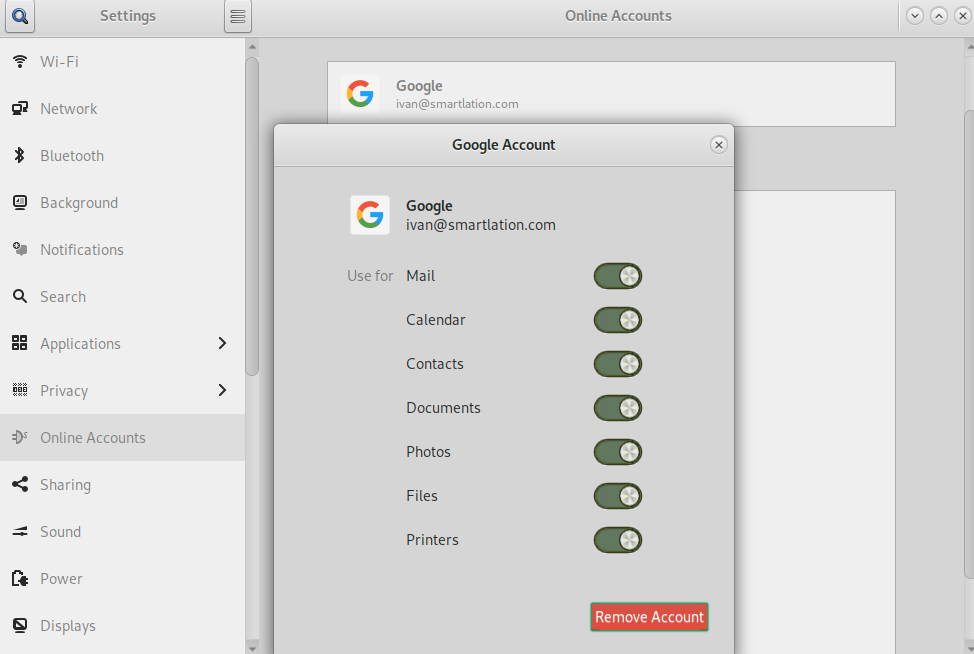
The next screen will show all permissions you have. Make sure permissions are granted to access Files as shown in the screenshot below.
Open your files manager as shown in the image below. You’ll notice on the left side your email address as the name of a directory. That directory is your Google drive.
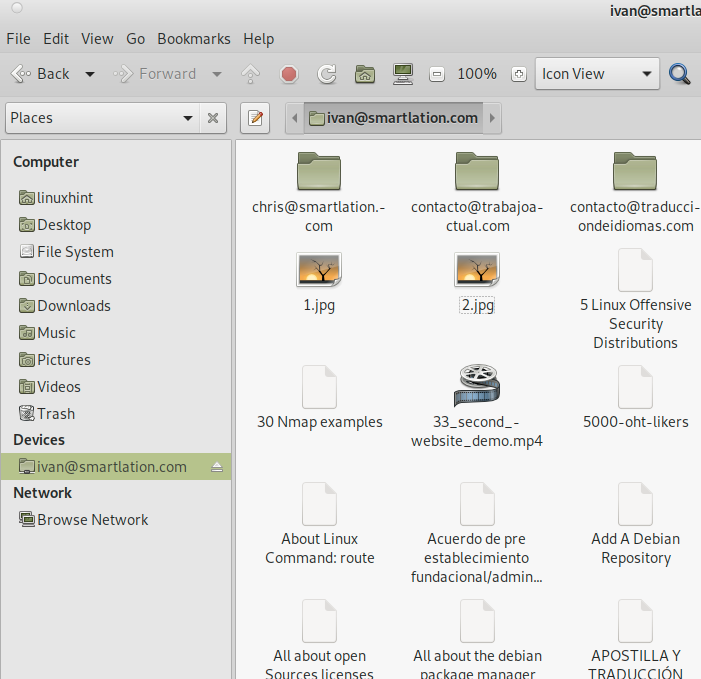
As you can see, you’ll be able to see your Google Drive content, copy in or copy out content.
Installing Google Drive on Debian 11 (Ocamlfuse)
This tutorial’s section shows how to access your Google Drive from Debian 11 using Google Drive Ocamlfuse.
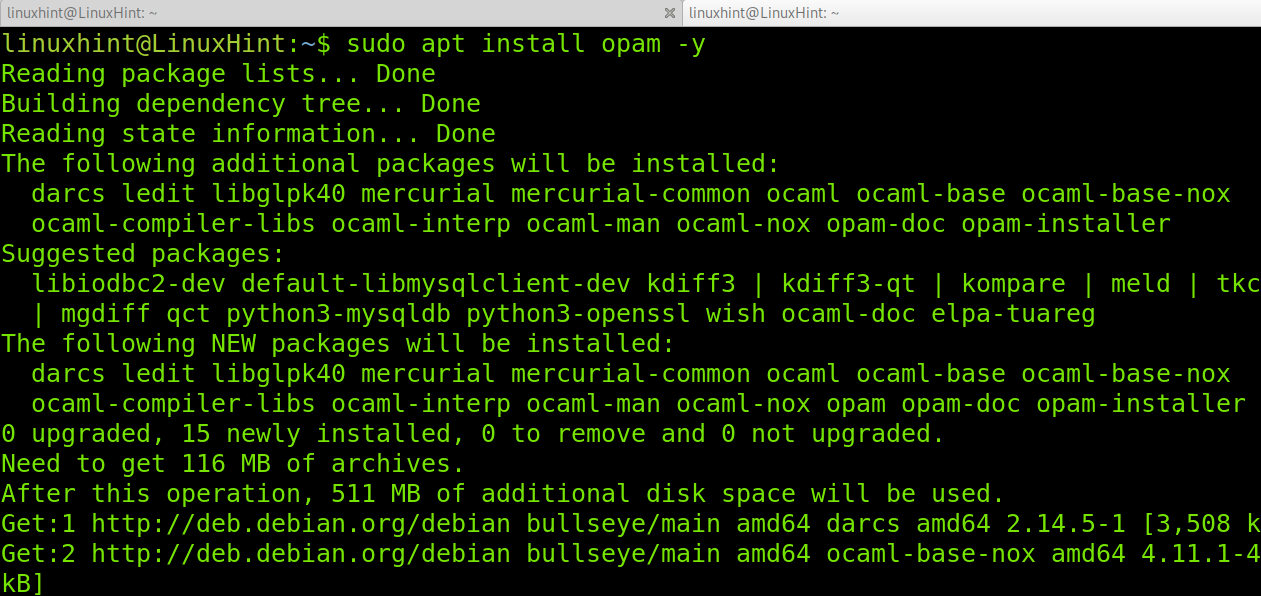
To begin, let’s install the Opam packages manager using the apt command as shown in the screenshot below.
Run the following command to configure Opam.
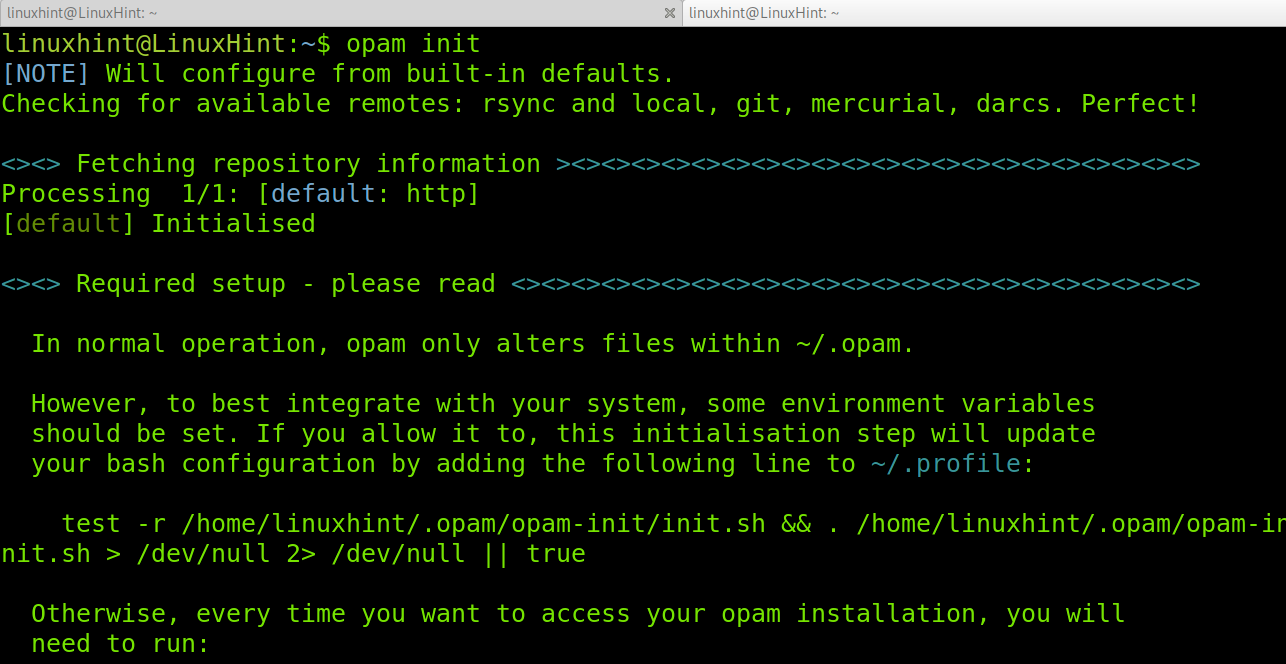
When requested confirmation to modify your profile, type N to refuse it.
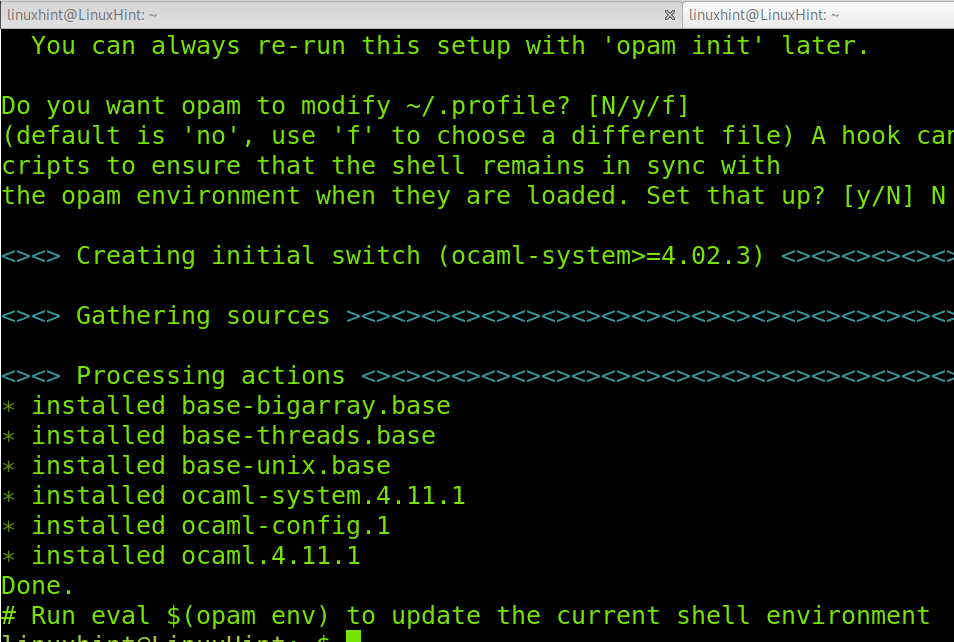
Once the configuration process ends, update opam by running the command below.

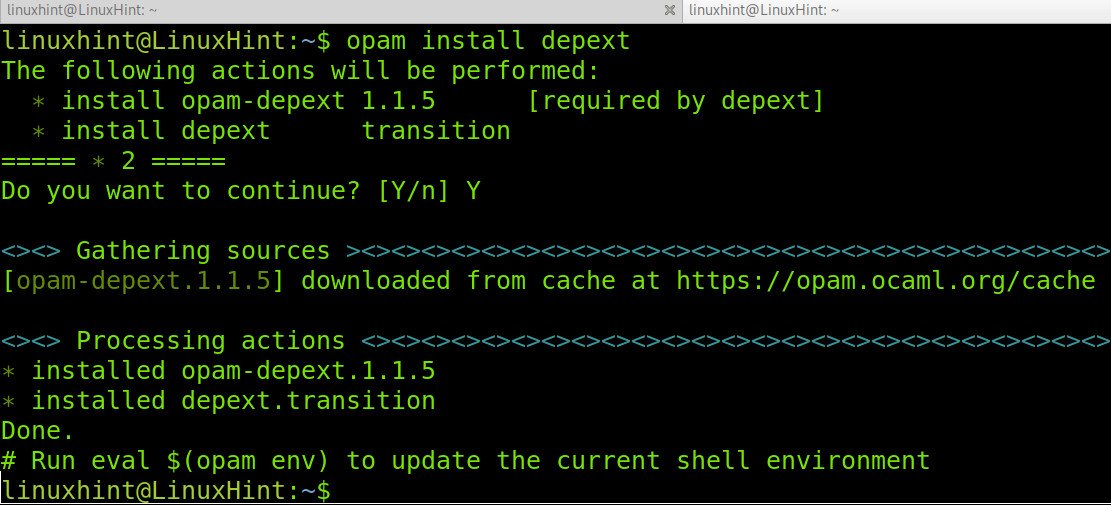
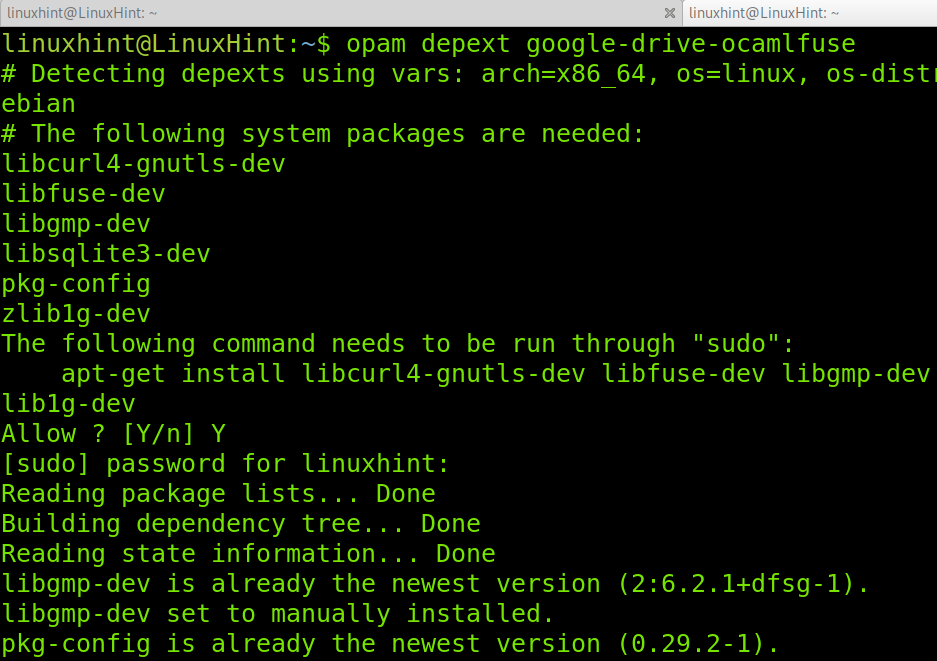
Install depext using opam as shown in the following screenshot.
Now, install Google Drive Ocamlfuse by running the command below. In my case, this step only installed dependencies, but not Google Drive Ocamlfuse, so we will repeat this step later.
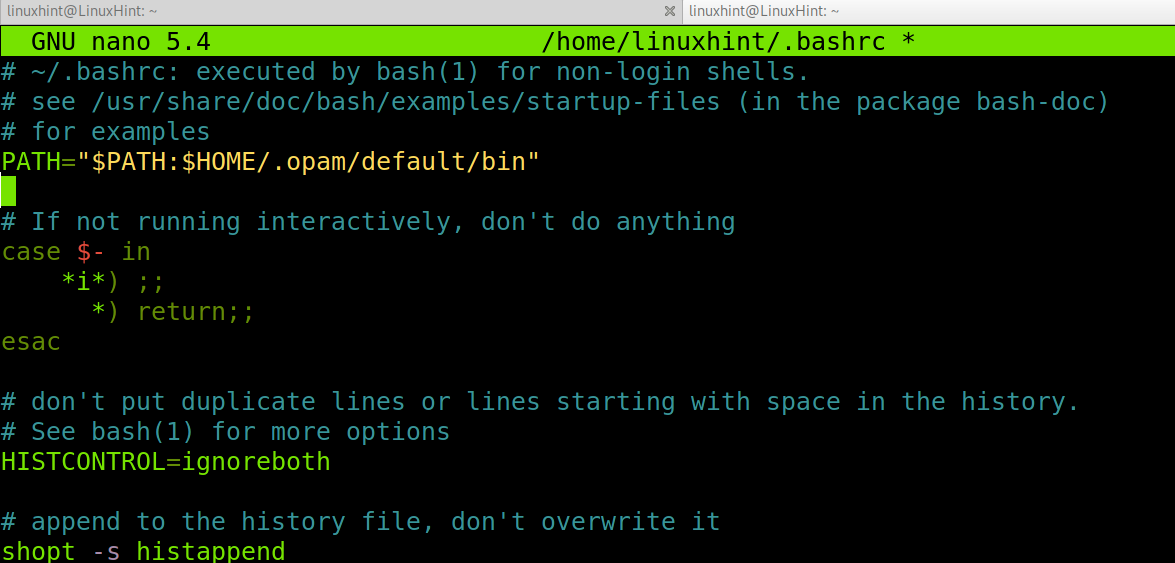
Edit your .bashrc file to add the path for opam software to be executable. You can open your .bashrc for editing using nano as shown in the following example.

Paste the following line within your .bashrc file as shown below.
Then run the following command.

As I said previously, the command we executed to install Ocamlfuse only installed dependencies. Run the following command again to make sure Google Drive Ocamlfuse is installed. If requested for confirmation, press Y to confirm and continue.

Once installed, you can run Ocamlfuse by executing the following command. When you run your browser will be executed bringing you to a Google’s site to request permission access.

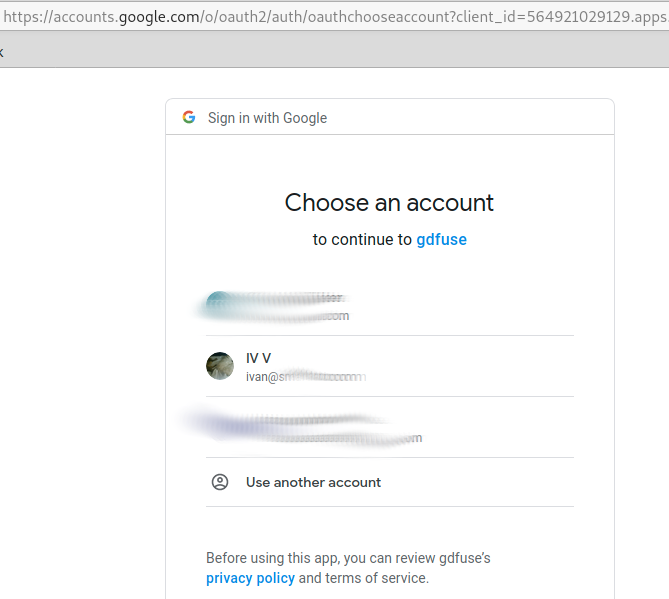
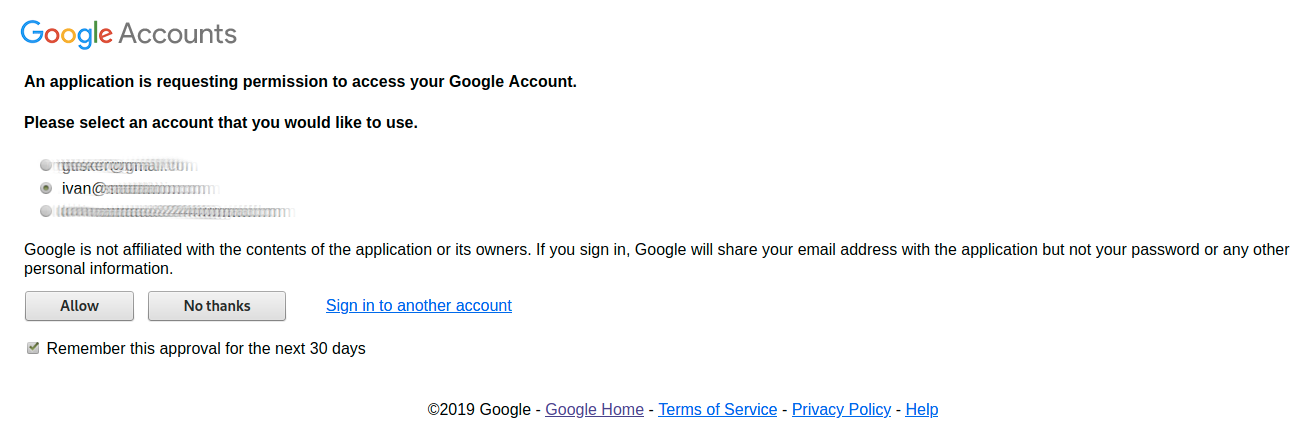
Select the account you want to grant permissions on to continue.
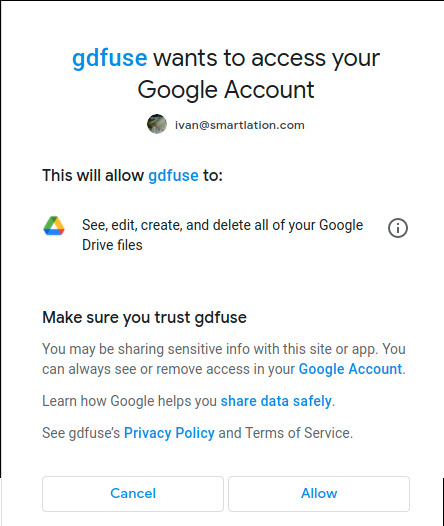
When requested for permission, press the ALLOW button shown in the screenshot below.
In my case, I had several Google accounts configured so Google requested confirmation for a second time. If that’s your case, press Allow again to continue.
Finally, you’ll get a notification saying the permissions were granted successfully as shown in the image below.

In the terminal you executed google-drive-ocamlfuse you need to read the “Access token retrieved correctly.” as shown in the following image.

Create a directory in which you will mount your Google Drive. In my case, I named it GoogleDrive.

Once your directory to mount Google Drive was created, mount it by running google-drive-ocamlfuse followed by the mount point (the directory you just created in the previous step).

Now as you can see by running the ls command, all your Google Drive content is accessible locally.

As you can see, my Google Drive content is shown.
Conclusion
As you can see, accessing your Google Drive on Debian 11 is pretty simple. Any Linux level user can achieve it easily by following the steps of any of the methods explained above. Of course, Linux offers additional tools and methods to achieve this task. This tutorial only focused on the two most widely known methods. The Gnome Online Accounts is the most used method, because it requires less steps and relies on software present in almost every Linux system. Yet both methods are a good implementation to get local access to your Google Drive.
Thank you for reading this tutorial explaining how to install Google Drive on Debian 11. Keep following Linux Hint for additional Linux tips and tutorials.