
FreeFileSync is one of the leading file synchronization software. The FreeFileSync support is assisted by an open-source community and is available for various platforms i.e., Windows, Linux, and macOS. This post guides you to install FreeFileSync on Ubuntu 22.04.
How to install FreeFileSync on Ubuntu 22.04
FreeFileSync provides a set of distinctive features such as two-way synchronization, real-time synchronization, notification on completion of synchronization, and many more. FreeFileSync has recently released its latest version 11.18. This section intends to install FreeFileSync on Ubuntu 22.04.
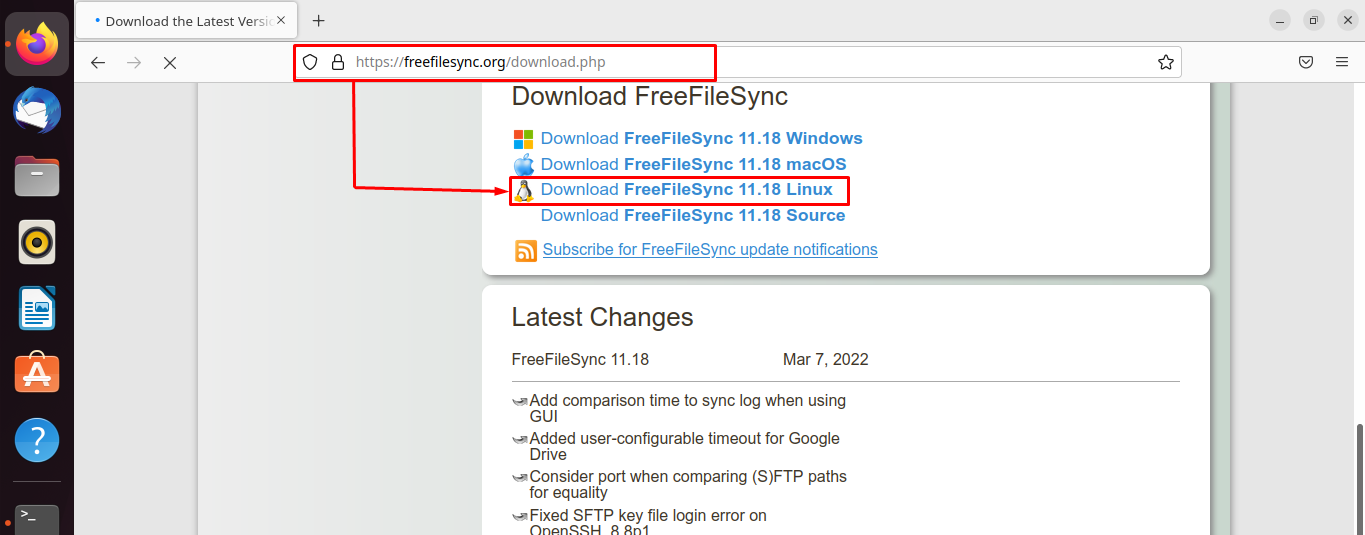
Step 1: Navigate to the Downloads page of the official website of FreeFileSync via the following link.
Once the page is opened, scroll down to get the link to download FreeFileSync for Linux as shown below.
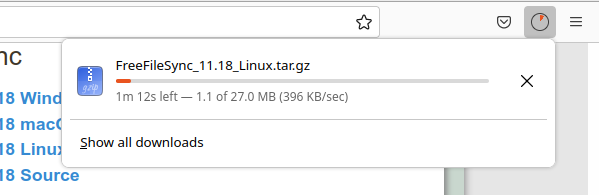
The file will be downloaded and can be found in the “Downloads” directory.
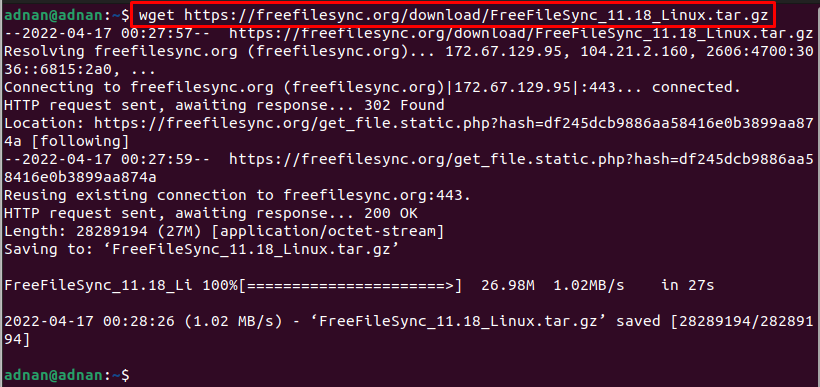
Alternatively, you may download the tar.gz via the following command.
Step 2: Let’s use the ls command to check that the .tar.gz is present in the current directory.

The output shows the tar.gz file of FreeFileSync.
Now, make use of the following command to extract it.

After extraction, a “.run” file can be found which is not executable. You can make it executable via the following command.
Now, you can execute the “.run” file as follows.
As the command is executed, you will be asked to accept the license agreement by pressing “y“.
![]()
Soon after accepting the license, the setup will be initiated which can be continued with the “Enter” key.
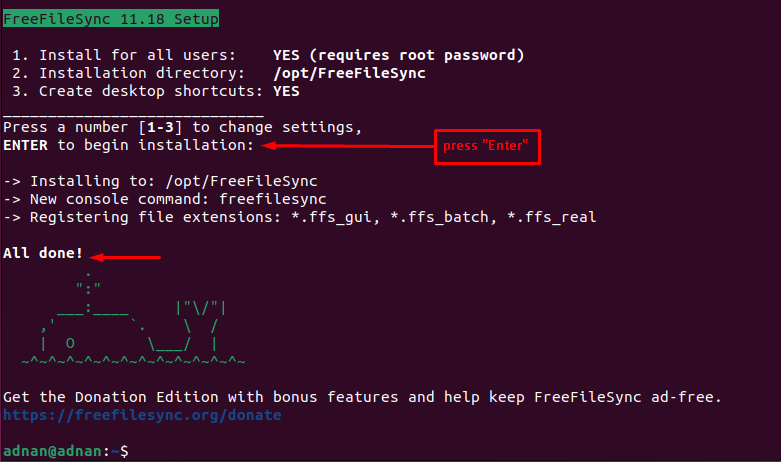
The output shows that the FreeFileSync is installed inside the /opt/ directory.
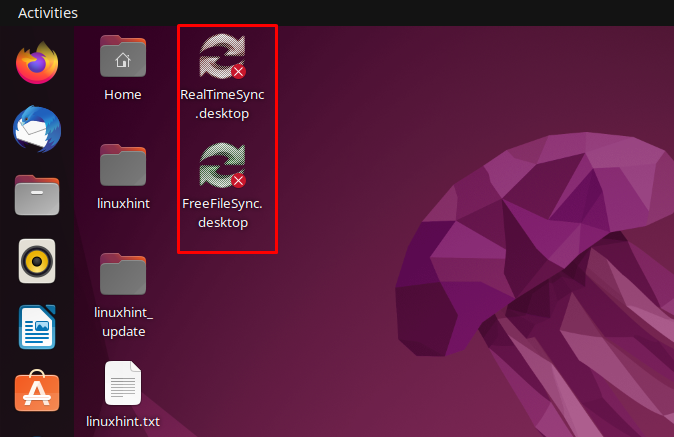
Step 3: The desktop shortcuts of “FreeFileSync” and “RealTimeSync” would be created. However, they cannot be launched.
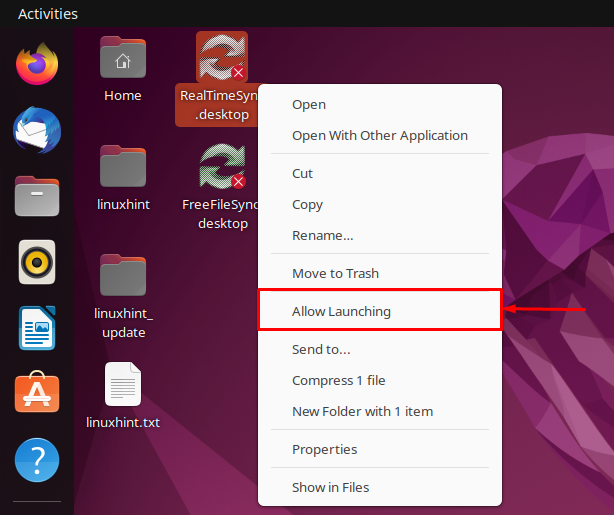
Right-click on the shortcut icon and choose “Allow Launching“.
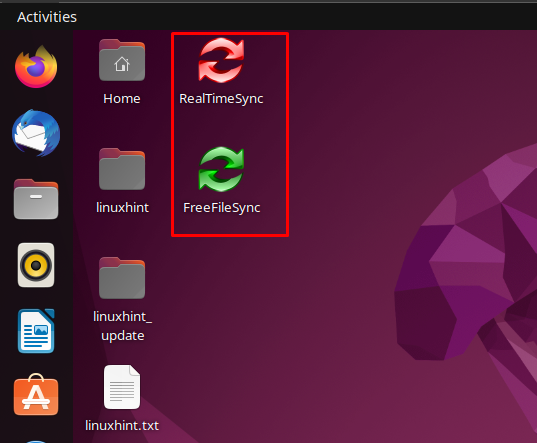
After that, the icons of the apps can be seen, and they can be launched.
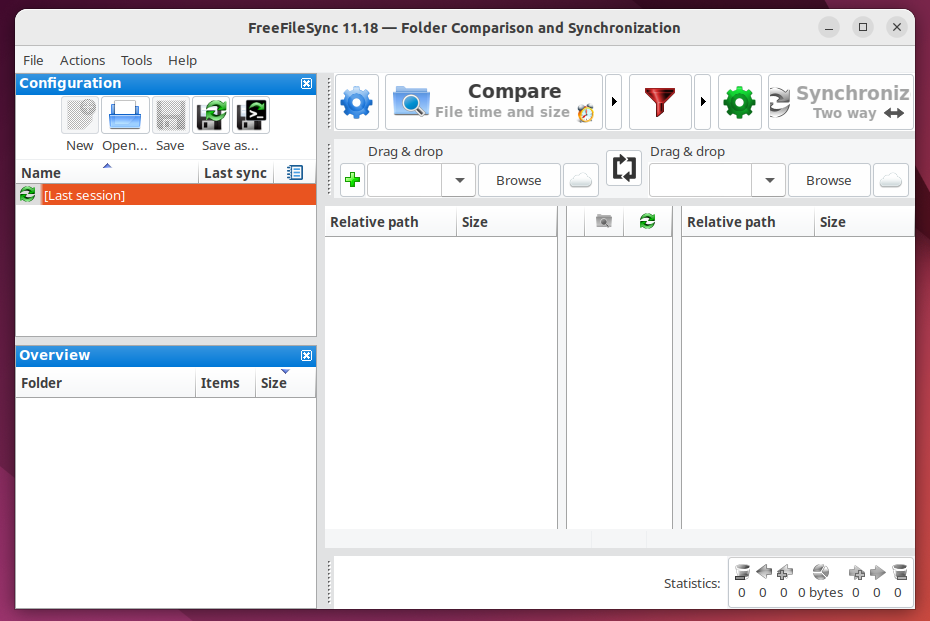
The FreeFileSync looks like as shown below.
How to remove FreeFileSync from Ubuntu 22.04
The FreeFileSync was installed with the help of the tar.gz file. To uninstall/remove FreeFileSync, you need to remove the final directory of FreeFileSync. In the installation steps, you would have observed that the FreeFileSync was installed in the “/opt/FreeFileSync” directory. To delete it, we executed the below-mentioned command.

As the command is executed successfully, you would not be able to run FreeFileSync anymore.
Conclusion
FreeFileSync is the file synchronization software for multiple platforms. It is equipped with advanced levels of synchronization features such as real-time and two-way synchronization. This article has demonstrated the installation of FreeFileSync on Ubuntu 22.04. At the time of this guide, the FreeFileSync_11.18 is the version available on their official website.