
Elasticsearch is an open-source, freely available, distributed analytical engine for geographic, numerical, textual, structured, and unstructured data. It was released in 2010 by Elasticsearch N.V and is based on Apache Lucene. The foundation of the Elastic Stack is Elasticsearch is, which is a collection of open-source technologies for visualization, analysis, data storage and its ingestion. It is also known for its easy Representational State Transfer (REST) APIs, speed, scalability, and distributed nature. Beats are a collection of lightweight shipping agents currently available in the Elastic Stack. The data is transferred to Elasticsearch using these beats.
Elasticsearch collects unstructured data from many sources, organizes it according to user-defined mapping, and indexes it in real-time. It is a well-known search engine designed for applications with sophisticated search requirements. You can use Elasticsearch for creating a complicated search engine that works similar to the Google search engine.
The scalability and speed of Elasticsearch, as well as its ability to index a wide range of content types, makes it suitable for various purposes, including Website search, Application search, Enterprise search, monitoring performance of an application, Business analytic, Security analytic, log and logging analytic, analysis and visualization of Geo-spatial data.
Why use Elasticsearch on Ubuntu
Some of the significant reasons are mentioned below:
- Elasticsearch has a variety of features that helps it to handle different content types.
- By its nature, Elasticsearch is distributed.
- Elasticsearch is ideal for time-sensitive use cases like Security analytic and infrastructure monitoring.
- Data ingest, visualization, and reporting are all made easier using Elasticsearch.
How to install Elasticsearch on Ubuntu
If you want to install Elastic search on your Ubuntu system, then firstly, open up your terminal by pressing “CTRL+ALT+T”, you can also open the terminal by searching it in the Application’s search bar:
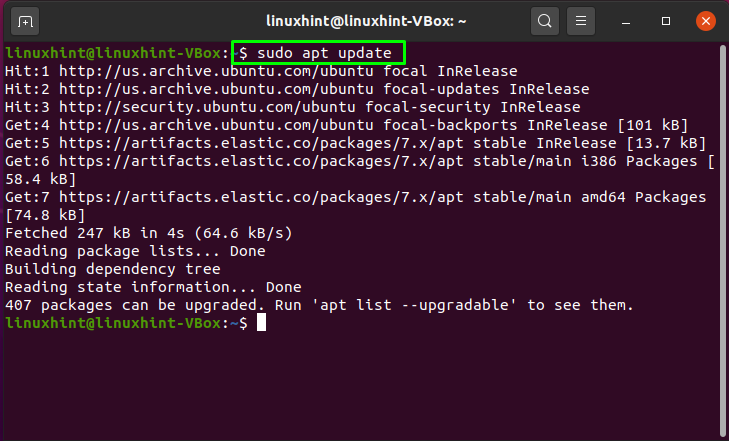
Before starting the installation process, we will update our system repositories:

Now, we will install the dependencies to our system that are essential for adding an HTTP repository:
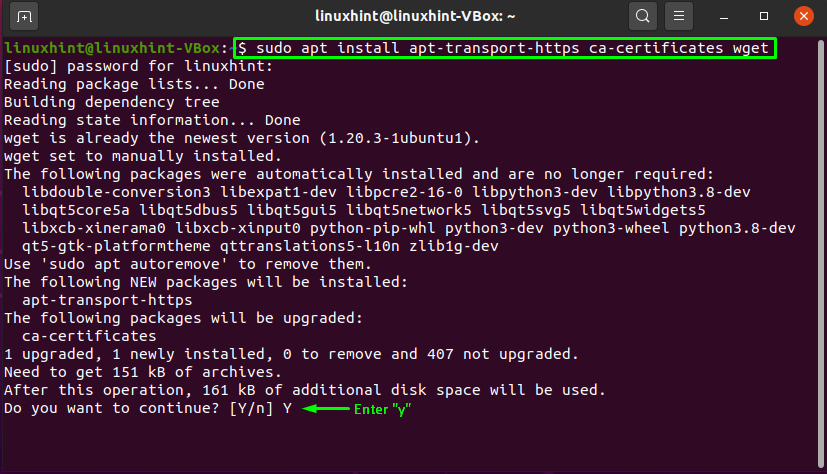
Enter “y/Y” to permit the installation process to continue:
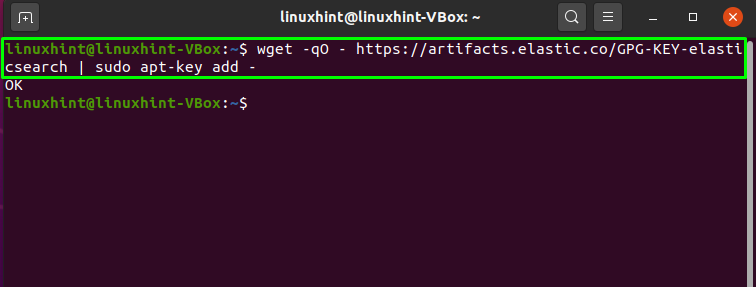
Now, it’s time to import the GPG’s key of the Elasticsearch repository:
The successful execution of the above-given command will print out “OK” on the terminal screen:
After importing the GPG’s key, we will add the Elasticsearch repository by executing this command:

As the repository is added to Ubuntu system, now execute this command in the terminal:
Your system repositories will be updates in few seconds:
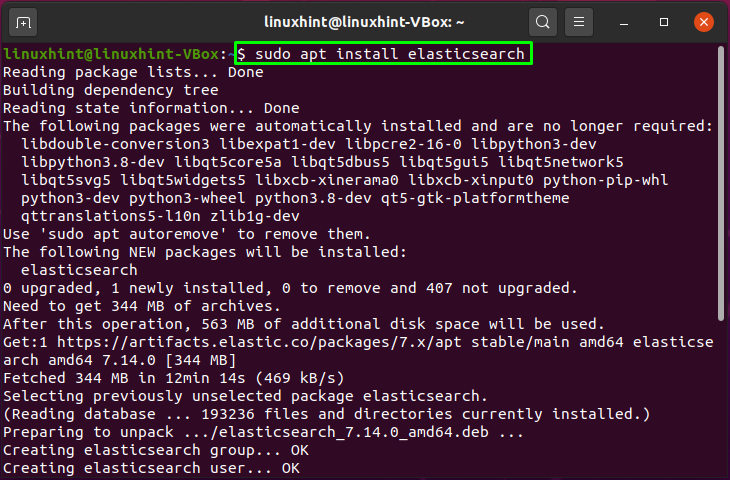
Write out the below-given command for installing Elasticsearch on your system:
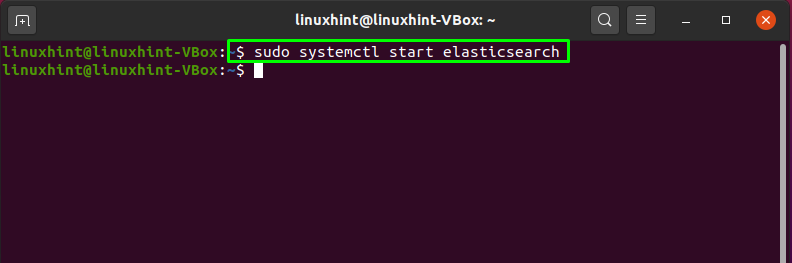
Next, start the service of the installed engine by executing this command:
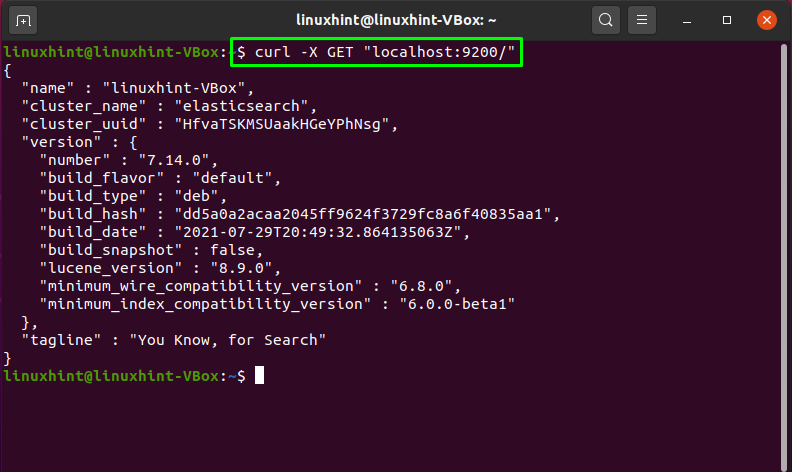
You can confirm if Elasticsearch is successfully running on your system by using the curl command. For this purpose, write out the curl command for submitting an HTTP request to your system’s port 9200:
The execution of the above-given command will show you the following output:
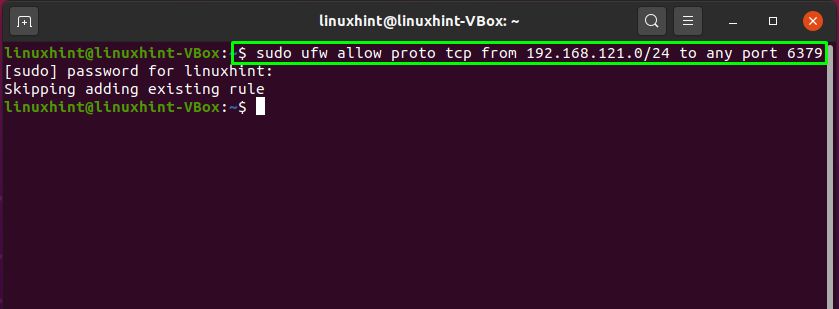
Elasticsearch does not integrate authentication. Therefore, anyone who can access the HTTP API and use it. You will need to open TCP port 6379, as a client will utilize this port for creating a TCP connection to the Redis server. You can also add your IP address or IP range for accepting connection from them only. For instance, the below-given command permits the connections from “192.168.121.0/24” IP address of the other system:
How to configure Elasticsearch on Ubuntu
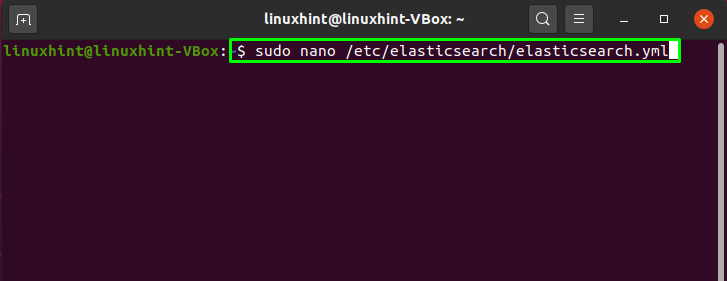
We have successfully configured the firewall; now, we will move towards the configuration of the Elasticsearch on Ubuntu. For this, open up the Elasticsearch configuration file in your “nano” editor:
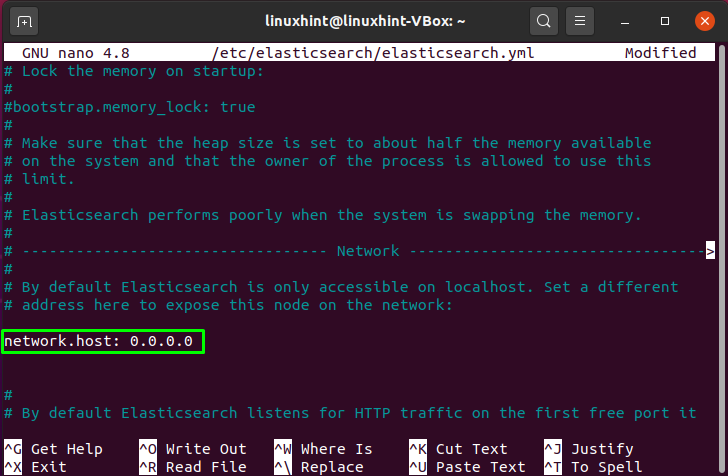
Look for the line that contains the “network host” and uncomment it:

Change the network host value to “0.0.0.0” to listen to the external connections:
Here, “0.0.0.0” signifies the default route of your network host:
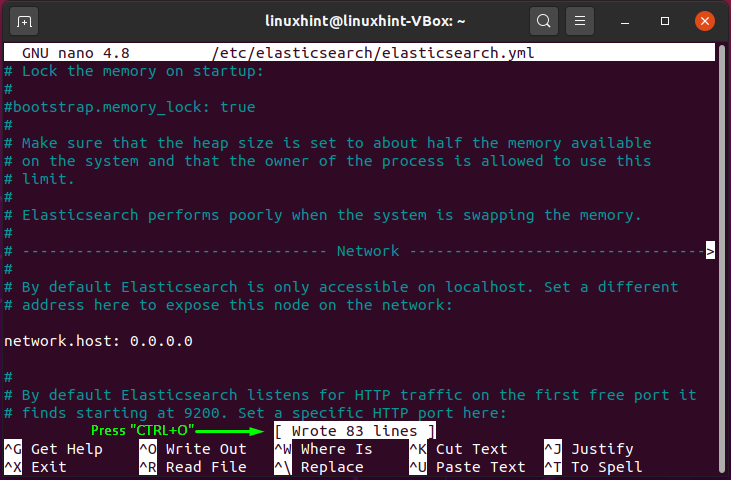
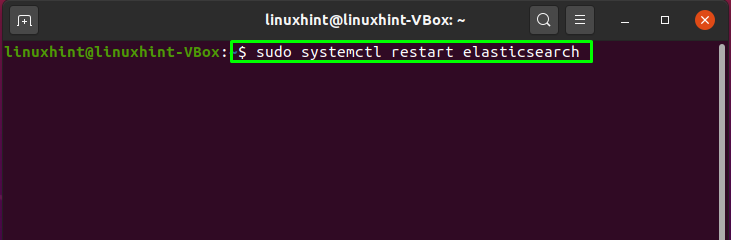
The last step is to restart the Elasticsearch service:
All done! Now you are all ready to connect with the Elasticsearch server from your remote location.
Conclusion
Elasticsearch is a platform for real-time distributed data search and analysis. Because of its usability, robust capabilities, and scalability, it is a popular search engine. It is also capable of massively aggregating and monitoring Big Data. In this article, we demonstrated how to install and configure Elasticsearch on Ubuntu. Now feel free to try Elasticsearch on your system!