“This article will clarify the process of downloading and setting up Elasticsearch and Kibana on your macOS system.”
If you need ELK on your machine, let’s dive in.
Pre-Requisites
To trail along with this post, ensure you have the following pre-requisites:
- Sudo or sufficient privileges to install and uninstall packages
- A network connection
- At least 4 GB Ram
- At least a two-core CPU.
With the above requirements met, we can proceed.
Install Elasticsearch Using Homebrew
In macOS, we can use the Homebrew package manager to install and set up Elasticsearch on our local system.
The Elasticsearch formula is published by Elastic.co, which means it contains the latest releases of Elasticsearch.
Before running the brew command, ensure you have Homebrew installed and configured on your machine.
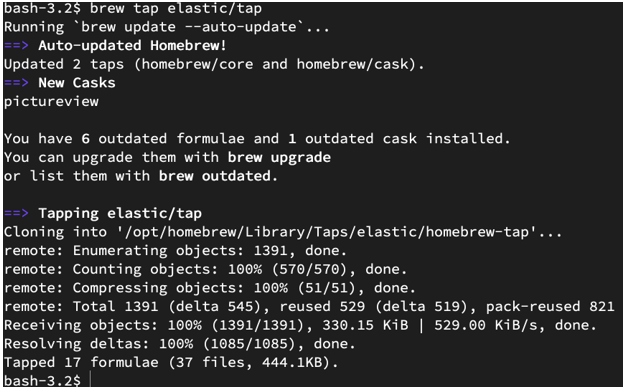
Next, install the Elastic Homebrew repo with the command:
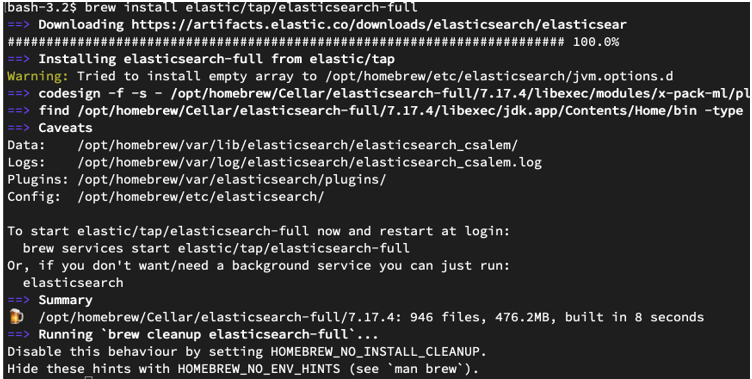
Once we have the Elastic repository available in Homebrew packages, we can update the repositories and install Elasticsearch
The command will download, install and configure the Elasticsearch package on your system.
Brew Start Elasticsearch
Once we have elasticsearch installed, we can start the service with the Homebrew service manager as shown in the command below:
The command will start the elastisearch service in the background
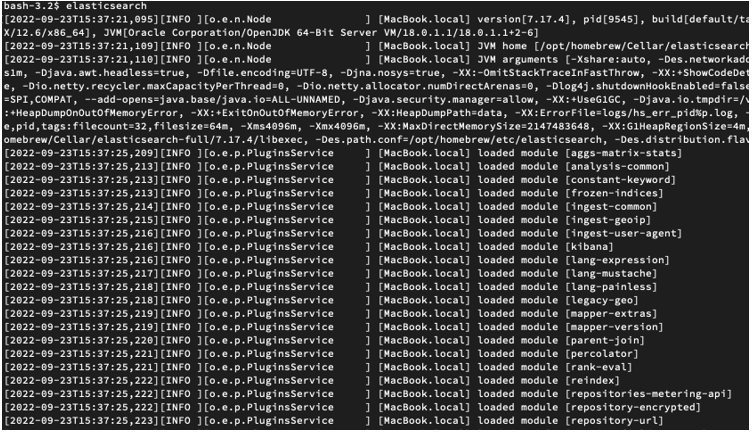
Elasticsearch in the foreground with the command:
Brew Stop Elasticsearch
To stop the Elasticsearch service, execute:
Install Elasticsearch Using Homebrew
To install Kibana on macOS, we can use the homebrew package manager as shown in the command below:
It is good to keep in mind that the kibana formula may change due to recent license changes.
Start Kibana with the command:
Manually setup Kibana by running the commands:
$ tar -xzf kibana-8.4.2-darwin-x86_64.tar.gz
$ cd kibana-8.4.2/
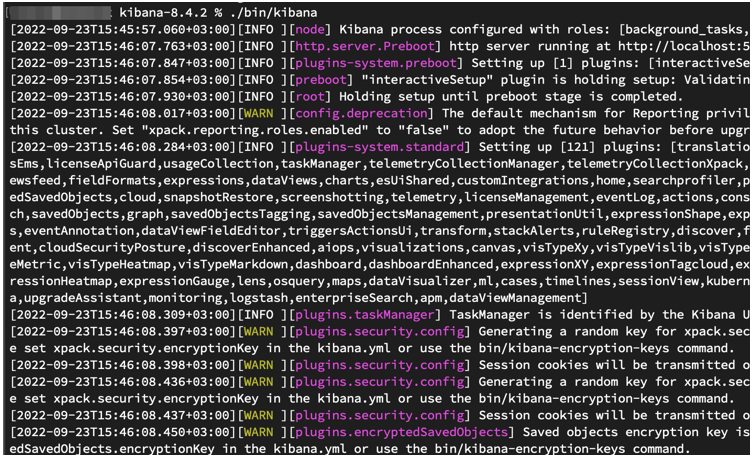
You can then start kibana with the command:
NOTE: Ensure that installed Kibana and Elasticsearch versions are compatible. Using incompatible versions may either services not to connect.
Conclusion
In this article, we covered the fundamentals of installing and configuring Elasticsearch and Kibana services on macOS using the Homebrew package manager.


