In this article, we will show you how to install the Eclipse IDE on Debian 11 through two different methods.
Method 1: Installing Eclipse IDE Through Tar.gz File
Let’s start installing the Eclipse IDE on Debian through the tar.gz file available on Eclipse IDE‘s official website.
1. First, issue the following command to update the Debian package repositories index:
Enter the sudo password if you are prompted for it.
2. For the installation of Eclipse IDE in your system, you will need Java. Use the following command to install the Oracle Java Development Kit (JDK):
You can verify the installation of JDK through this command:
The following output verifies that we have successfully installed Java in our system.
3. Now that our prerequisite is installed, let’s install the Eclipse IDE. To do so, download first the Eclipse IDE’s latest version installer. You can either get the installer file from the Eclipse official Downloads page or you can run the following command to download the Eclipse IDE’s latest version:
https://ftp.yz.yamagata-u.ac.jp/pub/eclipse/oomph/epp/2022-06/R/eclipse-inst-jre-linux64.tar.gz
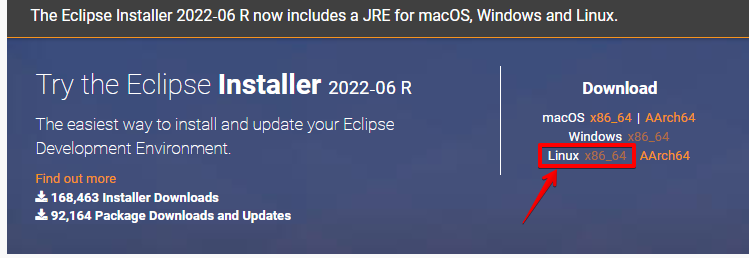
To download the Eclipse IDE installer from its website, visit its Download page and download the Eclipse installer for Linux OS.
The downloaded file will be a tar.gz archive file.
4. To make sure that you are in the same directory containing the downloaded tar.gz file, run the following command to unpack the tar.gz file:
The file is extracted to the eclipse-installer directory.
5. Move inside the eclipse-installer directory through the following command:
Inside the eclipse-installer directory, you will find the installer program for the Eclipse IDE. Run this command to start the Eclipse IDE installer:
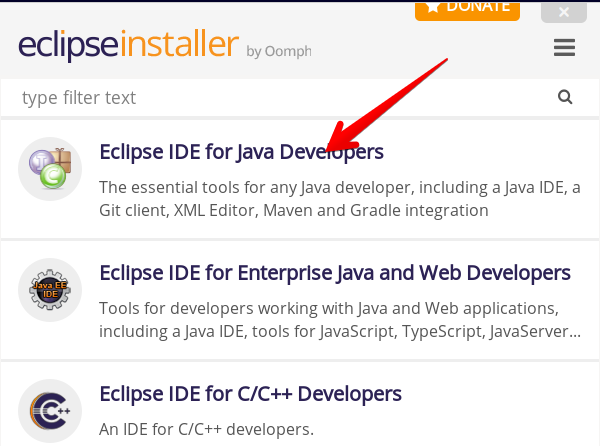
The Eclipse IDE installer launches with the following window. The Eclipse IDE supports many programming languages. We install the Eclipse IDE for Java developers. You can select any other language based on your preferences.
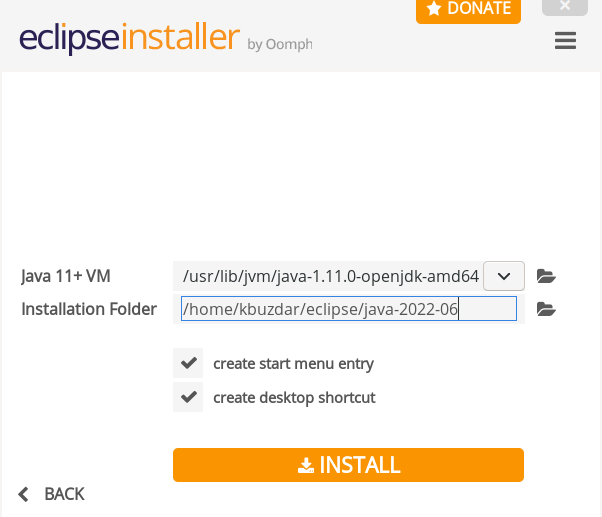
The next window shows the location where the Eclipse IDE is installed. You can leave it as default. Then, hit the INSTALL button.
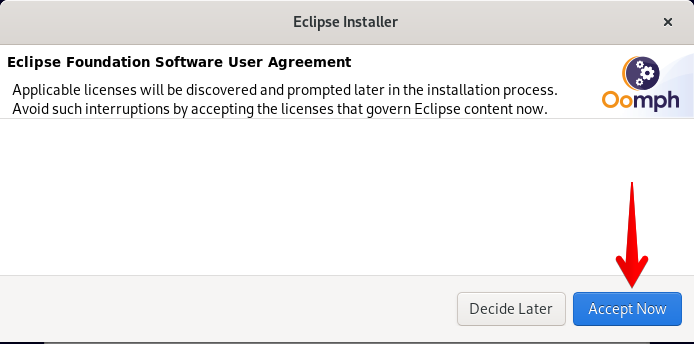
Accept the software user agreement by clicking the Accept Now button.
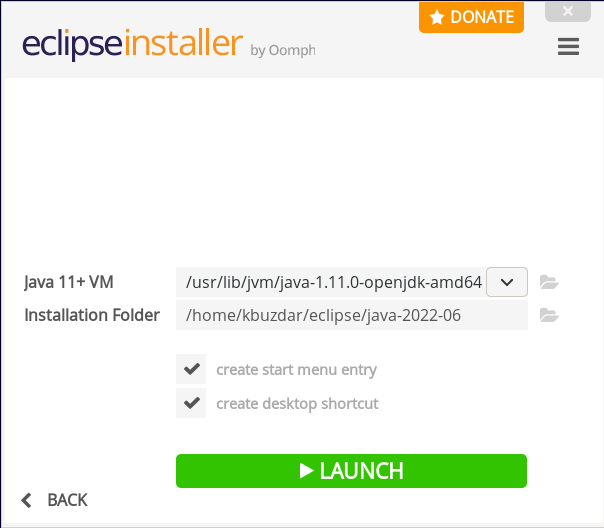
Now, it begins the installation. After the Eclipse IDE is installed, the following window will appear. You can start the Eclipse IDE by clicking the LAUNCH button.
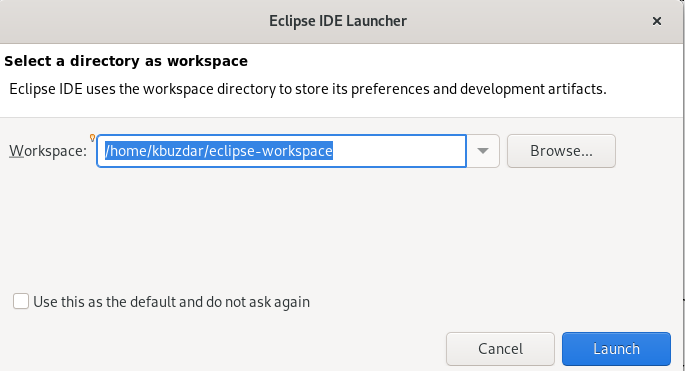
The first time you launch the Eclipse IDE, you will be asked to select the workspace directory for the Eclipse IDE. This is the directory where your settings, source code, and other files are stored in your system. You can either choose the default directory or browse a different one. After selecting the workspace directory, click Launch.
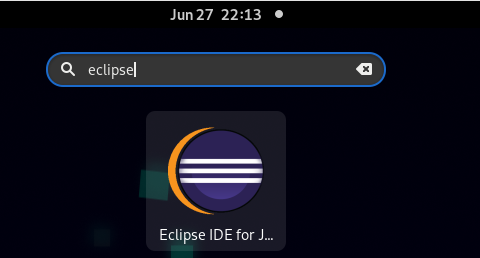
You can also launch the Eclipse IDE through the Applications menu. Hit the super key and type eclipse in the search bar. Then, click the Eclipse IDE icon to launch the application.
Method 2: Installing Eclipse IDE Through Snap
Let’s start installing the Eclipse IDE on Debian through the snap package.
1. First, update the Debian package repositories index using the following command:
Enter the sudo password if you are prompted for it.
2. Then, install the snapd through the following command:
3. After installing the snapd, install the snap core through the following command:
4. Now, to install the Eclipse IDE, run the following command:
5. After the Eclipse IDE is installed, you can run it through the following command:
This will launch the Eclipse IDE in your system.
Uninstall Eclipse IDE
If, for some reason, you want to remove/uninstall the Eclipse IDE, complete the following steps:
Move inside the Eclipse IDE installation directory that is commonly the Home directory. Then, delete the eclipse, eclipse-installer, and eclipse-workspace directories.
To remove the other Eclipse related files including the application shortcut, run the following commands:
$ sudo rm *eclipse*.desktop epp*.desktop
Conclusion
We hope you learned how to install the Eclipse IDE on Debian 11 through two different methods and how to launch the Eclipse IDE after installation. You can also uninstall the Eclipse IDE by following the instructions explained at the end of this post in case you want to remove it from your system.


