
VNC is an acronym for Virtual Network Computing; freely available, open-source and alternative for the Microsoft RDP protocol (RDP). This technology is introduced for graphically sharing your desktop system by enabling you to operate another computer remotely using your mouse and keyboard. In other words, we can say that VNC is a set of protocols utilized for sharing desktop systems. It allows users who are not comfortable with the command-line to manage their settings, applications, and files remotely.
Now, you will learn about how to install and setup VNC on your Ubuntu system. So let’s start!
How to install and configure VNC on Ubuntu
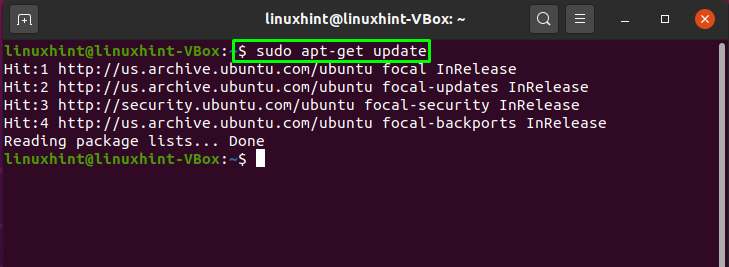
First of all, update your system repositories by executing the below-given command:
The next step is getting the graphical interface.
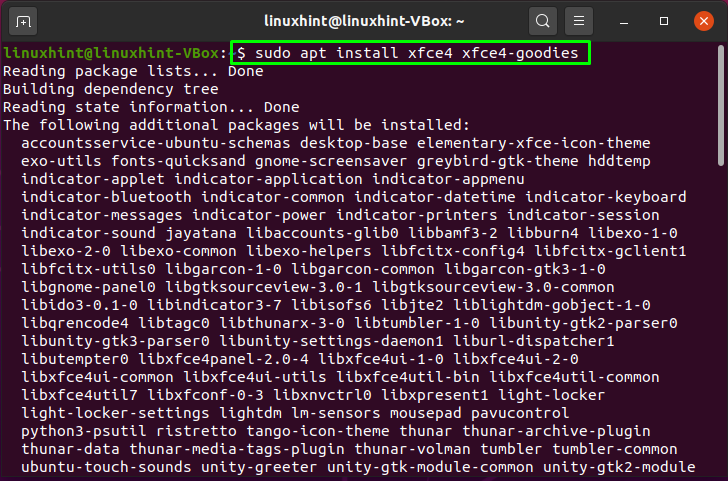
How to install Xfce desktop environment on Ubuntu
You might know that the Ubuntu servers are handled via the command line, and the servers do not have a pre-install desktop environment. If you are using the Ubuntu desktop version, then skip this step.
In the Ubuntu repository, you will get a variety of desktop environments. In this post, we will install the “Xfce,” which is a lightweight and robust desktop environment, excellent to use on a remote server:
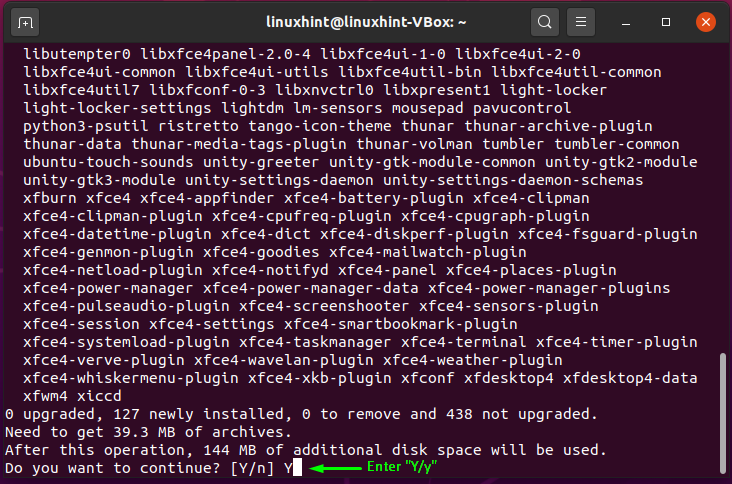
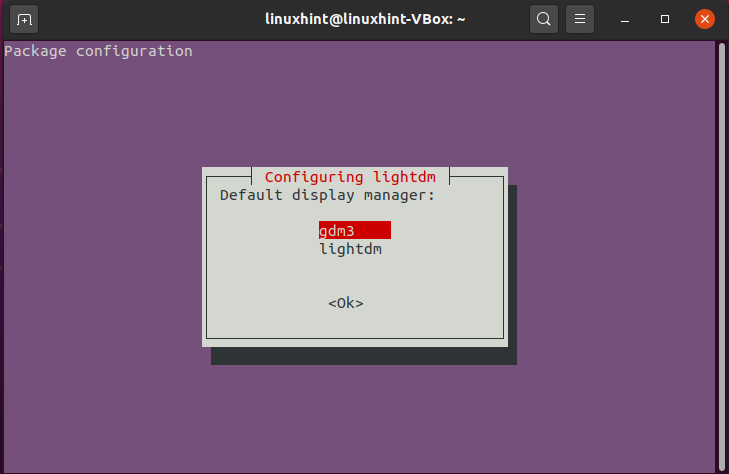
Enter “y/Y” to permit the Xfce installation process to continue. Meanwhile, a prompt will appear on the terminal screen requesting you to configure lightdm:
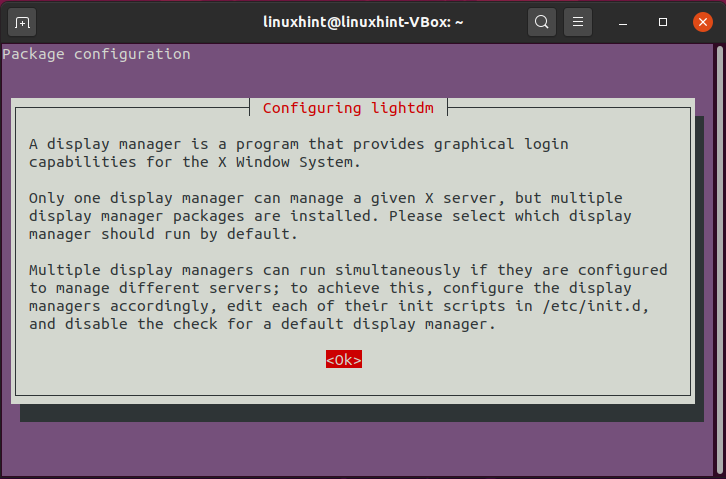
In between “gdm3” and “lightdm”, select any of them as default display manager:

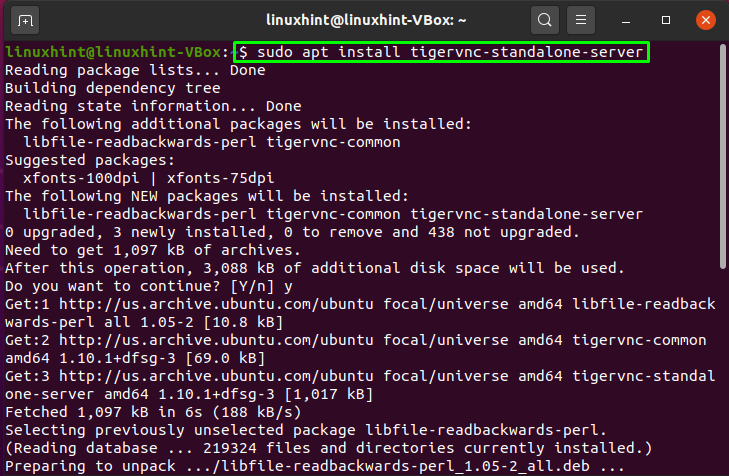
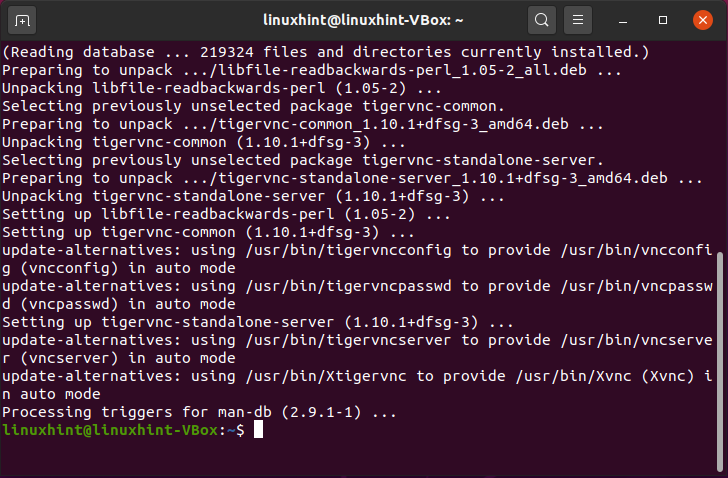
How to install TigerVNC on Ubuntu
There exists a lot of software for controlling a Linux-based distribution. However, we will use the “TigerVNC” on our system. It is an open-source VNC server utilized to control the access of your desktop remotely.
Now, install TigherVNC on your system by using the following command:
How to configure the VNC access on Ubuntu
Execute the below-given “vncpasswd” command to set the password:
Enter a password between six to eight characters. Next, confirm that you have selected a view-only password by giving “n” as an input to the terminal:

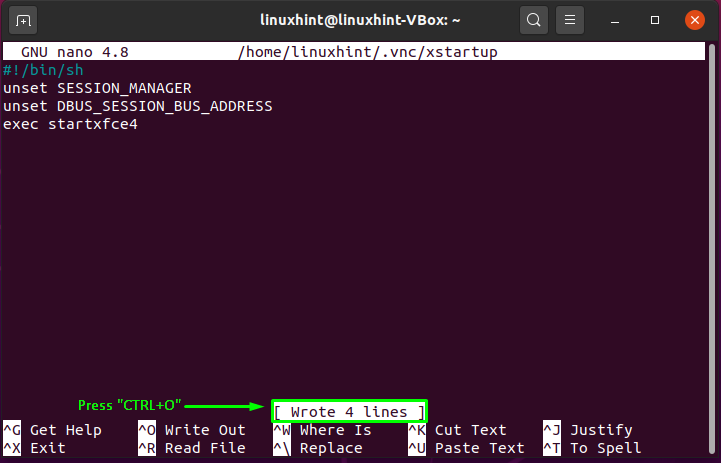
The next step is the configuration of TigerVNC for utilizing the Xfce desktop environment. To do so, we will create an open the “xstartup” file in the VNC directory using the “nano” editor:
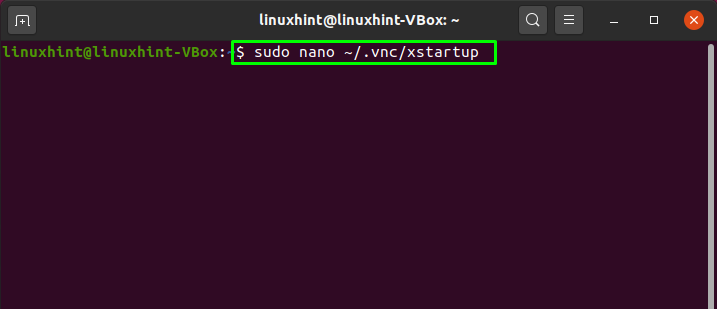
The commands we specify will be executed each time we restart or start the TigerVNC server. That’s the reason we have named our file as “xstartup” file:
unset SESSION_MANAGER
unset DBUS_SESSION_BUS_ADDRESS
exec startxfce4
These commands will unset the session manager and the session address. It also will enable the xface4 at the time of server startup:

Press “CTRL+O” to save the changes we have made into the “xstartup” file:
Next, utilize the “chmod” command for adding the “execution” permission to the VNC startup file:

You can also pass some additional options to your VNC server by creating a VNC configuration file and adding the settings line by line. If you want to perform this operation, then execute this command in your Ubuntu terminal:
This command will create and open up the VNC configuration file in nano editor:

For the demonstration, we are adding some lines to the opened file:
dpi=96
These lines are added to set the interface related settings of VNC:
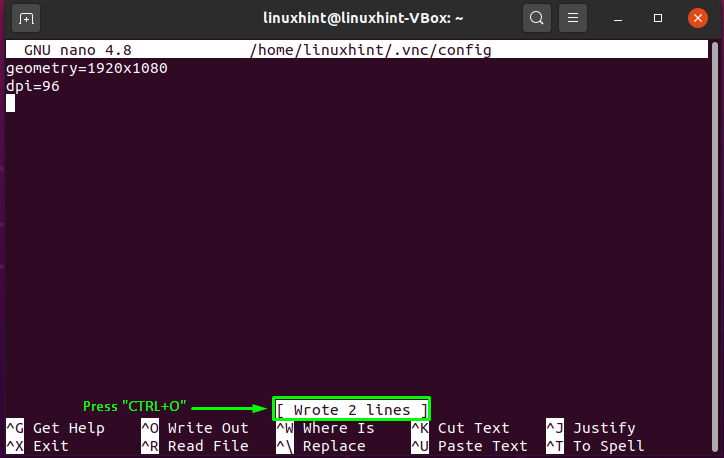
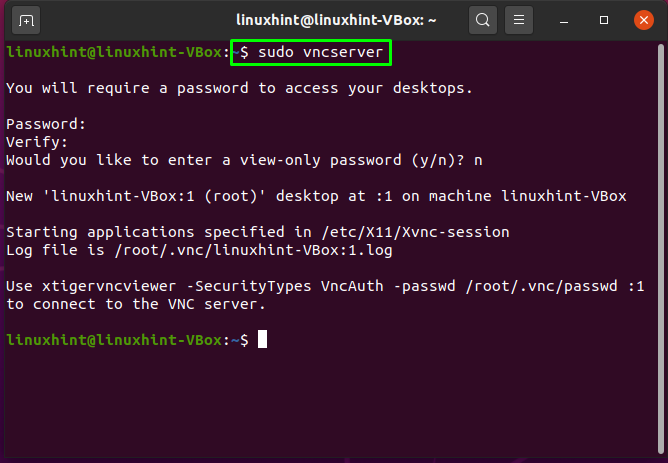
Press “CTRL+O” to save the settings and restart the VNC Server:
In the output, you will see a “:1” after your system hostname. This value symbolizes the port where VNC is currently operating on your system. For instance, on our Ubuntu, the VNC server is running on the 5901 TCP port of the system (5900+1).
If you see a number other than “1,” then add that number in the “5900,” and you will get the port number on which VNC is operating on your system:
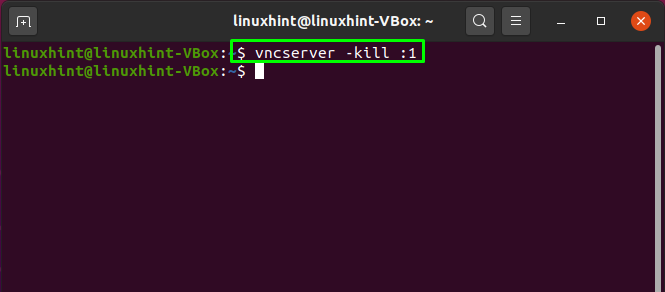
Add the “-kill” option in the “vncserver” command for killing the instance executing on the port number “1” or “5901”:
How to create a Systemd unit file on Ubuntu
VNC also provides you the option to create a Systemd unit file and add your VNC services, such as starting, restarting, and stopping the VNC to it. To do so, execute a below-given command in the Ubuntu terminal:

Description=Remote desktop service (VNC)
After=syslog.target network.target
[Service]Type=simple
User=root
PAMName=loginPIDFile=/home/%u/.vnc/%H%i.pid
ExecStartPre=/bin/sh -c '/usr/bin/vncserver -kill :%i > /dev/null 2>&1 || :'
ExecStart=/usr/bin/vncserver :%i -geometry 1440x900 -alwaysshared -fg
ExecStop=/usr/bin/vncserver -kill :%i
[Install]
WantedBy=multi-user.target
Here, do not forget to add your user name with the “User” command:

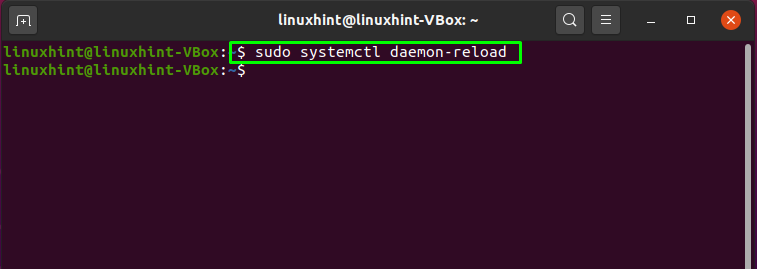
Press “Ctrl+O” to save the changes and reload the daemon:
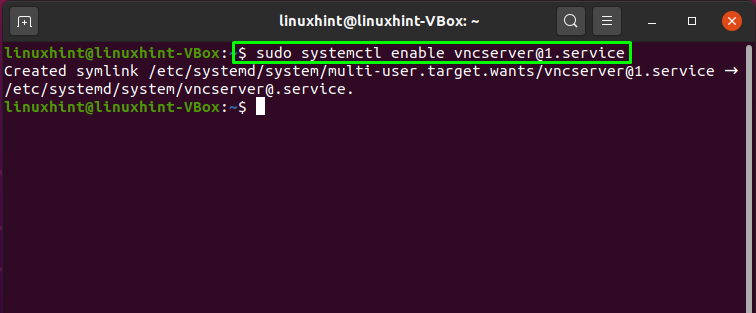
Utilize the below-given command to enable the VNC service at the time of system startup:
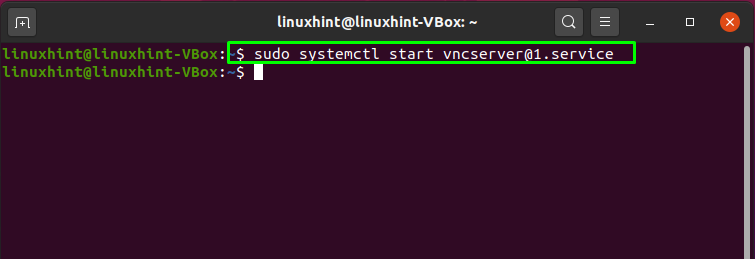
Now, start the service by using this command:
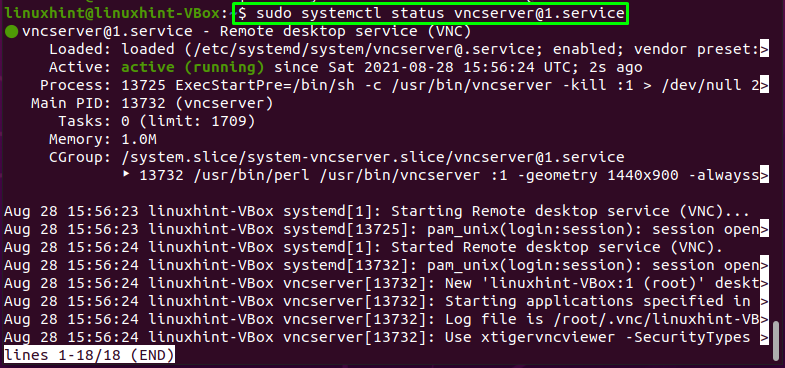
Check out the status of your VNC service:
The output signifies VNC service is running on the Ubuntu system:
How to connect VNC server on Ubuntu
The main concept behind the connection of the VNC server is to create an SSH tunnel that allows traffic from the port “5901” of the system. If you want to connect to a VNC server, then check out the syntax of the following SSH command:
Here, the “-l” option is added to specify the user login name, “-f” enables ssh to run in the background, and the “-N” option checks if we added the username or not (length is zero or not).
For creating an SSH tunnel on our system, we will execute this command:
After this, open your VNC viewer application and connect it to the VNC Server at your localhost port 5901 “localhost:5901”.
Conclusion
Virtual Network Computing or VNC enables Ubuntu users to properly manage the application, their settings and files that exist on a remote server. It permits them to have complete control by sharing the desktop system. In this guide we showed how to install and setup VNC on Ubuntu. Want to try remotely accessing a system? Try out our provided method in your Ubuntu system!