
However, installing and configuring the TFTP server is not easy as it requires the correct knowledge. In this tutorial, we will explain the best possible method to install and configure the TFTP server on Fedora Linux.
How to Install and Configure the TFTP Server on Fedora Linux
Let’s begin the process by installing the TFTP server utility through the following command:

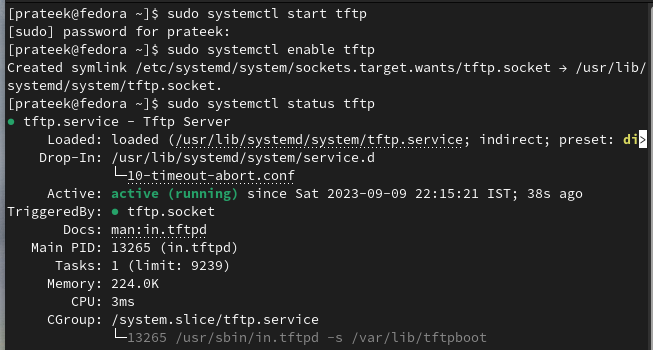
After the successful installation, start the TFTP service and configure it to start automatically at boot:
Once you start the TFTP service, it is time to enable it in the system. You can also check the running status of the TFTP service:
sudo systemctl status tftp
Configure the TFTP Server
By default, TFTP uses the UDP port 69. You can run the following command:
sudo firewall-cmd --reload
You can now modify the TFTP configuration file by opening it in the Nano editor:
Here, add the following information and save the file to make the changes successful:
{
socket_type = dgram
protocol = udp
wait = yes
user = root
server = /usr/sbin/in.tftpd
server_args = -c -s /<your_file>
disable = no
per_source = 11
cps = 100 2
flags = IPv4
}
Ensure that you modify the server_args line to indicate the directory from which you want TFTP to serve the files. For example, let’s create the “/tftpboot” directory:
Grant the TFTP server with the necessary permissions to write to the designated directory:
Finally, apply the changes by restarting the TFTP service:
TFTP Server Configuration (Alternative Method)
You can use this alternative method if the previous method does not work. First, run the following command to copy the system files of the TFTP server:
sudo cp /usr/lib/systemd/system/tftp.socket /etc/systemd/system/tftp-server.socket

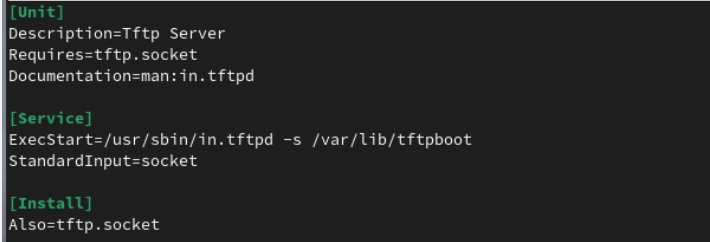
Now, run the following command to open the TFTP service config file:
In this config file, change the ExectStart line with the TFTP destination file that you want to use for the server:
Once you are done, it is time to reload the TFTP server:
sudo systemctl enable --now tftp
Conclusion
This is all about the complete method to install and configure the TFTP server on Fedora Linux. A TFTP server lets you to quickly enhance your network management capabilities, efficiently perform the firmware updates, and streamline the file transfers. With the simplicity and efficiency of TFTP, Fedora Linux users can readily tackle a range of technical challenges.