Code::Blocks supports a wide range of IDE compilers like Digital Mars, OpenWatcom, LLVM Clang Compiler, GNU GGC / MinGW, Borland C++, Microsoft Visual C++, LLVM Clang, Intel, and LCC C++ Compiler. This article will look at some effective methods to install Code::Blocks IDE and discuss the additional information.
Keys Features of Code::Blocks
- Along with extending the convenience of the IDE through plugins, you get many features like intelligent indentation, class browser, tabbed interface, code folding, and syntax highlighting.
- Code::Blocks is faster, lighter, and consumes a maximum of 50 MB of RAM.
- It supports the workspace, multi-target projects, and inter-project dependencies within workspaces.
- It has been made extensible to a great extent through plugins, and it is also straightforward to use.
How to Install Code::Blocks in Ubuntu
The unique thing about Code::Blocks IDE is that it automatically installs the latest version. It takes some time to install. And once the entire process is done, you can easily open it from the “Activities” section.
Using the Apt Command
Installing Code::Blocks using the apt command is one of the simplest ways. You should also know that some old versions may be present in the repository. That’s why you have to make sure that you install the latest version.
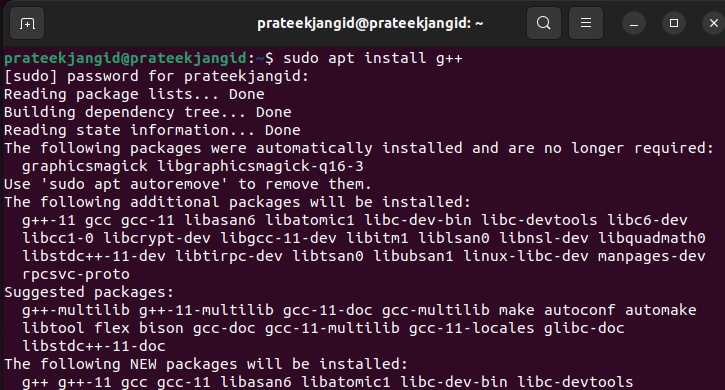
Before starting the installation of Code Blocks, you must ensure that the GCC compiler is installed in your system. If the GCC compiler is not there in your Ubuntu system, install it by running the following command in your terminal:
There is a Code::Blocks IDE available in the Ubuntu universe repository. Usually, Code::Blocks is enabled by default, yet there is no harm in allowing the universe repository.
Once you are done with the previous command, execute the following command to update the system as per the latest repositories available:
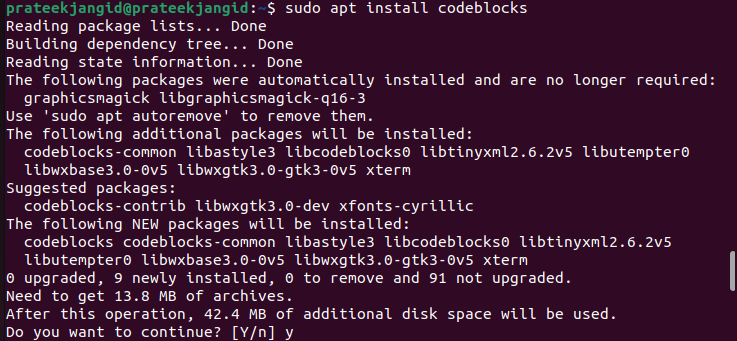
Installing Code::Blocks in Ubuntu is simple because it only requires a single command:
Or
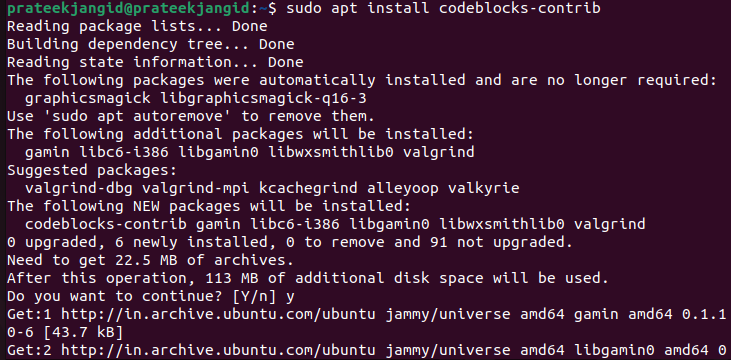
You can get more out of Code::Blocks IDE by installing the additional plugins. It is available as a codeblocks-contrib package:
You can install Code::Blocks through this method, but you can’t use it in Ubuntu 18.04. Therefore, sometimes, the user may face some problems in the installation process. Don’t worry because we have more ways to install Code::Blocks on Ubuntu.
Using the Deb Package
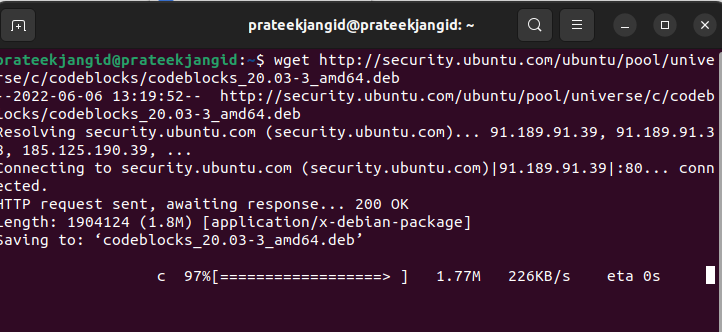
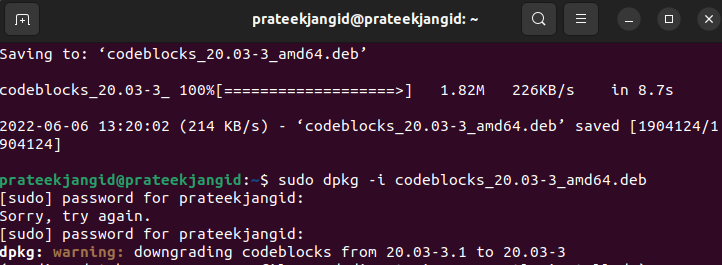
Alternatively, you can also install the IDE using a deb package. Here is the command:
Now, you have the deb package of the Code::Blocks. So, run the following command to de-package it:
The latest Code::Blocks binaries are also available to download as compressed archives. To get the Code::Blocks deb, download the “tar.xz” file and extract it.
Using Software Manager
Code::Blocks is available in the Ubuntu Software Center, which gives an easy accessibility to install it. Follow the following steps to install Code::Blocks from Ubuntu Software Center.
- To install Code::Blocks through the software, open the software manager using the Activity Launcher.
- After opening the software manager, find the Code::Blocks and click on it.
- Click the Install button to start the installation process. The installation will take a while.
- Once the system installs the Code::Blocks, you can open and use it.
Using PPA (Personal Package Archive)
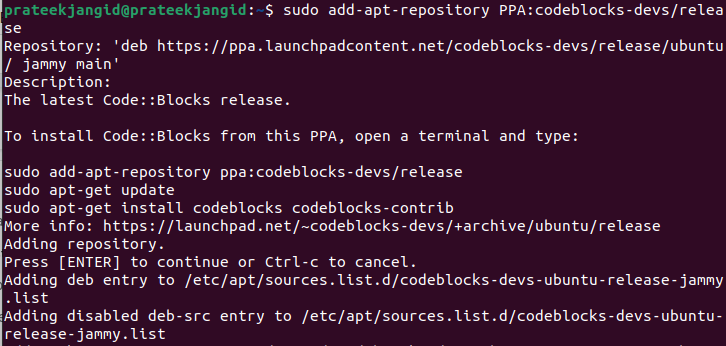
Ubuntu users can get the software repositories called Personal Package Archives (PPA). It is pretty easy to install compared to the other third-party repositories. The pre-release software is often distributed through PPA so that you can test it. You can install the latest version of Code::Blocks using PPA.
First, you can add the Code::Blocks PPA to your Linux system with the help of the following command by opening the terminal from the system application launcher.
Your Ubuntu system is now ready to install the Code::Blocks. Use the following command to do so:
sudo apt update && sudo apt install codeblocks codeblocks-contrib
You can launch the Code::Blocks from the System Applications menu.
How to Launch Code::Blocks IDE
Using Code::Blocks is not a big deal if you have ever used any other IDE like Eclipse. Here, you have to write your code and organize them into projects. To launch the Code::Blocks IDE, you need to follow some steps.
Search the Code::Blocks through the application manager and click on its icon.
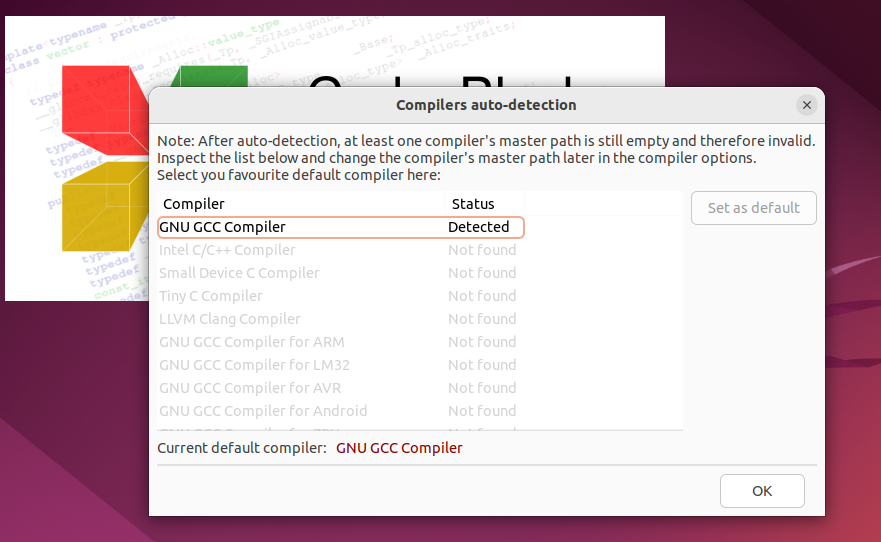
The first time you start a Code::Blocks, it searches all the available compilers on your system. It doesn’t need to be configured itself, adding it to the path.
- Since the compiler must compile the IDE source code, the compiler auto-detects; once the compiler is detected successfully, click “OK”.
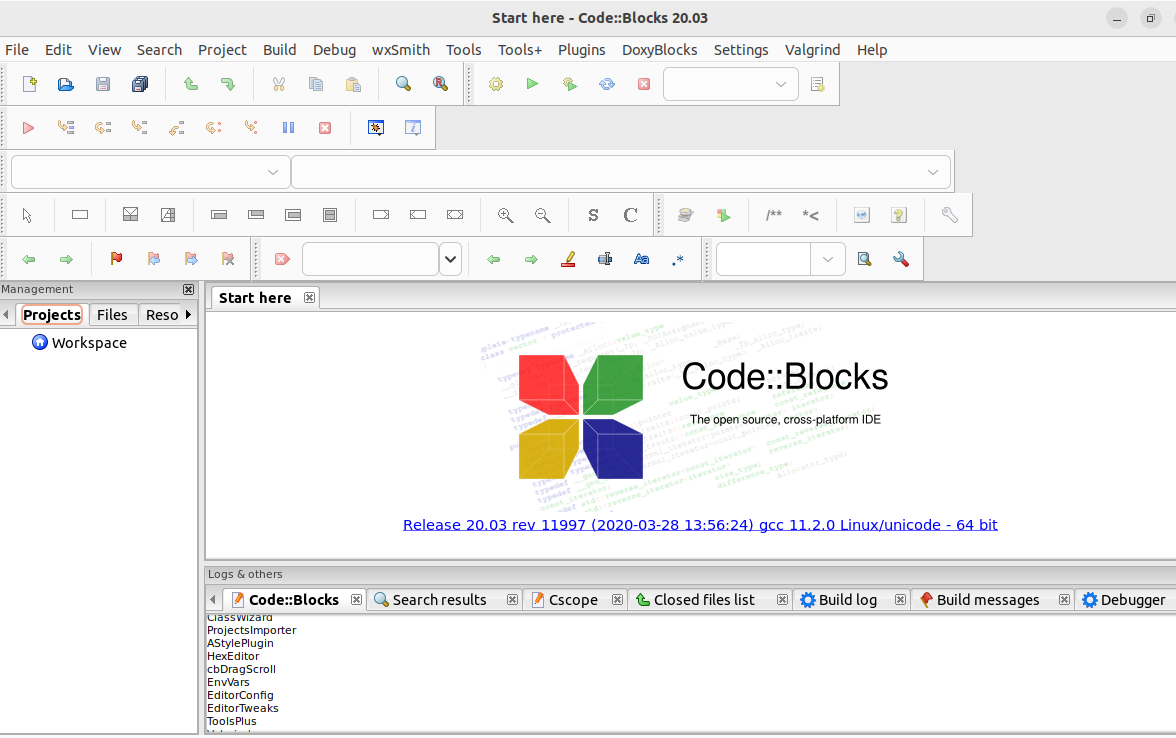
- After following the previous procedure, you will finally see the Code::Blocks IDE interface.
How to Uninstall Code::Blocks in Ubuntu
In the previous sections, we installed the Code::Blocks using several methods. Similarly, you can also use the different ways to uninstall it. Following these instructions will help you uninstall the Code::Blocks from your Ubuntu system.
If you only wish to uninstall the Code::Blocks packages, execute the following command in the terminal:
To remove all its dependencies, run the following command:
Remove all the configuration files with the following command:
You can free up many resources from your system through the following command. This command removes the dependencies, packages, and data that are no longer needed at the current time after uninstalling the Code::Blocks IDE:
Conclusion
Ubuntu is considered a great operating system for programmers and coders. For this reason, installing Code::Blocks in Ubuntu is also one of the essential tasks. Code::Blocks IDE is not as popular as other IDEs (Visual Code Studio, IntelliJ IDEA). However, it is an excellent IDE for C++ and C projects.

