
Cockpit gives you a real-time report of the CPU, RAM, and disk utilization of your system. Using this application, you can perform server tasks management remotely, such as creating user accounts, configuring the network, managing services, monitoring the system, managing the firewall, configuring OpenVPN, and more. Cockpit supports the Openshift cluster and Kubernetes. You can also measure your system performance and update your system using the Cockpit tool.
This article shows you how to install the Cockpit software on your Linux Debian 10 system through the command-line.
Prerequisites
To perform the steps included in this guide:
- You will need a stable network connection.
- You should be logged in as a root user or a local user with sudo rights.
Step 1: Update System
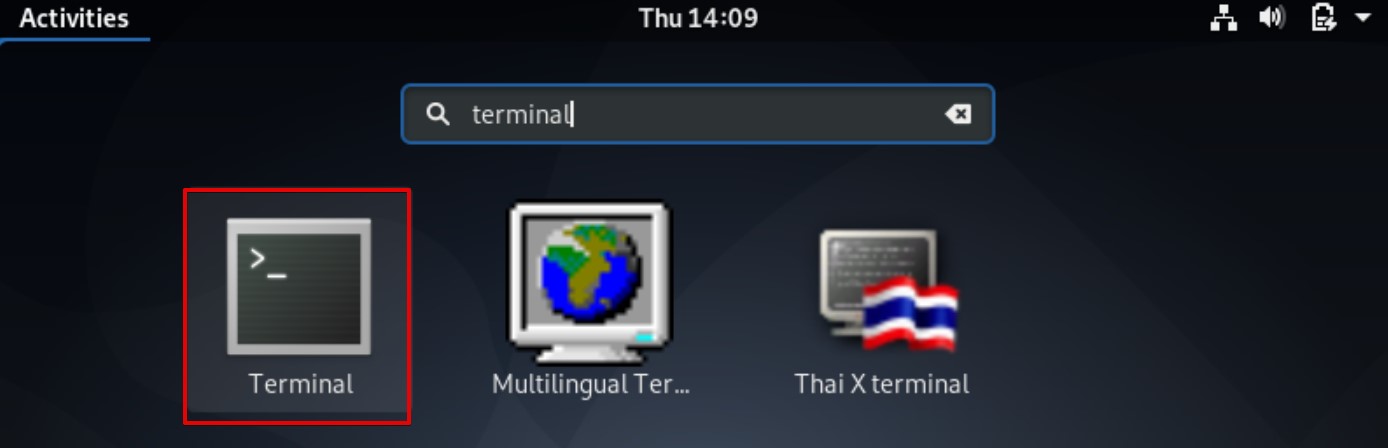
Log in to your Debian 10 system and open the terminal application from the application search bar, as follows:
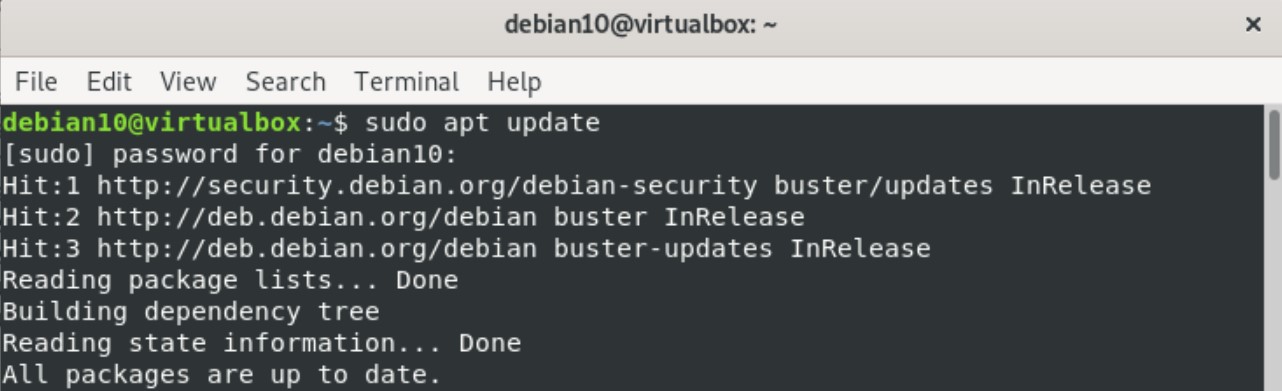
Issue the following command to update your system’s apt repository:
Step 2: Install Cockpit
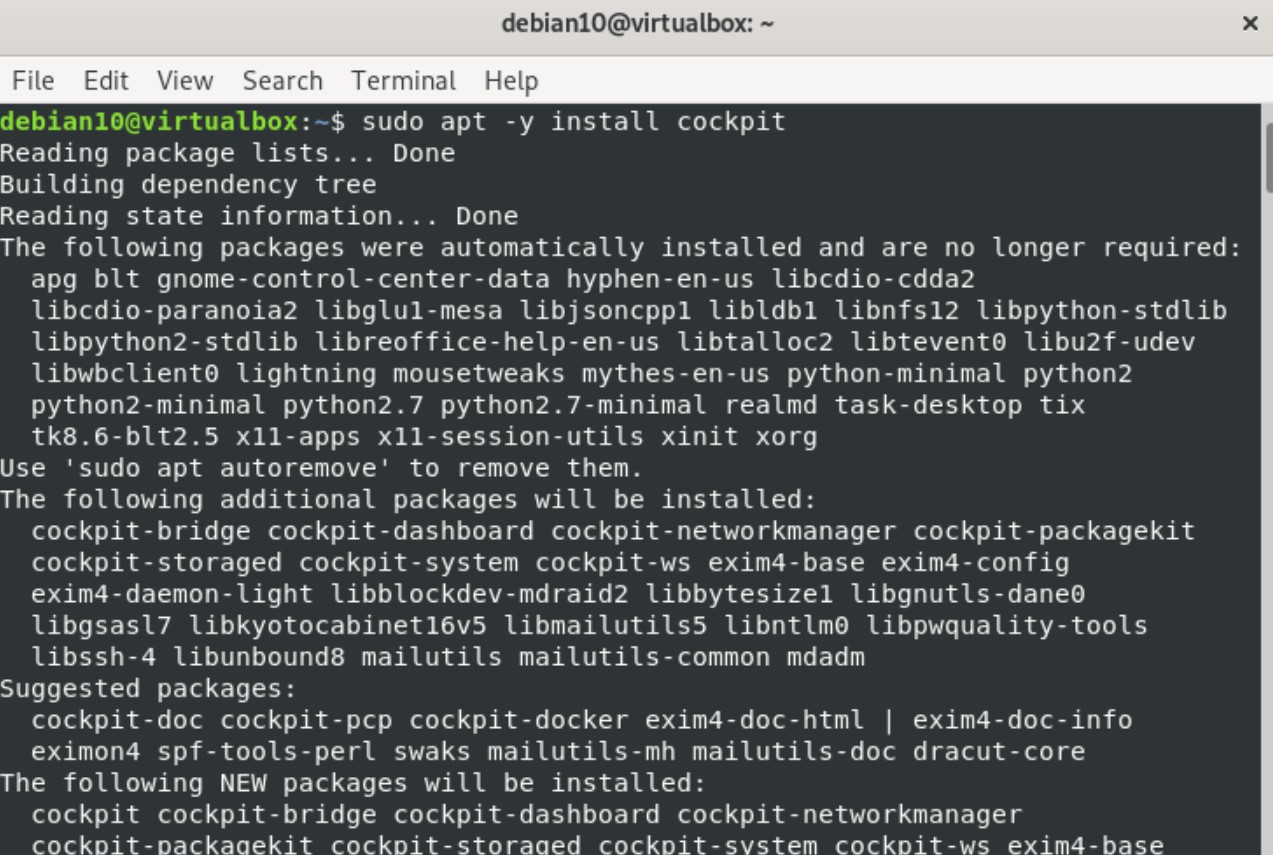
All Cockpit modules and packages are present in the default Debian 10 system repository. Therefore, installing Cockpit from the apt repository is quite simple and easy. To install Cockpit from the apt repository, issue the following command in the terminal:
In the above command, the ‘-y’ option is used to prevent the user prompt from appearing onscreen during the installation.
Issue the following command to create a directory to prevent the warning displayed in the web console of Cockpit.
![]()
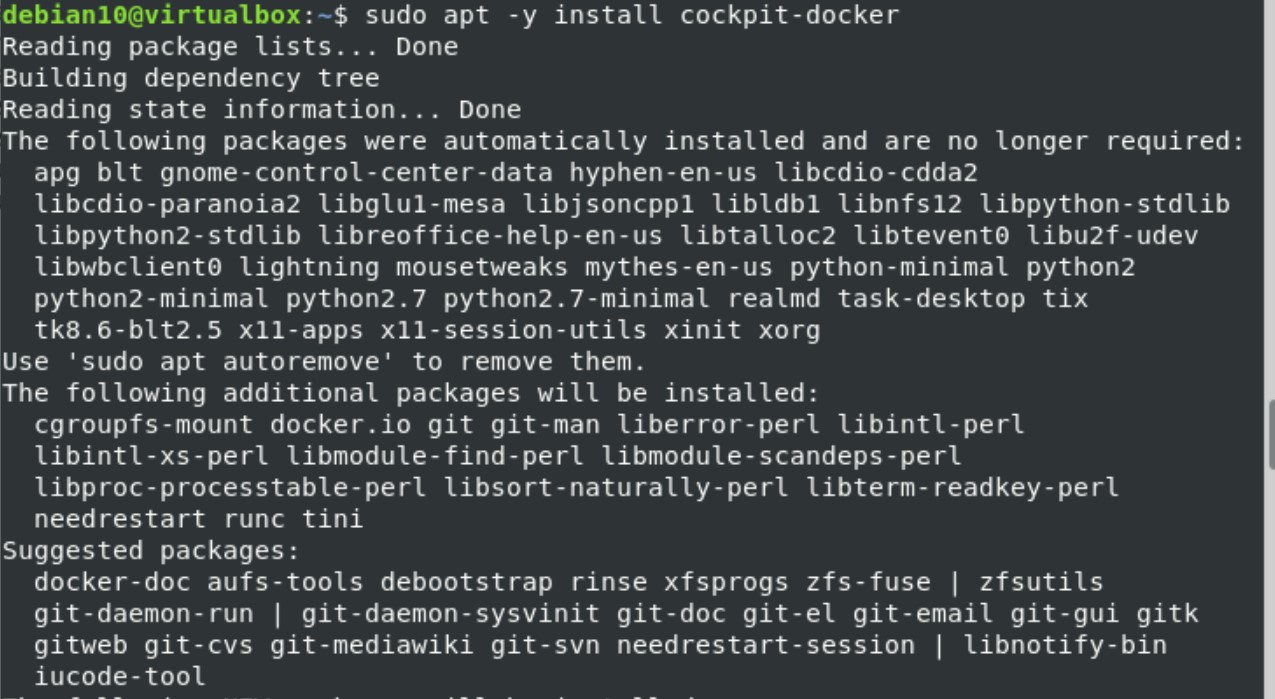
Then, enter the following command to install the cockpit docker module:
Step 3: Start Cockpit
Once the Cockpit package and modules have been installed on your system, issue the following command to start Cockpit by executing the following systemctl command:

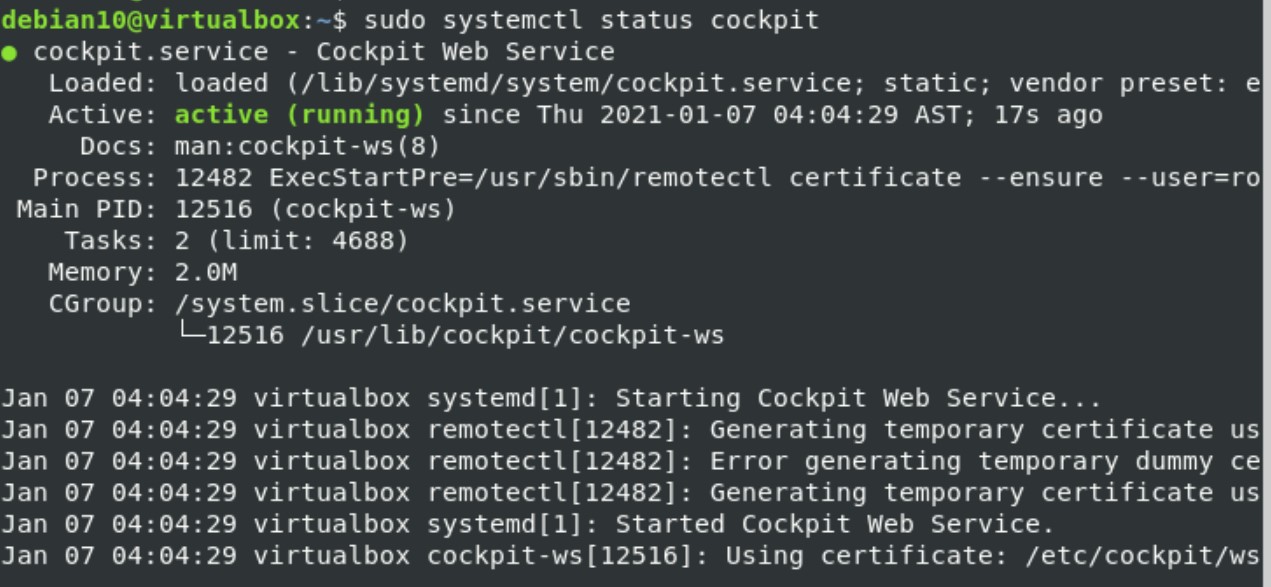
Verify whether Cockpit is running on your Debian 10 system by issuing the following:
Step 4: Allow Access to Firewall Ports
If the firewall is enabled and running on your system, then you will need to set permissions for TCP ports 80 & 9090 in the firewall by issuing the following commands:


Step 5: Access Cockpit Web Interface
To access the web interface of Cockpit, navigate to the following URL in your favorite web browser (such as Firefox or Google Chrome).
https://Your-Server-IP:9090
You can also find your server IP address by running the following command in the terminal:

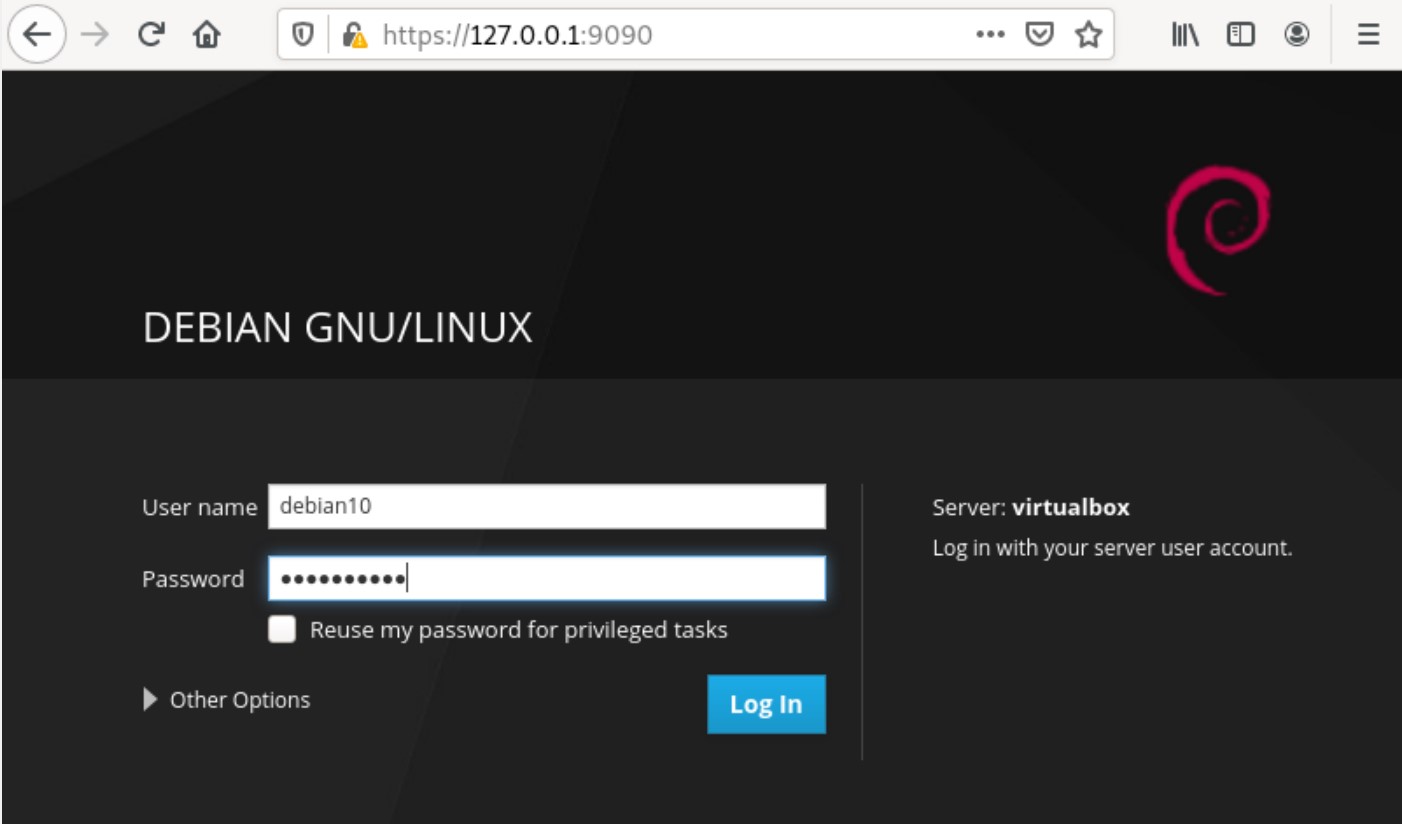
The following web interface will display in your browser, indicating that Cockpit has been installed on your system successfully.

Now, enter the root user or local Debian system credentials to log in, as follows:
After you log in, the following Cockpit web console interface will display in the browser:

Conclusion
That is all you need to know about installing Cockpit in Debian 10. In this article, you learned various commands for installing Cockpit and verifying the installation. I hope that the steps provided above will help you in installing the Cockpit software onto your Debian 10 system.