CMake is a multi-platform set of tools for creating, testing and managing software. It is a tool which provides a workspace to compile files by your preferred compiler environment.
CMake also allows numerous builds from the same source tree since it supports in-place and out-of-place builds.
The write up is focussing on the installation of CMake on Ubuntu. So, follow the procedures mentioned below for successful and easy Installation:
Method 1: How to Install CMake Using Ubuntu GUI
If you find difficulty in installing a software by writing commands on Ubuntu terminal or if you are a beginner then you do not have to worry, we can install a package through Software Centre of Ubuntu, just like we install some app from Play Store or App store.
If you want to install CMake through Software Centre of Ubuntu then follow the procedure below:
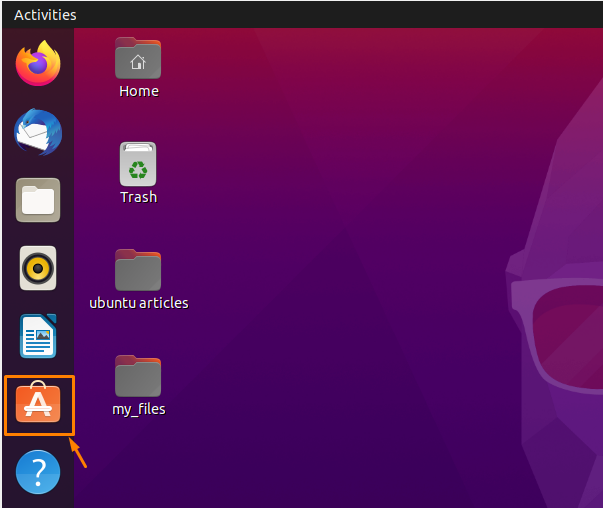
Step 1: First go to the Dock Panel and click on Software Center icon of Ubuntu:
If you do not find it on the dock panel then search it from the applications menu.
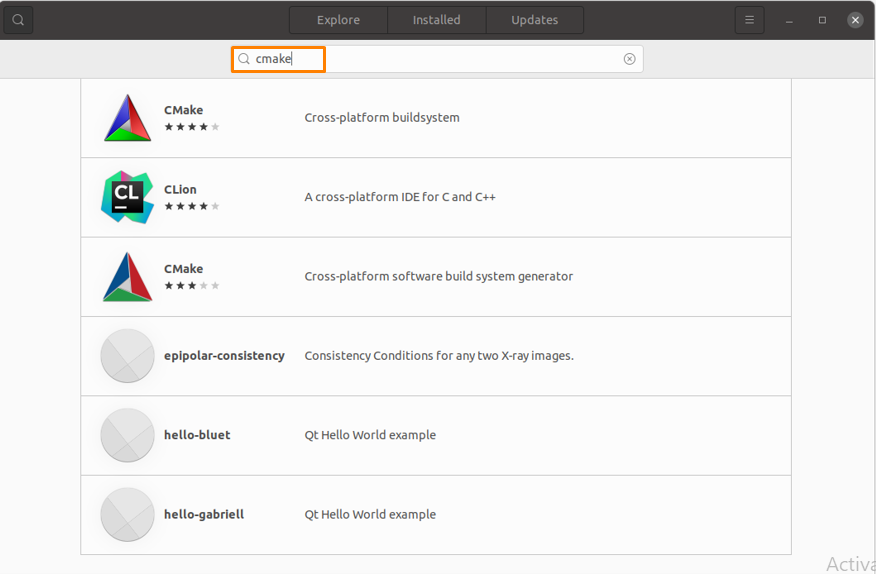
Step 2 : A new window of Ubuntu software center will be opened and in the search bar type “cmake” and in the search result there will be option of CMake package you wanted to install:
Step 3 : To install CMake app click on “CMake” icon from search results:
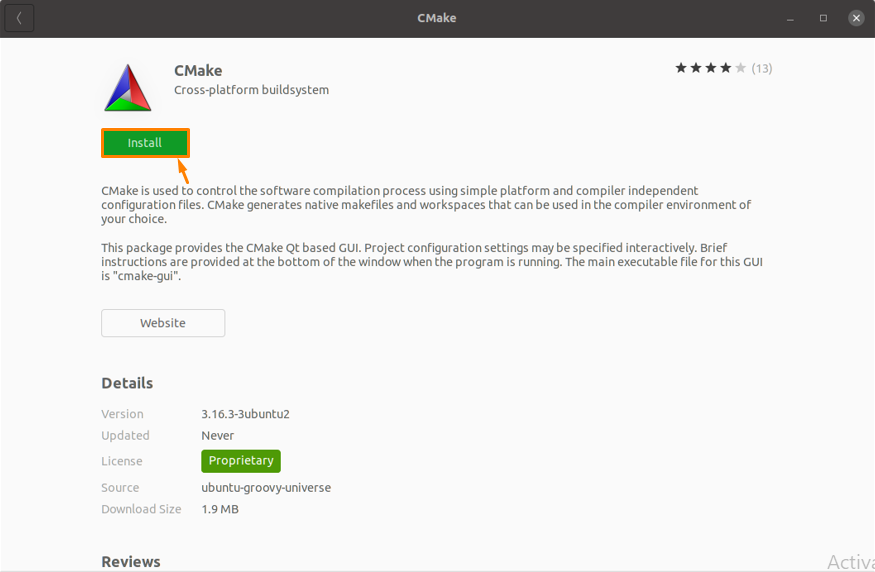
Step 4 : Hit click on the install button as demonstrated in the following image:
Step 5 : “Authentication Required” dialogue box will appear to authenticate users and you have to provide your Ubuntu Password and then click on authenticate.
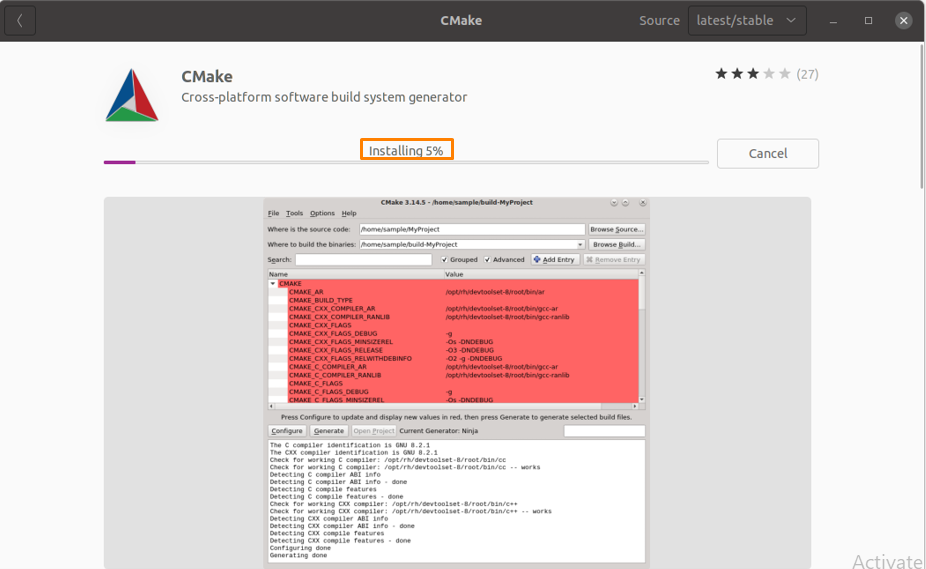
Step 6 : The downloading and installation will begin:
Step 7 : After the installation is successful, click on “Show Applications” icon to verify the installation:
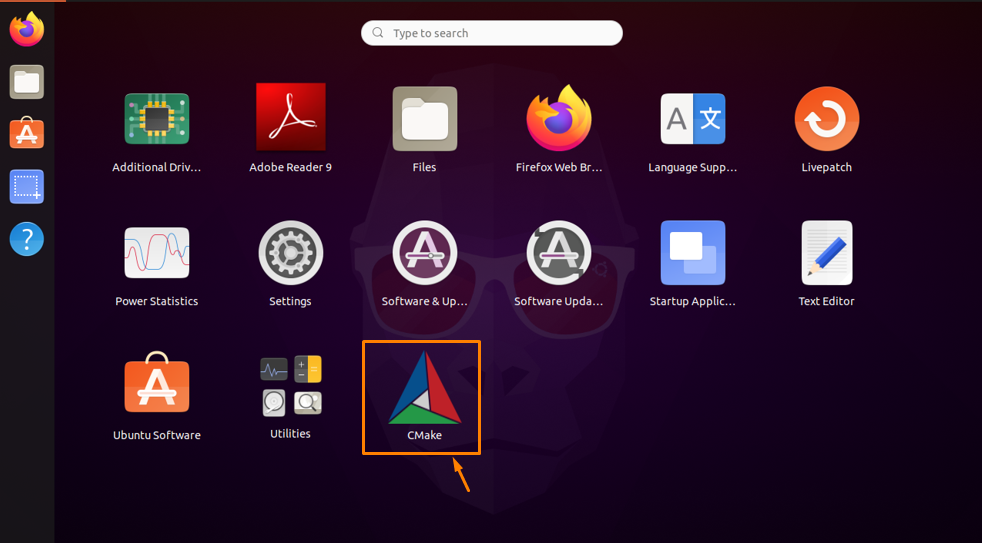
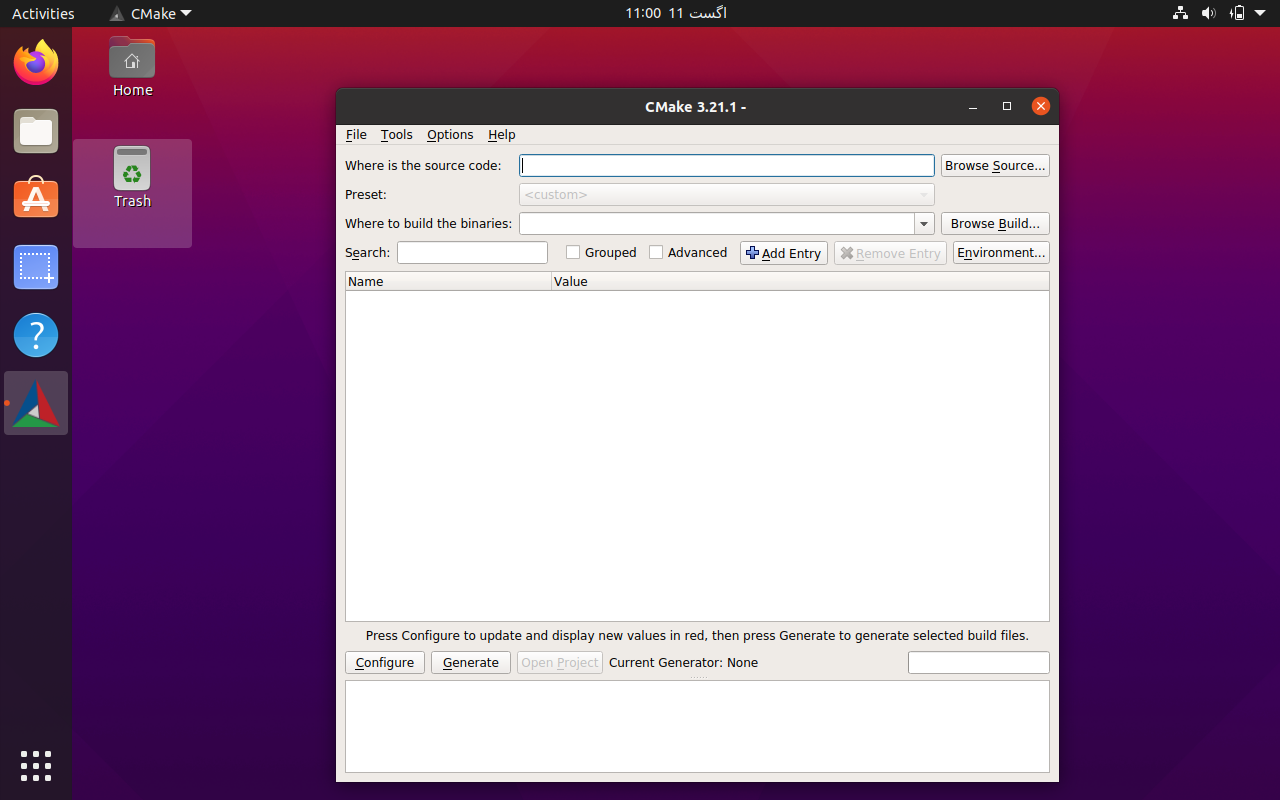
Step 8 : You can launch CMake by clicking on CMake icon from the menu:
How to Uninstall CMake through Ubuntu GUI
If you want to delete CMake from your system that was installed via the preceding technique, then follow the below mentioned procedure.
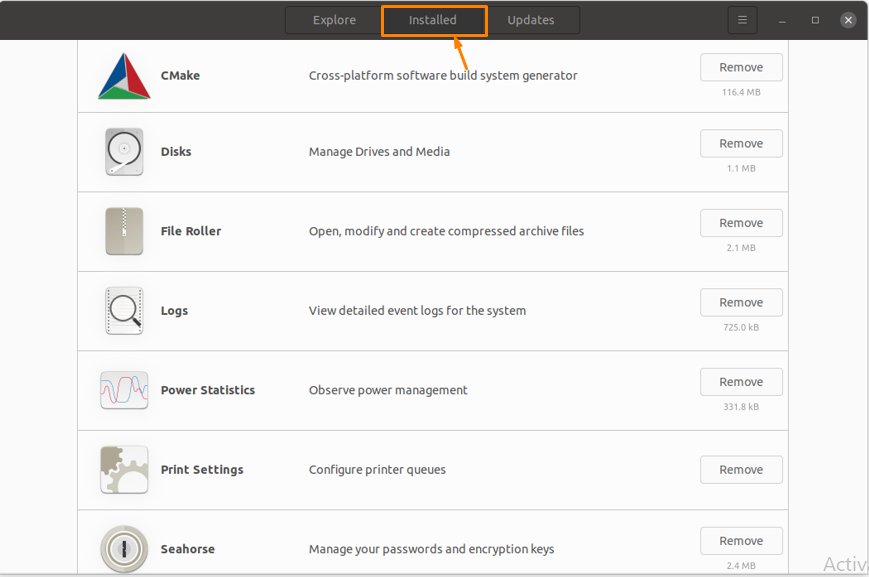
Step 1 : Go to Ubuntu Software Center and click on “Installed tab” from top of window and all installed apps will be displayed:
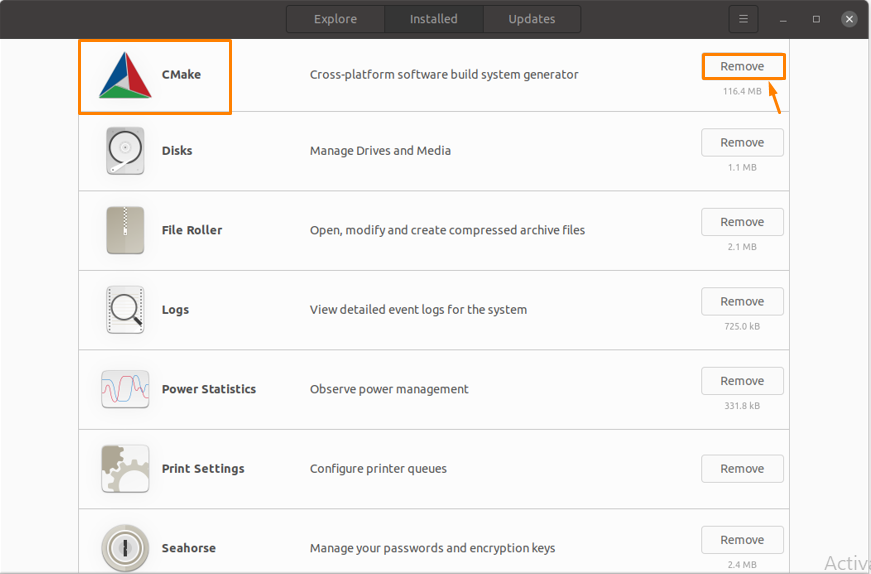
Step 2 : Now find “CMake” from the list and click on the “Remove” button present in front of it:
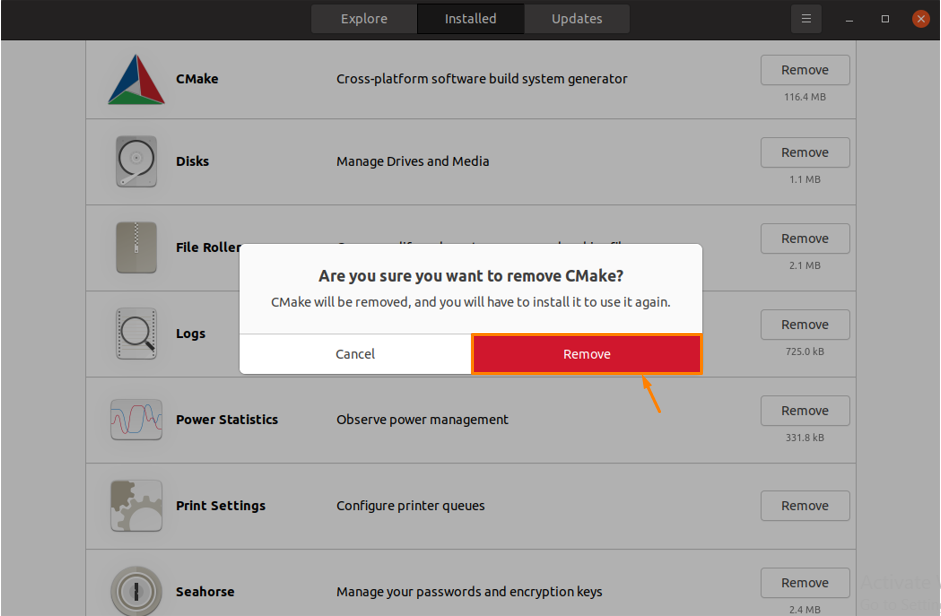
Step 3 : You will be prompted with a dialogue box click “Remove” to erase the app:
After clicking on Remove CMake will be uninstalled from the system.
Method 2: How to install CMake on Ubuntu using Command-Line
If due to some reasons you are unable to install CMake using the above method then there is another way to install and that is using Command-Line in Ubuntu.
There are two approaches to install CMake through Command-Line which are:
- Using Snap Package Manager
- Using Source code from official CMake website
How to Install CMake using Snap
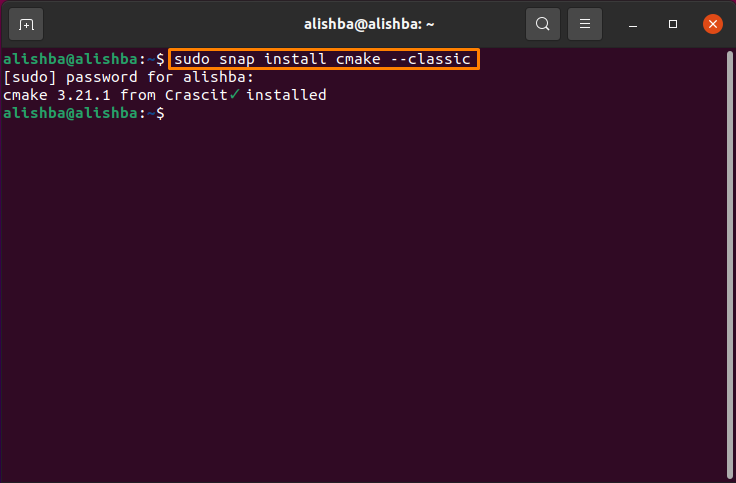
Step1 : Open the terminal in Ubuntu and run the below mentioned command to install CMake:
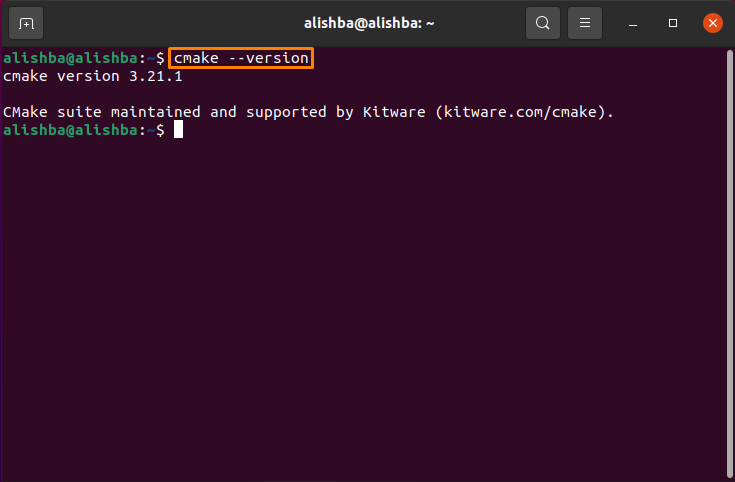
Step 2 : Once installation is done successfully run the command mentioned below to check the version of installed CMake:
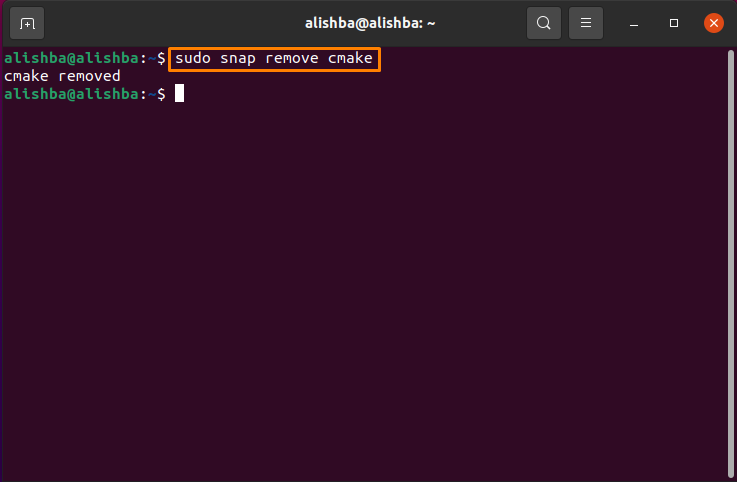
To uninstall the CMake package installed via above procedure, run the below mentioned command in your terminal:
How to Install CMake using Source Code from Official CMake Website
Latest version of CMake can be obtained using the source code available on CMake’s official website.
CMake can be installed through the Ubuntu default repository and from PPA, but neither of them gave the most recent version, so we have to follow the below mentioned procedure to get the latest version of CMake.
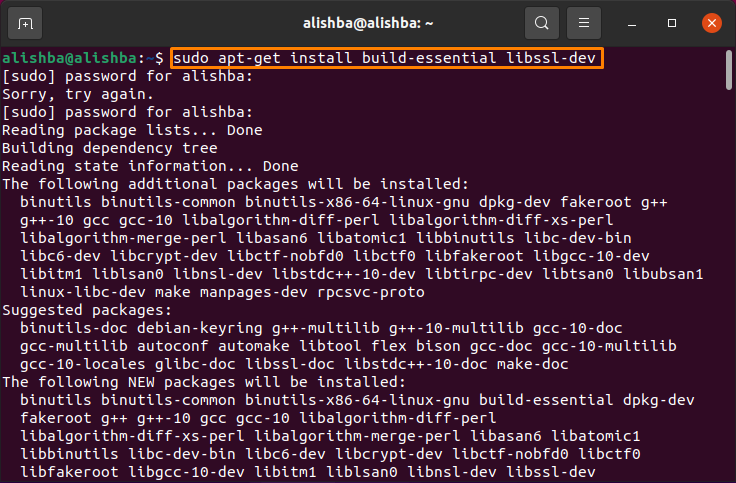
Step 1 : Firstly, you need to install the libraries and tools on which CMake depends by running blow mentioned command:
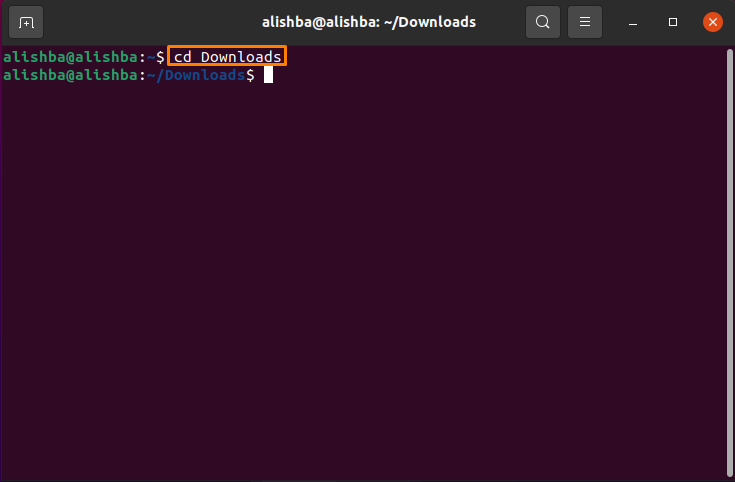
Step 2 : Now navigate to directory where you want to download the source code by below mentioned syntax:
I want to download source code of CMake in Downloads folder so run the below mention command:
You can download the code in your preferred directory.
Step 3 : Now run the below mentioned command to download the source code using “wget” command:
Step 4 : Once you download the “tar.gz” file successfully, run the below mentioned command to extract the content of file:
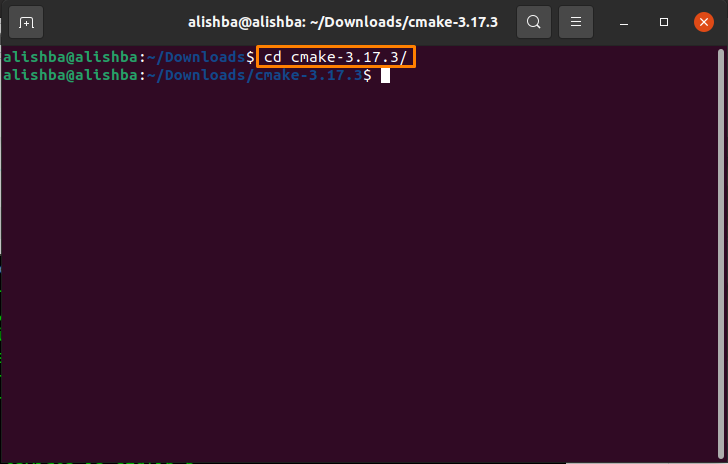
Step 5 : Using the “cd” command move to new directory that is created above:
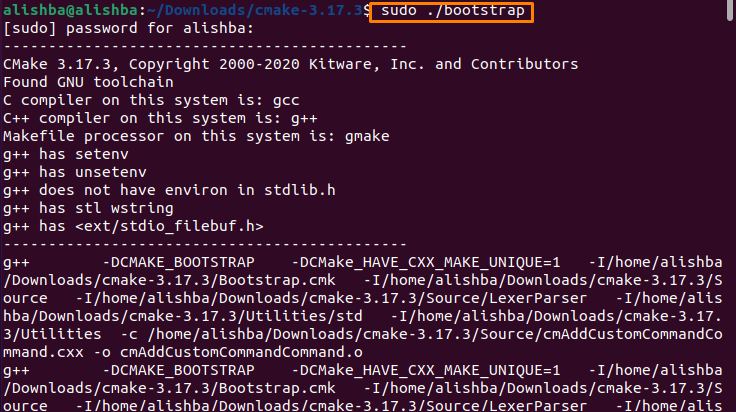
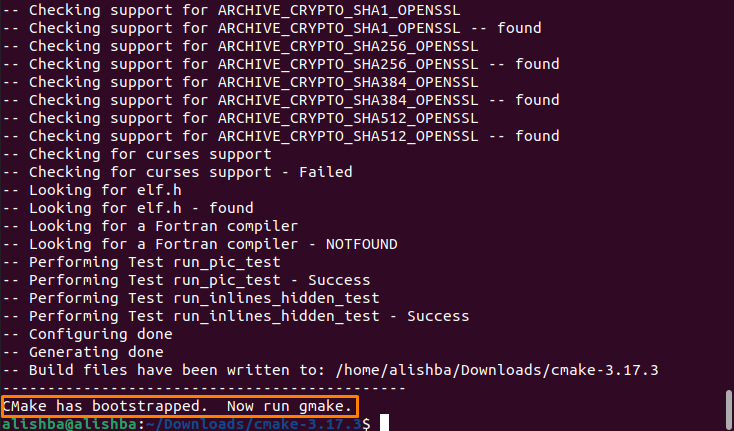
Step 6 : For installation and compilation of CMake in Ubuntu, run the below mentioned command to bootstrap the cmake:
After completion of process, a message will be displayed on Ubuntu terminal:
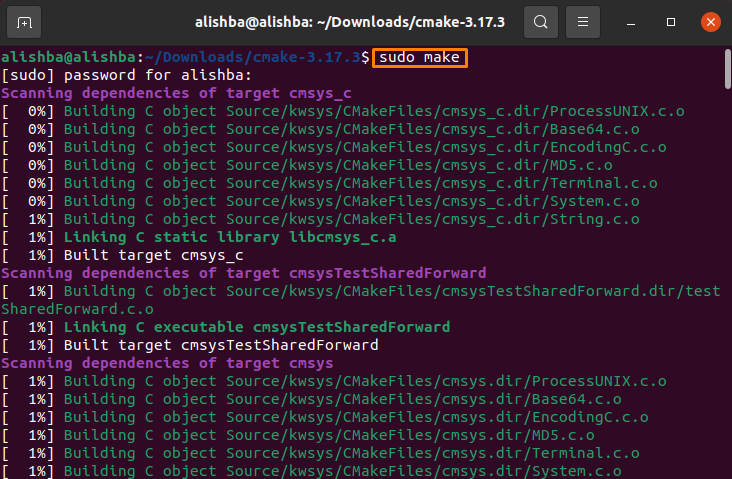
Step 7 : Now run the “make” command in Ubuntu terminal:
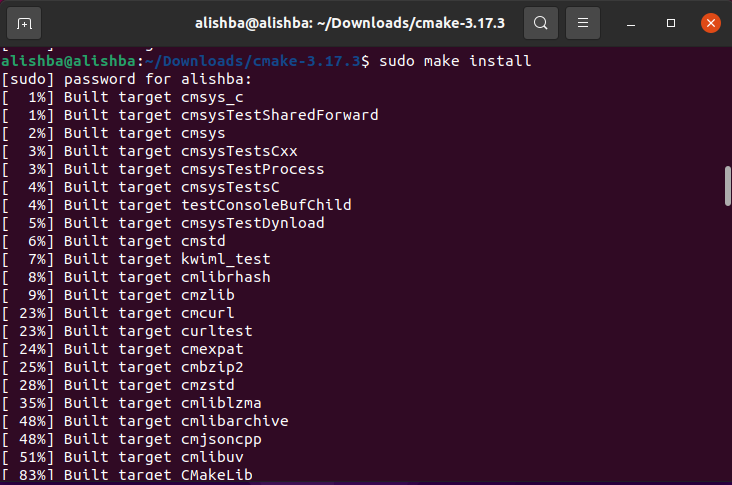
Step 8 : Install cmake by executing below mentioned command:
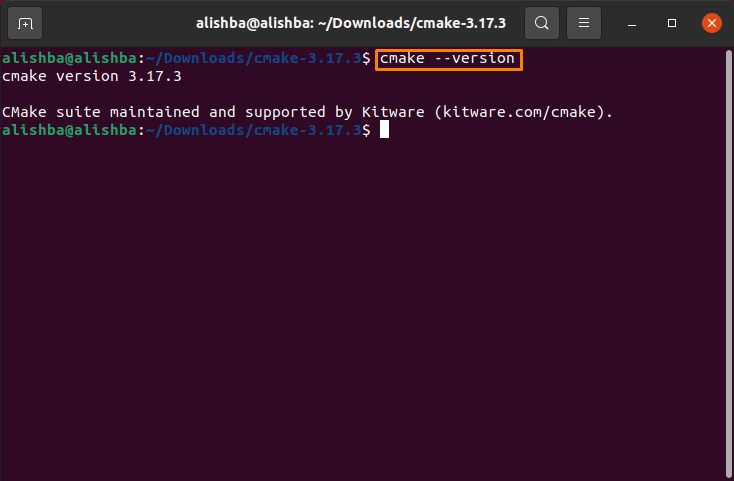
Step 9 : Now we can verify the version by below mentioned command:
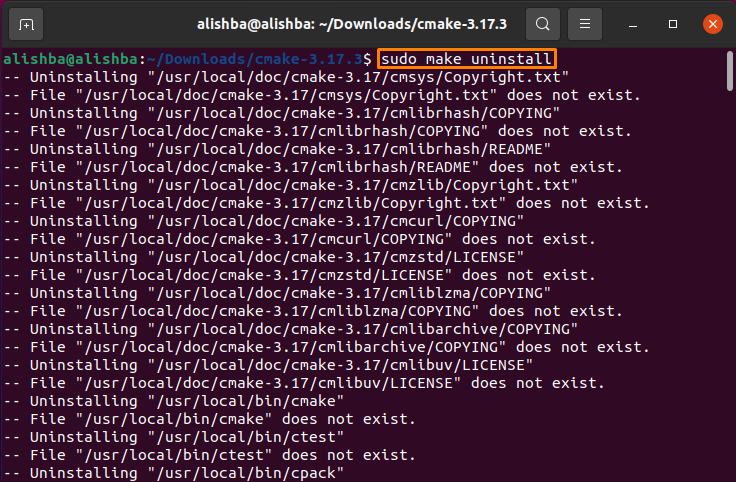
How to Uninstall CMake using “make” Command
Run the command mentioned below to remove CMake from your system installed by above procedure:
Conclusion
CMake is a free platform that consists of a combination of tools to create, manage and package software. In this write up we discussed the installation and removal of CMake using Ubuntu Software Centre and Using Ubuntu Terminal and also the uninstallation of CMake. Command-Line methods include two further methods, through “Snap” and through “Source code of CMake from official website”.

