Calligra is an office and graphic-based suite that contains different applications like spreadsheets, word processing apps, presentation makers, and a feature of editing databases. Calligra is similar to LibreOffice and Microsoft Office Suite, which is used to complete different office and personal tasks.
If you want to add the images and tables to your documents, you can do so very easily by installing Calligra, and nowadays, Calligra has gained much popularity because it is open-source and has many features, so anyone can download and install it on its computer.
Calligra is available for Linux, Windows, and other operating systems, but in this guide, we are focusing on the installation of Calligra on Ubuntu 22.04.
Installing Calligra Office Suite on Ubuntu 22.04
There are two methods for the installation of Calligra on Ubuntu, first one is convenient as in it, we will install the package of Calligra from the official default repository of Ubuntu by running the command:
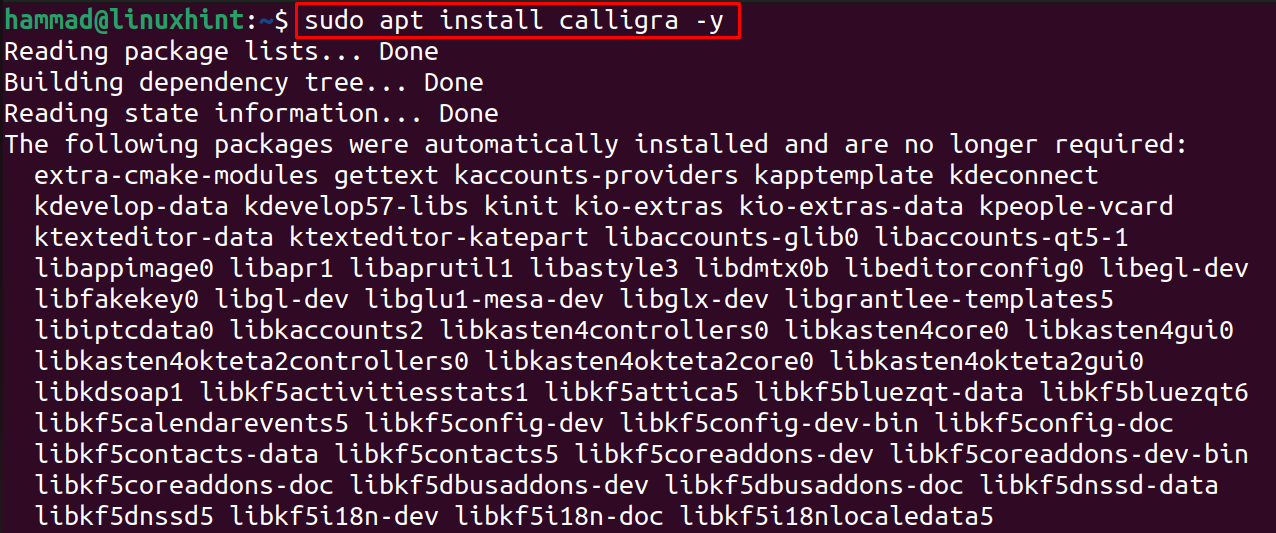
The above command installs the complete suite of Calligra on Ubuntu, to confirm the installation of Calligra, we will check the version of installed Calligra:

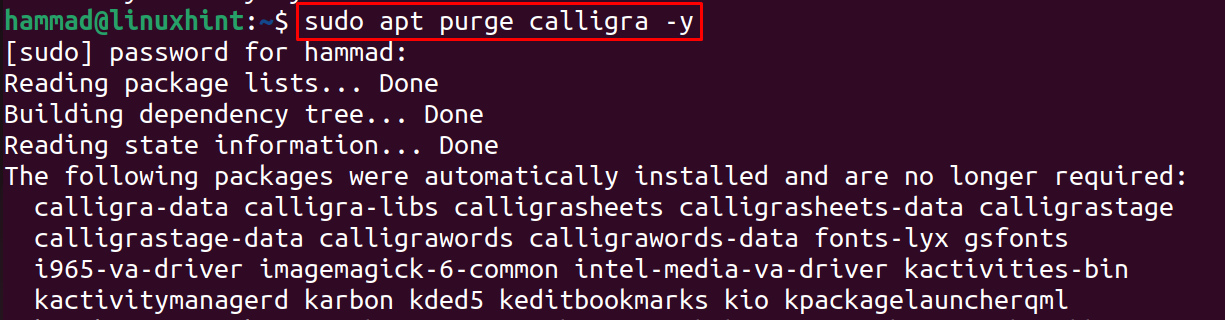
To uninstall the Calligra Office Suite from Ubuntu, we will run the command:
How to install Calligra Office Suite applications separately
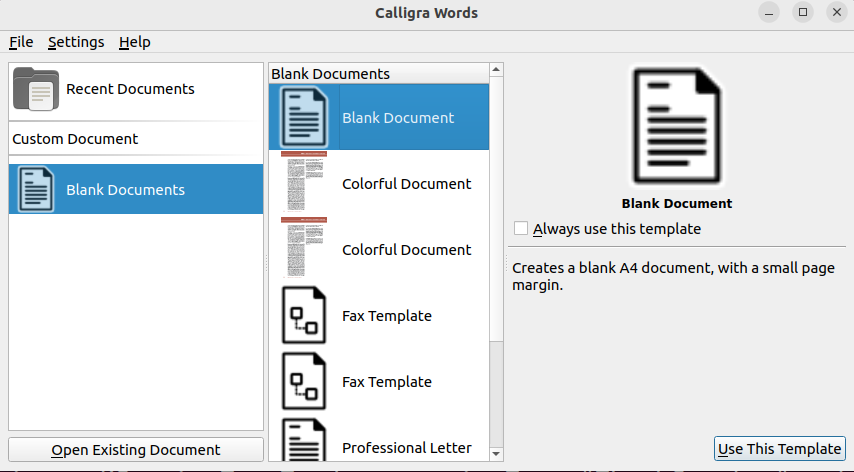
But if you do not want to install the complete suite of Calligra, you can still install the specific application of Calligra suite. We have a Calligra Word application that helps you to write and edit documents. We can install Calligra words on Ubuntu by using the command:

To launch the Calligra Words application, use the command:
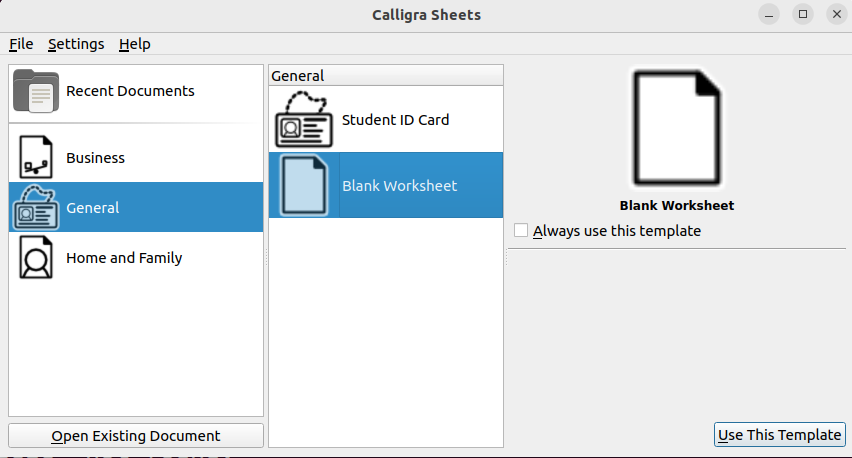
Similarly, Spreadsheet is another application of the Calligra suite that is used to make the calculations by applying different formulas to calculate the income, expenditures, and other mathematical calculations which are required in the business. To install the Calligra spreadsheet on Ubuntu, we can run the command:

Launch Calligra Sheets using the command:
KEXI is also the application of Calligra, which is used to design and edit the data of databases, including the tables, queries, forms, and reports, by inserting and modifying the data in databases. To install the package of KEXI application, we will run the command:

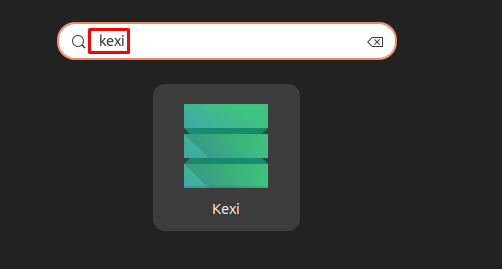
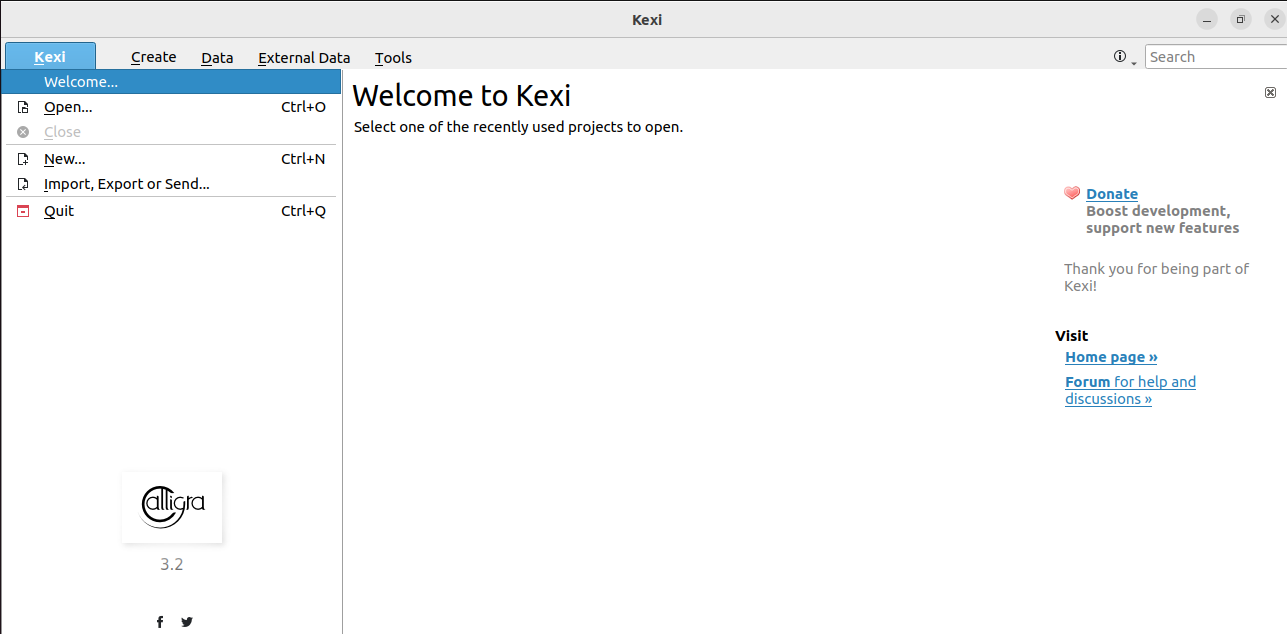
And to start the application of KEXI, go to the search bar and type “kexi” and click on it:
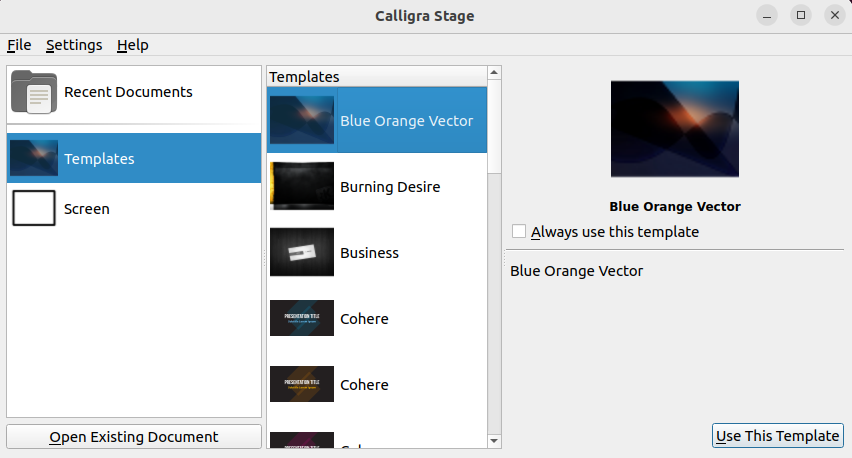
The stage is the application of Calligra that is used to make and design the presentations for different purposes, either personal or business, and it can be installed on Ubuntu using the command:

To launch the application of Calligra that is Stage, run the command:
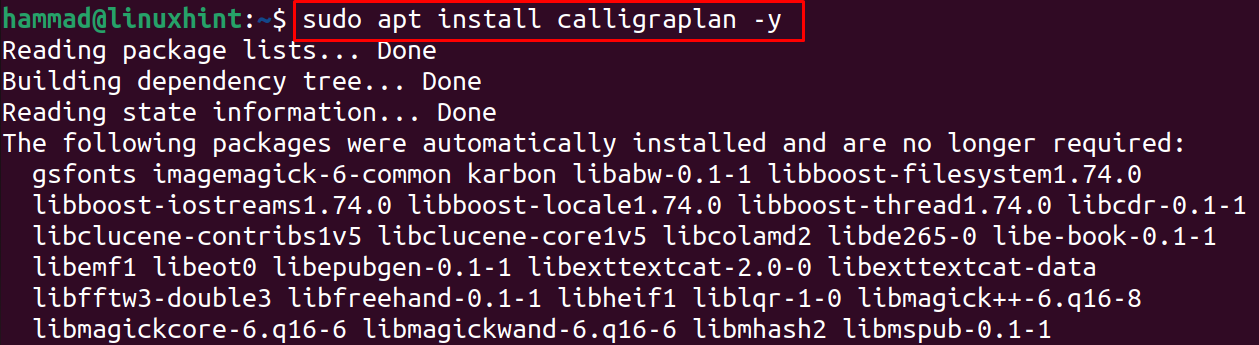
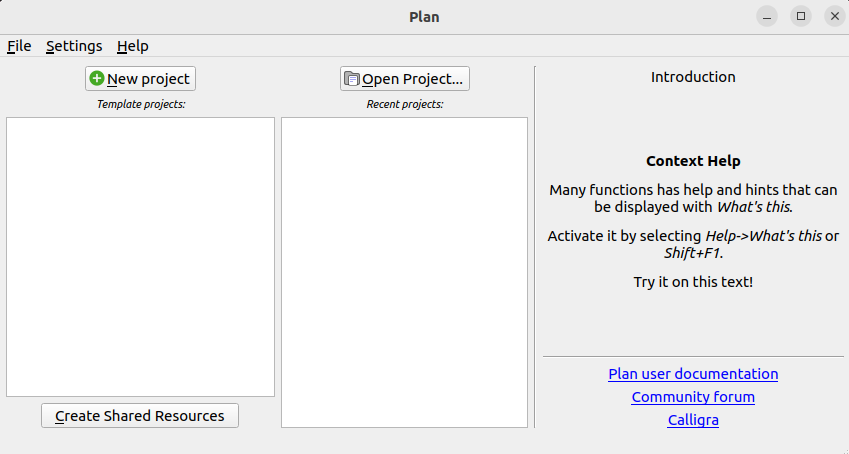
The last application to install is the Plan that is used to manage the projects with the help of time constraints to install Calligra Plan, use the command:
To start the application:
How to install Calligra from Snapcraft on Ubuntu 22.04
Another way to install the Calligra, we will download the package from the snapcraft store. Snapcraft is a store where different applications are available for the Linux operating system. To install the Calligra snap, we will use the command:

The snap of the Calligra downloaded and can be install from the snapcraft is an unstable version, and to remove the package of Calligra, we will run the command:

Conclusion
Calligra is a complete office suite that contains different applications which are used to create documents, presentations, databases, and reports for personal and business purposes. In this write-up, we explored Calligra’s installation method on Ubuntu 22.04.