Let’s start with the installation process:
Install AWS SAM CLI on Windows
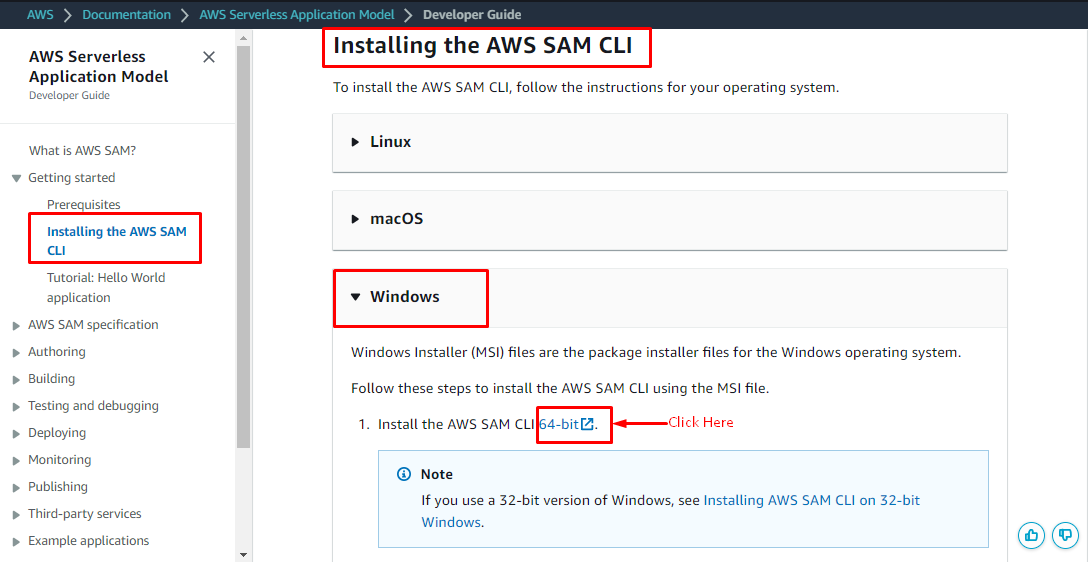
Before installation, you should have your AWS SAM CLI downloaded. If you haven’t already downloaded the AWS CLI, then simply click here, and it will direct you to the platform where you can download the AWS SAM CLI. On this page, simply click on the “64-bit” link in the “Windows” section to start the downloading:
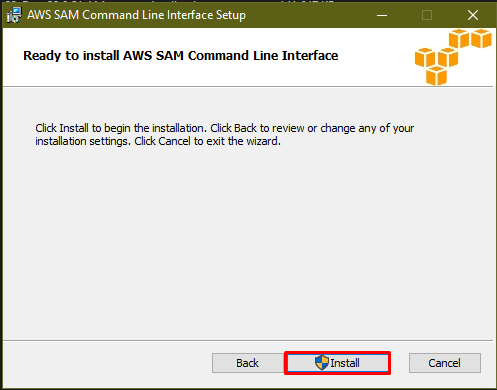
After clicking on the link, it will take a few moments to download the AWS SAM CLI file to your system. After the download is complete double, click on the downloaded file and then click on the “Install” button on the installation window:
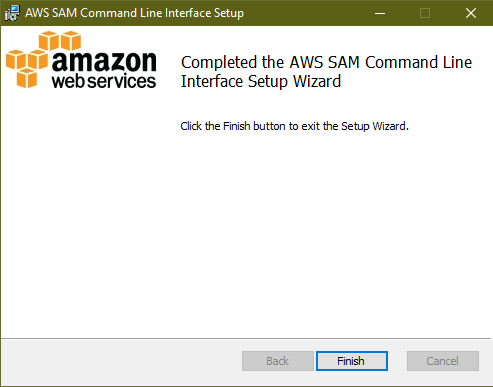
Once the installation is complete, click on the “Finish” button, and it will install the AWS SAM CLI on the windows:
Once your AWS SAM CLI is installed you can check its version by typing the following command:
This command will display the version which you have just installed:

You have successfully installed the AWS SAM CLI on windows:
Conclusion
To install the AWS SAM CLI, you need to download the SAM file from the platform, and it will take a few moments to download the file and then after downloading, you can install the AWS SAM CLI by clicking on the file. It will take a few moments to install it on your system, and then you can check which version is installed by using a simple command on the command prompt.