Let’s start with the installation of AWS CLI on Ubuntu.
Process of Installing AWS CLI on Ubuntu
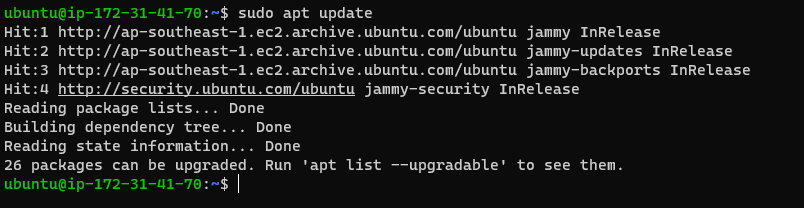
To start off you need to update the “apt” packages list in ubuntu, to do that, simply use the following command:
After you execute the command, you will get the following output on the terminal:
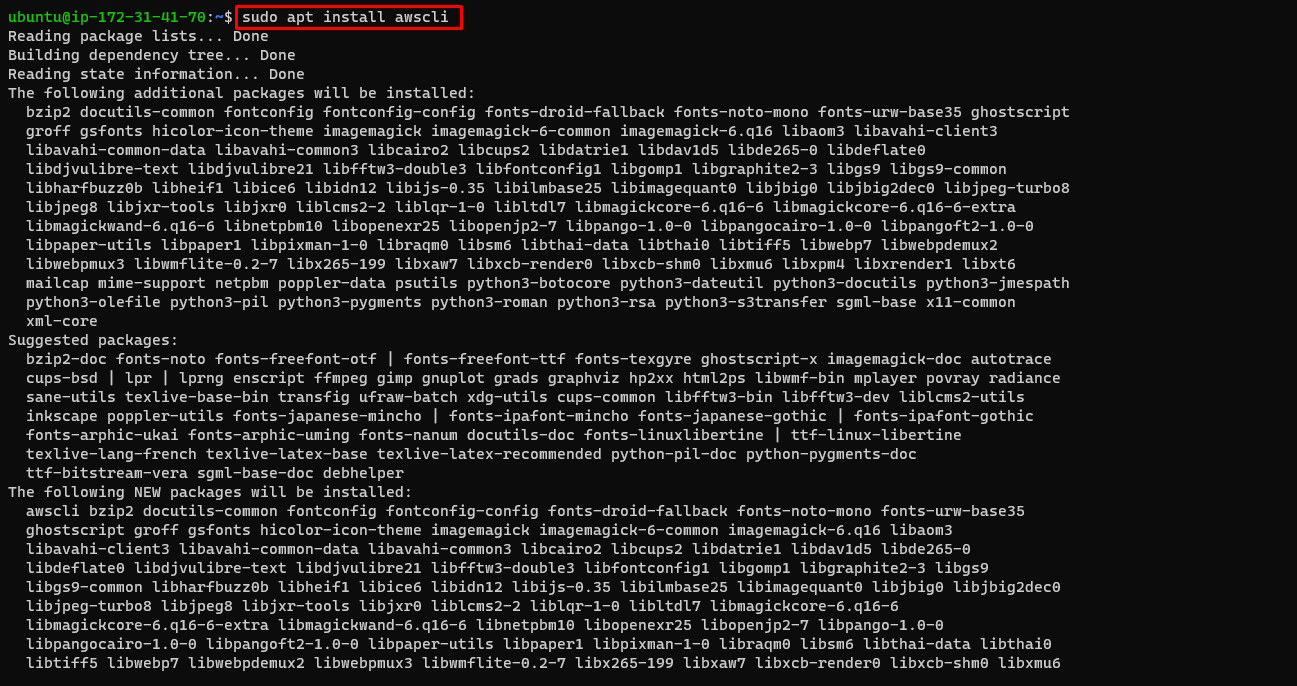
Once all the updating process is complete, you can install the AWS CLI on Ubuntu by using the following command and then press enter:
This command will install the AWS CLI on Ubuntu so wait for the installation process to finish:
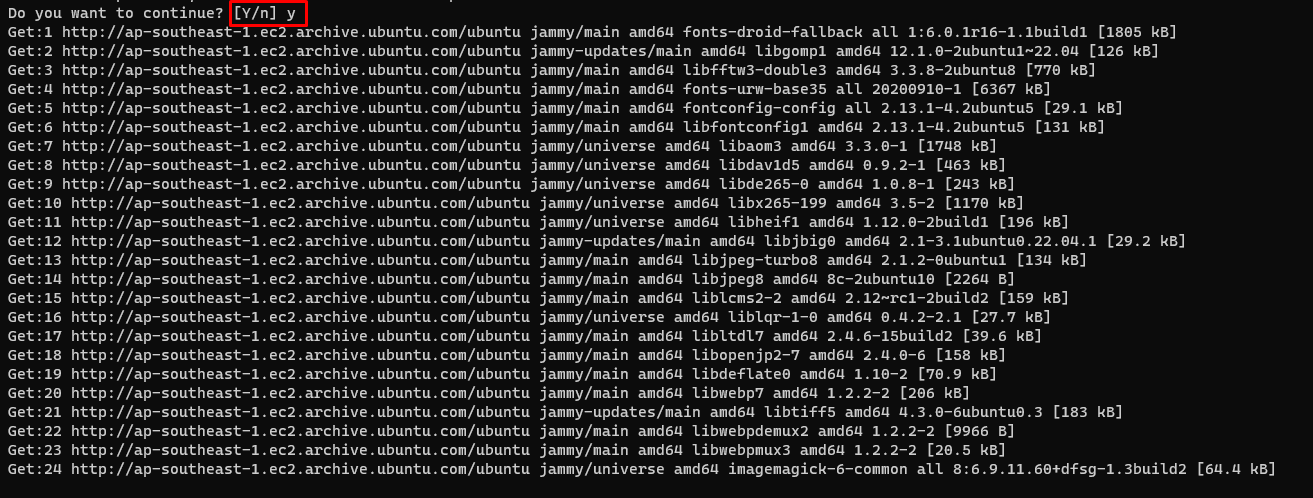
Before the installation, it will prompt you to enter “Y” if you want to continue with the installation. Simply type y and press enter to go on with the installation.
To check which version has been installed type the following command:
You will get the following output on the terminal:

You have successfully installed the AWS CLI on ubuntu.
Conclusion
AWS CLI can easily be installed and used on Ubuntu by following a simple series of commands. Start with connecting to your virtual machine with Ubuntu operating system and then get all the required updates done. Now Ubuntu is ready to install the AWS CLI that uses a simple command, and it will start the installation, but during the process, it will prompt you to type “Y” to continue with the installation.