Installation of AWS CLI on Ubuntu 20.04
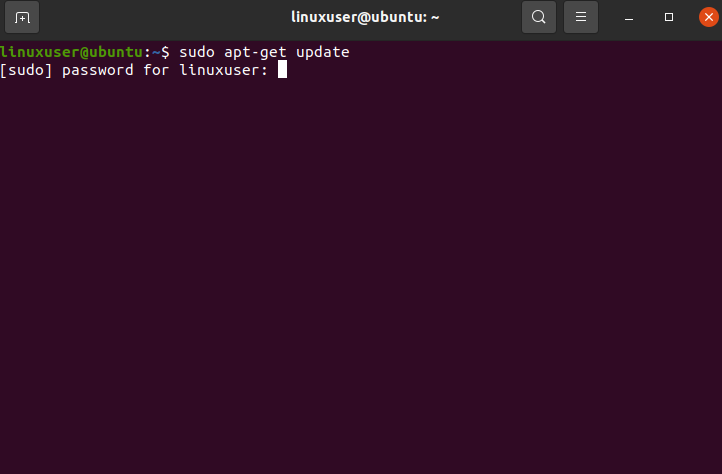
To start off, the very first step is to update all the apt repository packages. For this particular task, use the following command in the terminal of Ubuntu 20.04:
After that, type in the password of your sudo user:
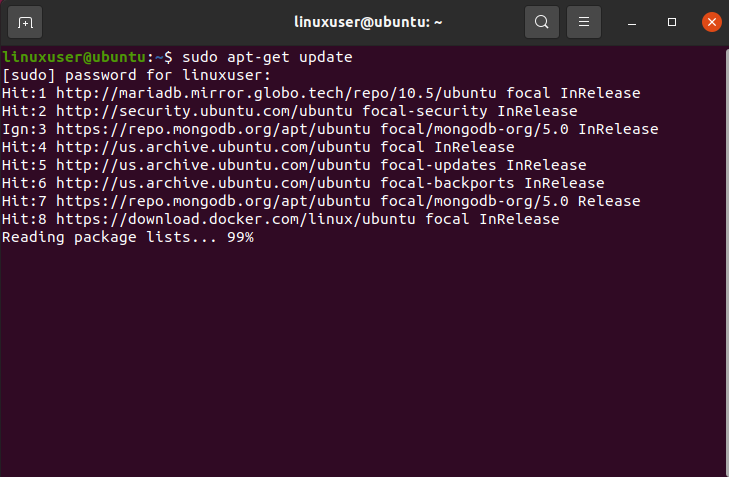
After typing in the password, hit the “Enter” key and then wait for the apt packages to be updated:
Once the Package has been updated, create a new directory in which the AWS CLI installer will be downloaded, and then head inside that directory using the following commands:
$ cd awsinstaller

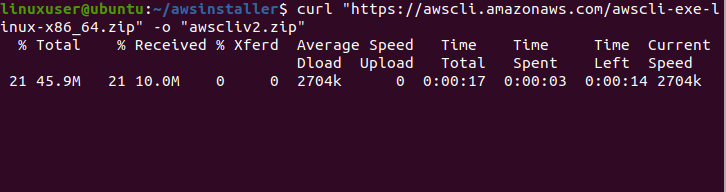
Once inside the newly created directory, download the aws installer from the official repository using the following command:
- In this command, the AWS CLI is being downloaded form the official repository of AWS and then the file is being renamed to “awscliv2.zip”
- If you do not have the “curl” installed, then install it first using the command “sudo apt-get install curl”.
After that, the downloading will begin, and the following will be displayed on the terminal:
Once the downloading process is done, unzip the file named “awscliv2.zip” using the following command:

After the file has been unzipped, simply run the AWS installer using the following command:
After that, the terminal will show the following output:

This means that the AWS CLI has been installed on Ubuntu 20.04. However, the verification still needs to be done. To verify the installation of the AWS CLI, type in the following command in the terminal:
The terminal will show the following output:

As it is clear from the output on the terminal that the AWS CLI v2.9.11 has been successfully installed on Ubuntu 20.04.
Conclusion
AWS CLI can easily be installed on Ubuntu 20.04 from the official repository of AWS. For this, create a new directory, and download the AWS CLI zip file for Linux. Unzip the content of the downloaded file and then run the installer script. Once the installation process is done, verify the existence of the AWS CLI by checking its version. This article has taught you how to install AWS CLI on Ubuntu 20.04.