This blog will demonstrate the procedure of installing Asterisk on Ubuntu 22.04. Let’s get started.
How to install Asterisk on Ubuntu 22.04
For the purpose of installing Asterisk on Ubuntu 22.04, follow the given instructions.
Step 1: Update system packages
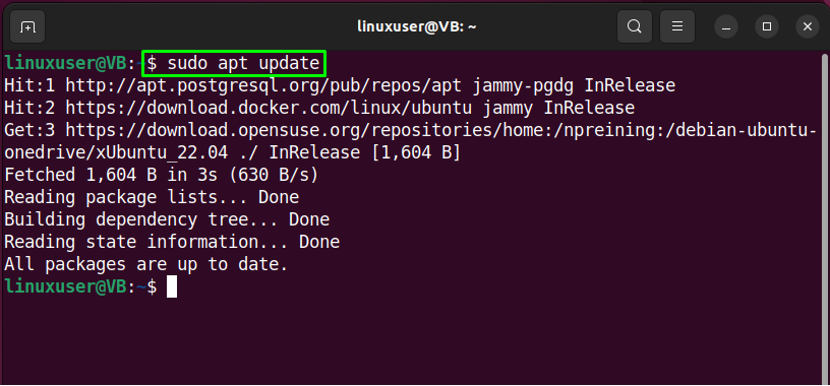
First of all, hit “CTRL+ALT+T” and update the system packages:
All packages are updated:
Step 2: Packages installation
Next, move towards the essential packages installation:
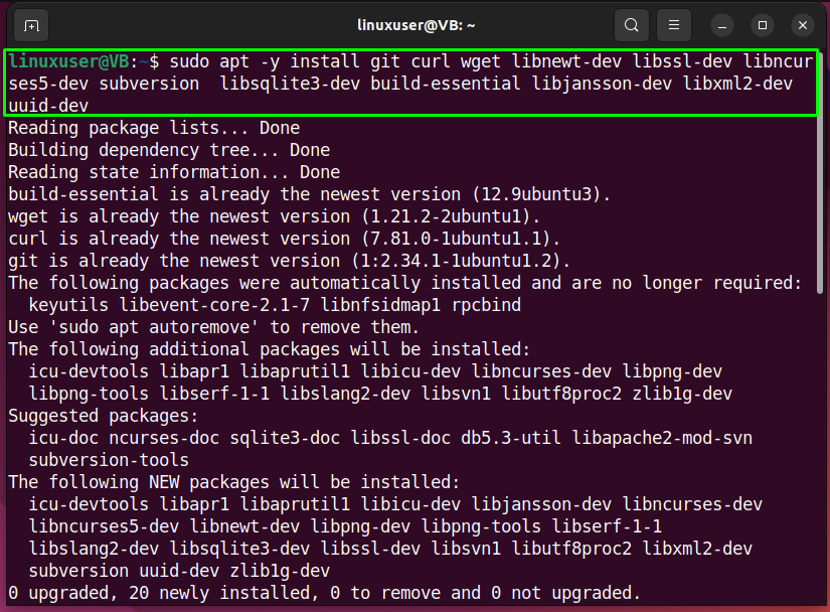
All the essential packages are installed, let’s move to the next step.
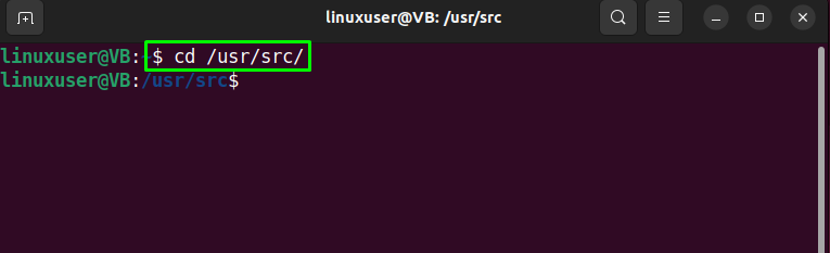
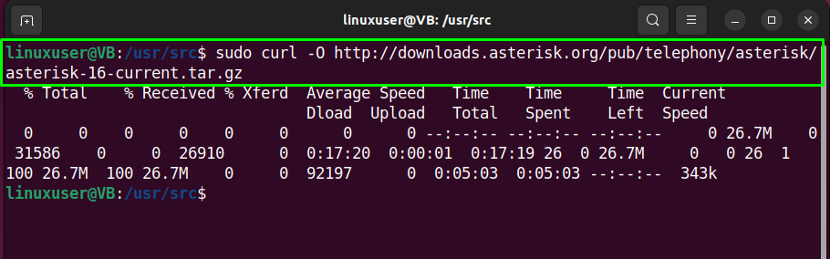
Step 3: Download Asterisk archive file
Move to the “/usr/src/” for downloading the Asterisk file on the local system:
Next, execute the provided “curl” command to download Asterisk archive file:
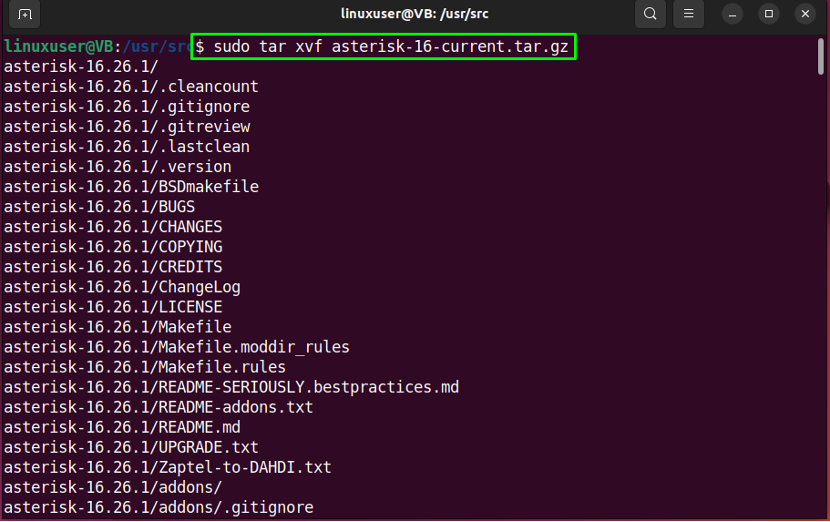
Step 4: Extract Asterisk file
Extract the downloaded Asterisk file:
Step 5: Move to Asterisk directory
Run the following command to move into the “asterisk-16*” directory:

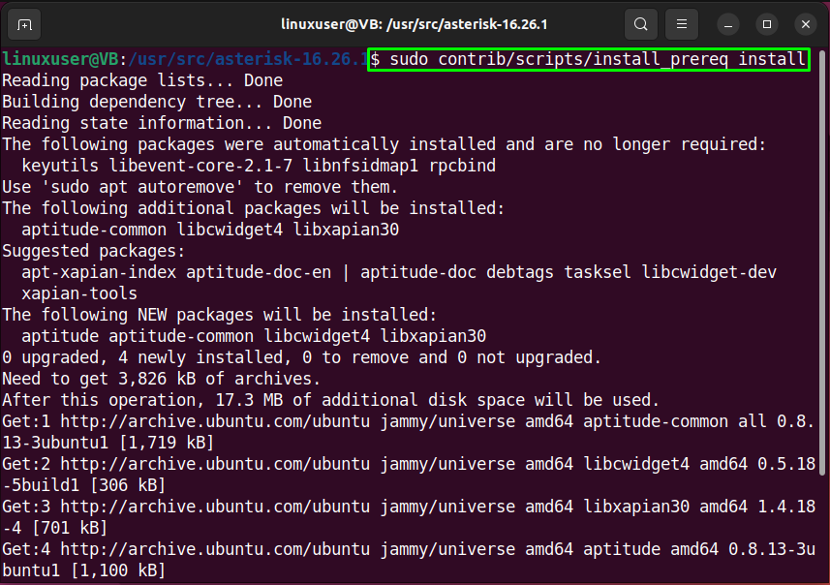
Step 6: Download MP3 decoder library
In the next step, we will download the MP3 decoder library in the current Asterisk directory:

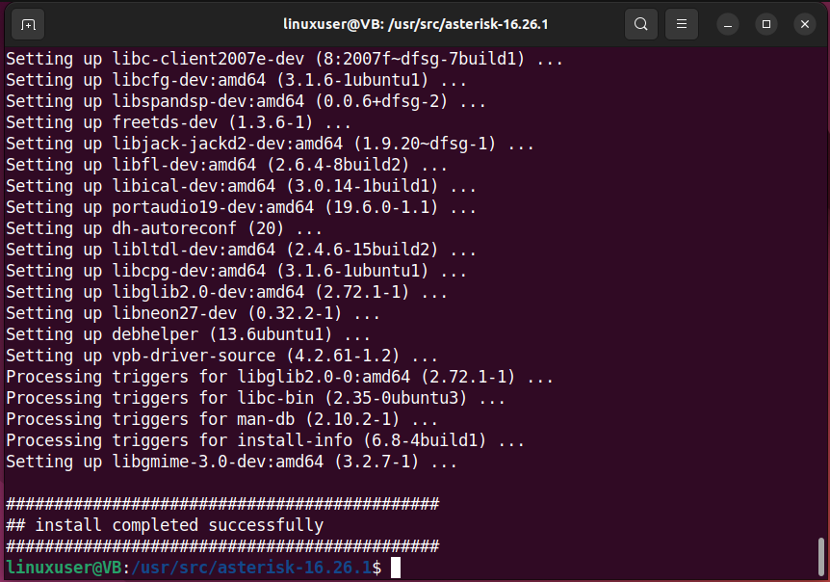
Then, make sure all of the dependencies are resolved:
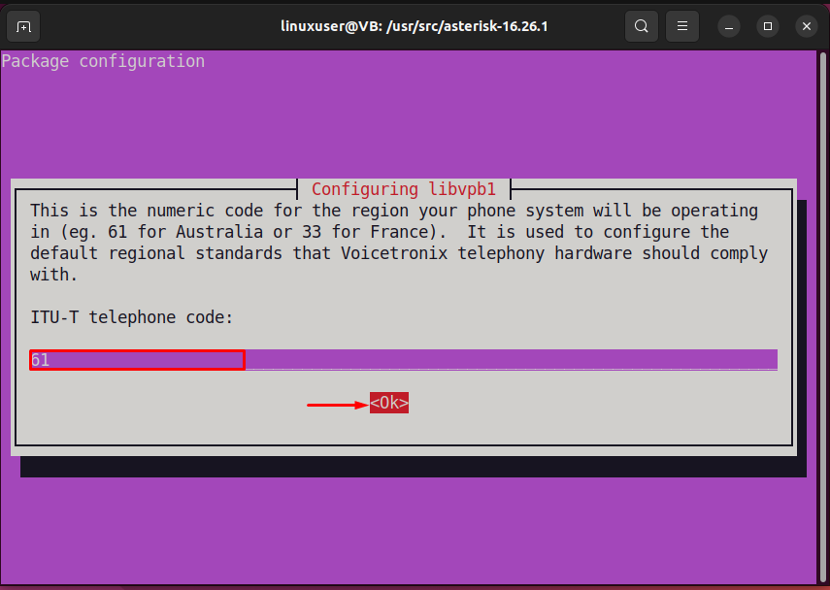
Specify the “numeric code” of your region and hit “Enter”:
The given output indicates that the dependencies are successfully resolved:
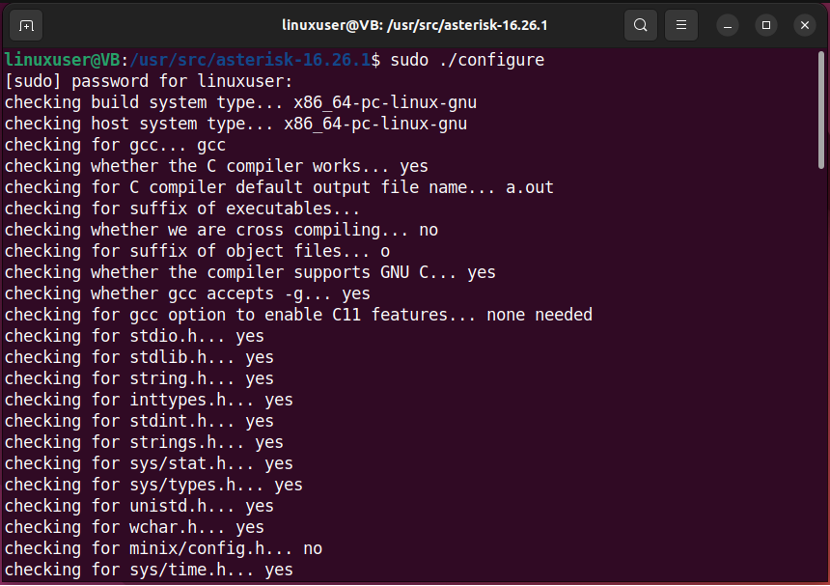
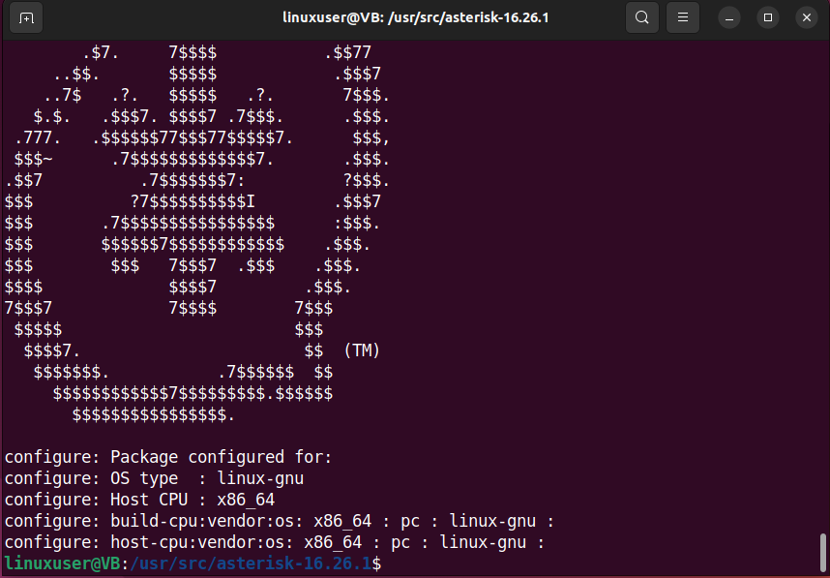
Type “./configure” for satisfying build dependencies:
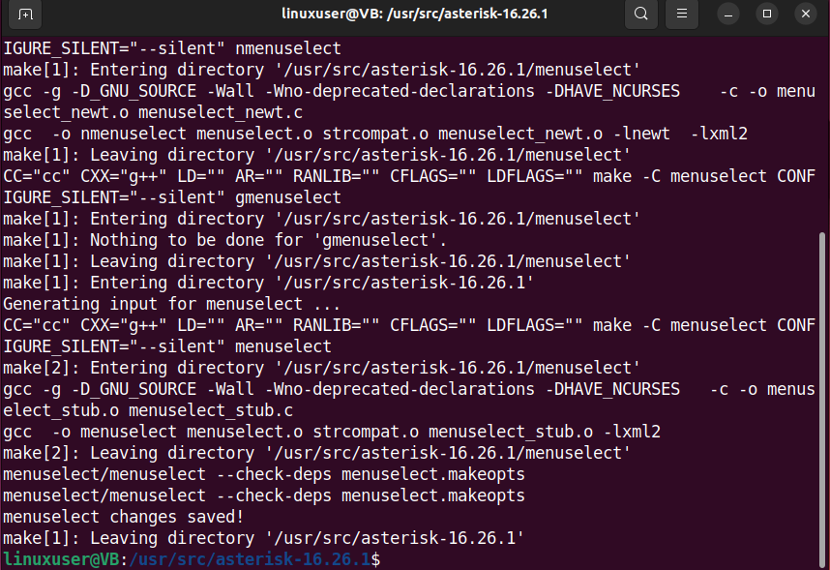
Step 7: Set up menu options
In the next step, we will set up some menu options by utilizing the provided command:
For instance, we have selected “chan_ooh323” as “Add-ons”. Use the arrow keys and select other build options. After setting the options according to the requirements, hit the “Save & Exit” button:

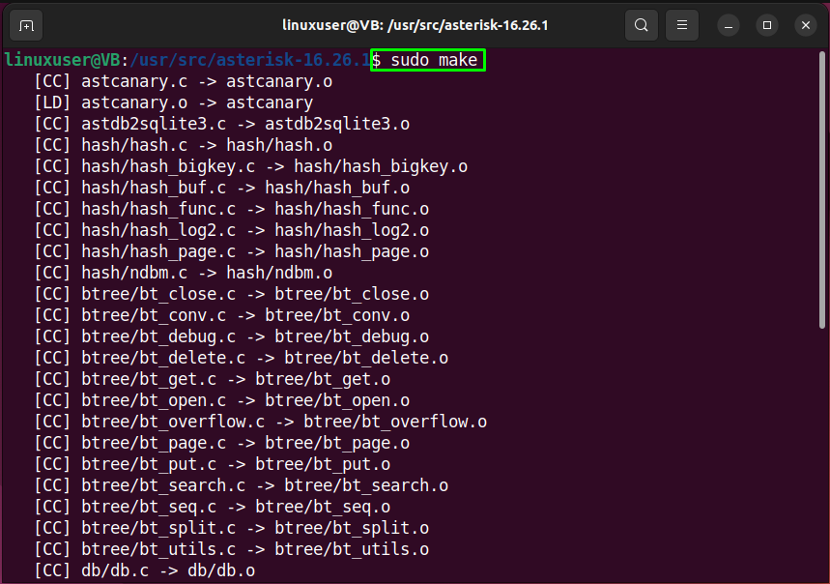
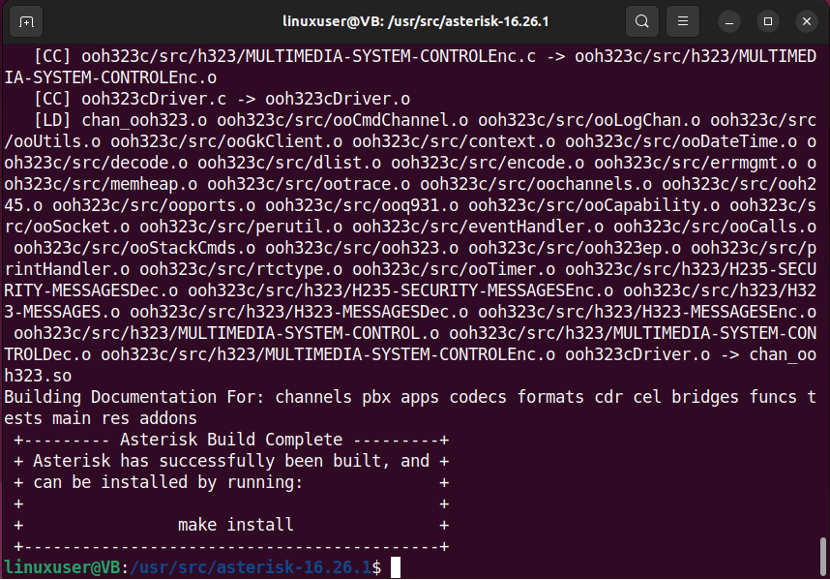
Step 7: Build Asterisk
Next, type out “sudo make” in the Ubuntu 22.04 terminal for building Asterisk:
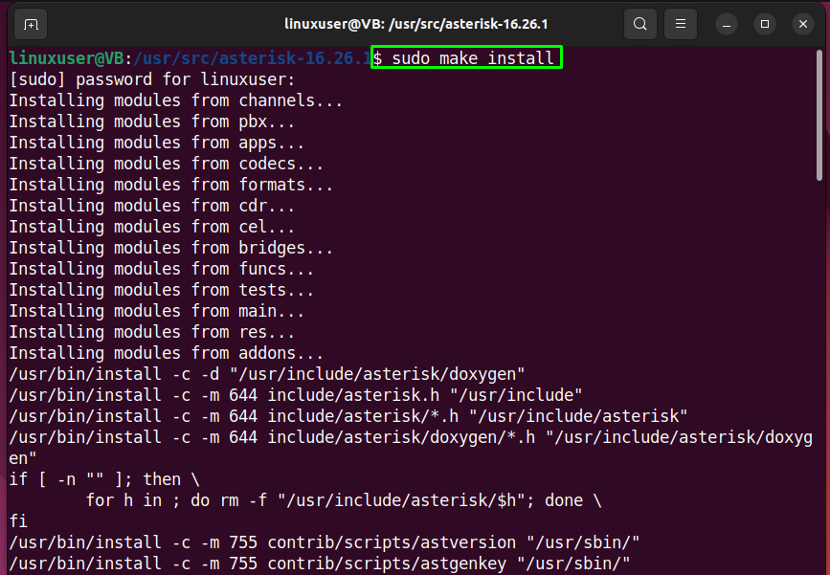
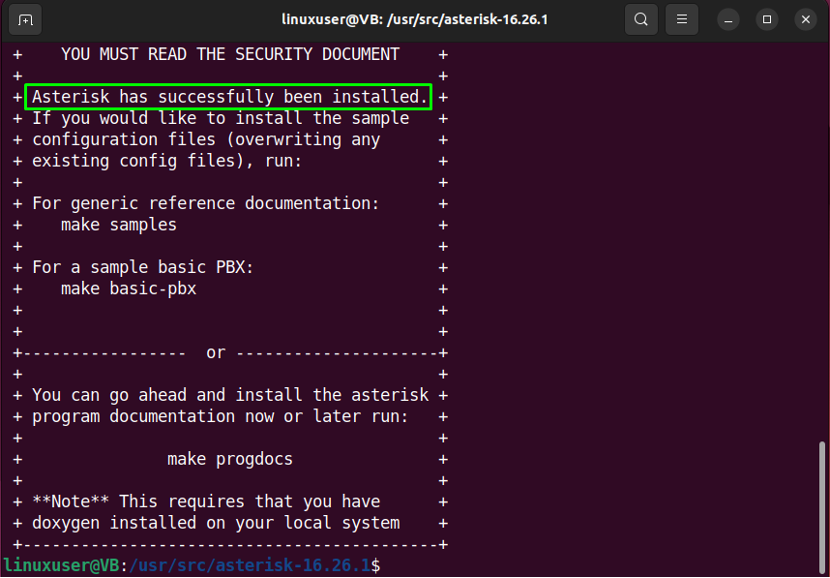
Step 8: Install Asterisk
Then, install Asterisk on your Ubuntu 22.04 system with the help of the provided command:
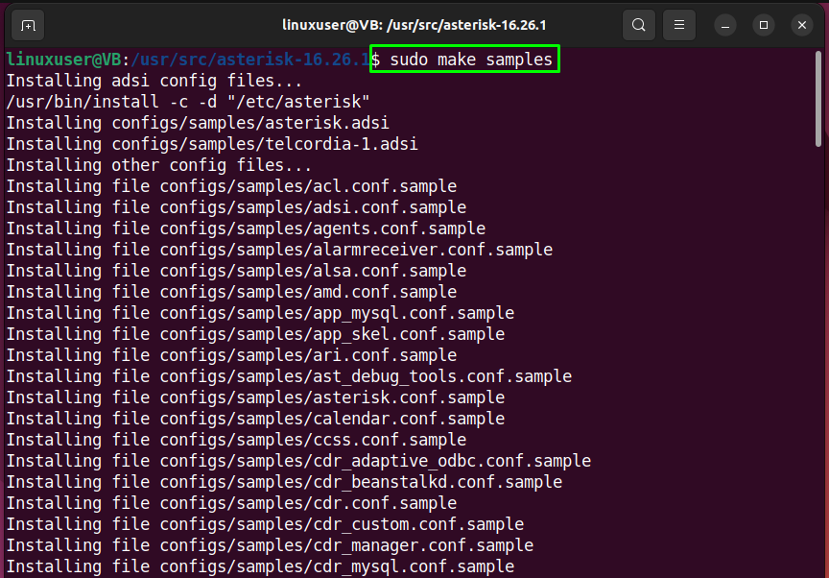
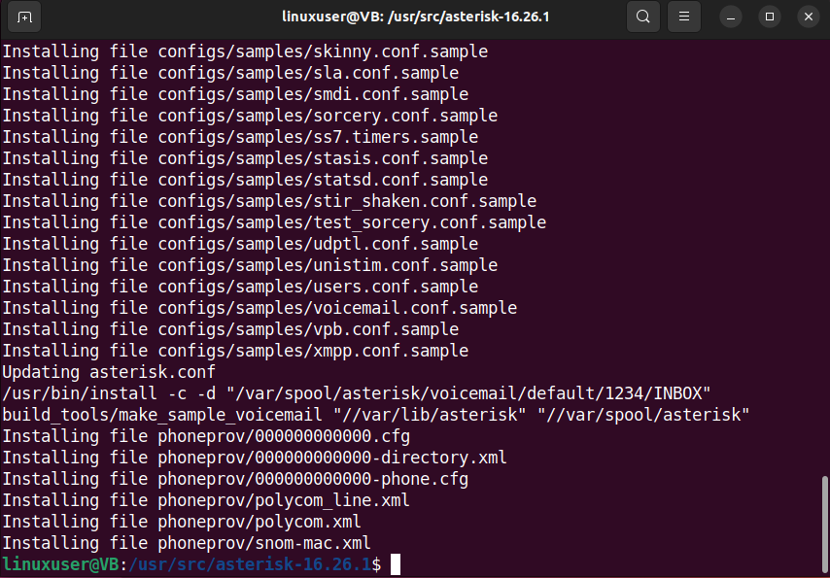
Step 9: Install samples and configs
After installing Asterisk, move ahead and install “samples” and “configs” one by one:

Upon doing so, the Asterisk service unit file is created on your Ubuntu 22.04 system.
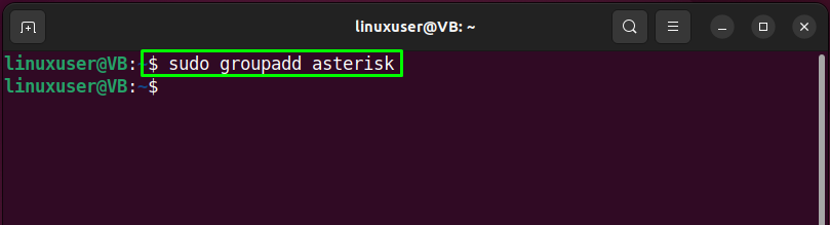
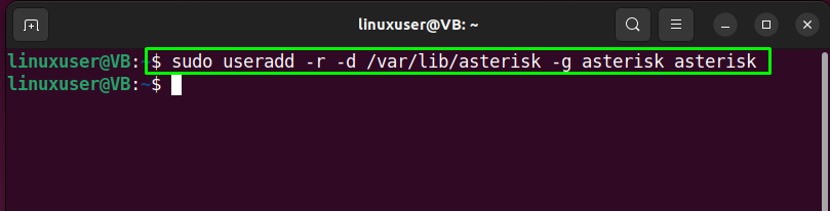
Step 10: Create Asterisk User
In order to run the Asterisk service, firstly create an “asterisk” user and group:
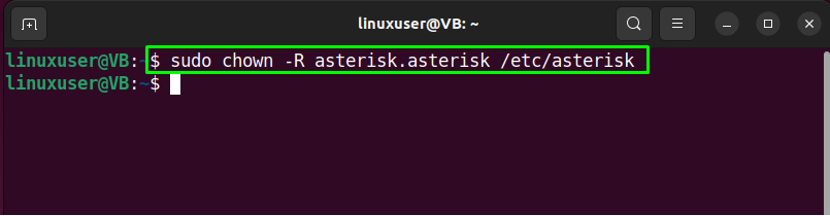
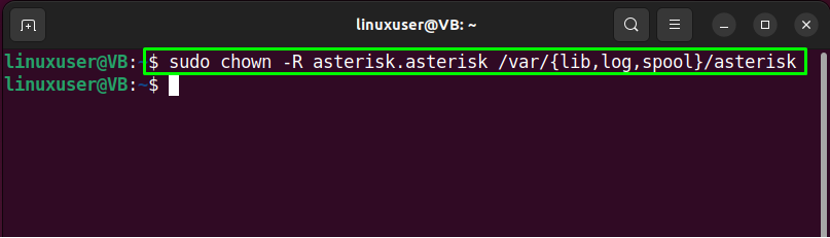
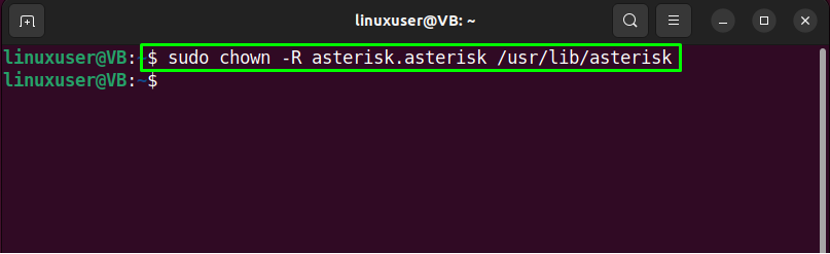
Step 11: Set permissions
Next, set the correct permissions for the “asterisk” user:
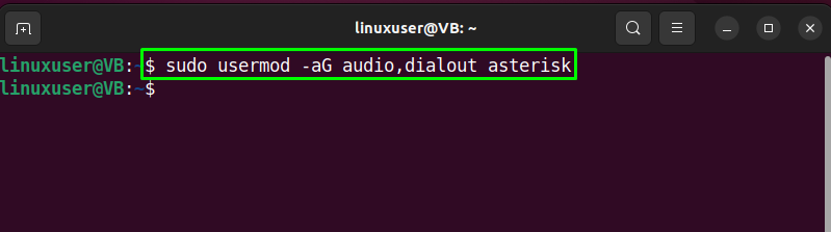
One by one, execute the below-given command:
The second command you need to run is:
Lastly, execute the given command:
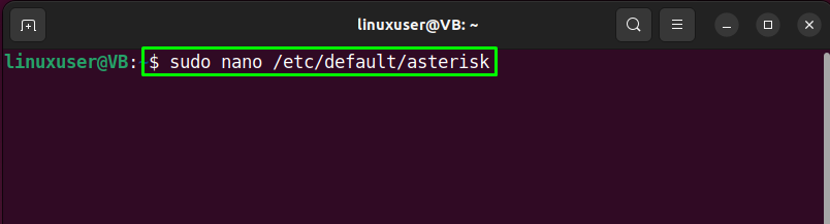
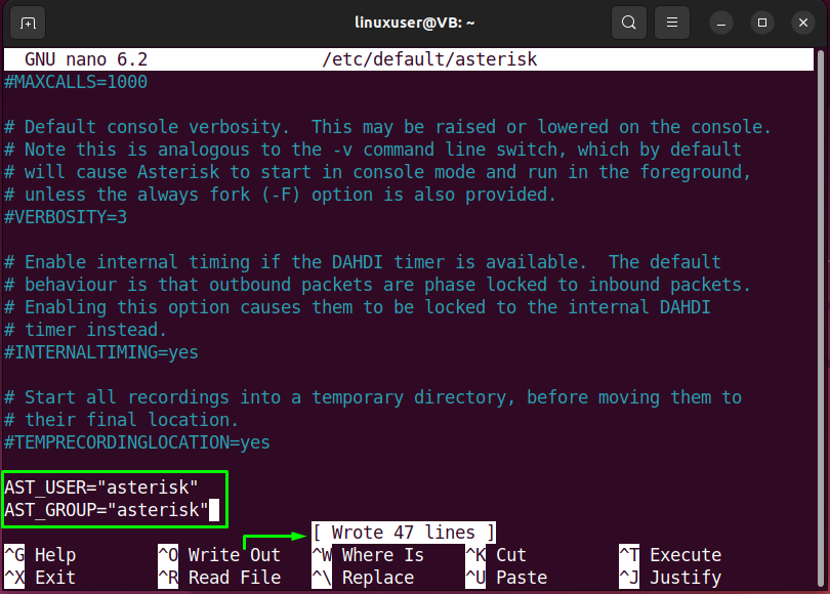
Step 12: Set Asterisk user
Now, we will set the created “asterisk” user as the default Asterisk user. To do so, open up the Asterisk configuration file in the “nano” editor:
You Asterisk configuration file will somehow look like this:
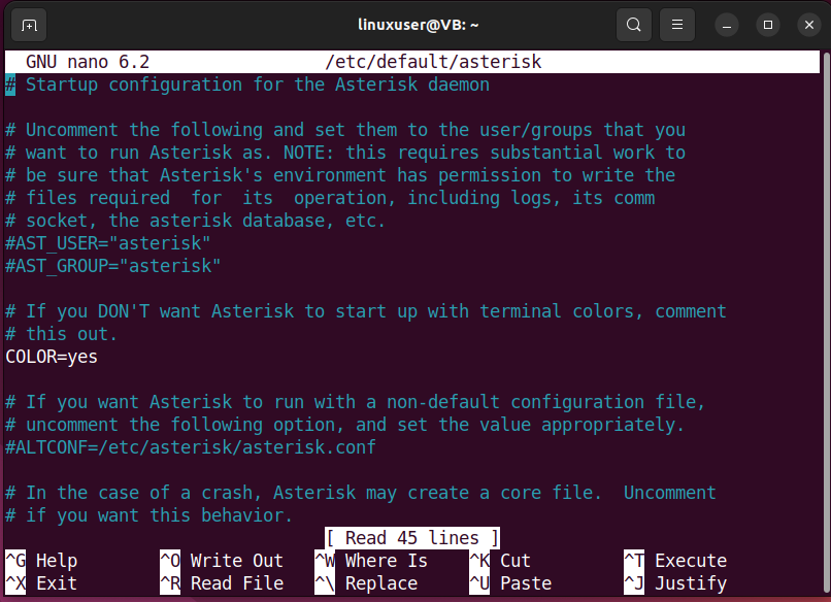
Now specify the default Asterisk user and its group as follows:
AST_GROUP="asterisk"
Then press “CTRL+O” to save the added lines and switch back to terminal:
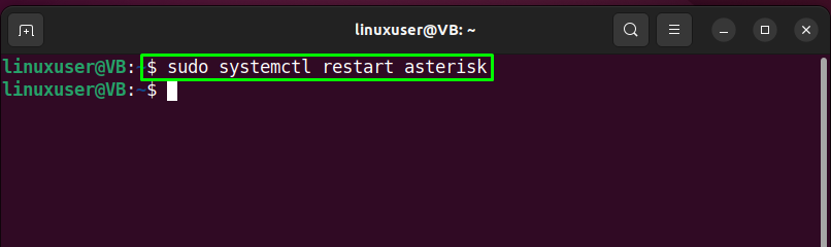
Step 13: Restart Asterisk service
After performing the previous operation, restart the Asterisk service on your system:
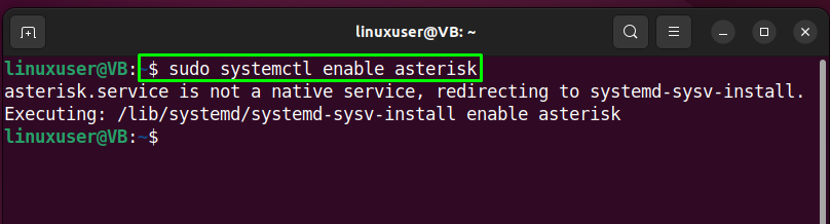
Step 14: Enable Asterisk service
Next, enable the Asterisk service so that it can start on system boot:
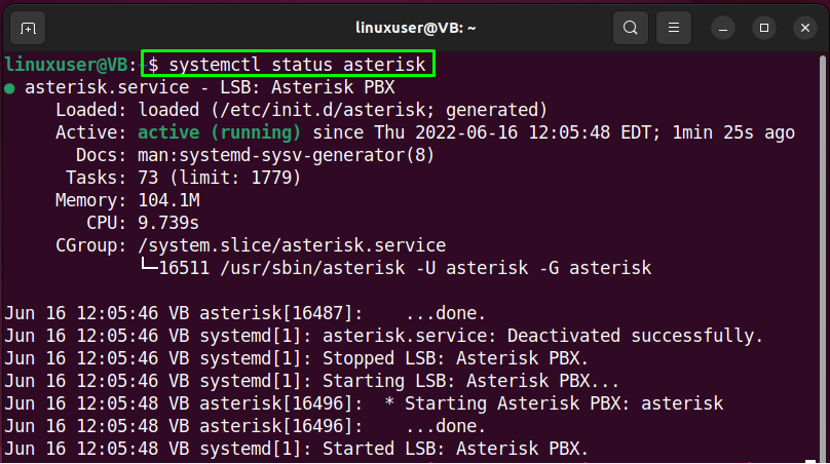
Step 15: Check Asterisk service status
Lastly verify if the Asterisk service is successfully running on your system:
That was all about Asterisk installation. Now, let’s head towards the method of connecting to Asterisk CLI.
How to connect to Asterisk CLI on Ubuntu 22.04
Run the following command in Ubuntu 22.04 terminal for connecting to the Asterisk CLIU:
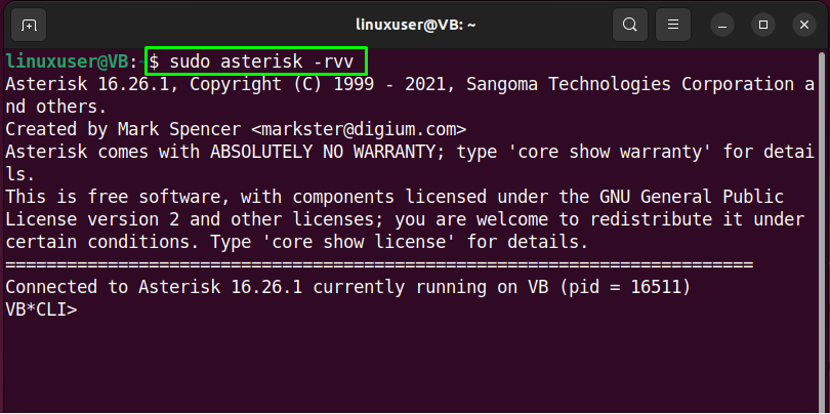
The above-given output shows that we are successfully connected to the Asterisk CLI.
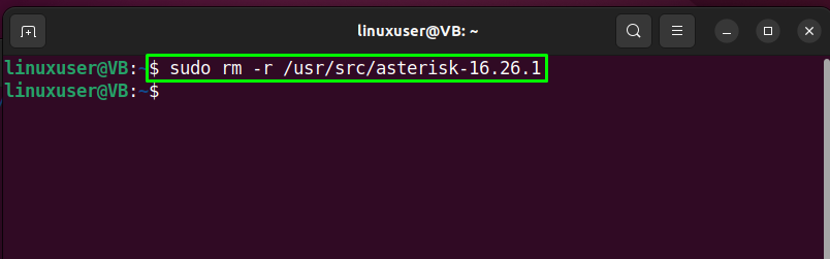
How to remove Asterisk from Ubuntu 22.04
On Ubuntu 22.04 terminal, run the provided command for removing Asterisk:
We have compiled the easiest method to install Asterisk on Ubuntu 22.04 system.
Conclusion
To install Asterisk on Ubuntu 22.04, firstly install the required dependencies, download the Asterisk archive file and extract the downloaded package. Then, satisfy the build dependencies, set up menu options, build, and install Asterisk. To configure Asterisk, you can create a separate “asterisk” user and group and set their permissions. This blog demonstrated the procedure to install Asterisk on Ubuntu 22.04.