Arch Linux is one of the simplest and easiest-to-learn Linux distros for intermediate Linux users. By default, it ships with command line accessibility which may not attract a new user. As Arch is command-line based, it is perceived that its installation is also tricky. However, the reality is the opposite of the saying. Keeping in view, we have provided this guide to install Arch Linux from USB with the following learning outcomes:
Prerequisites
To install Arch Linux from USB, you must have the following set of prerequisites before doing so.
- ISO of Arch Linux: Download the ISO file of Arch Linux
- USB booting tool: A booting tool (Etcher recommended) is required to make the USB bootable. Download BalenaEtcher
How to install Arch Linux from USB
For better understanding, we have divided this into various sub-sections. Like, the bootable USB will be created in the upcoming section and the installation of Arch Linux from USB would be carried out in the later section.
How to create a bootable USB for Arch Linux
Here, various steps are demonstrated to create a bootable USB for Arch Linux.
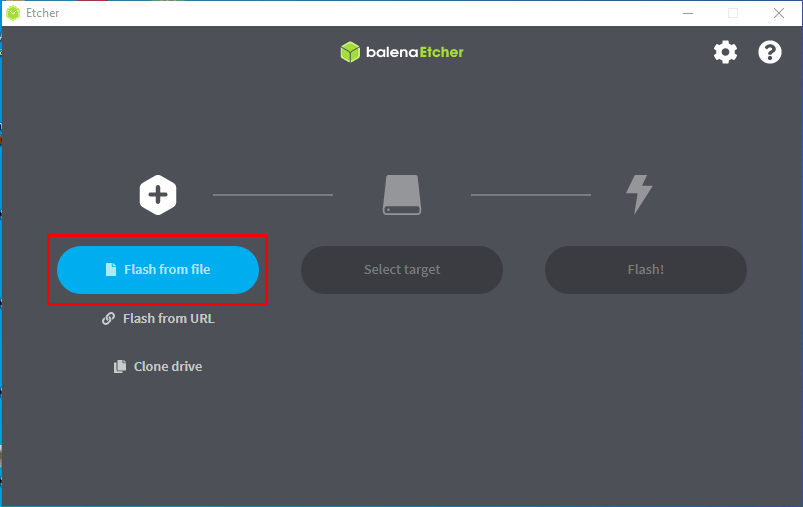
Step 1: Open the Etcher,
As you have downloaded the ISO file so, click on “Flash from file” and choose the ISO file where you have saved it.
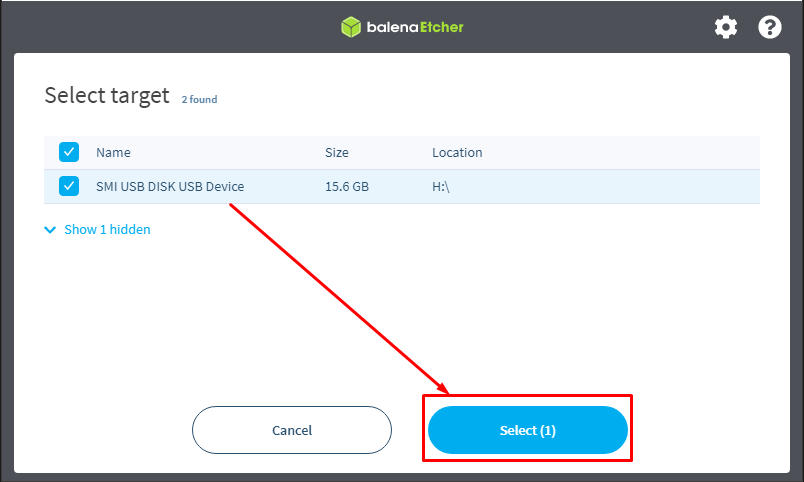
Step 2: After loading the file, choose “Select target“:
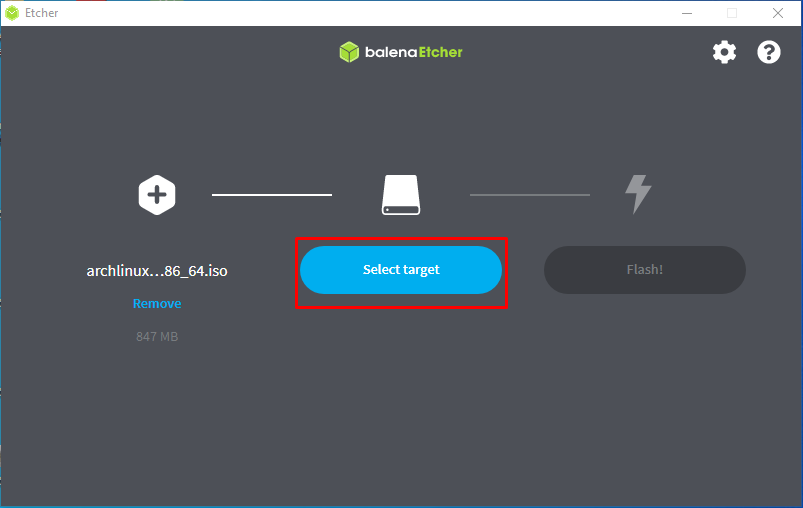
Choose the USB drive which will be used to map the ISO file of Arch Linux and click on “Select” to continue.
Step 3: You are now good to go for flash process. To do so, click on “Flash“:
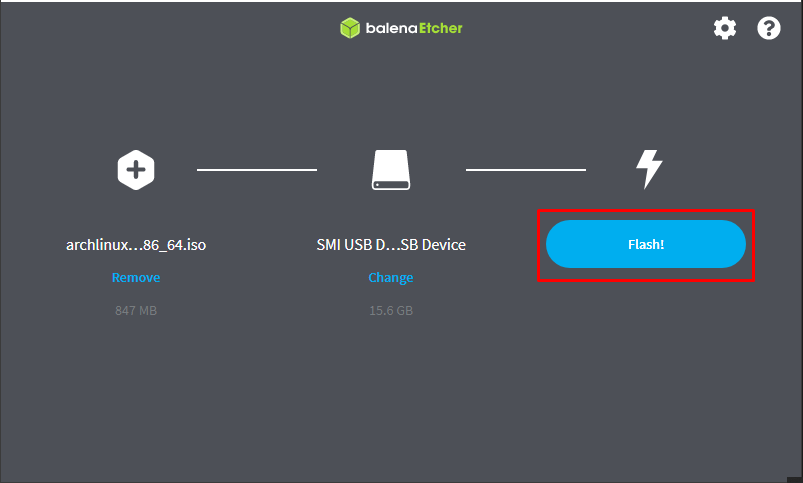
It would take several moments, and you will get the following interface at the end.
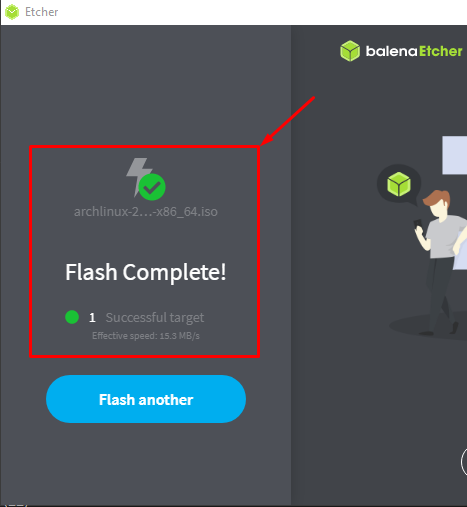
Congratulations! Flash Complete!
How to install Arch Linux for USB
To proceed with the steps in this process, you must have a USB that is ready to Boot.
Step 1: Insert the USB and reboot your system, by entering the BIOS of your machine.
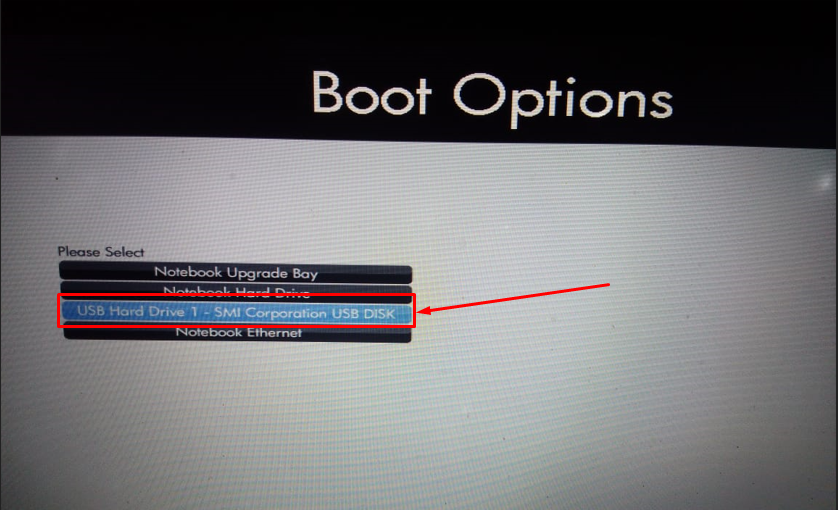
Step 2: Choose the relevant USB device that is set to Bootable
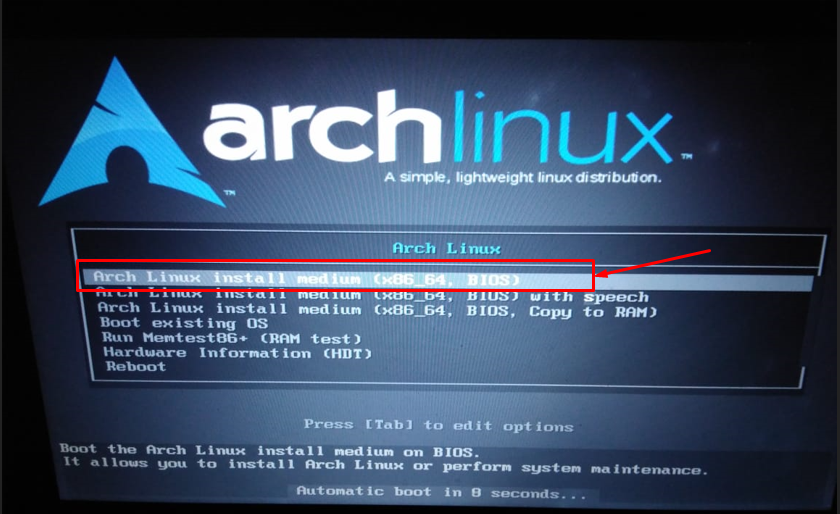
Once the boot is successful, you will get the following interface, choose the first one as shown below, or it will automatically be selected after a few moments.
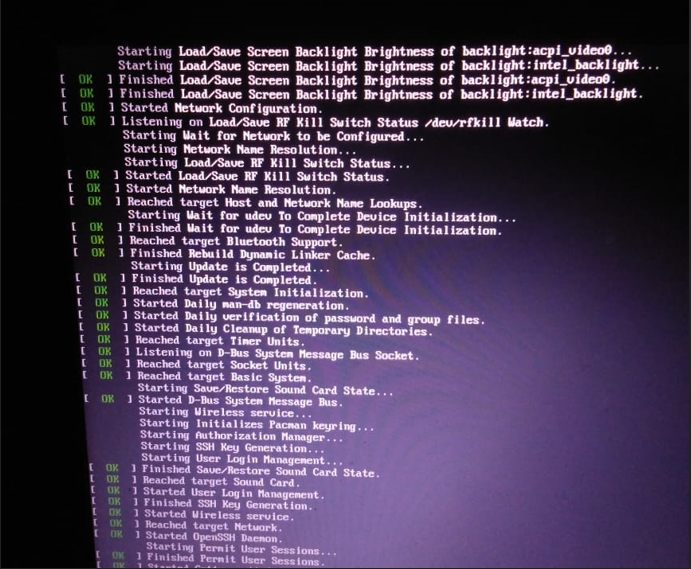
It will automatically load the prerequisites and after few times you will land inside the Arch terminal as can be seen below.

Wait, it is just a terminal and you have not made any partition to save the execution of your commands. At this moment, your data will not be stored as the operating system will process the execution on RAM.
How to setup Arch Linux
Here are the steps that must be performed to get the smooth performance of Arch Linux.
Step 1: Partitioning the disk
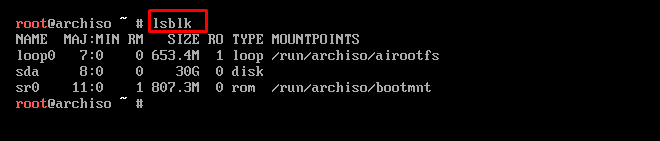
Currently, the drive is not mounted anywhere as can be observed in the output of the following command.
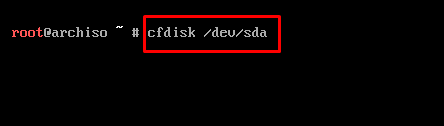
Step 1.1: Create BIOS boot partition
As our main memory is named “sda“, so let’s execute “cfdisk” command on “sda” partition to make the partition.
Choose the label type as “gpt“:

Now, you will land on the following interface,
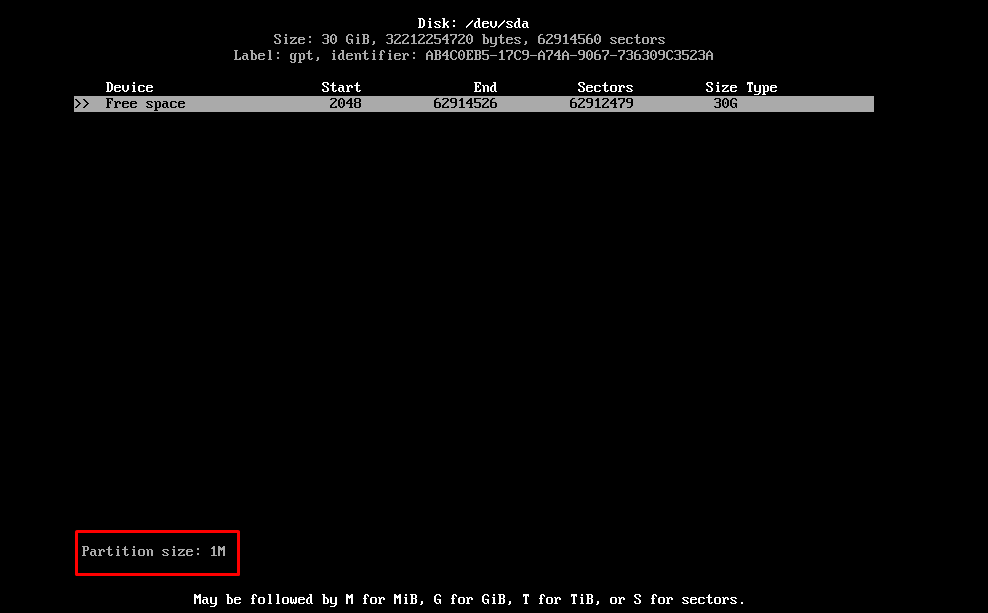
Create a portion of “size=1M“. By default, its type will be “Linux filesystem“. However, we have created this for BIOS boot, so, to change it, click on the “Type” option on the bottom of the window.

After clicking on “Type“, you would get a list of available disk types. Choose “BIOS boot” from here.

Step 1.2: Create Linux Swap
It is highly recommended to have a swap partition on your Linux system as it is quite helpful when your physical RAM is occupied. Whenever your RAM is full, the inactive programs are transferred to the swap partition to vacate some space on the RAM.
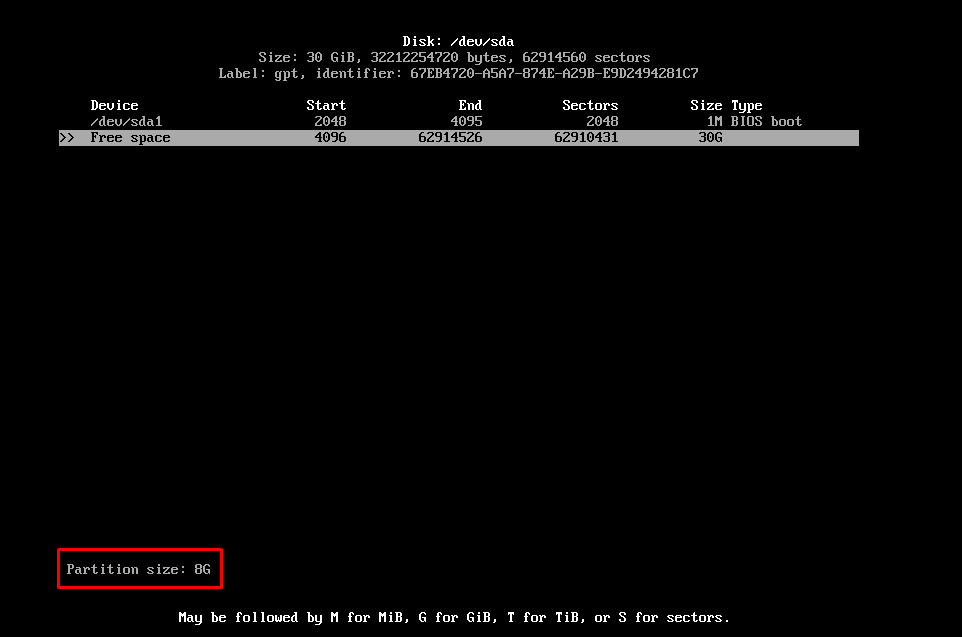
Click on “Free space” and create a partition of “8G” (Swap partition is recommended to be double of your RAM, so, in our case, it would be 8GB.):
Now click on the “Type” option placed on the bottom of the window:
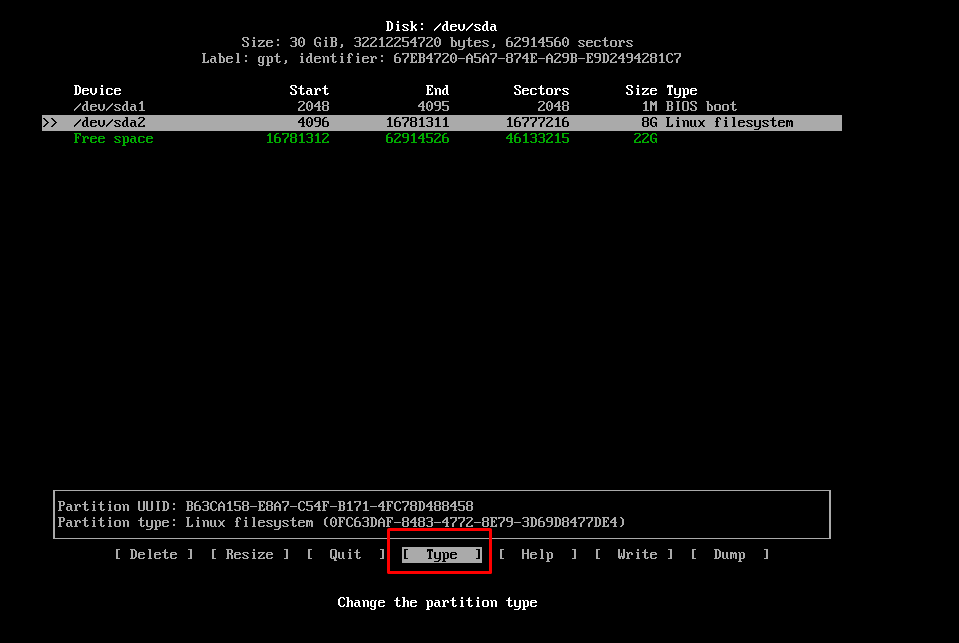
And choose “Linux swap” partition as we did here.

Step 1.3: Create Linux Filesystem
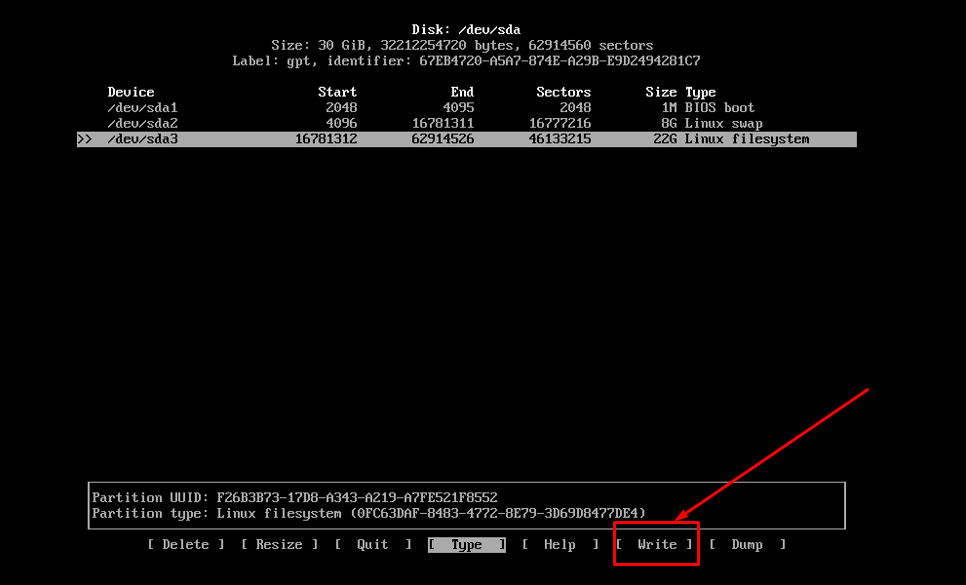
Set the “Type” of the rest of the free space to “Linux filesystem”

Once done, click on the “Write” option:
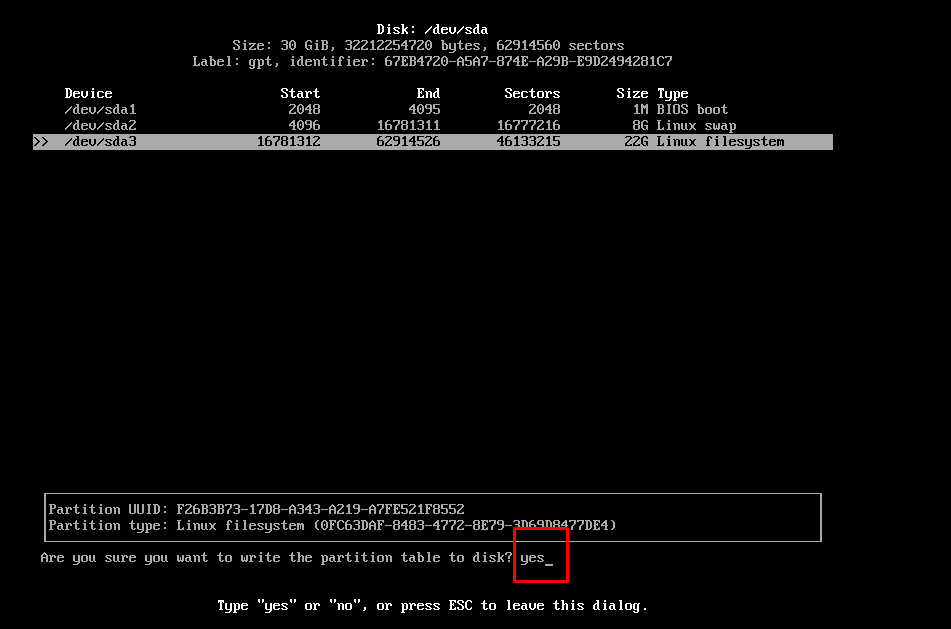
And type “yes” to make the changes permanent.
After doing so, you can observe the changes by issuing the following command.

The output shows that the “sda” is divided into “sda1”, “sda2”, and “sda3” that we made in step 1.
Step 2: Make the file system
After creating a partition, make the file system as per the partitions.
The “/dev/sda3” is our main partition, so we will set its file system to “ext4” by issuing the following command.
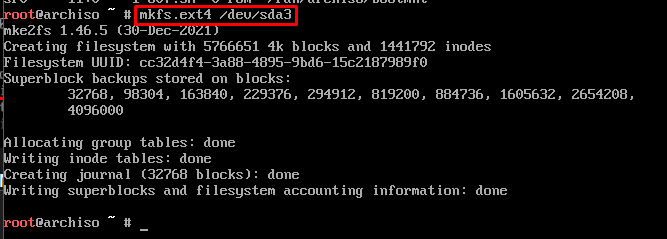
And for swap partition, the command would be as follows:

Lastly, enable the devices and filesystem for swap partition via the following command.
![]()
Step 3: Mount the storage device
In Linux, mounting is required to enable the user to use/open the files on the device storage. To do so, first change the directory to “mnt” as we did here:
![]()
Now use the mount command to mount the “/dev/sda3” to the “/mnt” directory by issuing the following command.
![]()
Step 4: Copy the operating system files
Once mounting is performed, you can use the “pacstrap” utility to perform the system installation of Arch on “/dev/sda3” (as we have mounted this storage device inside “/mnt” directory). In our case the command is as follows:

After copying OS files, now generate the fstab table to detect the mount points inside the directory “/mnt“.

Copy the “genfstab” output’s to “/mnt/etc/fstab” directory with the help of command provided here:
Step 5: Root account configuration
After mounting the device, change the root and point it towards the mount directory via the following command.
![]()
And set the password for the root account

Step 6: Install GRUB for Linux Kernel
After creating the root user, use the following command to install GRUB on main device storage (“/dev/sda“) to load the Linux kernel at the startup.

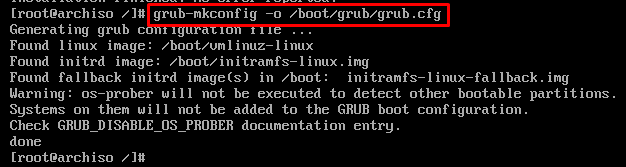
Meanwhile, generate the grub configuration file by issuing the following command.
Lastly, enable the dhpcpd service as it does not start by default. To do so, use the following command.

Congratulations! Here you go with Arch Linux.
Now you can install and configure your favorite programs/applications through Arch Linux.
Conclusion
Arch Linux is lightweight but equipped with the master features of Linux. An outline of the steps to install Arch Linux from USB is provided in this guide. First, you would have to make the USB bootable and then use that USB for installation. Additionally, we have presented various setup steps that are recommended to perform. By default, Arch ships with command line support which better suits an intermediate Linux user. However, it still needs various setup steps that we have illustrated here as well.