Arch Linux is a little harder to install for people who are new to Linux or people who don’t have much idea about how Linux works in general. In this article, I will show you how to install Arch Linux on your computer. Let’s get started.
Making a Bootable Media
The first thing you want to do when you install Arch Linux is to make a bootable CD/DVD or a USB stick of Arch Linux. So that you can boot from it. Alternatively, you can use a virtual machine to try out Arch Linux.
In both cases, you need an Arch Linux image (.iso) file. You can go to the official website of Arch Linux at https://www.archlinux.org/download/ and download it for free. You can download the iso image directly using HTTP or using Torrent. In some case, torrent downloads may be faster.
Downloading the iso image from Torrent:
First go to the official downloads page of Arch Linux at https://www.archlinux.org/download/ and click on the link (Magnet Link) as marked in the screenshot below. Arch Linux torrent download should start if you have a torrent client installed.
Download the iso Image Directly from HTTP
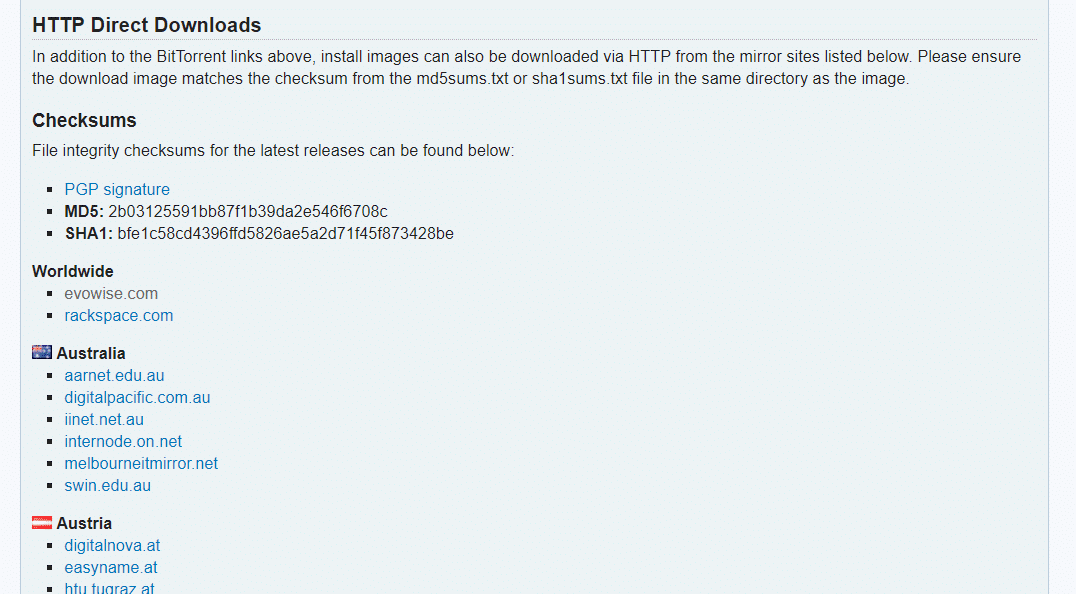
Go to the official downloads page of Arch Linux at https://www.archlinux.org/download/ and scroll down to HTTP Direct Downloads section. Click on any one of the links. It is better to choose one that is near your location for faster download speeds.
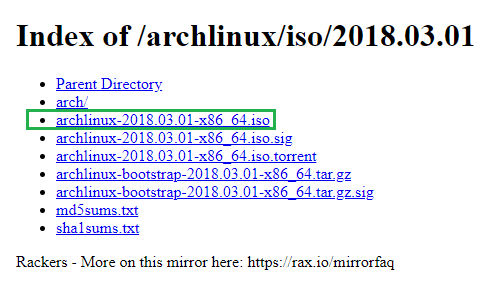
You should see something like this. Now click on the file that ends with .iso and your download should start.
Once the download is complete, you can write the file to a CD/DVD or use a software like Rufus (https://rufus.akeo.ie) on Windows to make a bootable USB out of it. If you’re on Linux, you may run the following command to make a bootable USB stick as well.
USB_DEVICE is usually /dev/sdb or /dev/sdc or something like that. You can run lsblk command the to find out what to put in as USB_DEVICE.
Booting Arch Linux
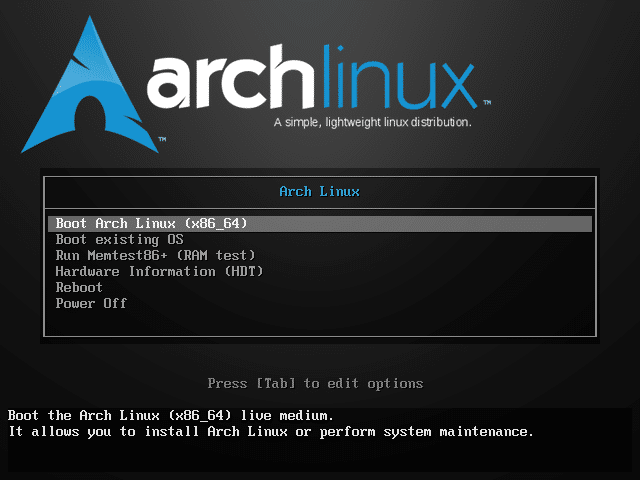
Once you make a bootable CD/DVD or a USB stick of Arch Linux, insert it and select the bootable media from your computers BIOS. You should see the following window as shown in the screenshot below.
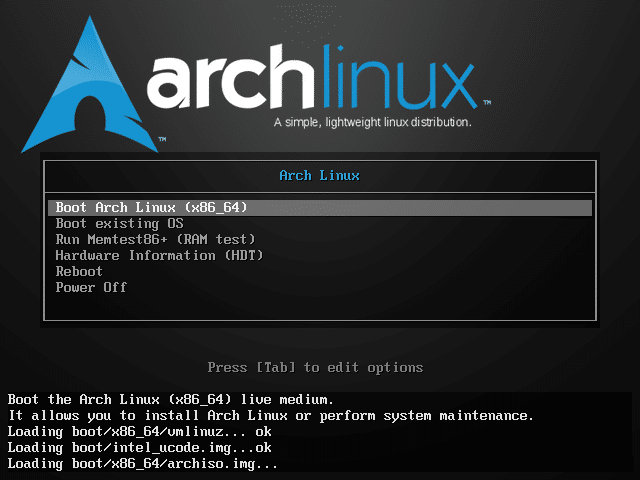
Now select the first option, Boot Arch Linux (x86_64) and press <Enter>. Arch Linux should boot as you can see in the screenshot below.
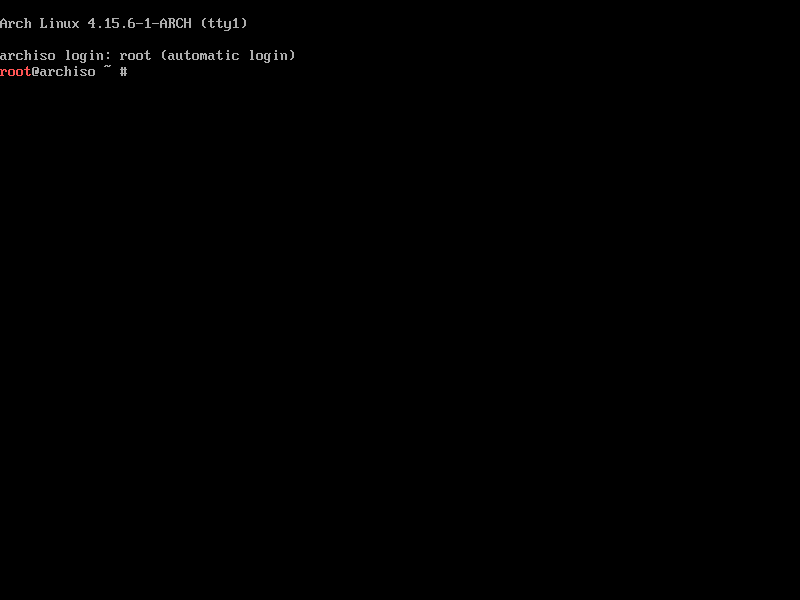
After a few seconds, you should see the following window. This is the Arch Linux console. From here you install Arch Linux and you need some Linux experience to do so. Don’t worry if you don’t know much about Linux, I will guide you through it.
Configuring the Network
The first thing you should do is to check whether you have internet connectivity or not. Because Arch Linux pulls all the packages from the internet when you install it on your computer’s hard drive.
You can run the following command to verify whether you’re connected to the internet or not.
As you can see, I don’t have internet connectivity yet.
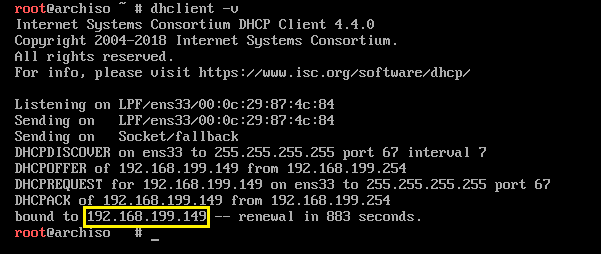
Connect the network cable to your computer. If you have DHCP enabled on your network, run the following command to configure the network:
As you can see, I got an IP assigned on my network interface.
Now if I try to ping google.com, it works.
Configure The System Clock
When you boot Arch Linux, the system clock might not be configured correctly. If you enable NTP, the date and time should be synched and the clock should be configured automatically. NTP requires internet connectivity.
Run the following command to enable NTP:
Partitioning and Formatting the Hard Drive
Now you have to configure the hard drive so that Arch Linux can be installed. Basically you have to format the hard drive and create partitions in it.
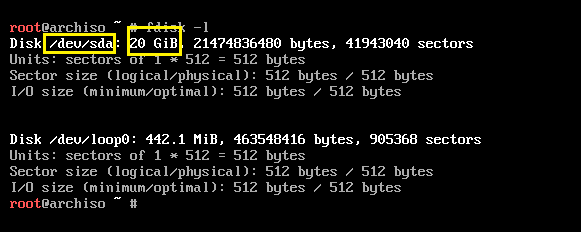
You can list all the available block devices with the following command:
As you can see, I have 2 block devices on my machine. /dev/sda is my hard drive and /dev/loop0 is my CD/DVD drive from which I booted Arch Linux.
Now to partition the hard drive, I will use cfdisk.
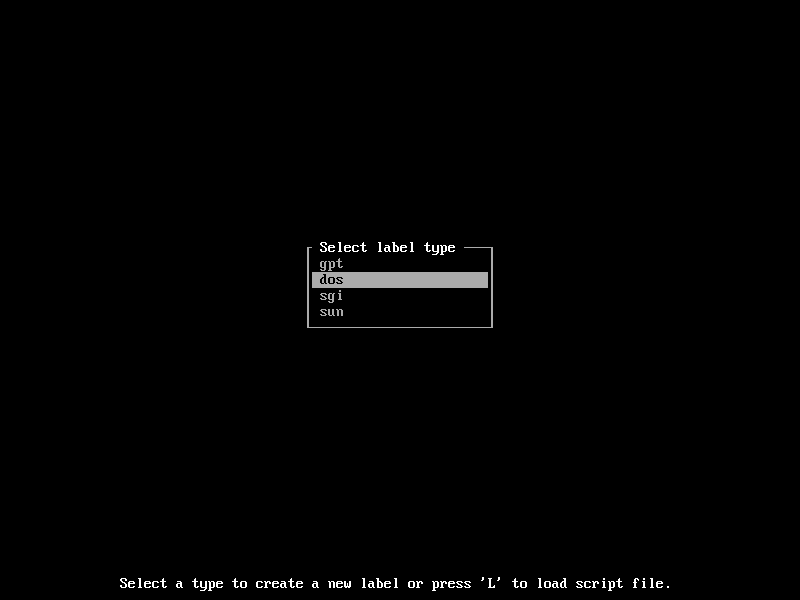
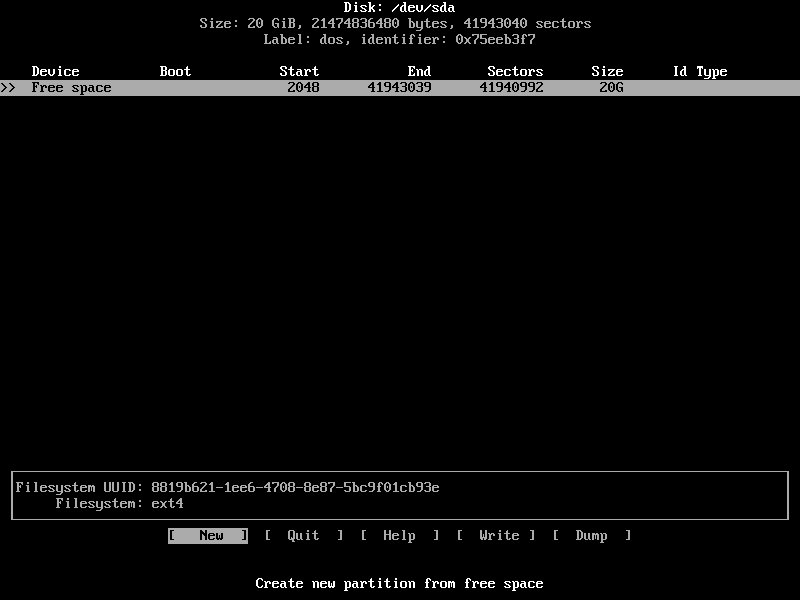
It says I don’t have a partition table. You may create a gpt or dos partition table. If you go with dos partition table, then a root (/) partition and a swap partition is enough. If you create gpt partition table, you will need an extra small partition (about 512MB) for the /boot directory. I will go with dos partition table.
Now you should see the following window. Press <Enter> to create a new partition.
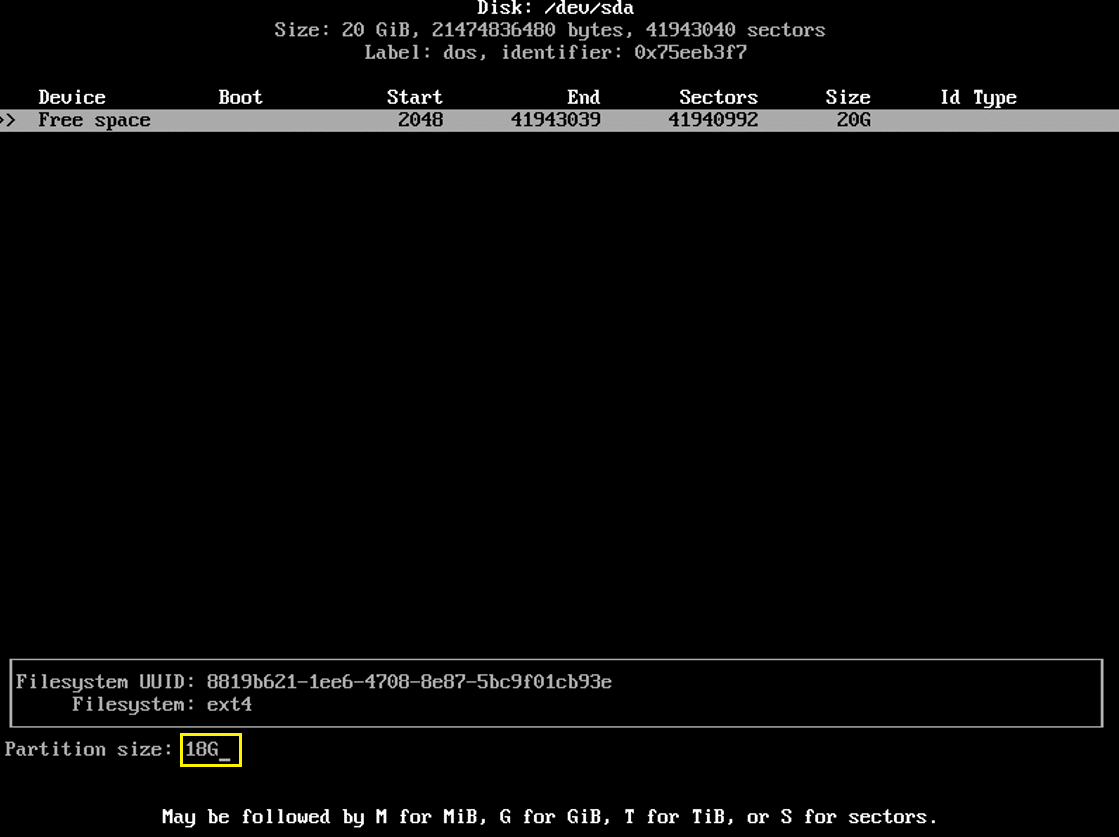
Type in the partition size and then press <Enter>. This should be the root(/) partition.
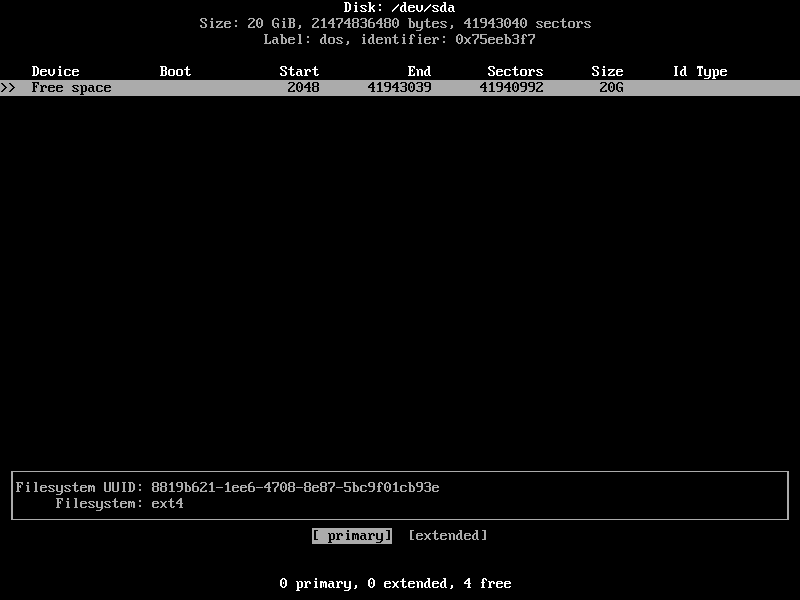
Select [ primary ] and press <Enter>.
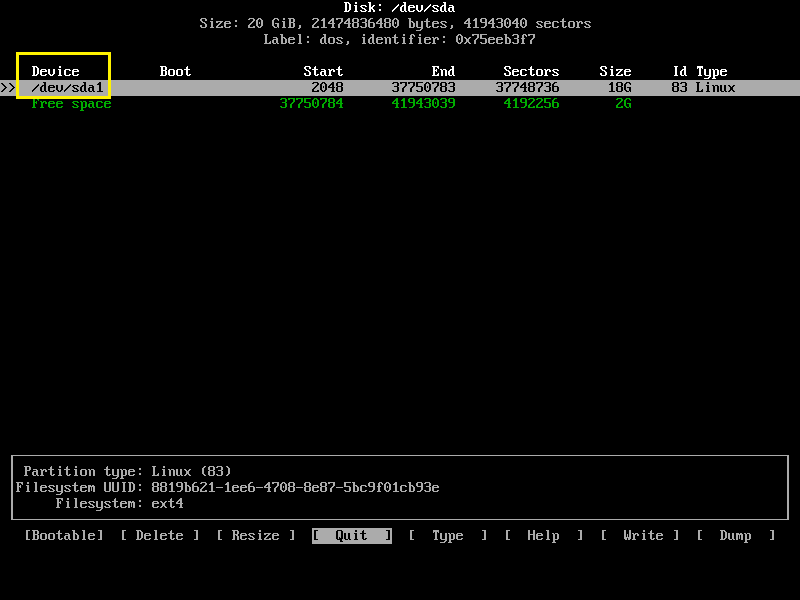
The partition should be created.
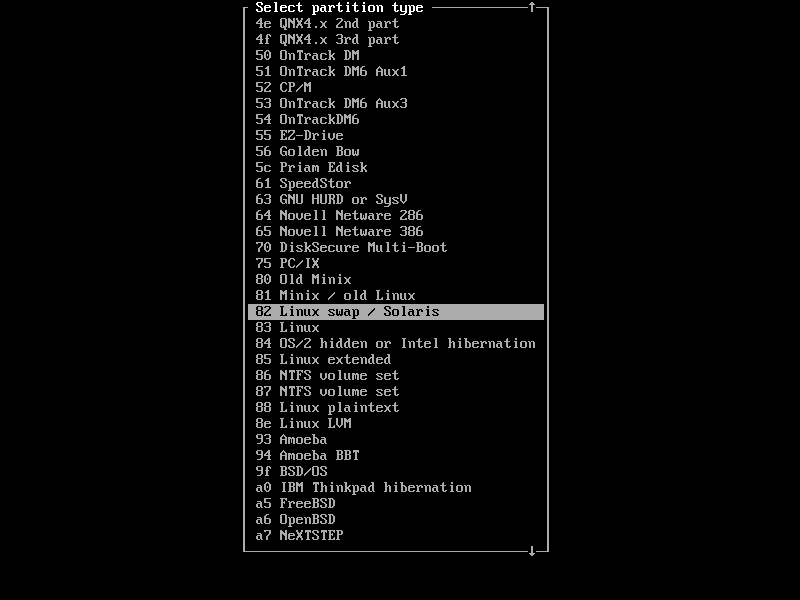
Now create another primary partition and change its Type to Linux swap / Solaris. A good enough swap partition size is the same as your RAM size. But if you have a lot of RAM, you may make swap partition size small as it shouldn’t be used if enough RAM is available. If swap partition is used frequently, you may need to upgrade your computer’s RAM.
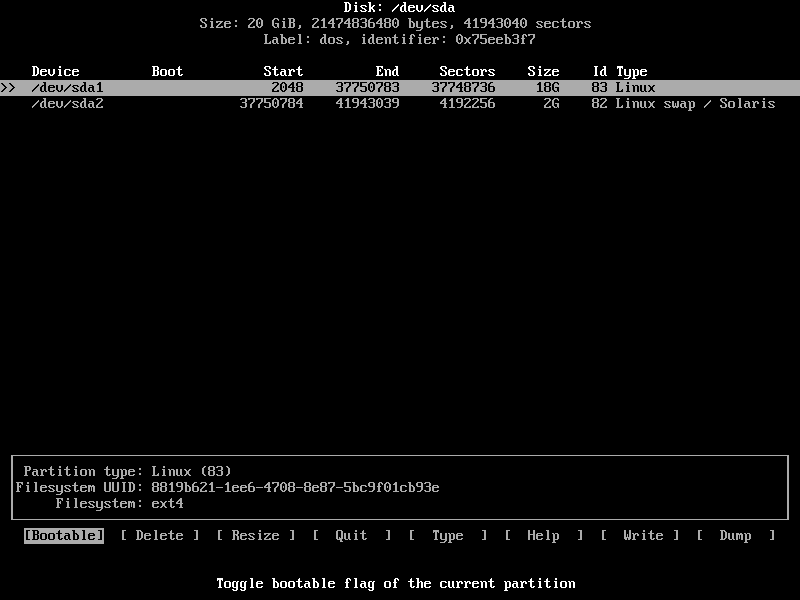
Now select the root (/) partition and press <Tab> several times to navigate to [ Bootable ] and press <Enter>.
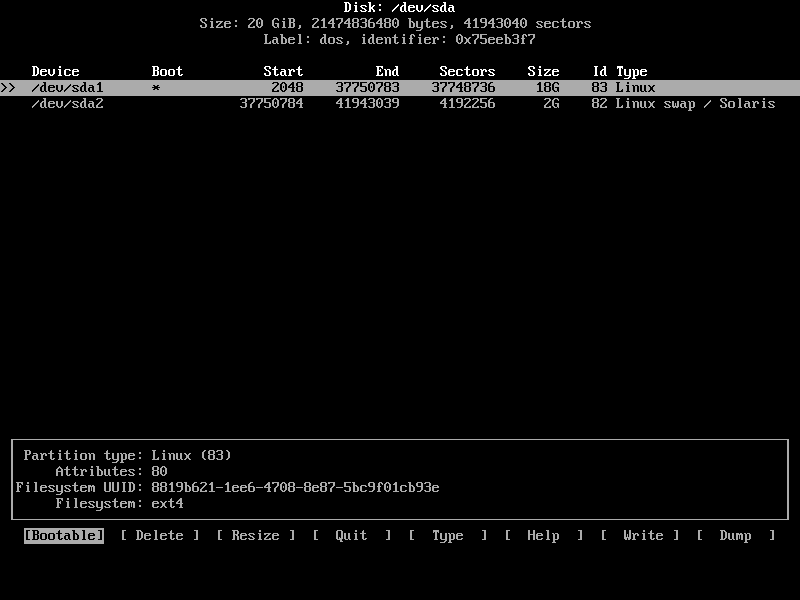
It should have the bootable flag set.
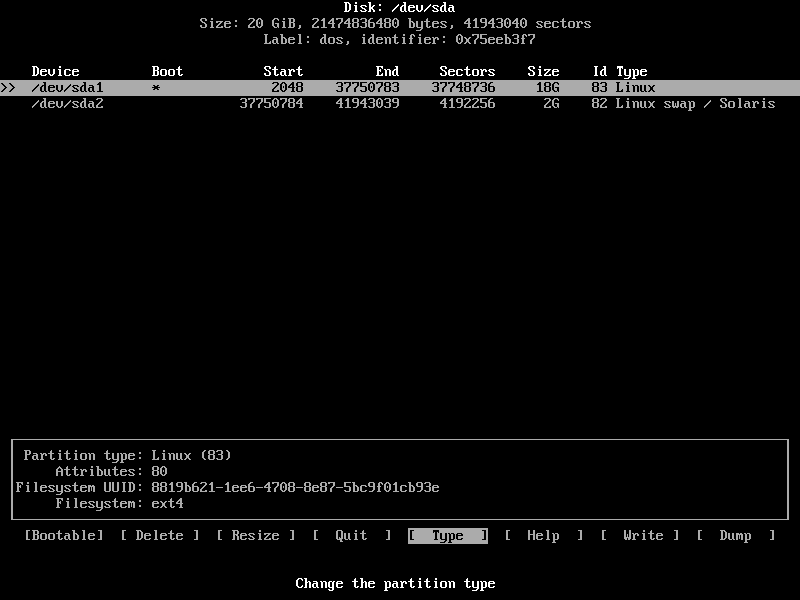
Finally, it should look something like this.
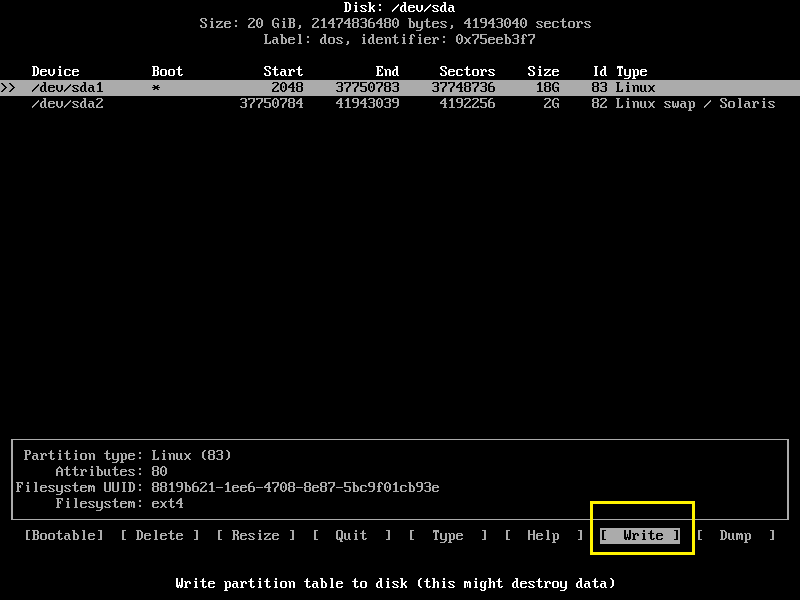
Now press <Tab> a few times to navigate to [ Write ] and press <Enter>.
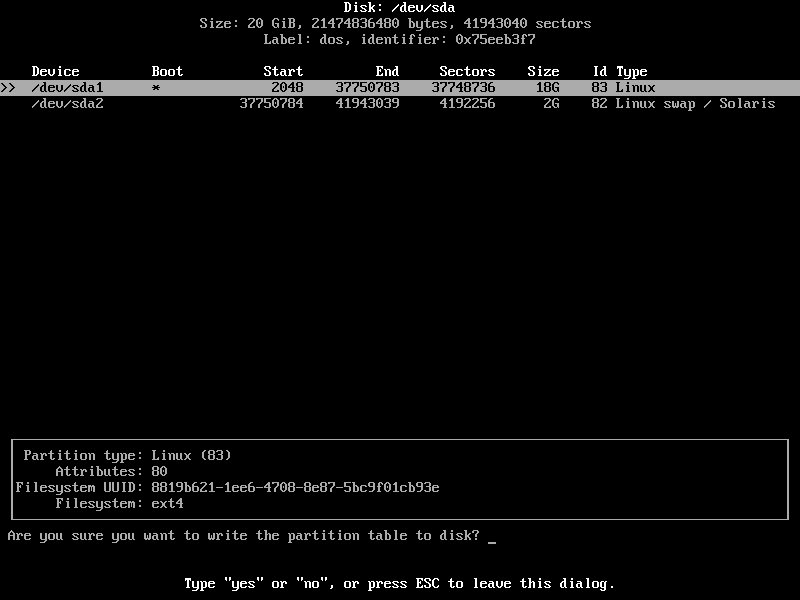
Now type in yes and press <Enter> again. The changes should be written to the disk.
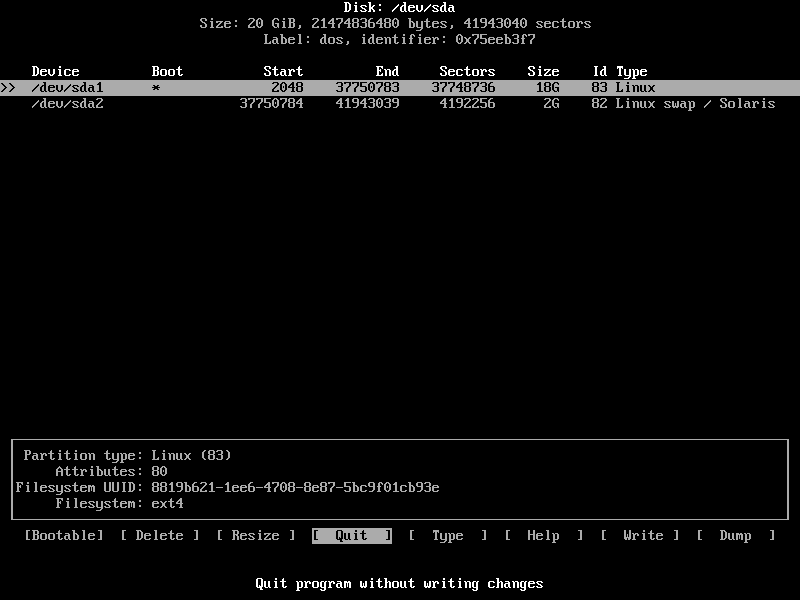
Now go to [ Quit ] and press <Enter>. You should be back to the console.
Now it’s time to format the partitions.
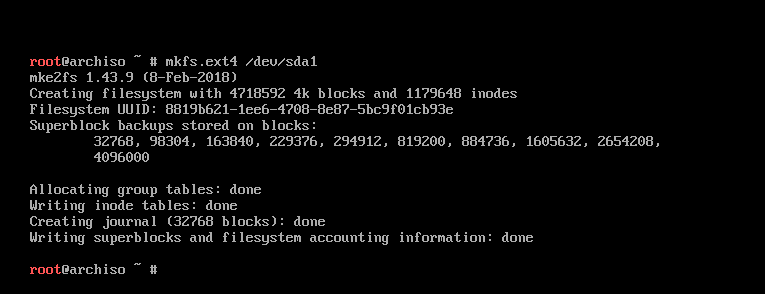
Run the following command to format the root (/) partition (in my case /dev/sda1):
The format is successful.
Run the following command to initialize the swap partition:
The swap partition is initialized.
Now enable Swap with the following command:
Mounting the Partitions
Now mount the root (/) partition (in my case /dev/sda1) to /mnt directory with the following command:
Installing Arch Linux
Now that everything is ready, you can install Arch Linux on /mnt directory with one of the following commands:
Base Arch Linux
Arch Linux with GNOME 3 Desktop
I will go with the base setup as the downloads are much smaller and you can install any packages later. So no rush here.
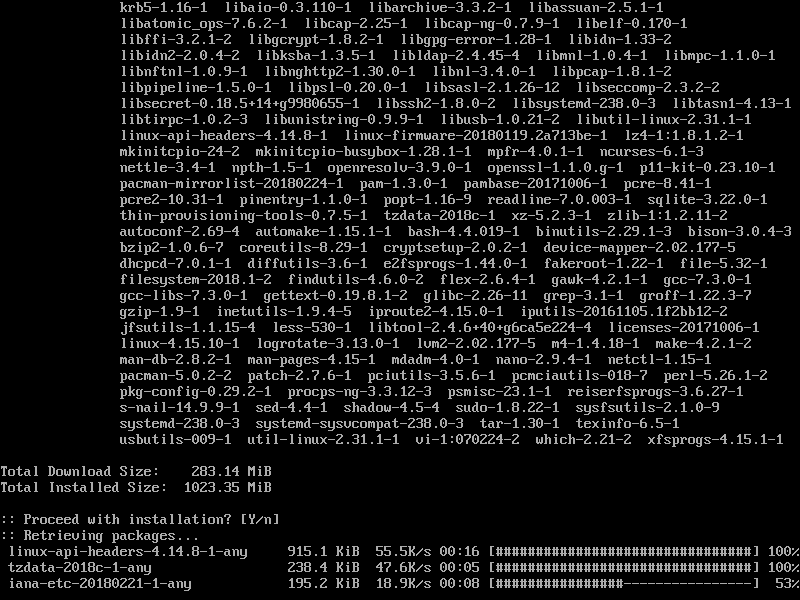
The installation has started.
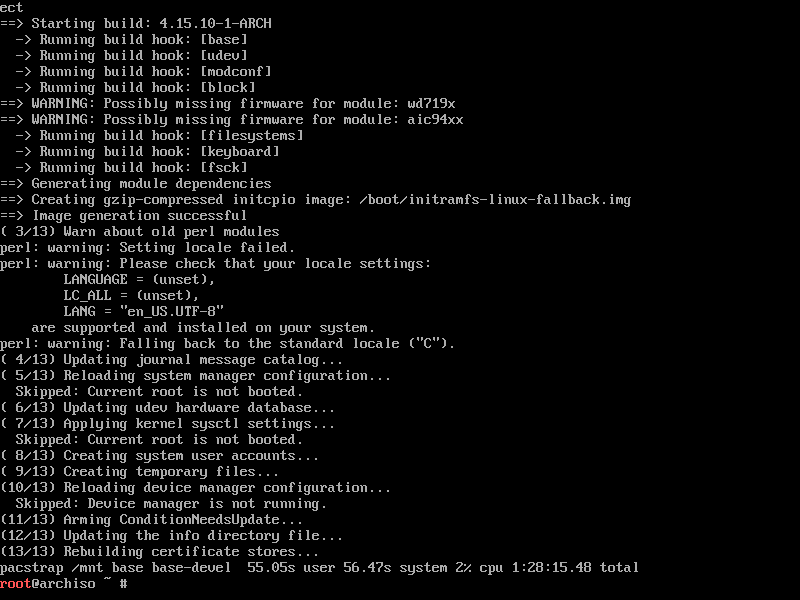
The installation is complete at this point.
Now run the following command to generate a /mnt/etc/fstab file:
As you can see, correct information is added to the /mnt/etc/fstab file:
Now change root into the new installed system with the following command:
You’re logged in to your new system.
Now set the right time zone with the following command:
You can find out what REGIONs are available with the following command:
These are the REGIONs. You can list the contents of these directories to find out available CITIES in the selected REGION.
The CITIES in Asia REGION.
Now run the following command to set the hardware clock:
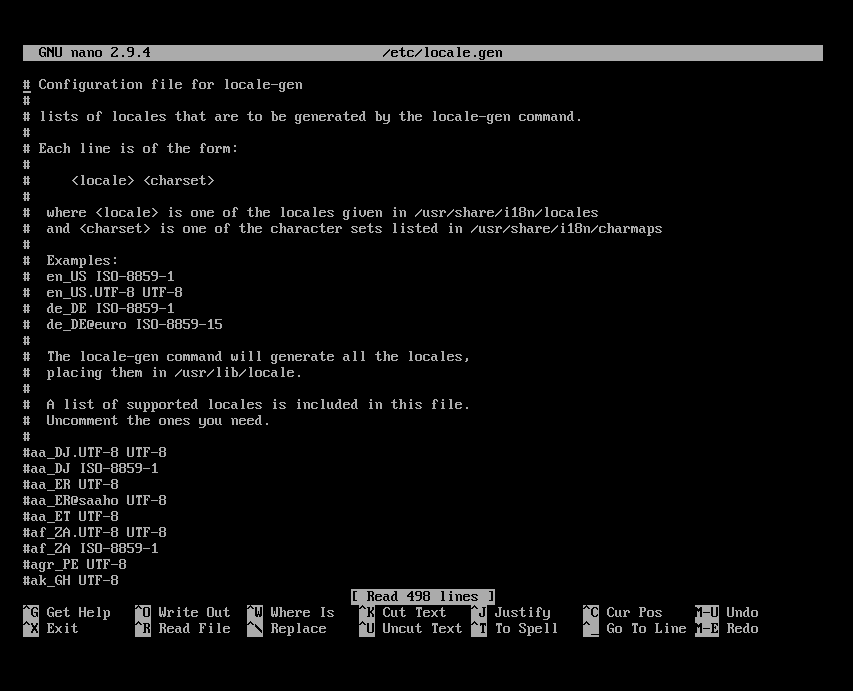
Now open /etc/locale.gen with the following command:
You should see the following window.
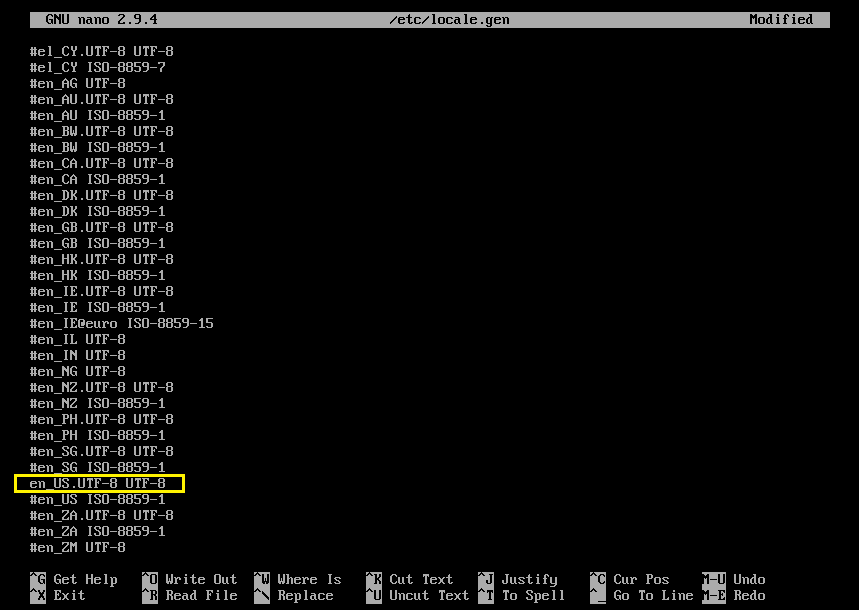
Now uncomment the UTF-8 version of your desired locale. For me it is en_US.UTF-8
Now run the following command to generate the locale:
The locale should be generated.
Now run the following command to set LANG to your selected locale:
Now set hostname with the following command:
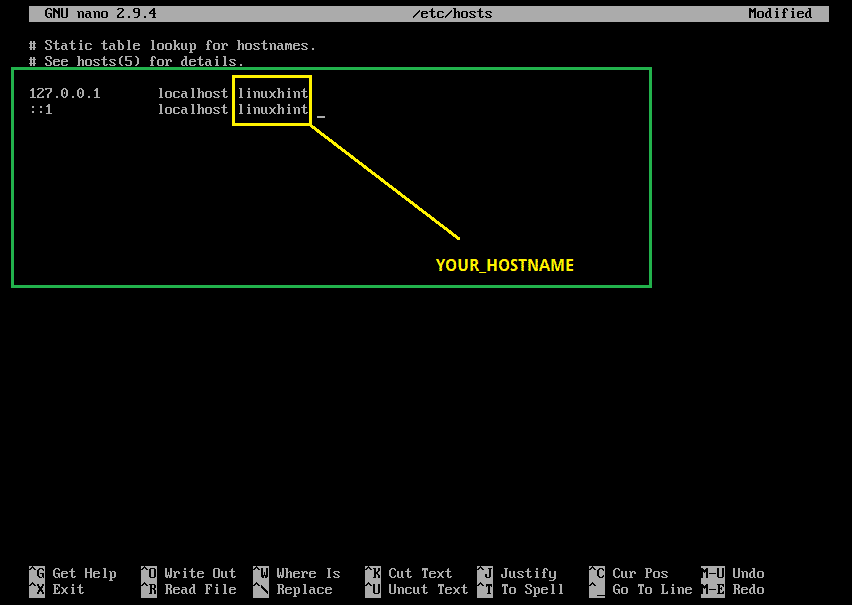
Now open /etc/hosts file with the following command:
And add the following lines to /etc/hosts file.
Now set the root password with the following command:
The root password should be set.
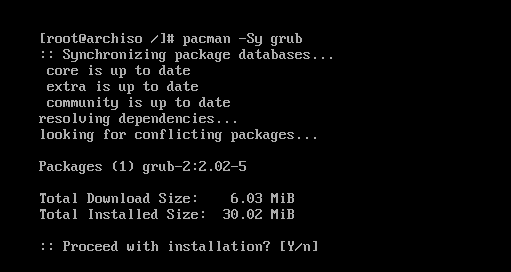
Now install the GRUB boot loader with the following command:
Press y and then press <Enter> to continue.
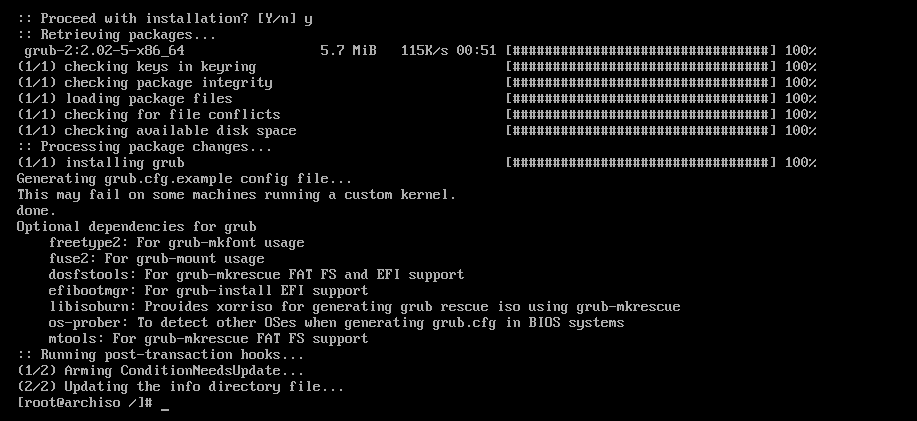
GRUB boot loader should be installed.
Now update GRUB configuration file with the following command:
GRUB configuration file should be updated.
Now install GRUB bootloader on your hard drives boot sector with the following command:
GRUB is installed on the hard drives boot sector.
Now you don’t need changed root (chroot) anymore. Exit out of it with the following command:
Now reboot your computer with the following command:
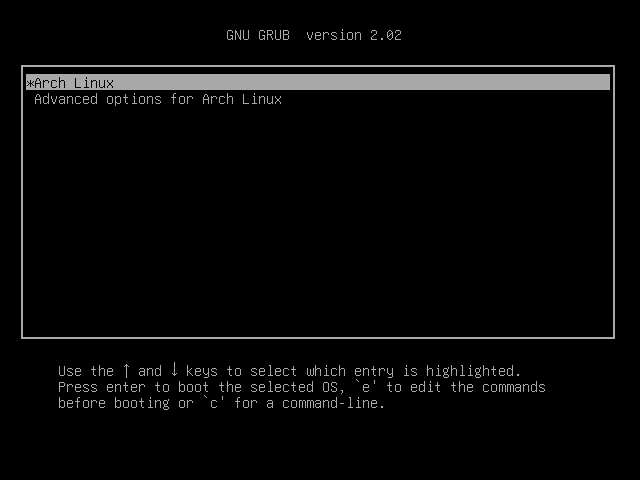
Once your computer starts, you should see the following GRUB menu. Select Arch Linux and press <Enter>.
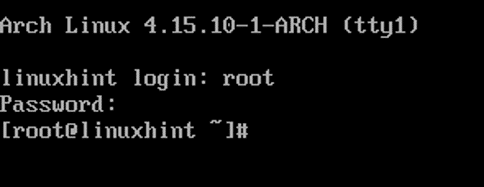
Arch Linux should start and prompt you to login as you can see in the screenshot below.
As you can see I logged into my brand new Arch machine.
The kernel version as of this writing is 4.15.10 as you can see from the screenshot below.

So that’s how you install Arch Linux on your computer. Thanks for reading this article.


