Apache web server is developed by “Robert McCool”. This open-source web server is responsible for accepting the HTTP requests from the users and providing the requested information in the form of web pages and files. It is mainly utilized by programmers for code testing. Apache also offers a secure file-sharing feature that permits users to store their important files in its root directory and share them with other users.
This write-up will discuss the method to install Apache on Ubuntu 22.04. So, let’s start!
How to install Apache on Ubuntu 22.04
To install Apache on Ubuntu 22.04, you must follow the below-given step-by-step instructions.
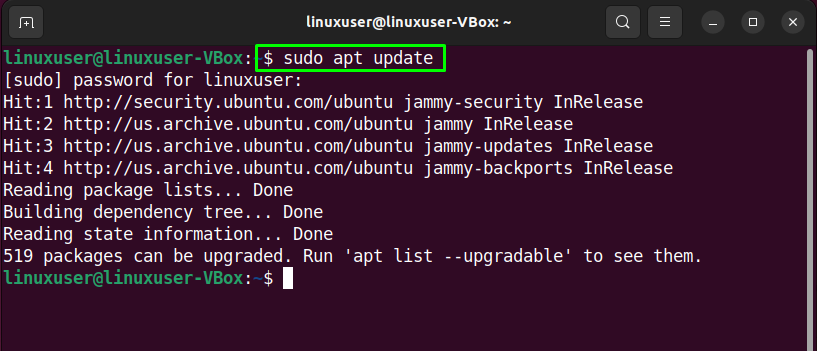
Step 1: Update system repositories
Press “CTRL+ALT+T” to open the terminal and run the below-given command to update system repositories:
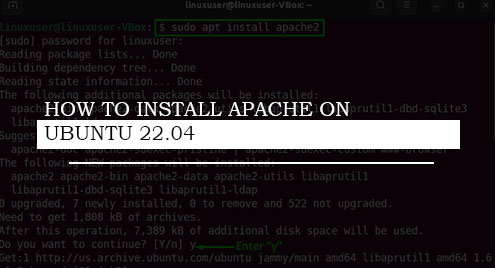
Step 2: Install Apache on Ubuntu 22.04
After updating system repositories, write out the following command for installing the “apache2” on your Ubuntu 22.04 system:
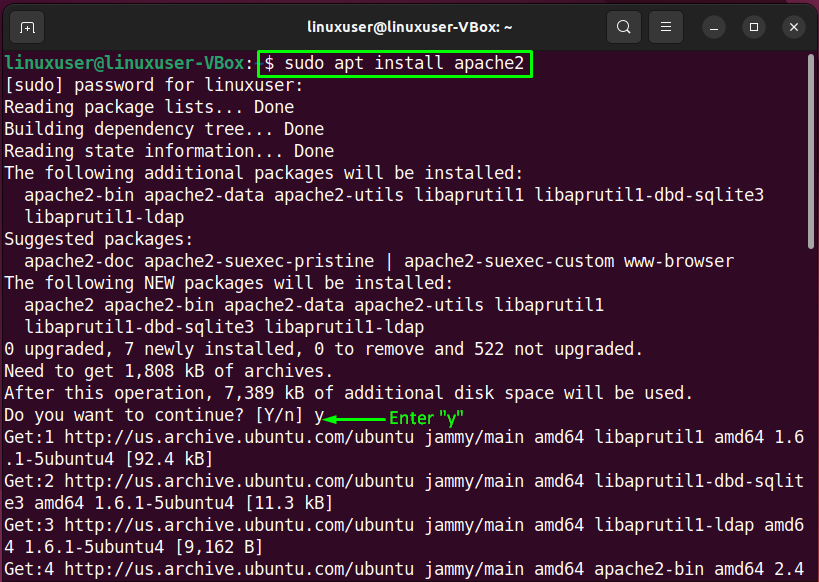
Wait for a few minutes as the Apache installation will take some time to complete:


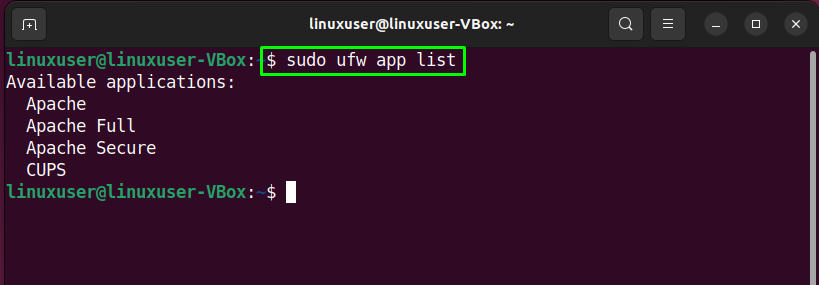
Step 3: Configure Firewall
To access Apache from outside, it is required to open specific ports on your system. To do so, firstly, check the list of the applications profiles that need access:
Execution of the above-given command will print out different Apache profiles on the terminal:
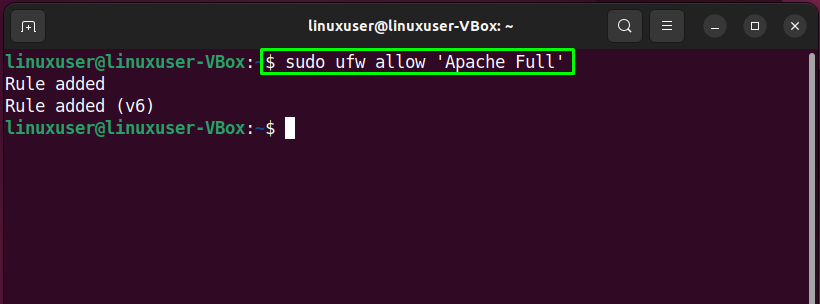
Next, we will utilize the “Apache Full” profile for enabling network activities on the port “80”:
After doing so, check the current firewall status:

Step 4: Check apache2 service status
Before moving towards the main configuration of Apache, we will verify the “apache2” service is currently active or not:
The below-given output shows that the “apache2” service is active on our system:

You can also utilize your favorite web browser for the specified verification. To do so, open a web browser and check what the “localhost” web page beholds for you:
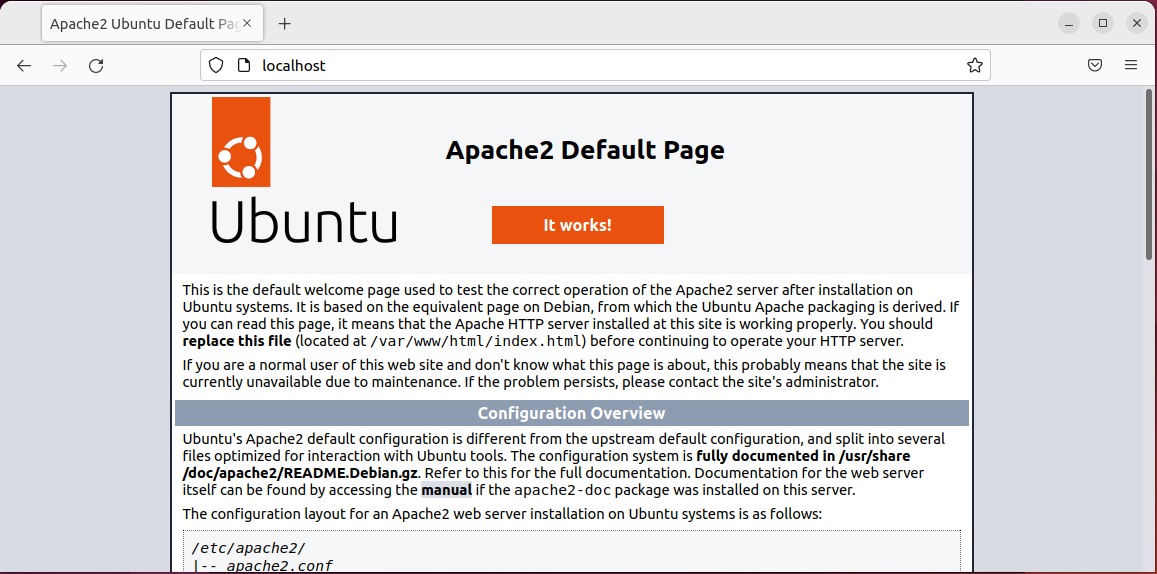
Navigation to the “localhost” web page indicates that Apache Web Server is working properly.
So, that’s how you install Apache on Ubuntu 22.04. Give it a try and set up virtual hosts according to your requirements.
Conclusion
To install Apache on Ubuntu 22.04, first, update your system repositories and execute the “$ sudo apt install apache2” command. After doing so, configure the firewall with the help of the “$ sudo ufw allow ‘Apache Full’” command. Then, navigate to the “localhost” page on your browser to know if Apache is working properly. This write-up discussed the method to install Apache on Ubuntu 22.04.