
Getting Started with Apache Kafka
Before installing the Apache Kafka, you must have the Java installed and a user account with sudo privileges. Moreover, it’s recommended to have a RAM of 2GB and above for the proper running of Kafka.
The following steps will guide you on how to install the Apache Kafka.
Installing Java
Java is required to install Kafka. Check if your Ubuntu has a Java installed by checking the version using the following command:

If Java is not installed, use the following commands to install the Java OpenJDK.
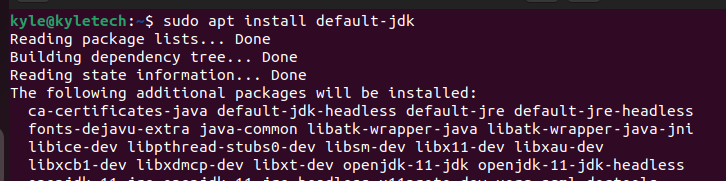
$ sudo apt install default-jdk
Creating a User Account
With Java already installed, create a non-root user account. We also need to give it some sudo privileges by adding the user to the sudo group using the following command:
$ sudo adduser linuxhint sudo

Log in to the newly created user account.

Installing Kafka
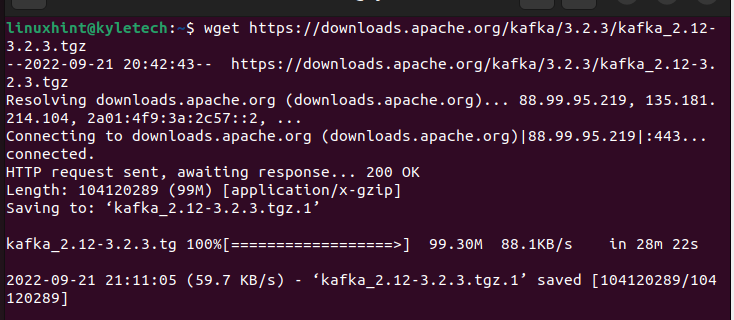
You need to download the latest Apache Kafka from the official download page. Download its binary files using the wget command as shown in the following:
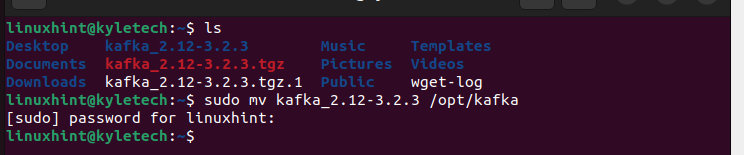
Once the binary file is downloaded, extract it using the tar command and move the extracted directory to the /opt/kafka.
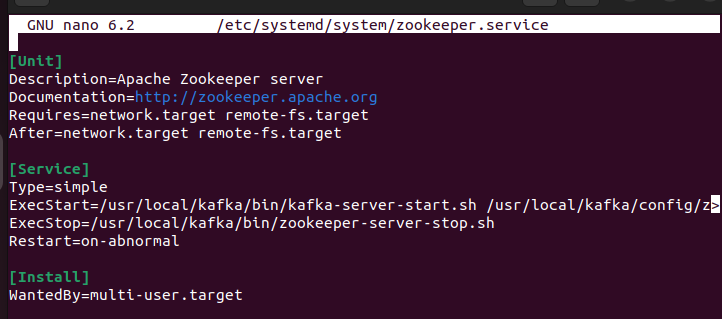
Next, create the systemd scripts for the Zookeeper and the Kafka services which help in starting and stopping the services.
Use an editor of choice to create the systemd scripts and paste the following contents. Start with the Zookeeper:
Paste the following:
Description=Apache Zookeeper server
Documentation=http://zookeeper.apache.org
Requires=network.target remote-fs.target
After=network.target remote-fs.target
[Service]
Type=simple
ExecStart=/opt/kafka/bin/zookeeper-server-start.sh /opt/kafka/config/zookeeper.properties
ExecStop=/opt/kafka/bin/zookeeper-server-stop.sh
Restart=on-abnormal
[Install]
WantedBy=multi-user.target
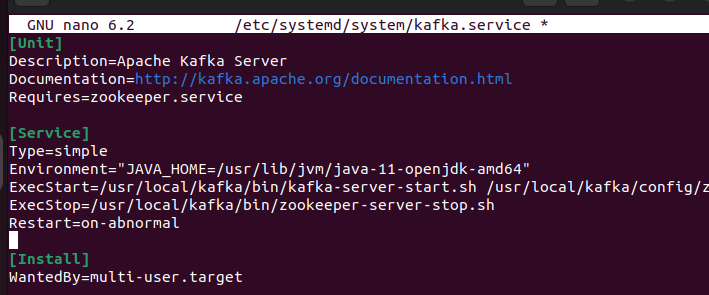
Save the file. Create the systemd file for the Kafka and paste the following contents:
When pasting, make sure that you set the right path for the Java that you installed in your system.
Description=Apache Kafka Server
Documentation=http://kafka.apache.org/documentation.html
Requires=zookeeper.service
[Service]
Type=simple
Environment="JAVA_HOME=/usr/lib/jvm/java-11-openjdk-amd64"
ExecStart=/opt/kafka/bin/kafka-server-start.sh /opt/kafka/config/server.properties
ExecStop=/opt/kafka/bin/kafka-server-stop.sh
Restart=on-abnormal
[Install]
WantedBy=multi-user.target
Once done, apply the changes by reloading the systemd daemon:

Next, enable the Zookeeper service and start it using the following commands:
$ sudo systemctl start zookeepe<strong>r</strong>

You also need to do the same for the Kafka:
$ sudo systemctl start kafka

Once you start the services, you can verify their status before we create a topic in Kafka.


The good thing with Kafka is that there are multiple scripts that you can use.
Let’s create a new topic named linuxhint1 using the kafka-topics.sh script with one partition and a replication. Use the following command:

Note that our topic is created. We can see the previous message to verify so.
Alternatively, you can list the available topics using the –list option in the following command. It should return the topic that we created:S

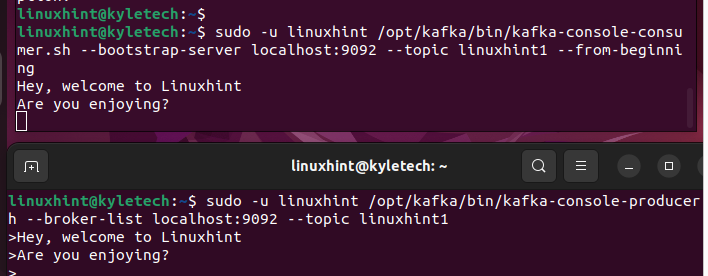
With the Kafka topic being created, you can start writing the streams data on the Kafka-console-producer.sh and check if it reflects in your consumer.sh.
Open your shell and access the topic that we created using the producer.sh as shown in the following:

Next, open another shell and access the Kafka topic using the consumer.sh.

With the two shells opened, you can message on the producer console. Whatever you type is reflected in the consumer console confirming that our Apache Kafka is up and running.
Conclusion
With this guide, you now have all the steps that you can follow to install Apache Kafka in your Ubuntu 22.04. Hopefully, you managed to follow each step and install your Apache Kafka and create topics to run a simple consumer and producer production. You can implement the same in large production.