The primary components of Apache Hadoop are:
- HDFS: In Apache Hadoop, HDFS is a file system that is distributed over numerous nodes.
- MapReduce: It is a framework for developing applications that handle a massive amount of data.
- Hadoop Common: It is a set of libraries and utilities that are needed by Hadoop modules.
- Hadoop YARN: In Hadoop, Hadoop Yarn manages the layers of resources.
Now, check out the below-given methods for installing and configuring Apache Hadoop on your Ubuntu system. So let’s start!
How to install Apache Hadoop on Ubuntu
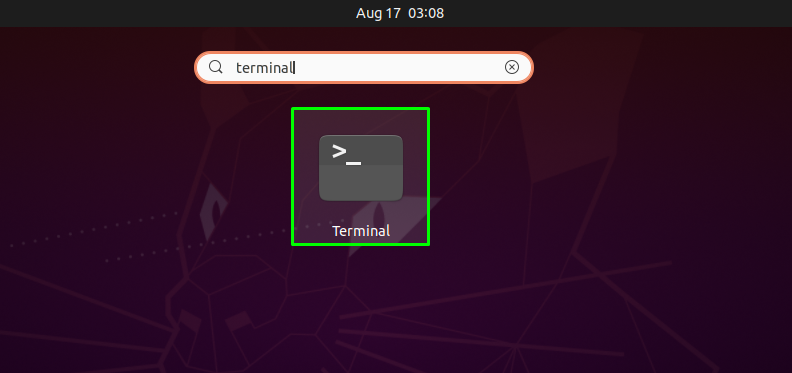
First of all, we will open up our Ubuntu terminal by pressing “CTRL+ALT+T”, you can also type “terminal” in the application’s search bar as follows:
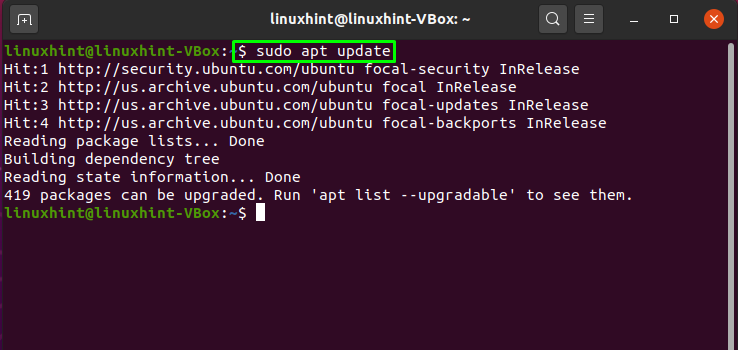
The next step is to update the system repositories:
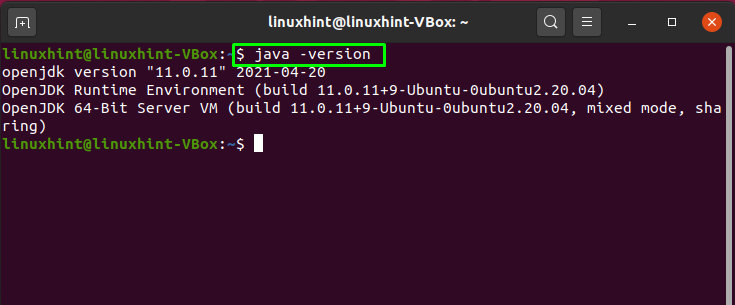
Now we will install Java on our Ubuntu system by writing out the following command in the terminal:
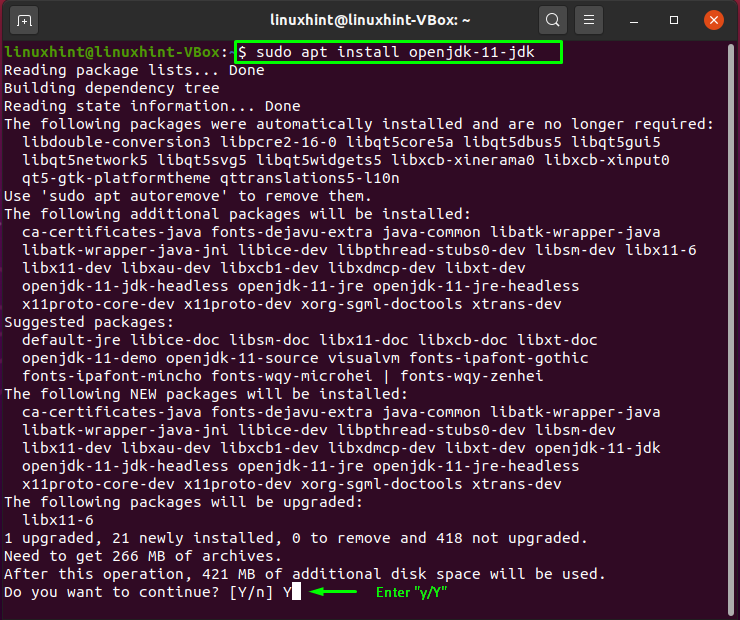
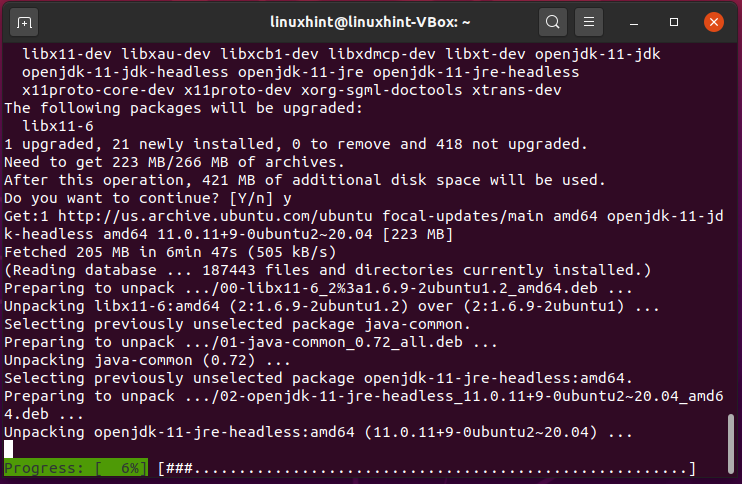
Enter “y/Y” to permit the installation process to continue:
Now, verify the existence of the installed Java by checking its version:
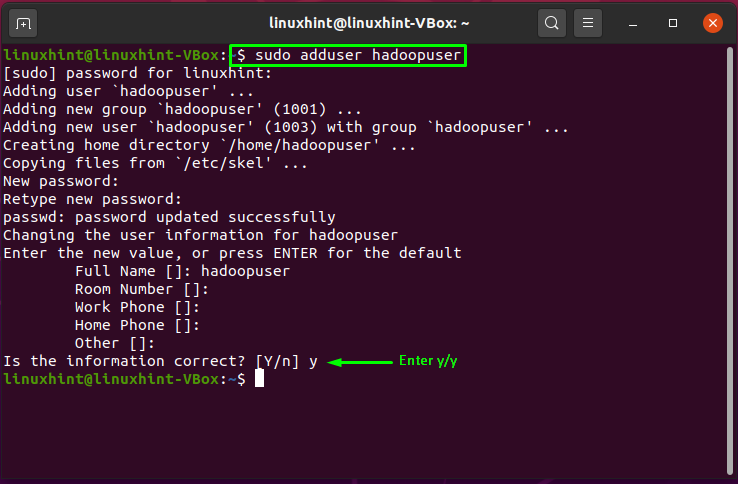
We will create a separate user for running Apache Hadoop on our system by utilizing the “adduser” command:
Enter the new user’s password, its full name, and other information. Type “y/Y” to confirm that the provided information is correct:
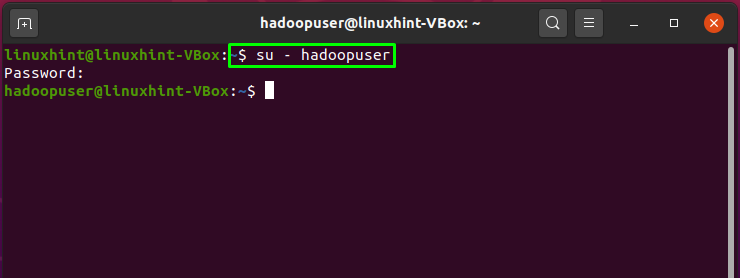
It’s time to switch the current user with the created Hadoop user, which is “hadoopuser” in our case:
Now, utilize the below-given command for generating private and public key pairs:
Enter the file address where you want to save the key pair. After this, add a passphrase that you are going to be used in the whole setup of the Hadoop user:

Next, add these key pairs to the ssh authorized_keys:

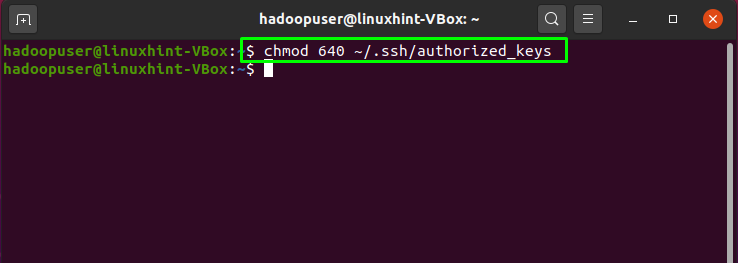
As we have stored the generated key pair in the ssh authorized key, now we will change the file permissions to “640” which means that only we as the “owner” of the file will have the read and write permissions, “groups” will only have the read permission. No permission will be granted to “other users”:
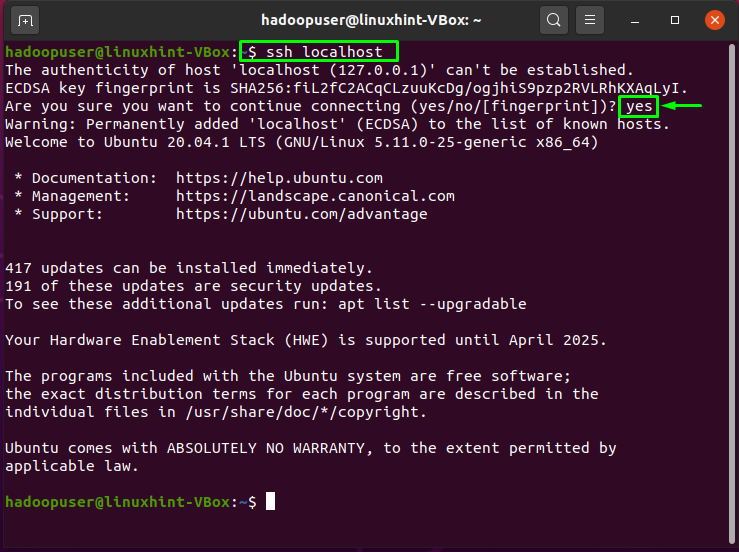
Now authenticate the localhost by writing out the following command:
Utilize the below-given wget command for installing the Hadoop framework for your system:

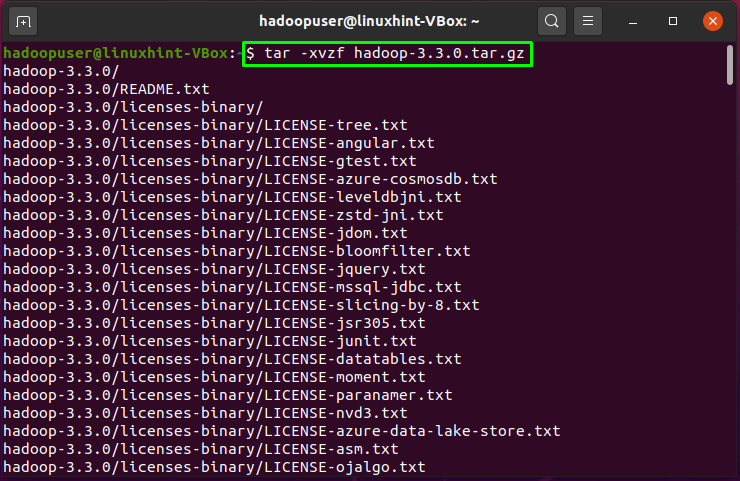
Extract the downloaded “hadoop-3.3.0.tar.gz” file with the tar command:
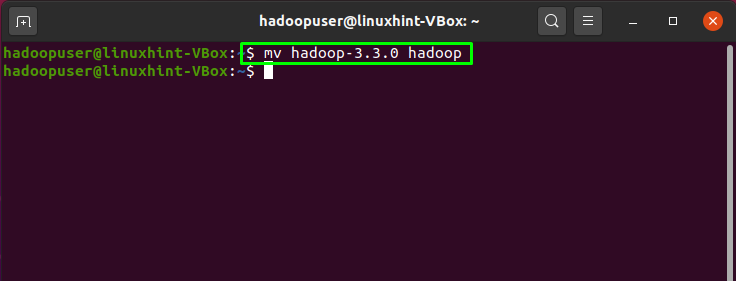
You can also rename the extracted directory as we will do by executing the below-given command:
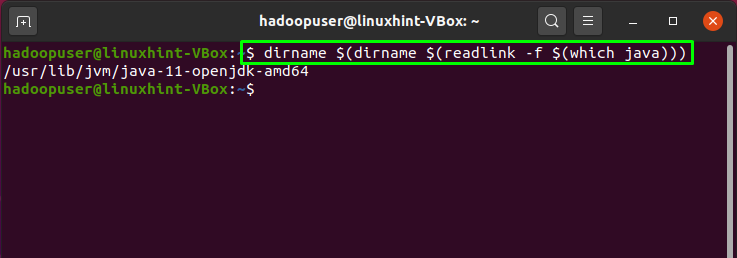
Now, configure Java environment variables for setting up Hadoop. For this, we will check out the location of our “JAVA_HOME” variable:
Open the “~/.bashrc” file in your “nano” text editor:
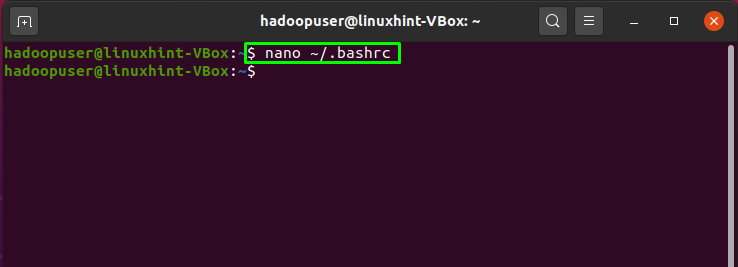
Add the following paths in the opened “~/.bashrc” file:
export HADOOP_HOME=/home/hadoopuser/hadoop
export HADOOP_INSTALL=$HADOOP_HOME
export HADOOP_MAPRED_HOME=$HADOOP_HOME
export HADOOP_COMMON_HOME=$HADOOP_HOME
export HADOOP_HDFS_HOME=$HADOOP_HOME
export HADOOP_YARN_HOME=$HADOOP_HOME
export HADOOP_COMMON_LIB_NATIVE_DIR=$HADOOP_HOME/lib/native
export PATH=$PATH:$HADOOP_HOME/sbin:$HADOOP_HOME/bin
export HADOOP_OPTS="-Djava.library.path=$HADOOP_HOME/lib/native"
After that, press “CTRL+O” to save the changes we made in the file:

Now, write out the below-given command to activate the “JAVA_HOME” environment variable:
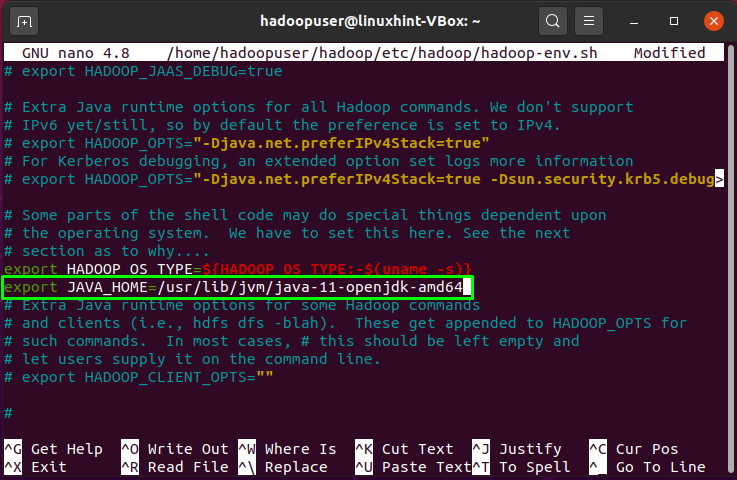
The next thing we have to do is to open up the environment variable file of Hadoop:
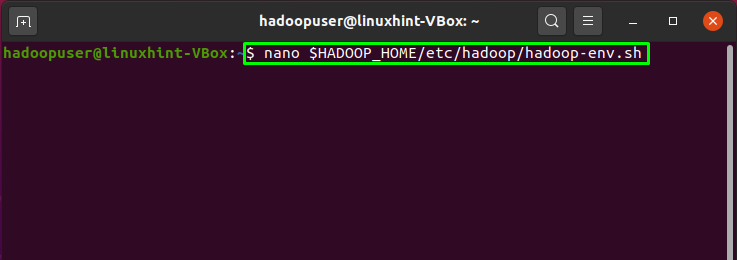
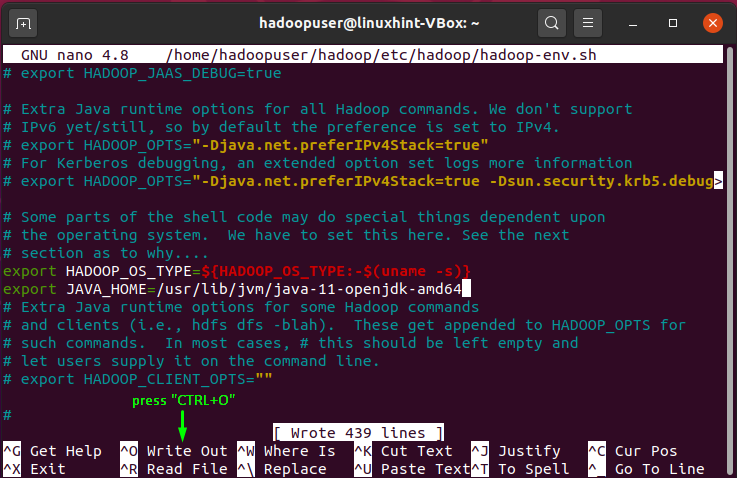
We have to set our “JAVA_HOME” variable in the Hadoop environment:
Again, press “CTRL+O” to save the file content:
How to configure Apache Hadoop on Ubuntu
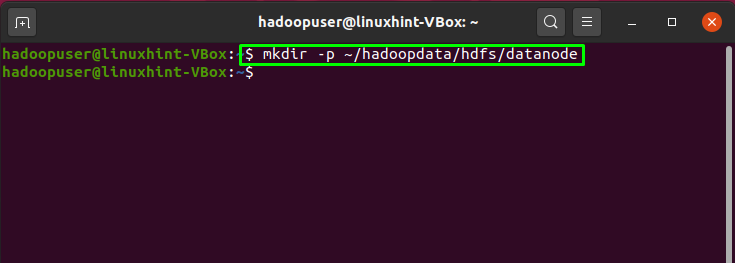
Till this point, we have successfully installed JAVA and Hadoop, created Hadoop users, configured SSH key-based authentication. Now, we will move forward to show you how to configure Apache Hadoop on the Ubuntu system. For this, the step is to create two directories: datanode and namenode, inside the home directory of Hadoop:

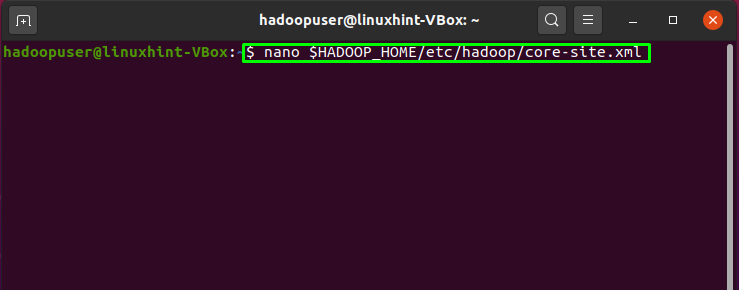
We will update the Hadoop “core-site.xml” file by adding our hostname, so firstly, confirm your system hostname by executing this command:

Now, open up the “core-site.xml” file in your “nano” editor:
Our system hostname in “linuxhint-VBox”, you can add the following lines with system’s host name in the opened “core-site.xml” Hadoop file:
<property>
<name>fs.defaultFS</name>
<value>hdfs://hadoop.linuxhint-VBox.com:9000</value>
</property>
</configuration>
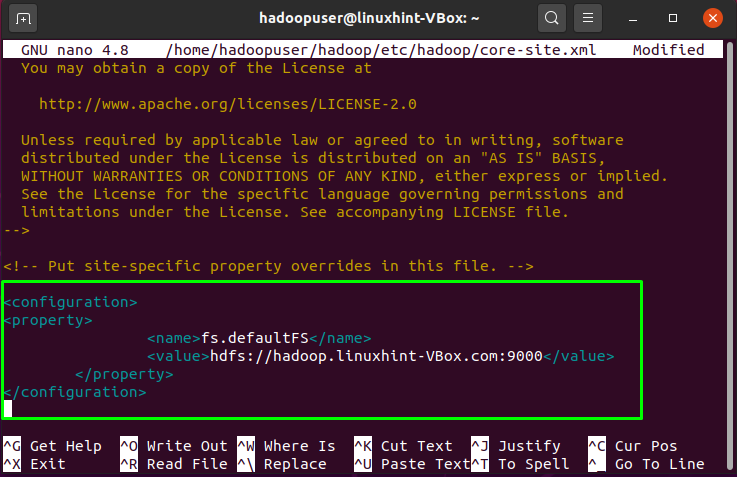
Press “CTRL+O” and save the file:

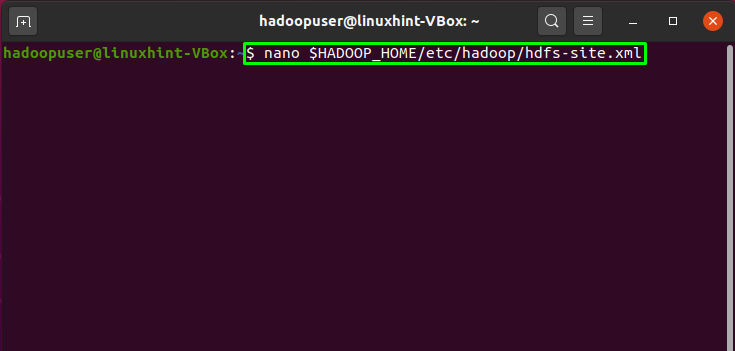
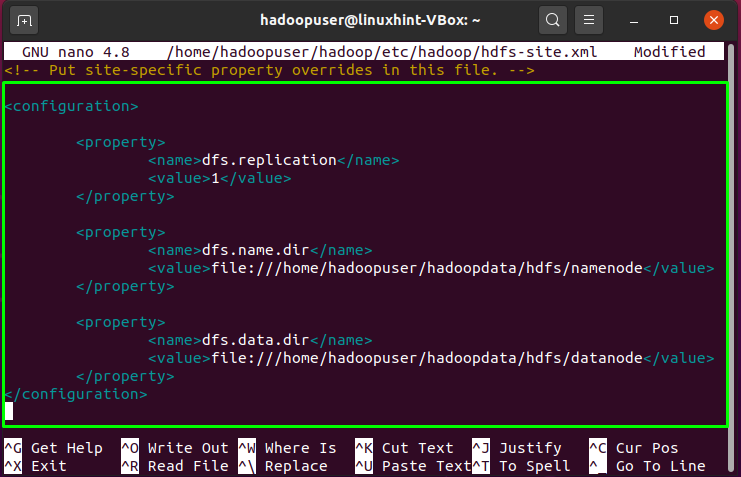
In the “hdfs-site.xml” file, we will change the directory path of “datanode” and “namenode”:
<property>
<name>dfs.replication</name>
<value>1</value>
</property>
<property>
<name>dfs.name.dir</name>
<value>file:///home/hadoopuser/hadoopdata/hdfs/namenode</value>
</property>
<property>
<name>dfs.data.dir</name>
<value>file:///home/hadoopuser/hadoopdata/hdfs/datanode</value>
</property>
</configuration>
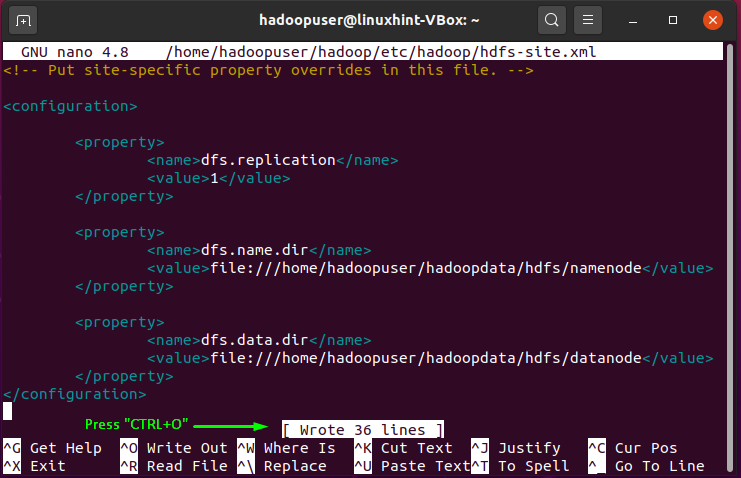
Again, to write out the added code in the file, press “CRTL+O”:
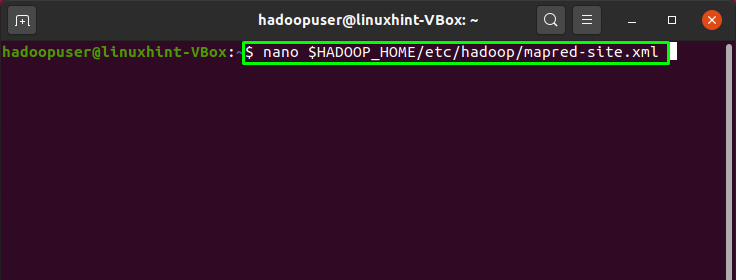
Next, open up the “mapred-site.xml” file and add the below-given code in it:
<property>
<name>mapreduce.framework.name</name>
<value>yarn</value>
</property>
</configuration>

Press “CTRL+O” to save the changes you made into the file:

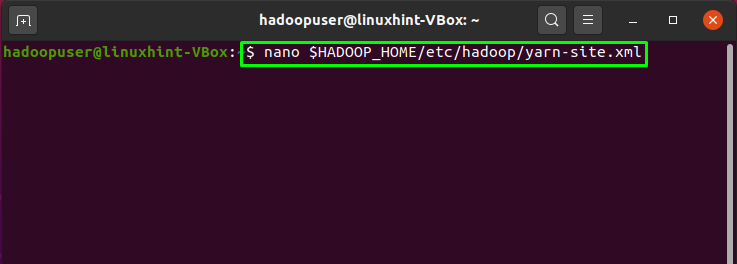
The last file that needs to be updated is the “yarn-site.xml”. Open this Hadoop file in the “nano” editor:
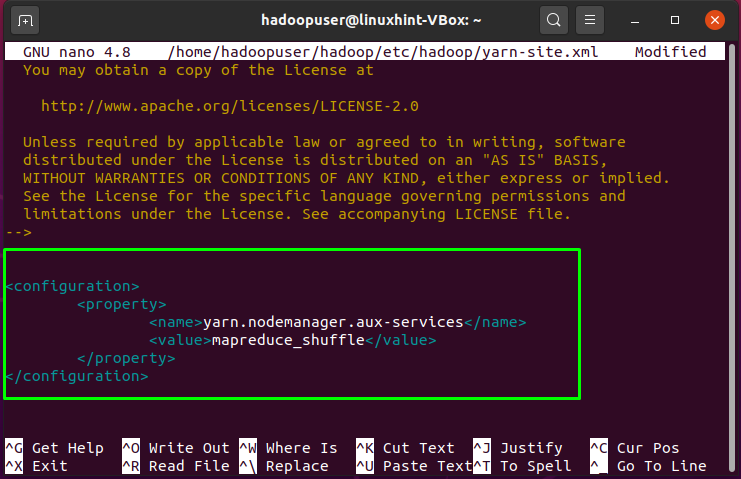
Write out below-given lines in “yarn-site.xml” file:
<property>
<name>yarn.nodemanager.aux-services</name>
<value>mapreduce_shuffle</value>
</property>
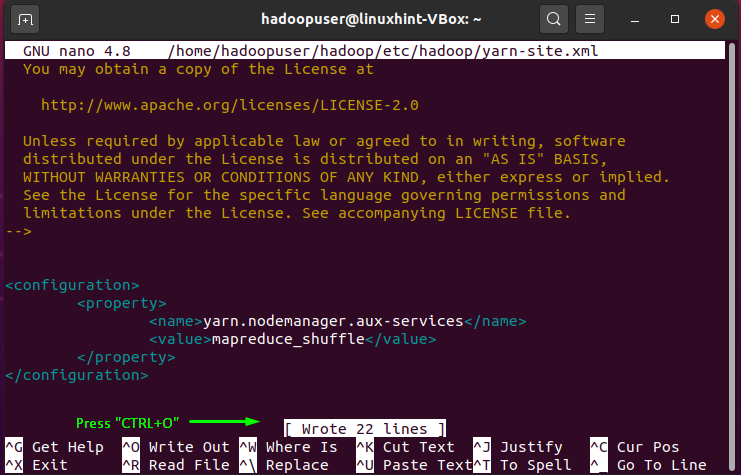
</configuration>
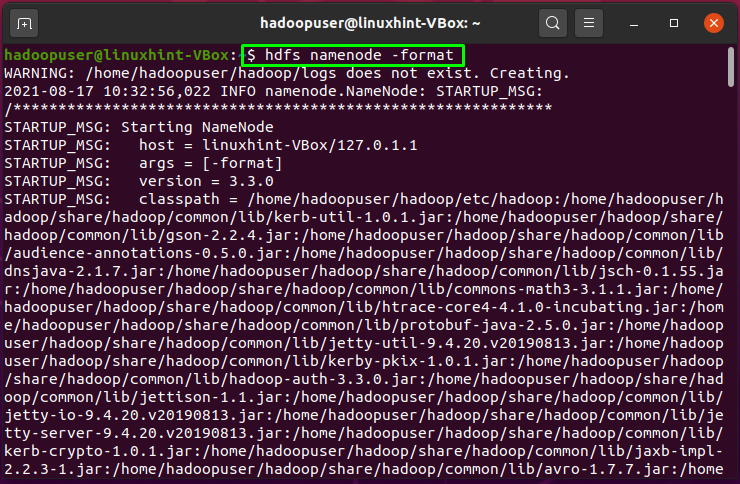
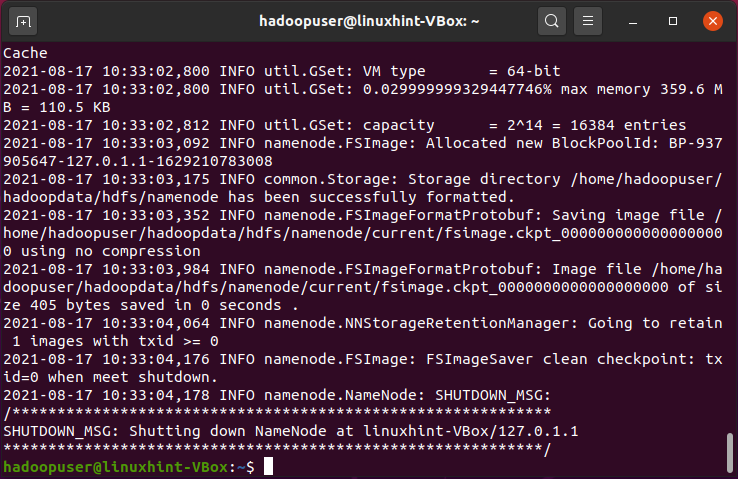
We have to start the Hadoop cluster to operate Hadoop. For this, we will format our “namenode” first:
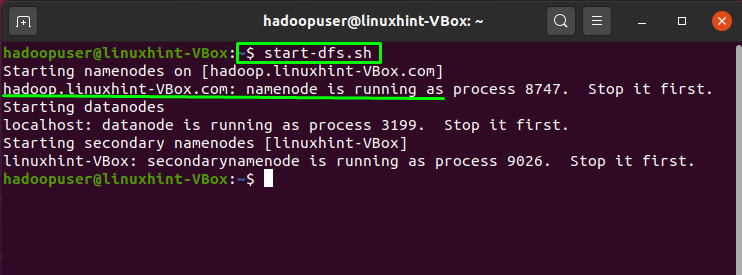
Now start the Hadoop cluster by writing out the below-given command in your terminal:
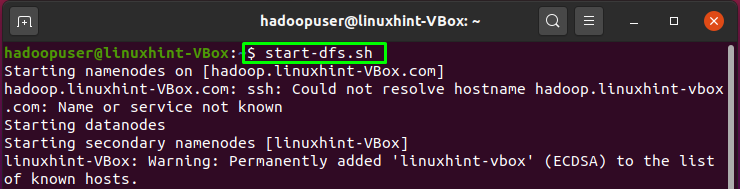
In the process of starting the Hadoop cluster, if you get the “Could resolve hostname error”, then you have to specify the hostname in the “/etc/host” file:

Save the “/etc/host” file, and now you are all ready to start the Hadoop cluster:
In the next step, we will start the “yarn” service of the Hadoop:
The execution of the above-given command will show you the following output:

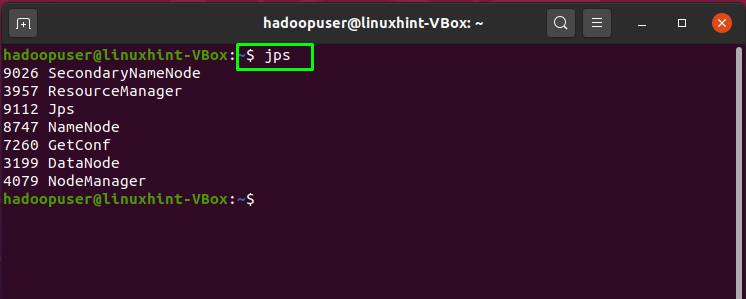
To check the status of all services of Hadoop, execute the “jps” command in your terminal:
The output shows that all services are running successfully:
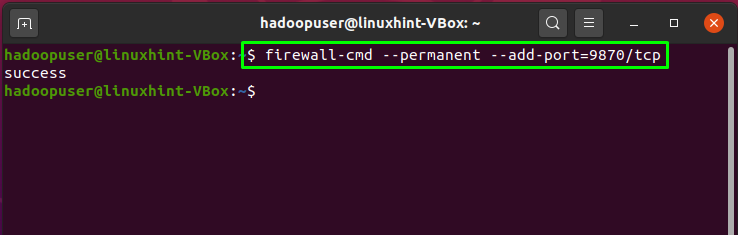
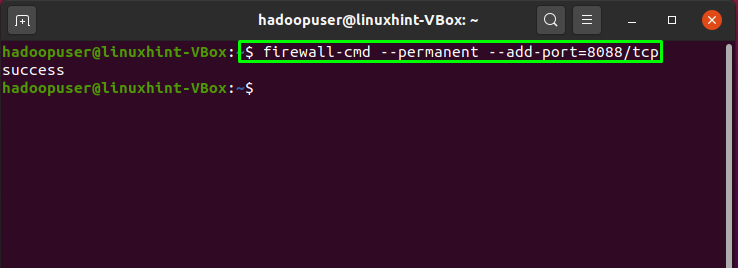
Hadoop listens at the port 8088 and 9870, so you are required to permit these ports through the firewall:
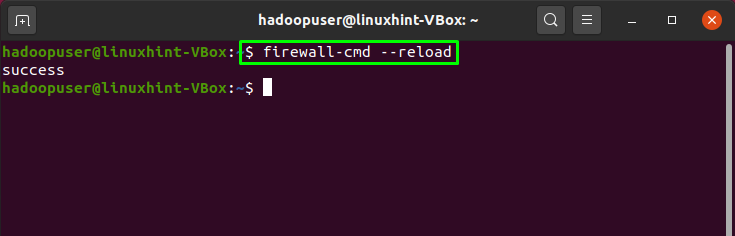
Now, reload the firewall settings:
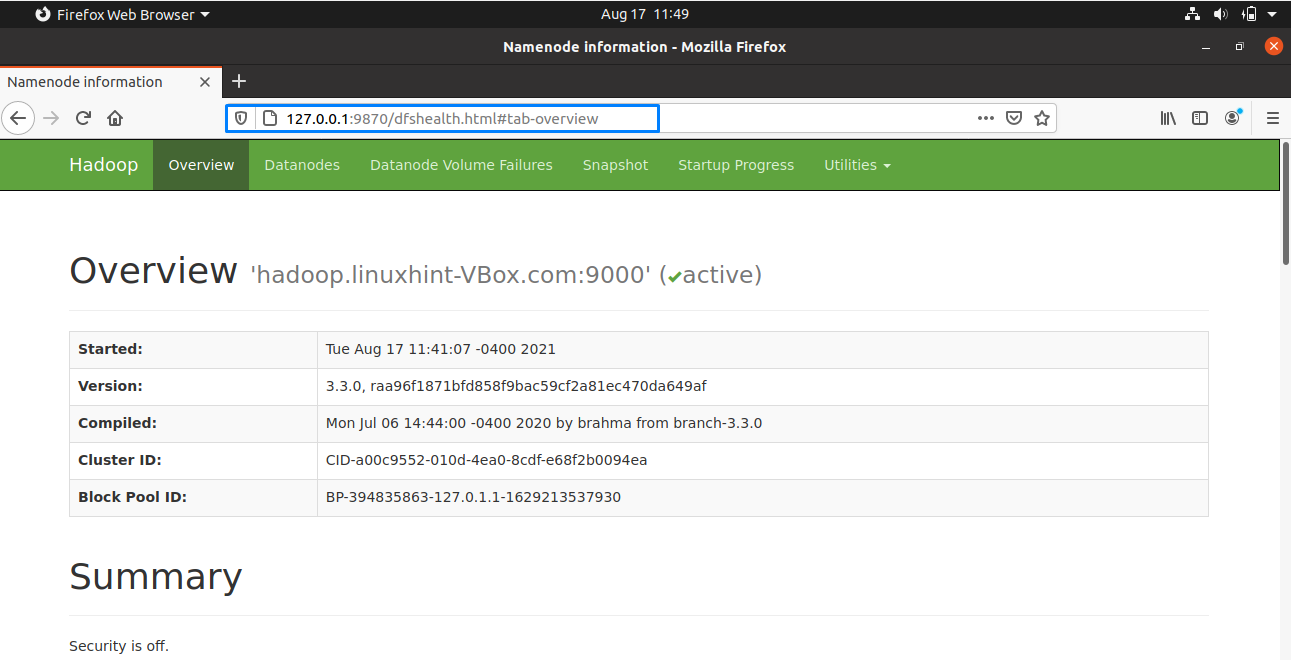
Now, open up your browser, and access your Hadoop “namenode” by entering your IP address with the port 9870:
Utilize the port “8080” with your IP address to access the Hadoop resource manager:

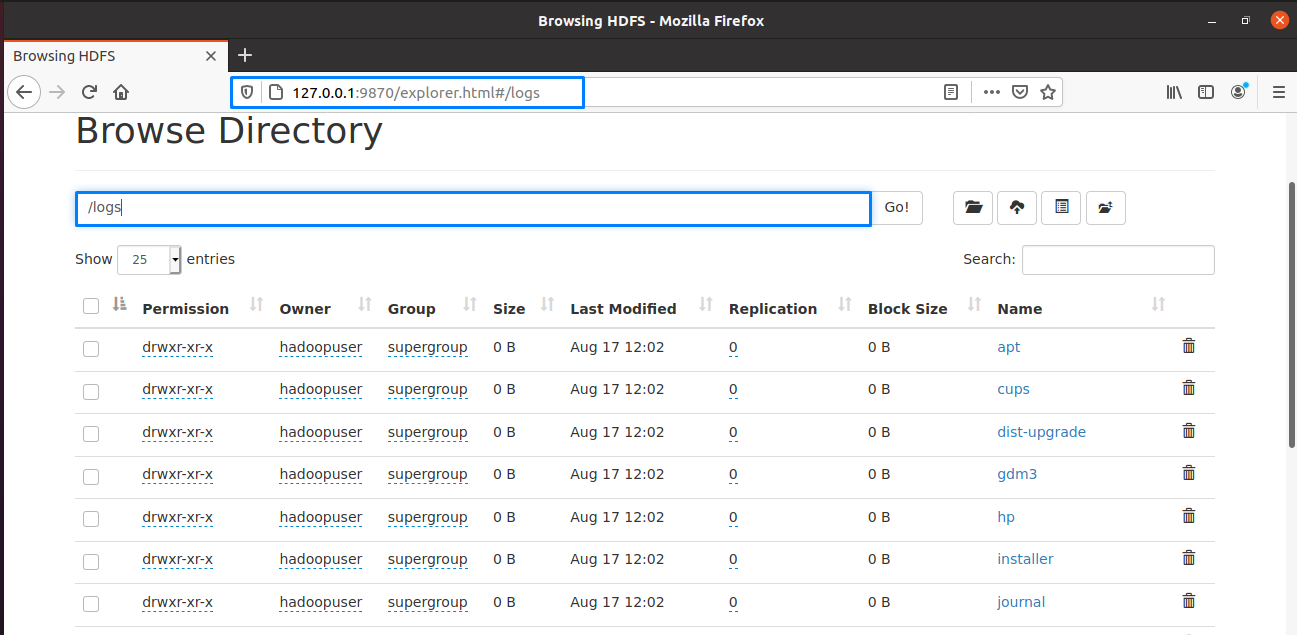
On the Hadoop web interface, you can look for the “Browse Directory” by scroll down the opened web page as follows:
That was all about installing and configuring Apache Hadoop on the Ubuntu system. For stopping the Hadoop cluster, you have to stop the services of “yarn” and “namenode”:


Conclusion
For different big data applications, Apache Hadoop is a freely available platform for managing, storing, and processing data that operates on clustered servers. It is a fault-tolerant distributed file system that allows parallel processing. In Hadoop, the MapReduce model is utilized for storing and extracting data from its nodes. In this article, we have shown you the method for installing and configuring Apache Hadoop on your Ubuntu system.