In this guide, we will provide you the installation procedure of the Apache Web server on Debian 11.
How to Install the Apache Web Server on Debian 11
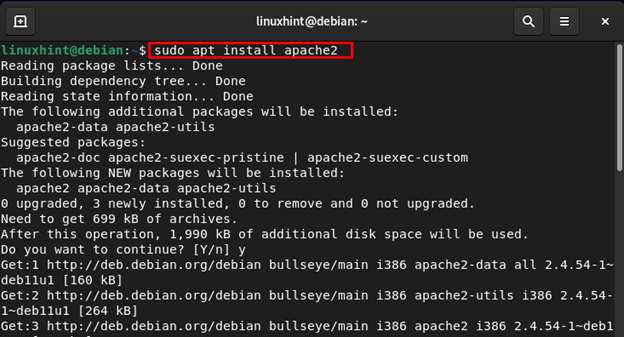
Apache web server is available in the default repository of the Debian and you can install it by running the below-given command in the terminal:
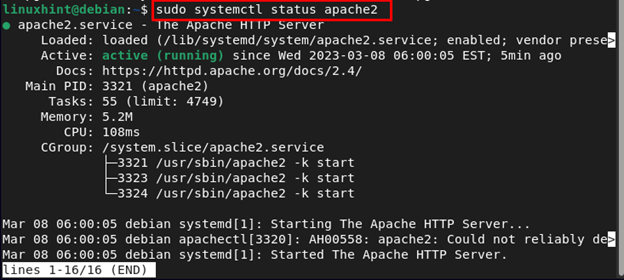
Once the process of installation is finished, run the following command to confirm the installation. This command will check the status of the apache2 on Debian system:
Managing the Process of Apache2 on Debian 11
Now, you have installed and setup the Apache2 server, you can use the basic systemctl commands to control the server on your Debian system:
To start the Apache web server on Debian, execute the following command:
To stop the server, run the below command in the terminal:
If you have stopped the server, you can start it again with the following command:
Setting up Virtual Host on Debian
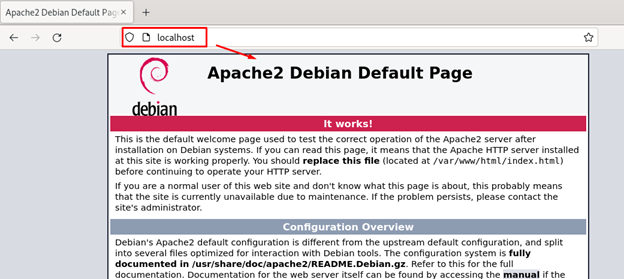
To setup the Apache2 on Debian run the start command and go to your default browser. Type localhost in the address bar and hit Enter key. You should see the default page of Apache 2 on your screen.
This means the server is running. To host the web page, you need to modify the configuration file from var/www/ directory.
Bottom Line
Apache is one of the most liked and commonly used web servers in almost all modern Linux operating systems. This server allows publishers to publish their content over the internet. Apache has tons of features and they can be enhanced using the additional modules. In the above section of the guide, we have demonstrated the procedure of the installation and managing the Apache web server on Debian 11.


