
Before installation, let’s have a look at some amazing features of xpad:
Features of Xpad
- Provides customized fonts
- Variety of font colors as well background colors
- Change the font style
- You can enable lock option to prevent any unusual editing
- It supports multiple windows support
How to install Xpad on Ubuntu
You can install Xpad package on Ubuntu in two ways:
- Using Ubuntu Software Center
- Using Ubuntu terminal
We will demonstrate both ways to install this package:
How to install Xpad using Ubuntu Software Center
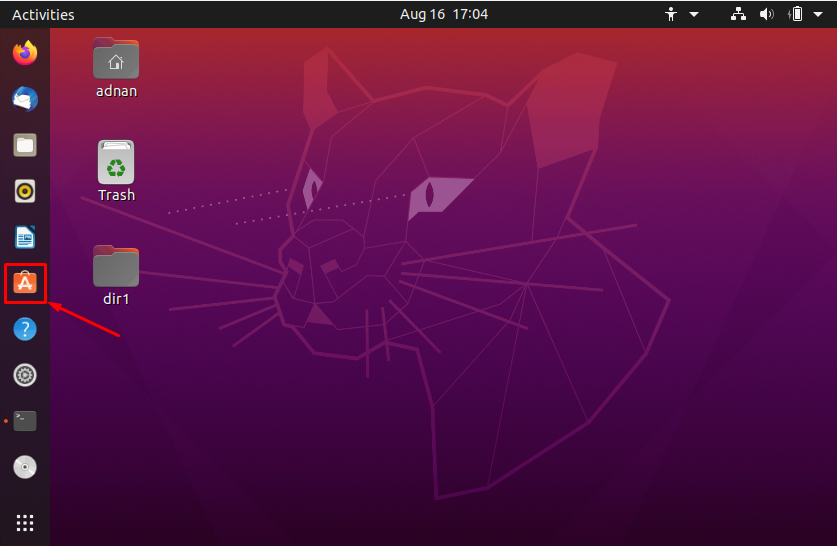
The first way is to install the Xpad using the GUI of Ubuntu; firstly, you have to open the built-in package manager “Ubuntu Software Center”. Click on the “Ubuntu Software Center” icon placed on the left side taskbar of the desktop or you can access from the applications:
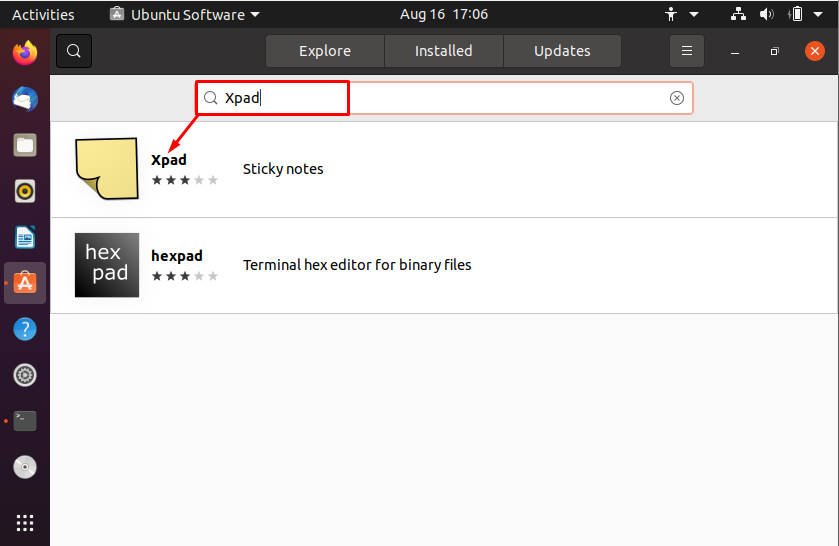
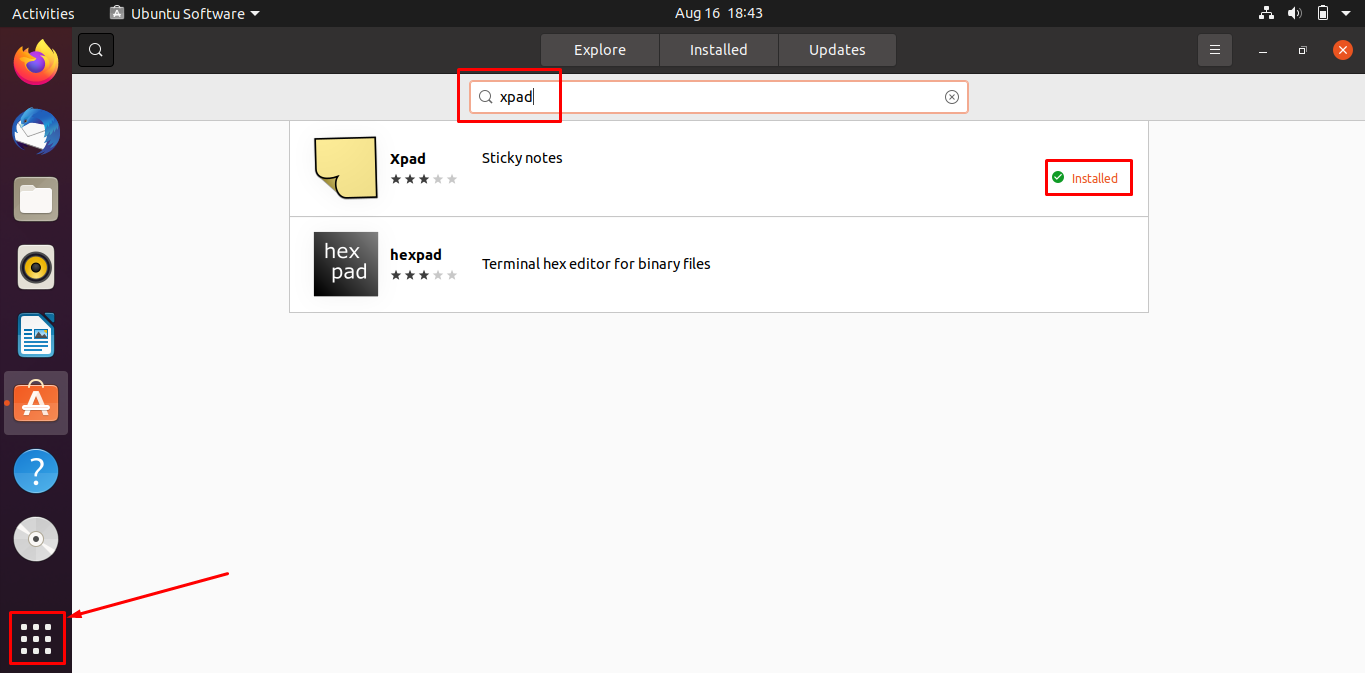
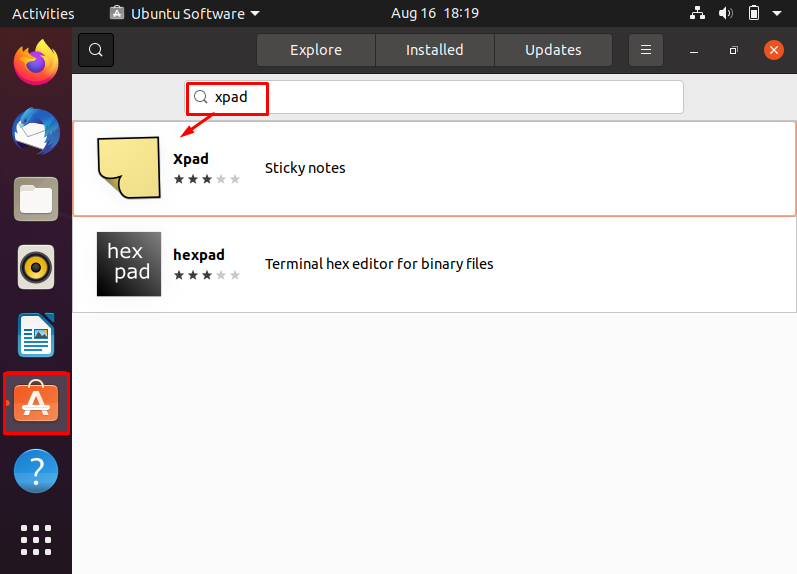
Once it is opened, move to the search bar of the “Ubuntu Software” and type “Xpad” to search for it; the required application will be displayed on the top of the search result; click on the “Xpad”:
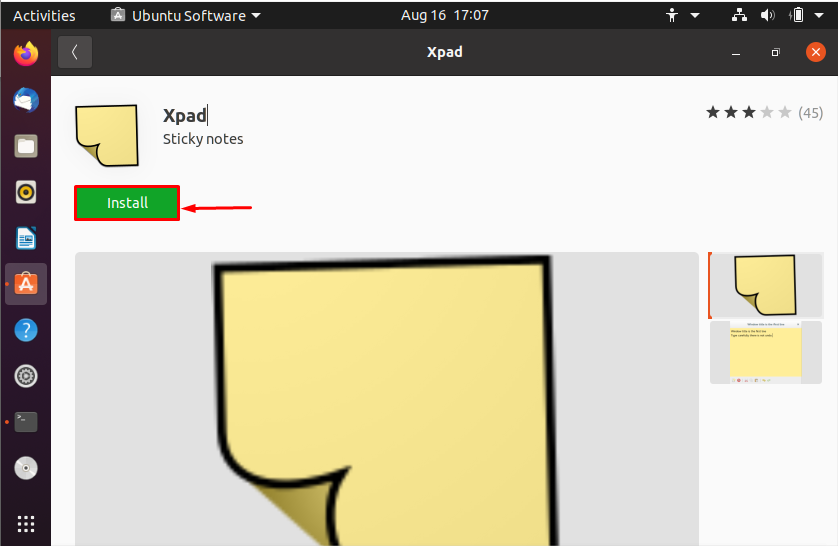
The time you click on it; a window will be opened and you will see a “install” button; click on the install button to start the installation:
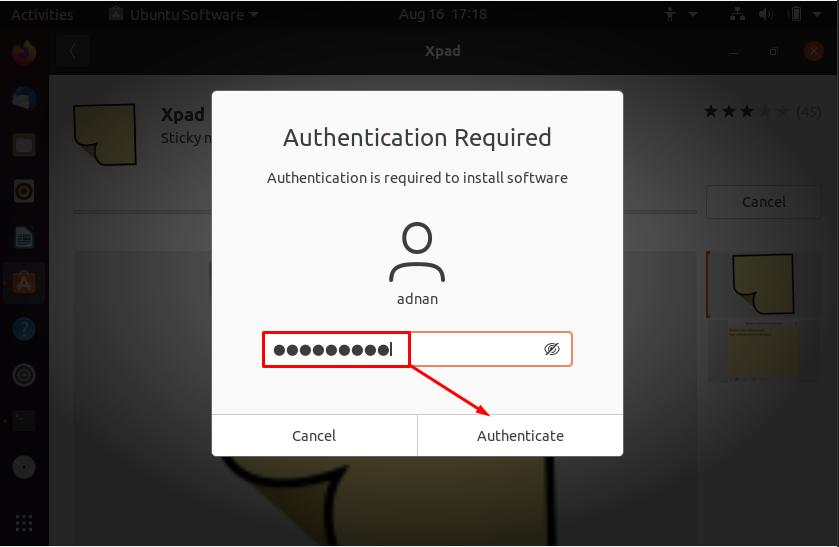
After clicking on the install button, it will ask for the authentication of the user; enter your user password and hit “Authenticate” to continue:
After authentication, the software will start installing; and you can check installed software following the steps given below:
Click on the show applications option available on taskbar of Ubuntu and search for xpad:
How to install Xpad using terminal in Ubuntu
Open your terminal using the keyboard shortcut, “Alt+Ctrl+T”; It is good practice to get the updated list of packages available from internet; to do that, execute the following command:

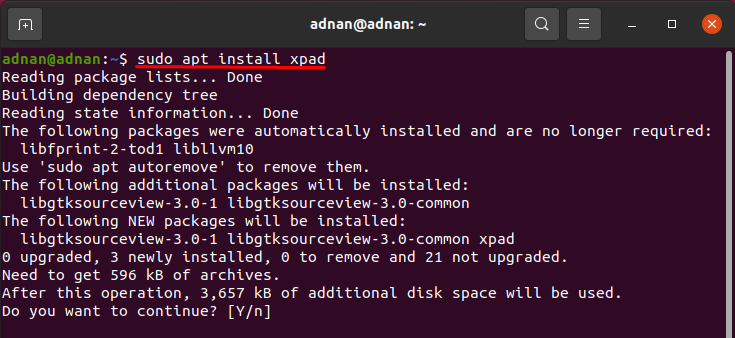
Xpad is not installed on the Ubuntu by default, however, you can install the Xpad on Ubuntu with the help of following command:
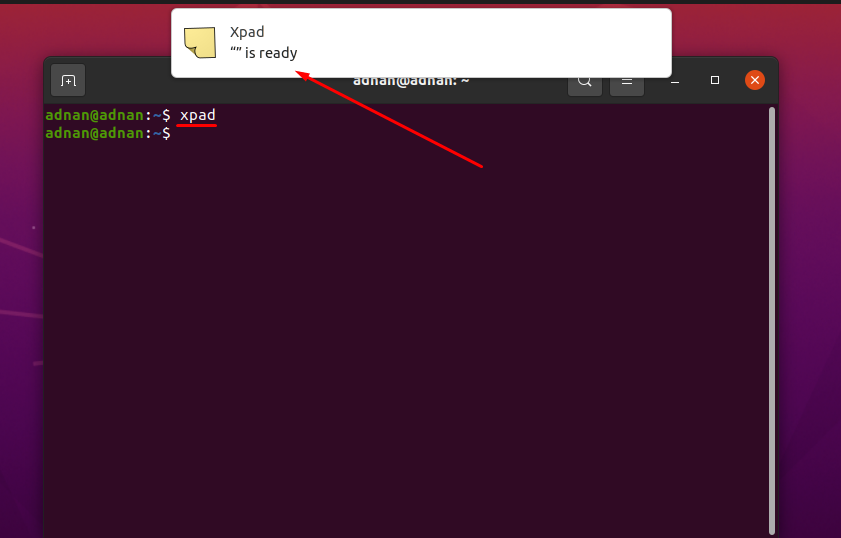
To run the Xpad; use the following command:
How to use Xpad on Ubuntu
Once the Xpad is opened; you will notice a shortcut bar on the bottom end of the application: In shortcut menu, you can perform following actions:
- Add new sticky note
- Delete the sticky note
- You can undo or redo the changes
- The content can be copied or cut to clipboard

For detailed options, right click inside the sticky notes windows; and click on “preferences”:

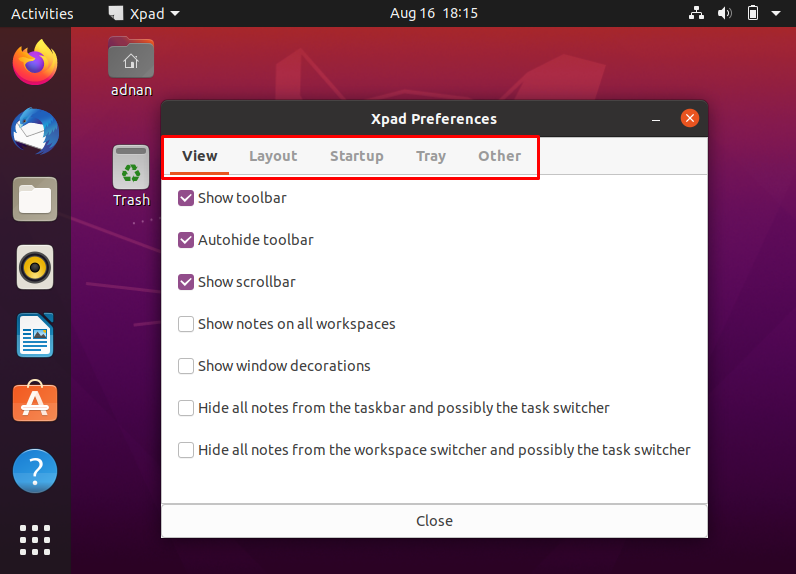
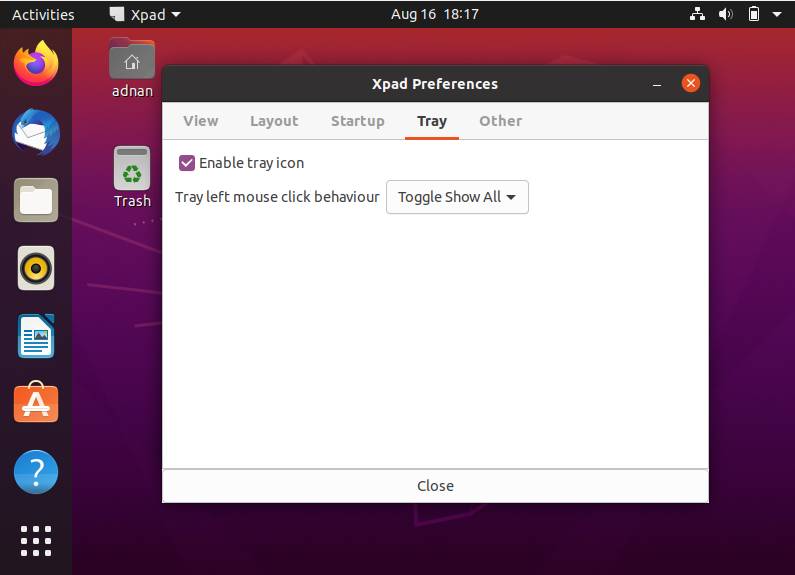
Upon clicking “Preferences”; it will open new window that have five options on the menu bar as shown in the image below:
The first option is related to “View” of the sticky notes window, where you can customize the following:
You can customize the toolbar options; one can carry or hide the sticky notes on all the workspaces:
The next tab is “Layout”; you can change the aesthetics of font and background by using this tab:

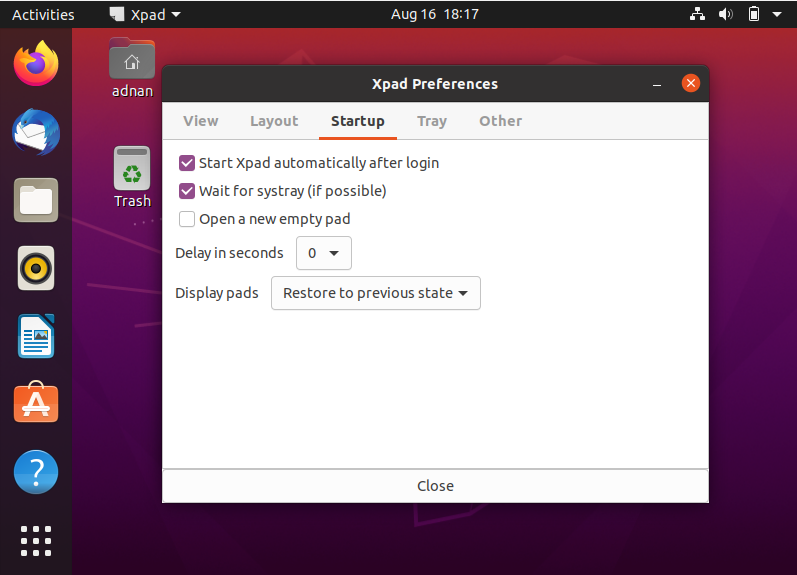
The startup option of Xpad can be customized in “Startup” tab:
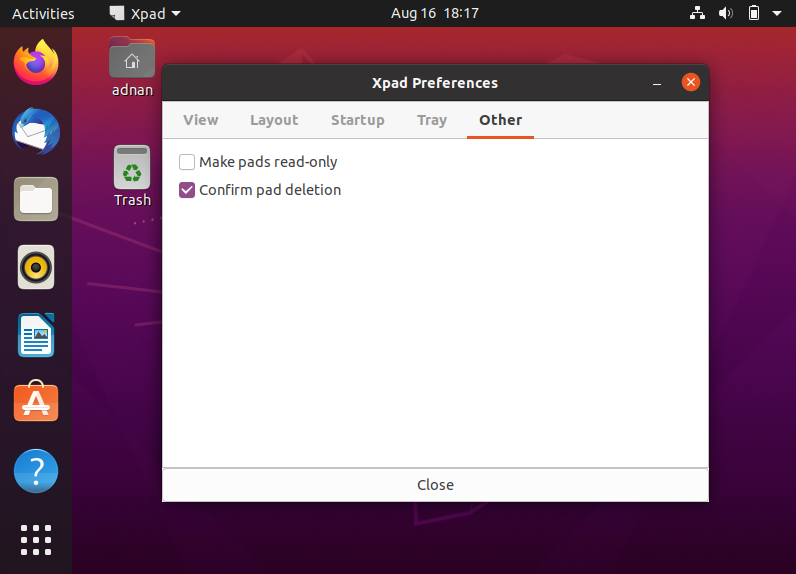
In “Other” tab, you can change the pad setting to read only and choose the confirmation option before deletion:
How to uninstall Xpad in Ubuntu
You can uninstall the installed Xpad by the following ways:
Uninstalling Xpad through terminal : If the packages is installed through apt, to uninstall the installed package; execute the following command in terminal:

Uninstalling Xpad through Ubuntu Software Center: You can uninstall Xpad using the graphical interface of Ubuntu by following the steps as given below. Click on the “Ubuntu Software” available on the taskbar of the desktop in Ubuntu: search for xpad in search bar:
Once you click on the Xpad, you will see “Remove” button; click on it to remove the package:
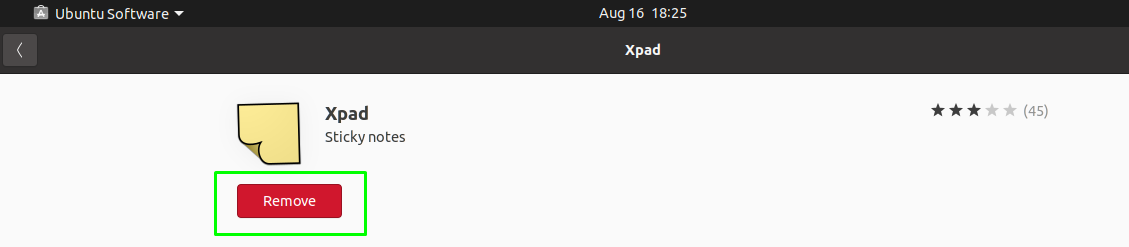
After that, a confirmation window will be displayed; click on “Remove” to confirm:

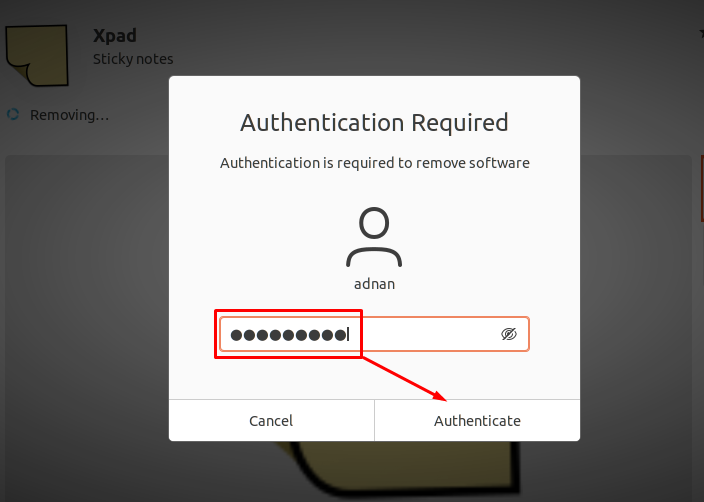
After confirming, it will ask for the user password; enter the password to remove Xpad.
Conclusion
Everybody wants to keep the important tasks with them so that they can remind themselves about the tasks they have scheduled. Xpad provides the facility to do so in Linux and macOS. Xpad is a sticky notes application that is used to jot down important notes; by default, Xpad is not installed on the Ubuntu, this tutorial guides you to install the Xpad using two ways i.e., using terminal and using GUI support of Ubuntu. Moreover, the usage of the package is also described in depth.