PHP Composer is a popular dependency management solution that was designed with the aim to make updates and dependencies installation easier. This tool determines the required packages and installs it on your system using the right version based on the project’s need. PHP Composer is also majorly utilized to start new projects with the help of PHP frameworks such as Laravel and Symfony.
This blog will demonstrate the procedure of installing and using PHP Composer on Ubuntu 22.04. Let’s get started.
Install PHP Composer on Ubuntu 22.04
For the purpose of installing PHP Composer on Ubuntu 22.04, follow the given instructions.
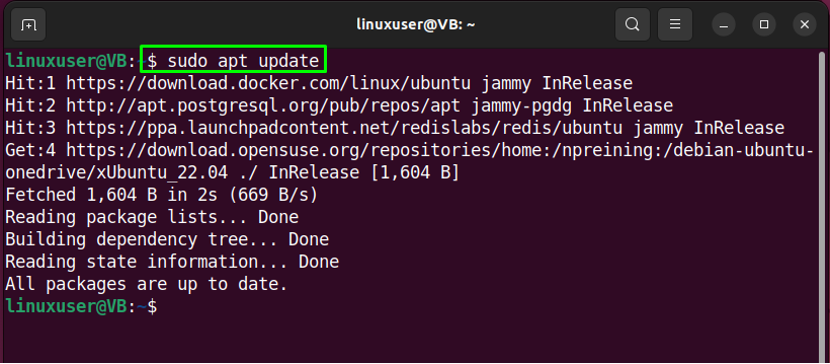
Step 1: Update system packages
First of all, hit “CTRL+ALT+T” and update the system packages:
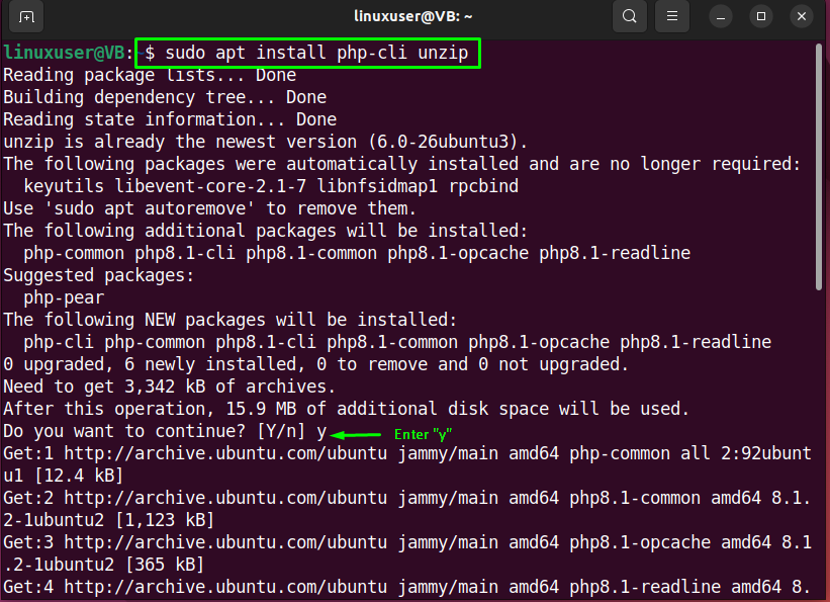
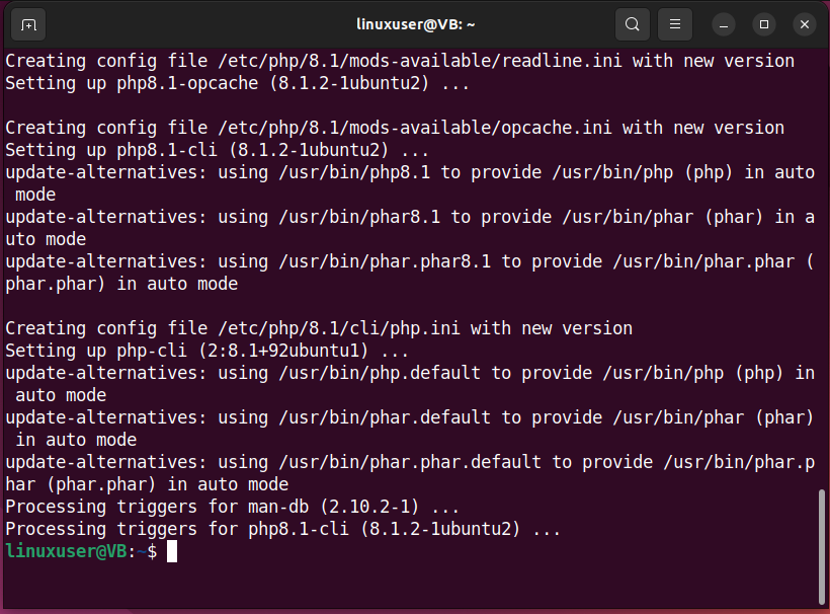
Step 2: Install required packages
Next, run the following command for the installation of required packages for PHP Composer:
Step 3: Download PHP Composer setup file
Download the PHP Composer installer script by utilizing the following “curl” command:
Verify the hash of the downloaded PHP composer script with the signatures present at the official page:
Then, validate if the PHP Composer installer can be safely executed or not:
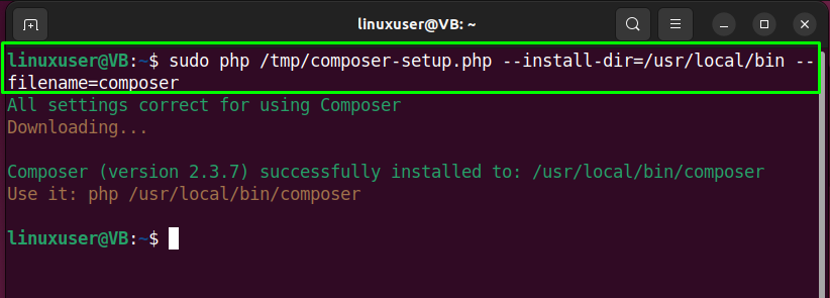
Step 4: Install PHP Composer
After verifying the installer, install PHP Composer on Ubuntu 22.04 by utilizing the following command:
The given output indicates that PHP Composer version “2.3.7” has been successfully installed:
Step 5: Test PHP Composer installation
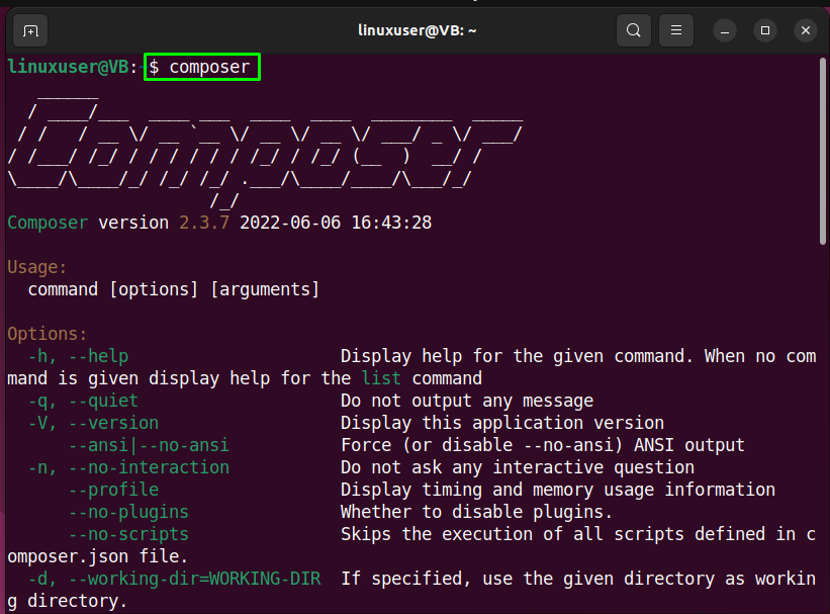
Lastly, test the performed PHP Composer installation by running “composer” command in terminal:
Now, let’s head towards using PHP Composer on Ubuntu 22.04.
Use PHP Composer on Ubuntu 22.04
Follow the below-given instructions for using PHP Composer on Ubuntu 22.04.
Step 1: Create a directory
For the purpose of using PHP Composer on Ubuntu 22.04, firstly we will create a directory named “slugify”:
Step 2: Move to directory
Then, move to the created directory with the help of the given “cd” command:
Step 3: Install package
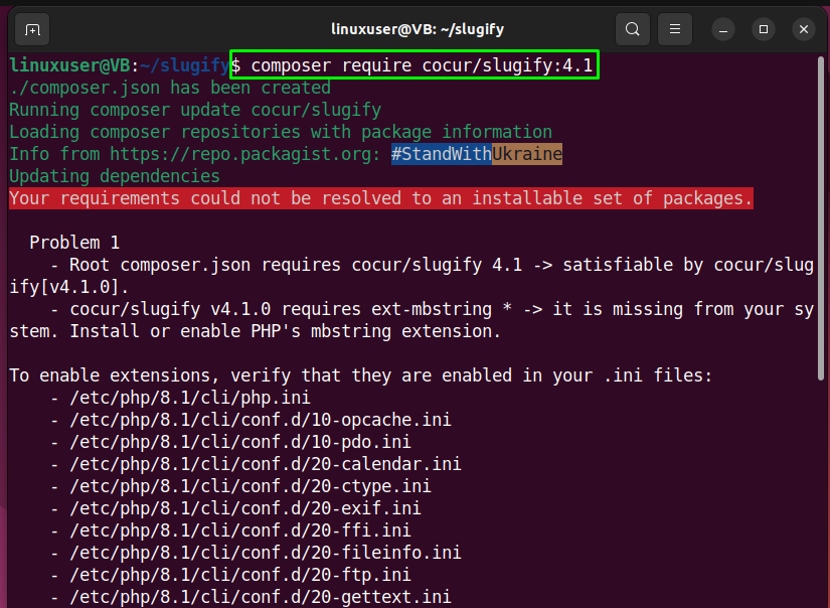
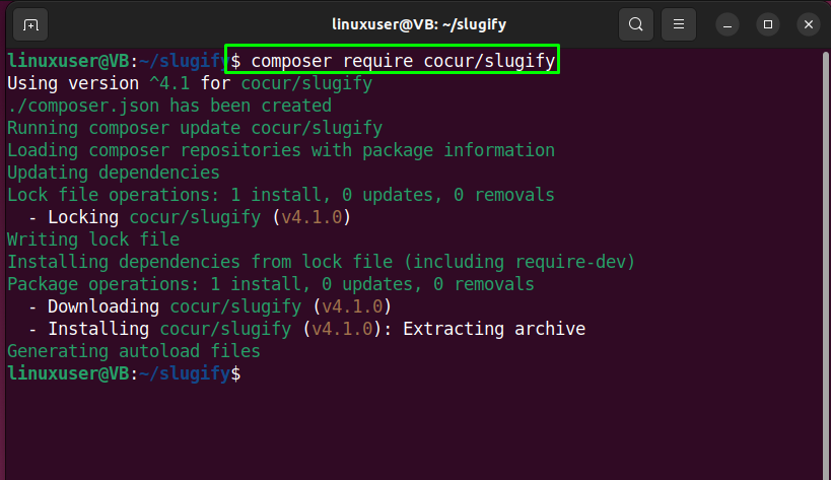
Install the “cocur/slugify” using the PHP Composer:
After executing the above-given command, you will also encounter the following error, if “mbstring” library is not installed on your system:
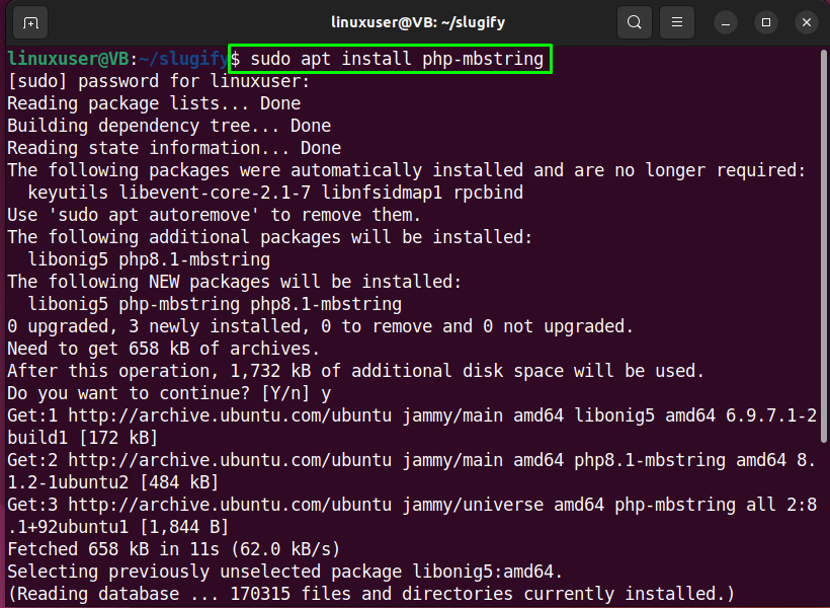
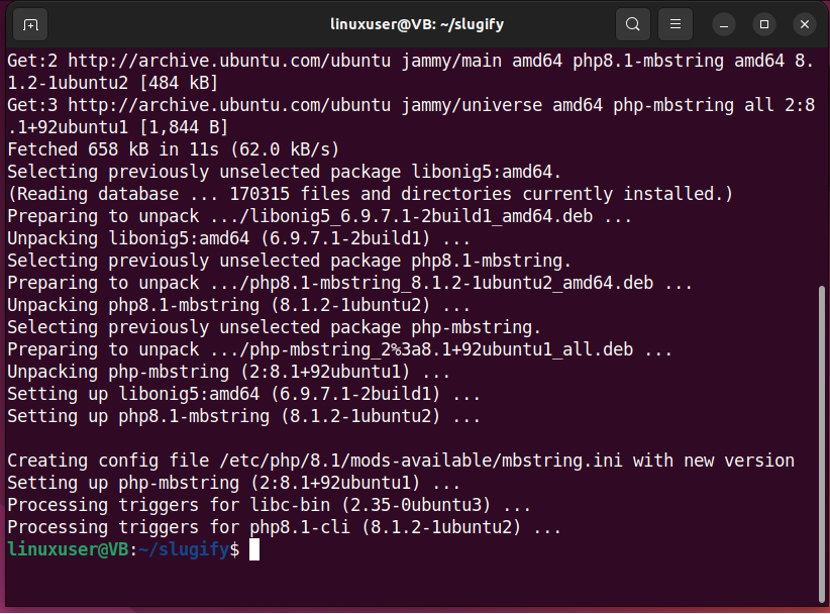
To resolve the encountered error, write out the provided command in your terminal:
Then again execute the “composer require” command:
Step 4: List files
Now, list the content of the current “slugify” directory:
As our current working directory comprises three files: “vendor”, “composer.lock”, and “composer.json”. This states that the specified package is successfully installed:
Step 5: Include Autoload script
Before any class instantiation, it is required to include the “vendor/autoload.php” in your PHP scripts: For instance, to create a demo application, we will open a new file named “test.php” in our “nano” editor:
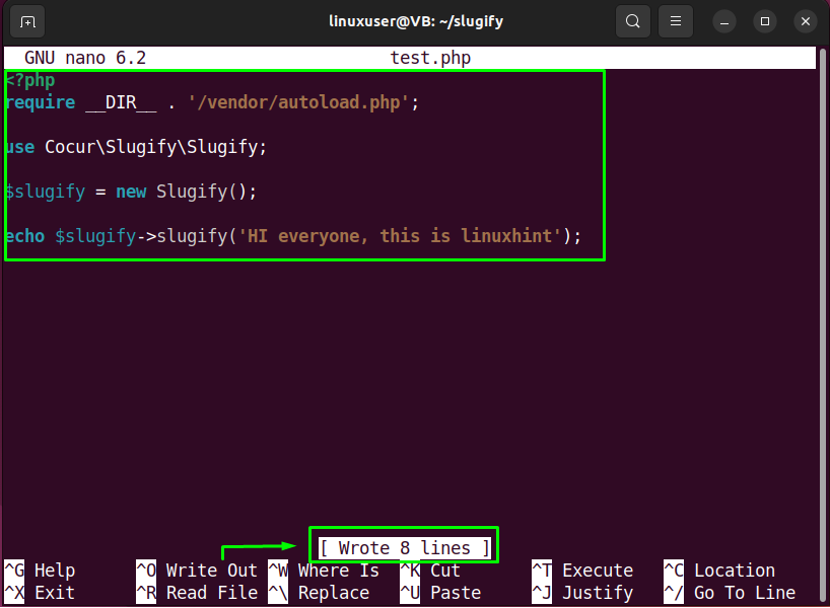
After opening the file, add the below-given code in it and hit “CTRL+O” to save its content:
require __DIR__ . '/vendor/autoload.php';
use Cocur\Slugify\Slugify;
$slugify = new Slugify();
echo $slugify->slugify('HI everyone, this is linuxhint');
Step 6: Run PHP script
Execute the given “php” to run the “test.php” script:
Upon doing so, the resultant output will be shown as “hi-everyone-this-is-linuxhint”:
Uninstall PHP Composer on Ubuntu 22.04
For uninstalling PHP Composer, type out the provided command in the terminal:
We have compiled the easiest method to install, use, and uninstall PHP Composer on Ubuntu 22.04.
Conclusion
To install PHP Composer on 22.04, firstly install the required packages. Then, download the PHP Composer and install it on your system. After installing PHP Composer, you can use it to install dependencies or libraries on Ubuntu 22.04. To do so, create a directory, move into it, and utilize the “composer require” command for the installation of specified package. This blog demonstrated the procedure of installing, using, and uninstalling PHP Composer on Ubuntu 22.04.

