
AIDE creates a database of file attributes like ownership, checksums, permissions, etc. After creating the database, AIDE regularly checks it as per the current state of the file system to identify anomalies.
Once AIDE identifies any issue, it alerts the user/administrator to immediately take an action. Hence, it detects the problems before compromising anything from the system. If you also want to install and use AIDE on Ubuntu 22.04, this guide is just for you.
How to Install and Use AIDE on Ubuntu 22.04
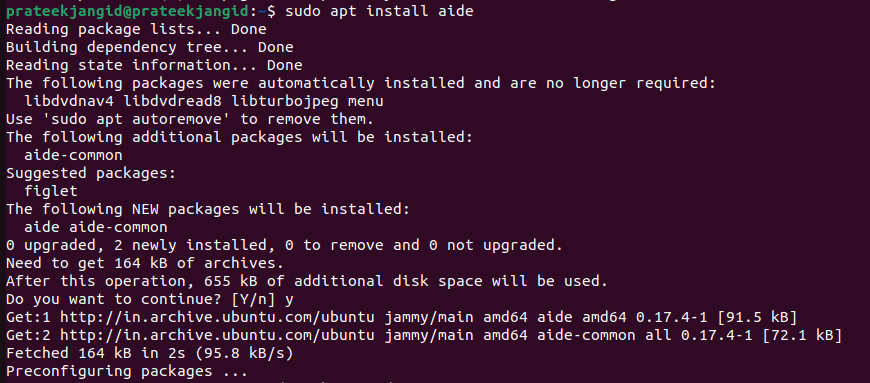
Let’s install AIDE in Ubuntu. But first, update the system. Then, begin the installation process:
sudo apt install aide
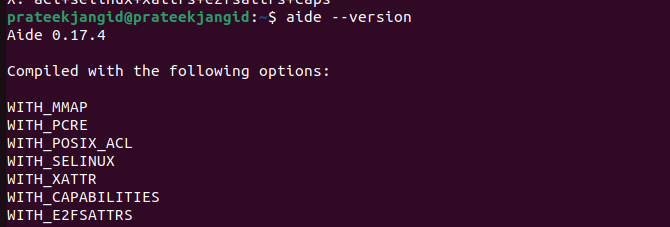
After installing AIDE in your system, you can now check its version through the following command:
AIDE Configuration
Configuring AIDE is easy because you only have to edit the configuration file. Open the config file in the Nano editor:
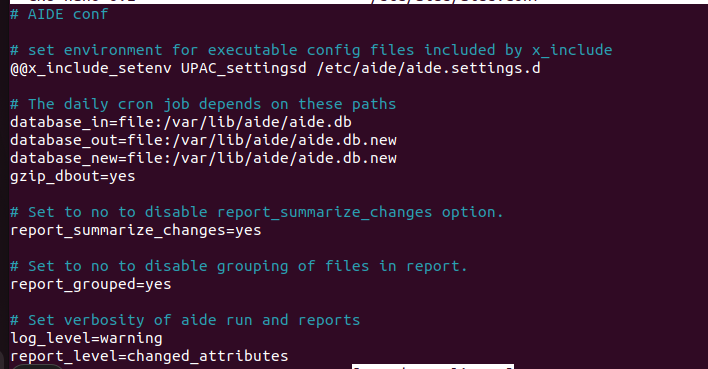
Here, you will find the various sections to modify the working of AIDE. Let’s breakdown these sections:
- Database: It specifies the name and the location of the AIDE database file.
- Rules: It contains all the rules that AIDE follows while checking your system.
- Include: It allows the users to include all the additional configuration files accordingly.
- Exclude: Users can exclude specific files or directories from the AIDE scan.
You can edit the given information as per your requirements and save this configuration file.
How to Use AIDE
First, run the following command to initialize the AIDE database:

This command creates the AIDE database file /var/lib/aide/aide.db.new.gz as per the currently available file system.
Now, copy the complete database to your database file location through the following command:
Once you are done, run the following command to begin the AIDE scan process:
Conclusion
This is all about the simple ways to install and use AIDE on Ubuntu 22.04. AIDE is a great tool which helps you enhance the system’s security since it monitors and identifies all unauthorized changes. You can configure AIDE by modifying the config file to mold the tool as per the requirements. Moreover, you can use AIDE regularly to check your system and save it from third-party access and data breaches.