
This blog will demonstrate the procedure of installing and configuring the NFS server on Ubuntu 22.04. Let’s get started.
Note: In our post, we will refer “linuxuser” as our NFS server and “ubuntuuser” machine as NFS client.
InstalIing NFS server on Ubuntu 22.04
For the purpose of installing the NFS server on Ubuntu 22.04, follow the given instructions.
Step 1: Update system packages
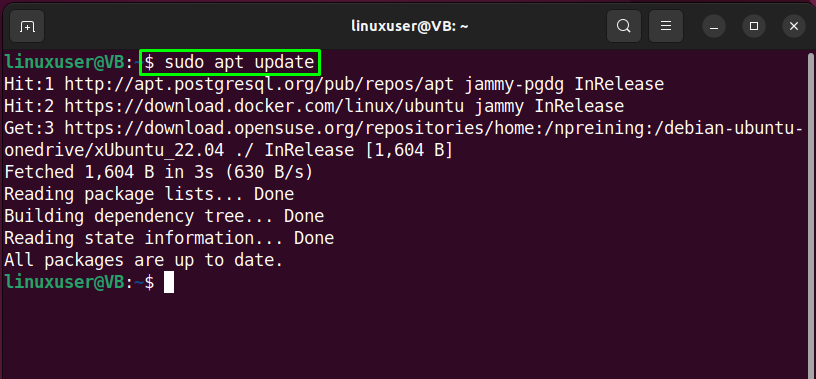
First of all, hit “CTRL+ALT+T” and update the system packages by running provided command:
All packages are updated:
Step 2: Install NFS server
In the next step, run the below-given command in the Ubuntu 22.04 terminal for NFS server installation:

The given output indicates that NFS server is successfully installed on Ubuntu 22.04 “linuxuser”system:

Now, let’s move toward the procedure to configure the installed NFS server.
Configuring NFS server on Ubuntu 22.04
For the configuration of the NFS server on Ubuntu 22.04, follow the given instructions.
Step 1: Make shared NFS directory
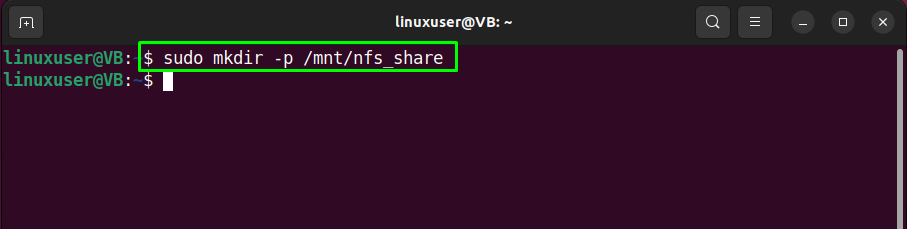
First of all, we will create a directory named “nfs_share” that is going to be shared by all client systems. To do so, write out the following command:
Step 2: Set directory permissions
Next, set the permissions of the created “nfs_share” directory so that all client machines can easily access it:

Now, move to next step.
Step 3: Set file permissions
Set the file permissions as required. In our case, we have allocated the read, write, and execute permissions to the “nfs_share” directory files:

Step 4: Grant NFS access
In this step, we will grant access to the client system for accessing the NFS server. To do so, open “/etc/exports” in the “nano” editor:

Now, it is up to you whether you want to grant access to the entire subnet, single or multiple clients. For instance, we will permit an entire subnet “10.0.2.15/24” to access the NFS share:
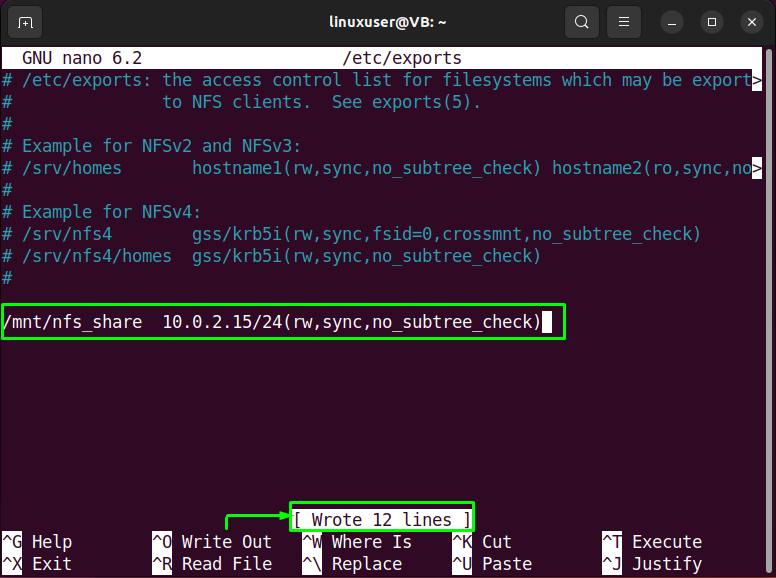
After adding the required line, press “CTRL+O” to save the file and switch back to the Ubuntu 22.04 terminal.
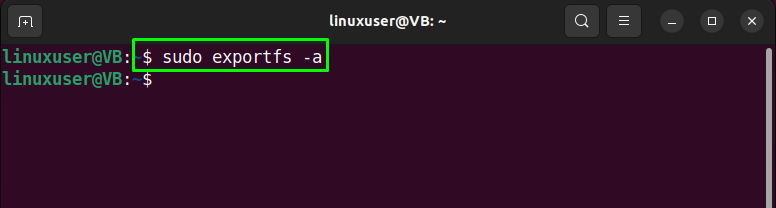
Step 5: Exporting NFS directory
Utilize the provided command for exporting the NFS shared directory:
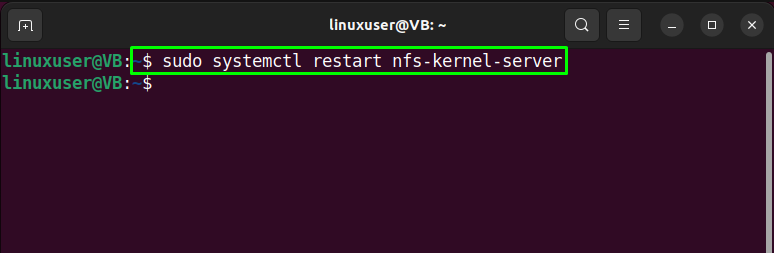
Step 6: Restart NFS server
Write out the provided command for restarting the NFS server on your Ubuntu 22.04 system:
Step 7: Grant Firewall access
Next, grant the Firewall access to the client system with the following “ufw” command:

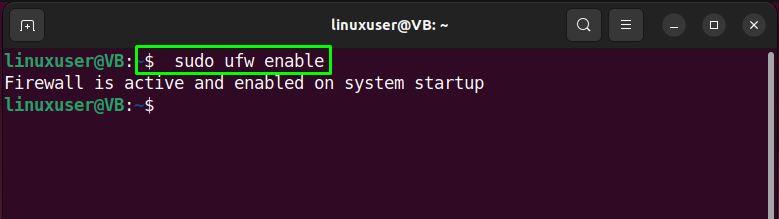
Step 8: Enable Firewall
Enable Firewall with “ufw” command and “enable” option:
Step 9: Check Firewall status
Next, verify that the Firewall is configured to allow the access through the port “2049”:

We will now head towards the NFS client on “ubuntuuser” system to test the NFS sharing point.
Installing NFS client on Ubuntu 22.04
In order to perform NFS client installation on Ubuntu 22.04, hit “CTRL+ALT+T” and run the following command:

Testing NFS share on Ubuntu 22.04
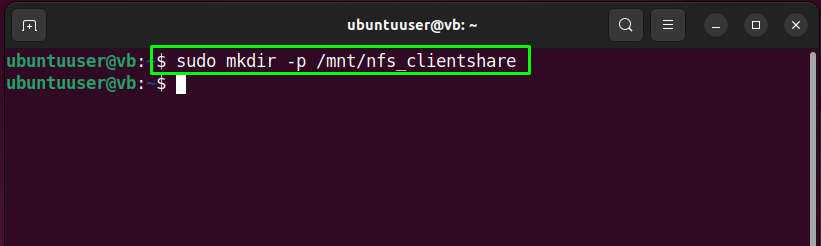
Now, we will test the access co-ordination between NFS client “ubuntuuser” and “linuxuser” NFS server. To do so, create a mount point on the NFS client system:
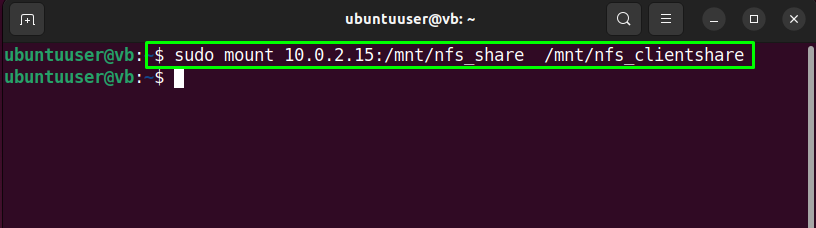
Then, mount the NSF share on the other Client system:
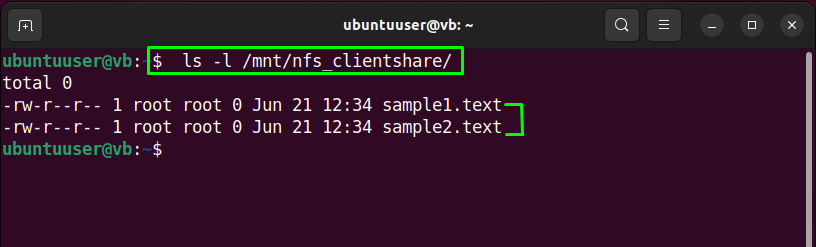
For the testing NFS share on the client system, firstly, we will create some files in the “nfs_share” directory on the “linuxuser” NFS server:


Then, switch to the client system and view the list of files present in the “nfs_clientshare” directory:
The given output indicates that files are successfully accessed on “ubuntuuser” client via NFS server:
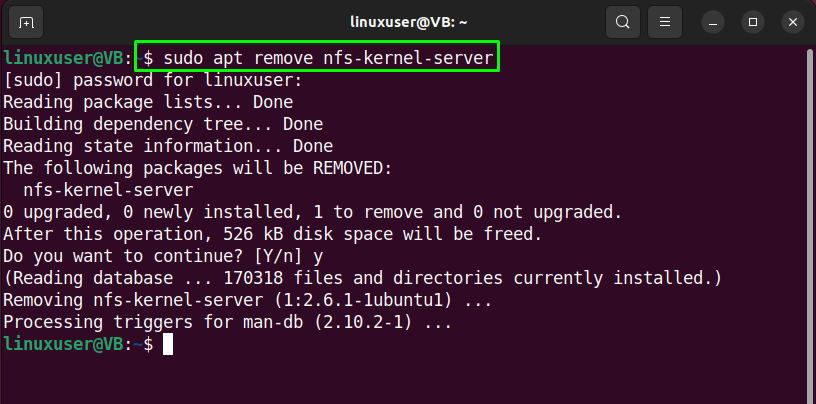
Uninstalling NFS server on Ubuntu 22.04
For the uninstallation of NFS server, run the following command:
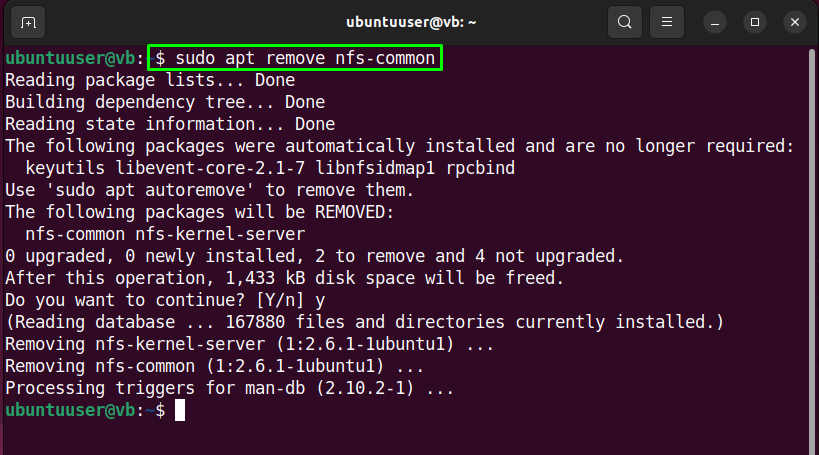
Uninstalling NFS client on Ubuntu 22.04
For the uninstallation of NFS client, write out the following command in Ubuntu 22.04 terminal:
We have compiled the method to install, configure, and test NFS server on Ubuntu 22.04.
Conclusion
For the purpose of installing NFS server on Ubuntu 22.04, firstly, update system packages and run the “$ sudo apt install nfs-kernel-server” command. Then create a shared NFS directory, set the file and directory permissions, and export it. Next, install the NFS client on another system with “$ sudo apt install nfs-common” command, create a mount point, and test the access of the shared NFS directory. This blog demonstrated the method of installing, configuring, and testing the NFS server on Ubuntu 22.04.