In this blog, we will go over two methods on how to import a pre-trained model in PyTorch.
How to Import a Pre-Trained Model in PyTorch Using Torchvision?
The “torchvision” library can be used to import pre-trained models in PyTorch. It is a subdivision of the primary “torch” library and contains the functionality of previously compiled datasets and trained models. This library provides the users with the ability to call models that have been trained on a large dataset. These pre-trained models can be applied to new data and can provide valid inferences without the need for long and unmanageable training loops.
Follow the steps given below to learn how to import a pre-trained model in PyTorch using Torchvision:
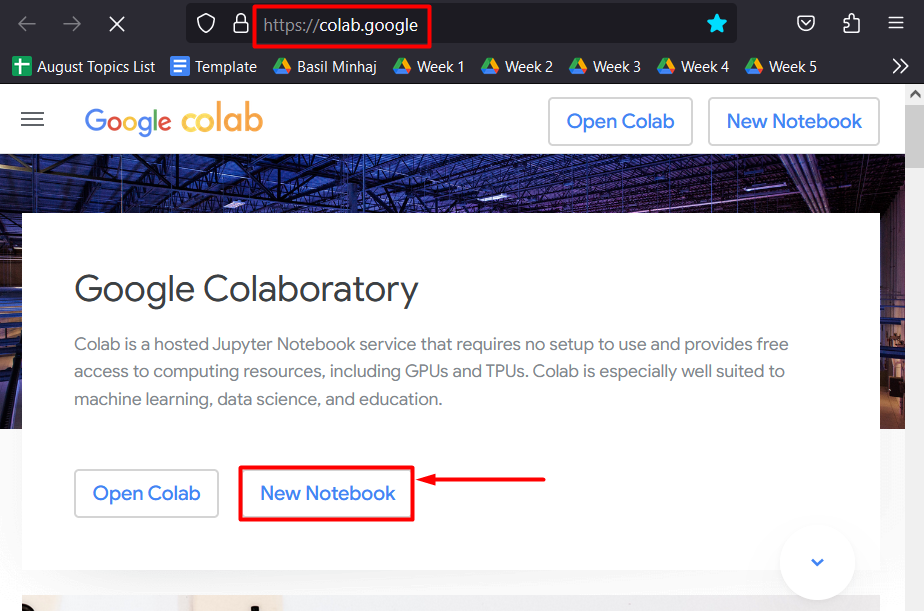
Step 1: Open Google Colab
Go to the Colaboratory website created by Google and start a “New Notebook” to begin the project:
Step 2: Import Necessary Libraries
Once the Colab IDE is set up, the first step is to install and import the libraries needed in the project:
import torch
import torchvision
import torchvision.models
The above code works as follows:
- The “pip” package installer for Python is used to install the “torch” library.
- Next, the “import” command is used to import the library into the Colab project.
- Then, the “torchvision” library is imported into the project. This contains functionality for datasets and models.
- The “torchvision.model” module contains an assortment of pre-trained models such as those of the Residual Neural Network “ResNet”:

Step 3: Import Pre-Trained Model
Import a pre-trained model saved within the “torchvision.models” package using below line of code:
The line of code above works as follows:
- Define a variable and give it a suitable name for reference such as “Pre_Trained_Model”.
- Use the “torchvision.models” module to add the “ResNet” model.
- Add the “resnet50” model and set the “pretrained=True” as its argument:
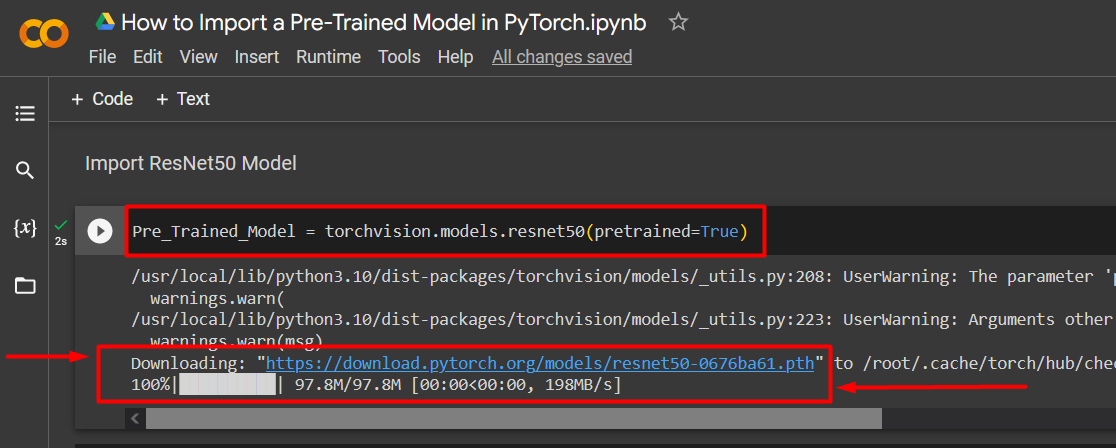
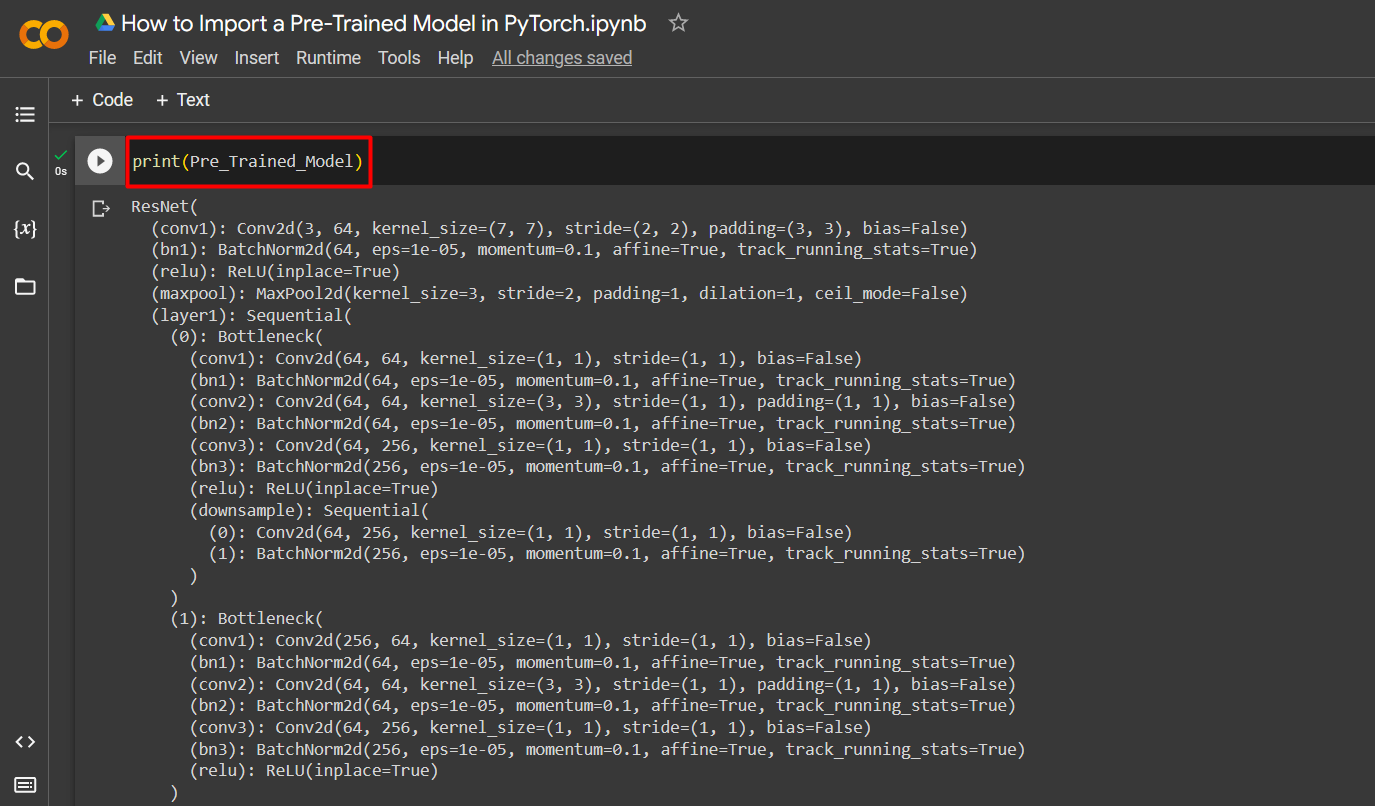
Next view the pre-trained model as an output using the “print()” method:
Note: You can access our Colab notebook that details the import of a pre-trained PyTorch model using torchvision at this link.
How to Import a Pre-Trained PyTorch Model from the Hugging Face Database?
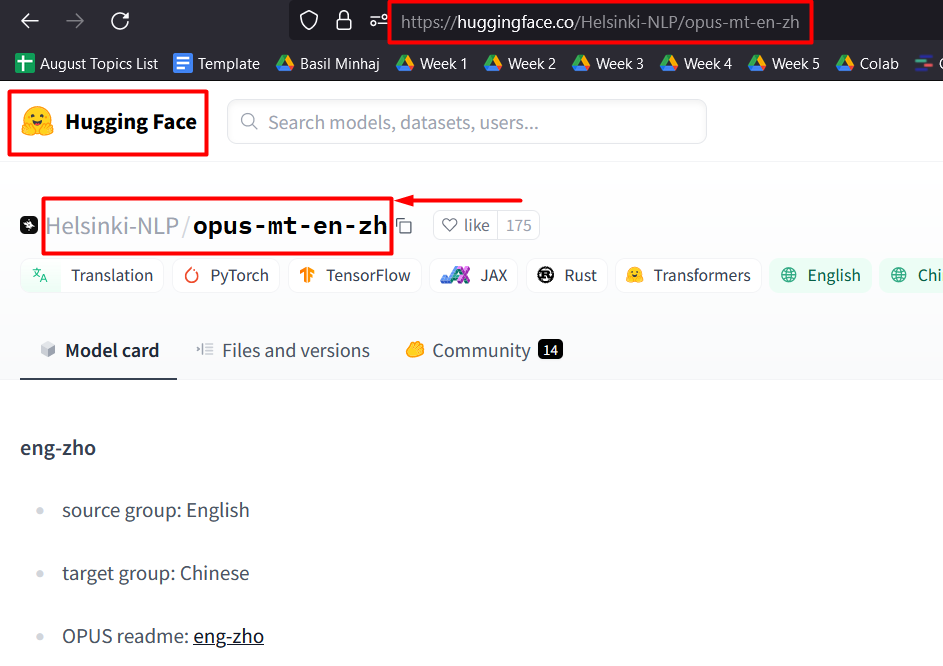
Another method to import a pre-trained model is to obtain it from the Hugging Face platform. Hugging Face is one of the most popular online databases for pre-trained models and large datasets available for data scientists and programmers.
Follow the steps below to import a pre-trained PyTorch model from the Hugging Face Dataset:
Step 1: Launch a Colab Notebook and Install and Import Required Libraries
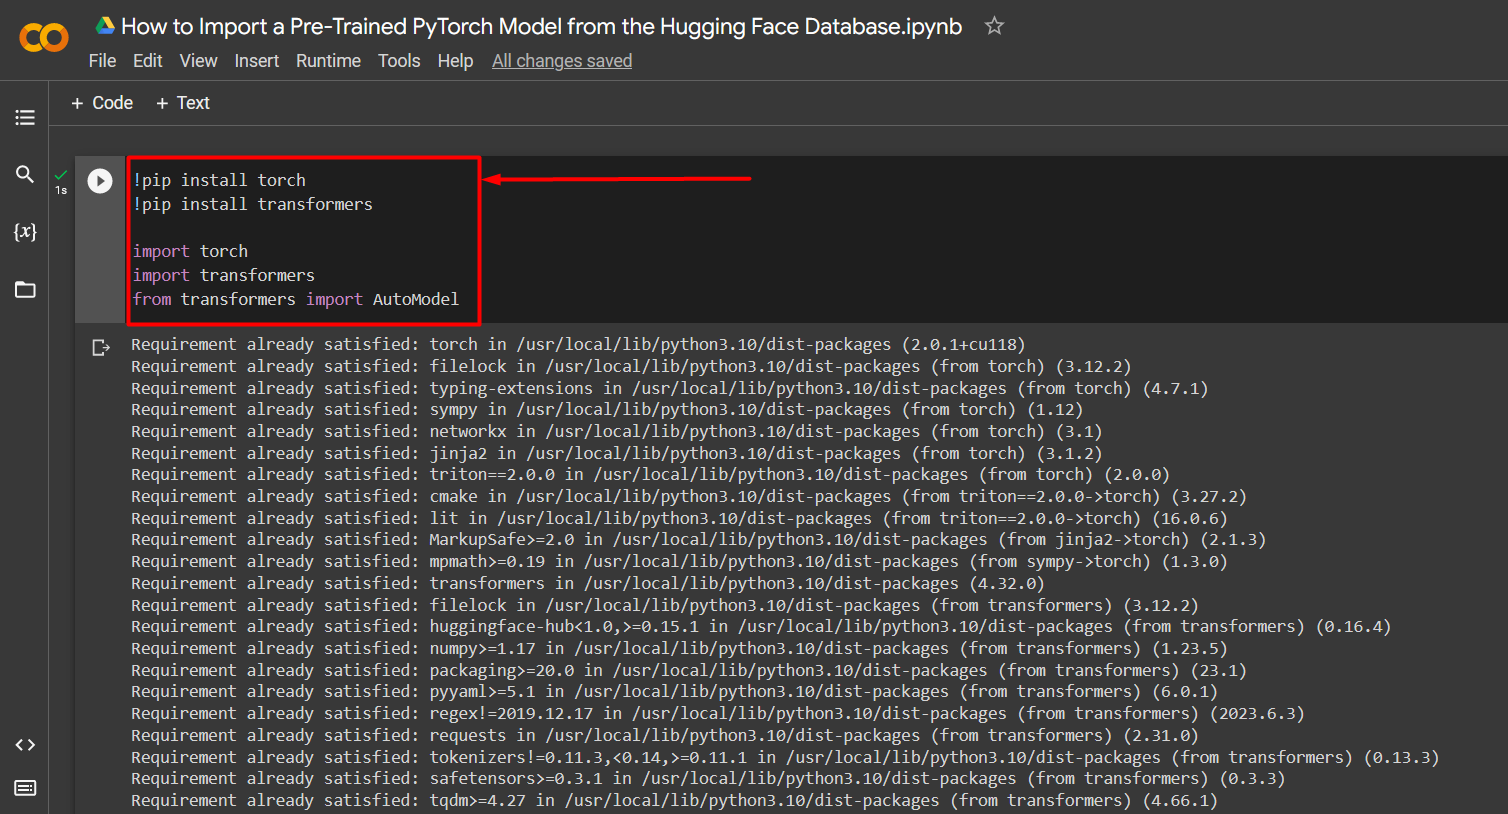
The first step is to launch a notebook in the Colab IDE and install libraries using the “pip” package installer and import them using the “import” command:
!pip install transformers
import torch
import transformers
from transformers import AutoModel
The following libraries are needed in this project
- The “torch” library is the essential PyTorch library.
- The “transformers” library contains the functionality of Hugging Face, its models, and its datasets:
Step 2: Import the Model from Hugging Face
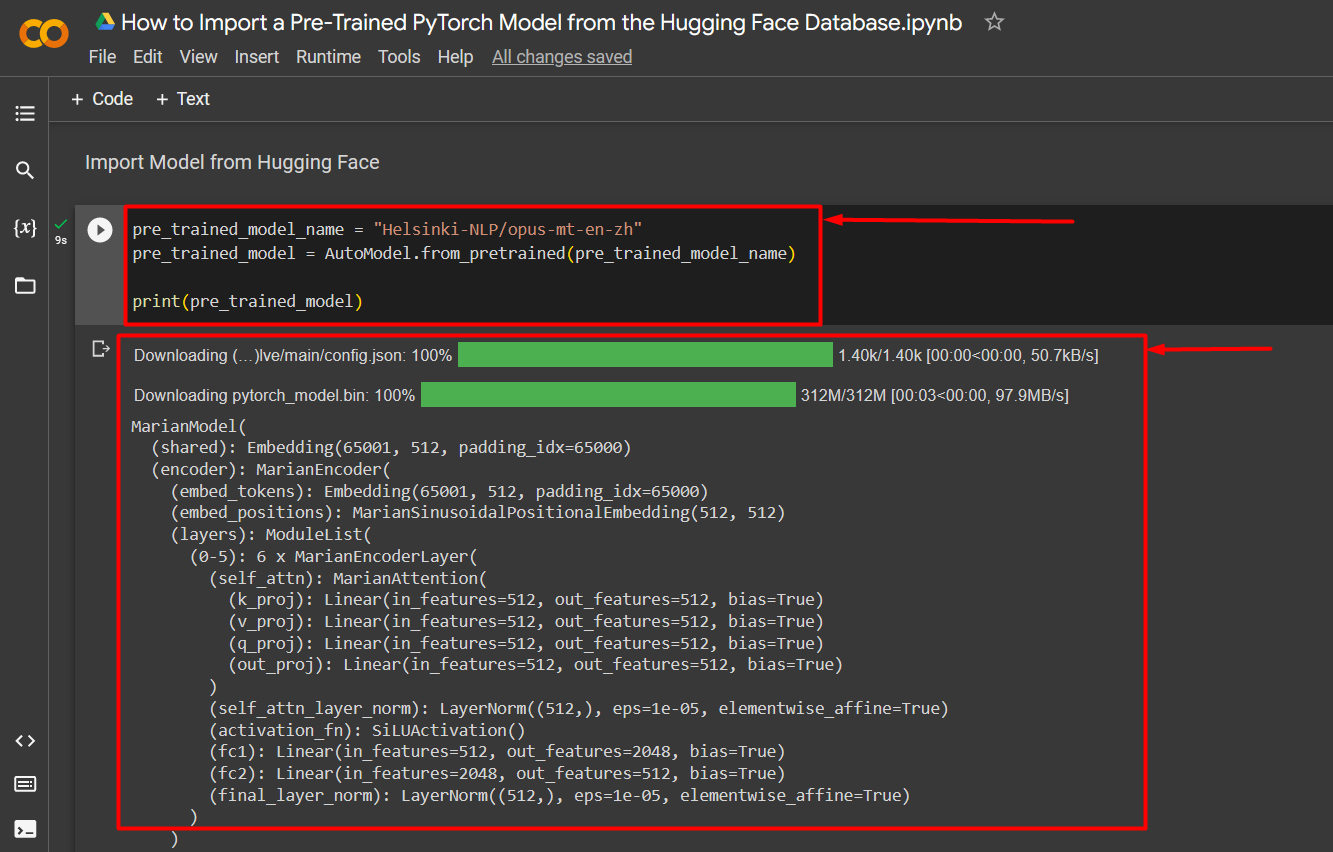
In this example, the model to be imported from the “Hugging Face” database is available at this link. Use the “AutoModel.from_pretrained()” method to import a pre-trained model from Hugging Face as shown below:
pre_trained_model = AutoModel.from_pretrained(pre_trained_model_name)
print(pre_trained_model)
The above code works as follows:
- Copy the model name from its website on the Hugging Face platform and assign it to the “pre_trained_model_name” variable in Colab.
- Then, use the “AutoModel.from_pretrained()” method and input the model name variable as its argument.
- Lastly, use the “print()” method to showcase the imported model in the output.
Pre-trained model imported from Hugging Face will show the below output:
Note: You can access our Colab notebook detailing how to import a pre-trained model from Hugging Face at this link.
Pro-Tip
Hugging Face is a valuable collection of large datasets and complex models that are free for all to use within deep learning projects. You can also upload your own datasets for others to use and the platform is tuned for collaboration amongst data scientists and developers all over the world.
Success! We have shown how to import a pre-trained PyTorch model by using the torchvision library or from the Hugging Face database using the transformers library.
Conclusion
To import a pre-trained model in PyTorch, users can either use the torchvision library or from the Hugging Face online database using the transformers library in Google Colab. These pre-trained models are used to avoid spending valuable time and hardware resources in training and go directly to testing new data for credible inferences. In this blog, we have shown two methods for importing pre-trained models in PyTorch.