Installing ImageMagick
We will need ImageMagick for this, so first let’s install it:
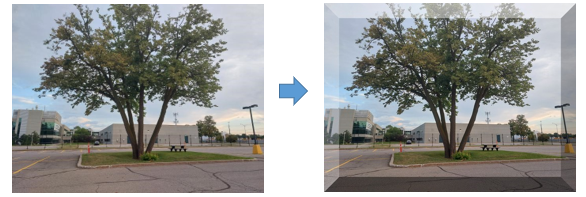
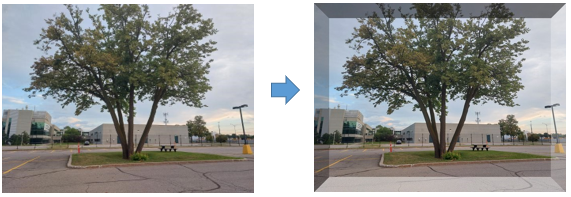
Raised or Sunken Buttons
For a raised or sunken button effect, we’ll be using the raise switch. The latter will create a 3D effect. After the raised switch, add the thickness value to lighten or darken the edges of an image.
-raise thickness
Now, let’s apply some effects. In the following cases, the thickness of the border is 30:
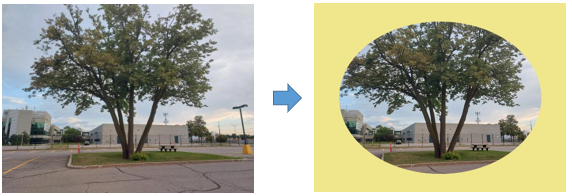
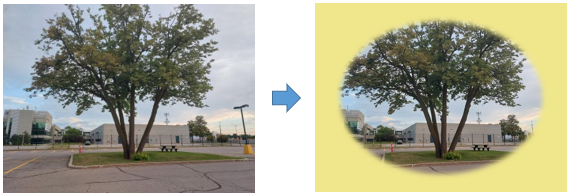
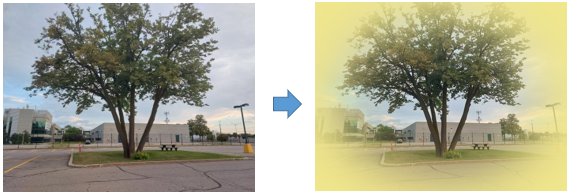
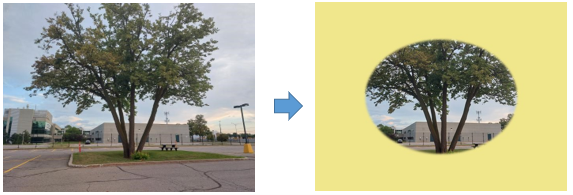
Vignette
Another type of border that exists is the vignette.
-vignette radius{xsigma}{+-}x{+-}y{%}
If you say 0x0, you’ll produce a circle/ellipse. X and y are used to determine the size of the circle. A small value for sigma will remove the blur effect. A high value for sigma will increase the blur.

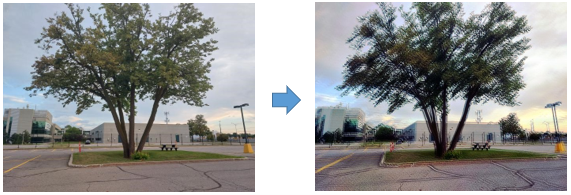
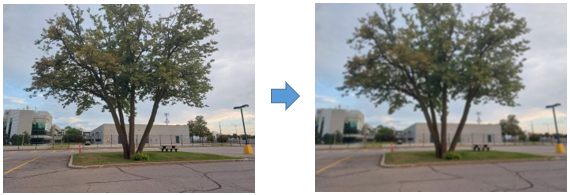
Oil Painting
You can transform the picture into a painting using the paint switch. It is used to emulate an oil painting by creating blobs of paint. The higher the value of the radius of the paint blobs, the more rectangular the look of the blobs.
-paint radius
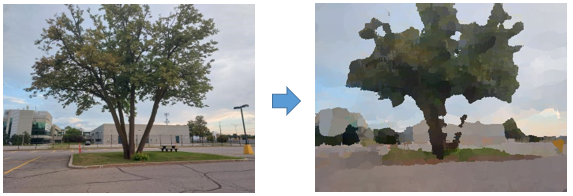
The larger the resolution, the less the effect will be (meaning you’ll have to increase the radius). Also, the higher the radius, the longer it will take to render the image.
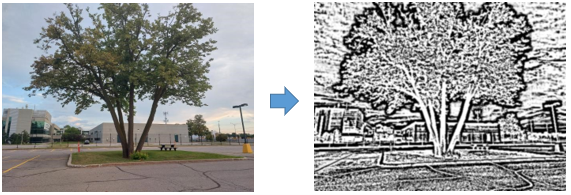
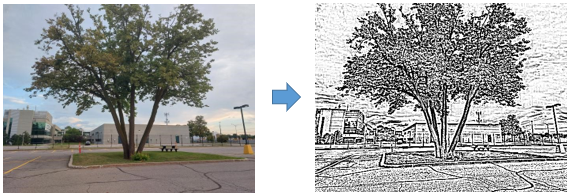
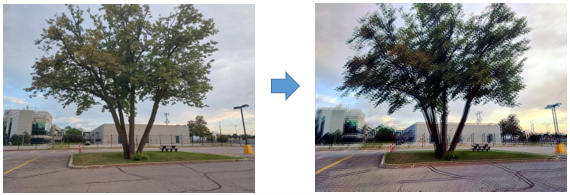
Charcoal
It creates a kind of a “sketch” or something that looks like a drawing. For this, we use the charcoal switch.
-charcoal factor
Factor modifies the edges and the borders of a picture into a black and white kind of picture. The factor in this case represents the thickness of the edges. Use this effect on simple images rather than busy images.

Watch what happens when I use a very simple image instead:
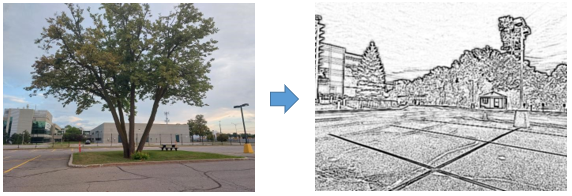
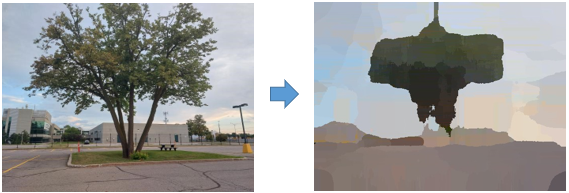
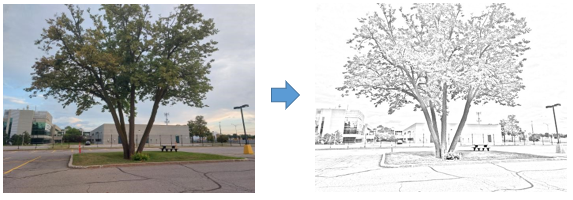
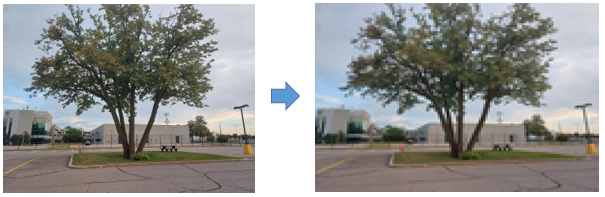
Pencil Sketch
This is the same as the sketch function in Photoshop but it’s not in black and white. A pencil sketch is a lot like an actual drawing. You know the type that you get from professional artists. For this, we need the sketch switch.
-sketch radius
-sketch radius{xsigma}+angle
The standard deviation is the sigma. The angle is used to create the sketch.
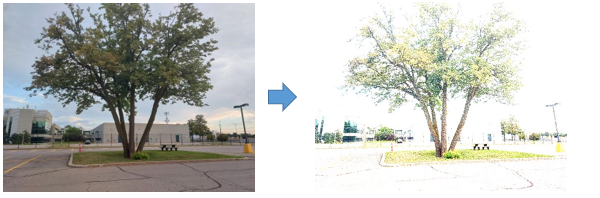
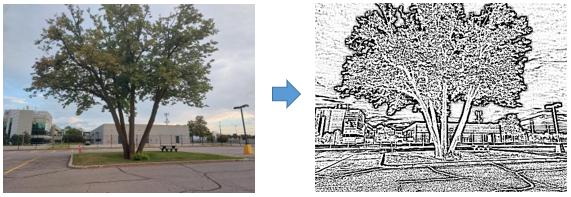
But this isn’t exactly what we get using Photoshop. So, let’s try to recreate what Photoshop chucks out using ImageMagick.
- clone : creates a cloned image. It takes the index as an argument. The first image has an index value of 0.
- negate : replaces each of the pixels in the picture with the complementary color.
- blur : blurs the image. It takes for argument the radius{xsigma}; the sigma is important as it determines the extent of blurring.
- compose : determines the type of image composition
- composite : does alpha composition on two images
- modulate : changes the brightness, the saturation and the hue on the picture.
- auto-level : adjusts the colors on the image on its own.
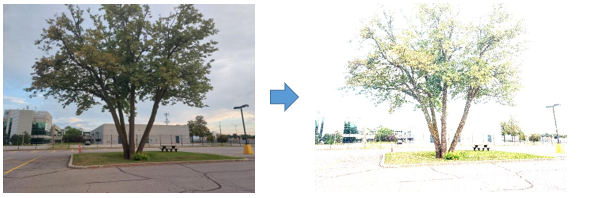
Or if that’s a bit too crazy for you, you can write something a bit simpler:
Emboss
Use the emboss switch to emboss the picture.
-emboss radius{xsigma}
For example:
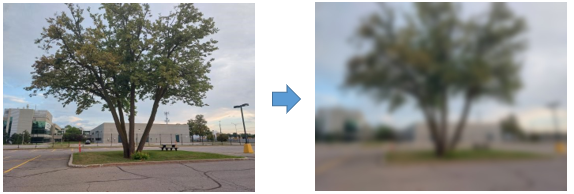
Blur
To blur, use the blur switch.
-blur radius
-blur radius{xsigma}
The sigma determines the actual amount of blurring.
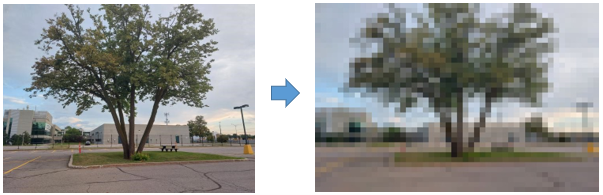
Pixelate
To pixelate an image, you basically shrink an image. Then, enlarge it to create pixel blocks.
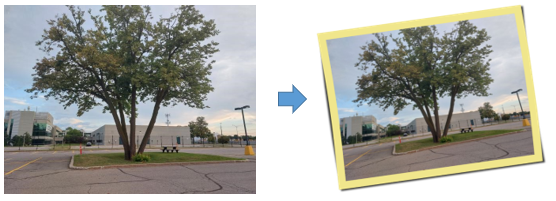
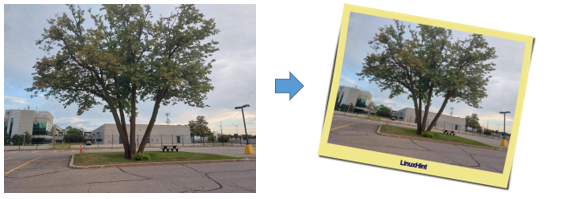
Polaroid
Polaroid photo is a kind of photo with a white border.
If you use +polaroid, it will rotate it at a random angle between -15 degrees and +15 degrees.
We had to resort to Photoshop and Photoshop only to be able to modify or transform pictures/photos. The best part about ImageMagick is that it can almost mimic Photoshop. I say almost because it might be easier to work with layers on a GUI but the image transformation features are available in ImageMagick as well. ImageMagick always a one-liner, sometimes a very long one-liner depending on what you want to do. Nonetheless very frequently a one-liner.
Conclusion
A transformation is a modification of an image such that it is somehow different from its original version. For example, you can choose to blur a photo in certain regions, pixelate it, or even create a pencil sketch. Although Photoshop offers a large number of transformations, the majority of them can be recreated with ImageMagick. The code can get a bit tricky sometimes though. In this tutorial, we learned how to create a sketch, a charcoal image, blur, pixelate, and etc.