The Draw Command
In order to draw any kind of shape or text to the canvas, you have to use the draw command.
-Draw String
When the maker of ImageMagick says string, he means that it better be in quotation marks.
The draw command looks something like this:
Example: -draw ‘circle 50, 50, 100, 100’
Let’s break this down. The first part after the word “draw” is the word “circle”. We are assuming that you guessed it. Yes! that’s the shape, text, or the thing that you want to draw. In this case, the command refers to drawing a circle.
Now, the second question that might come to your mind is, “What are those numbers within the quotation marks?” Let’s answer that question first.
For any shape or text, we add a bunch of numbers after the text. The number of numbers that we add varies. For example, if we are going to design a point, we have x0 and y0. So, there are two numbers and only two numbers after the text. But suppose we need a circle, we have 4 points – x0, y0, x1, y1. If, on the other hand, we want a roundRectangle, we add x0, y0; x1, y1; wc, hc which comprises of six numbers.
The point that we’re trying to make is that the number of numbers are going to vary. We only need 2 points for a point while we need 4 points for a circle, and we need 6 points for a roundRectangle, and so on.
| point | x,y |
| line | x0,y0 x1,y1 |
| rectangle | x0,y0 x1,y1 |
| roundRectangle | x0,y0 x1,y1 wc,hc |
| arc | x0,y0 x1,y1 a0,a1 |
| ellipse | x0,y0 rx,ry a0,a1 |
| circle | x0,y0 x1,y1 |
| polyline | x0,y0 … xn,yn |
| polygon | x0,y0 … xn,yn |
| bezier | x0,y0 … xn,yn |
| path | specification |
| image | operator x0,y0 w,h filename |
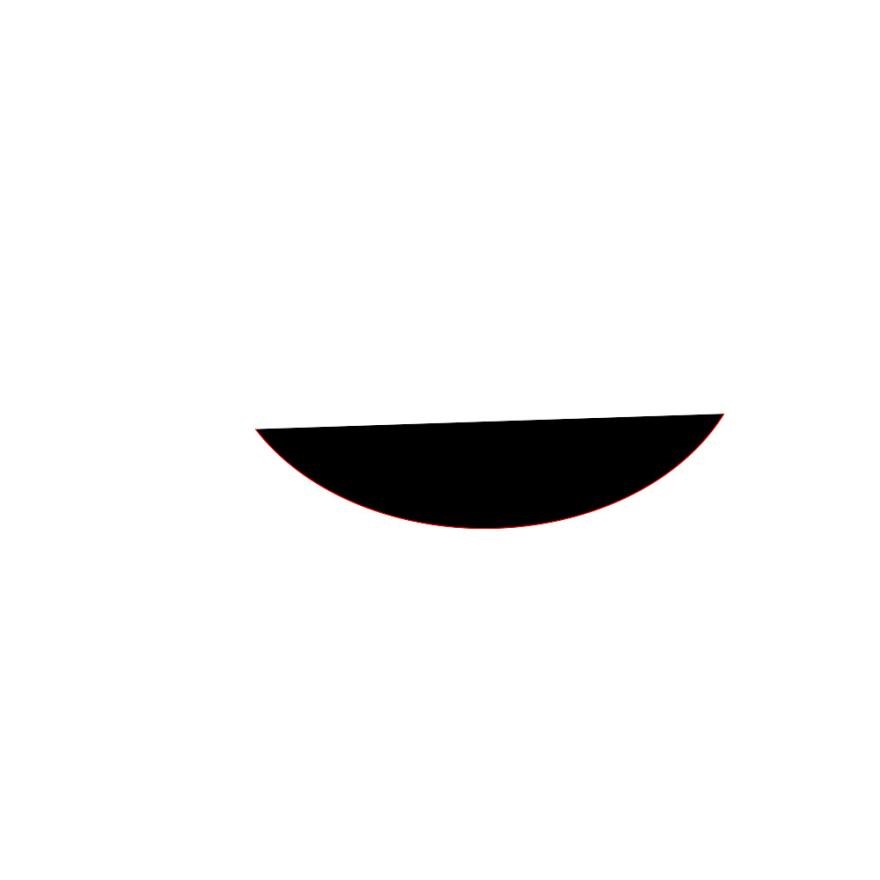
Example 1: Arc
convert -size 1000×1000 xc:white -fill black -stroke red -draw “arc 250,150 850,600 25,150” arc.jpg
What do we do? Here, xc is used to define the background color while size is used to determine the size of the canvas. Aside from xc and size, we fill which is simple: what color do you want to fill it with and the stroke for the color of the stroke. Lastly, “arc.jpg” is the name of the output image.
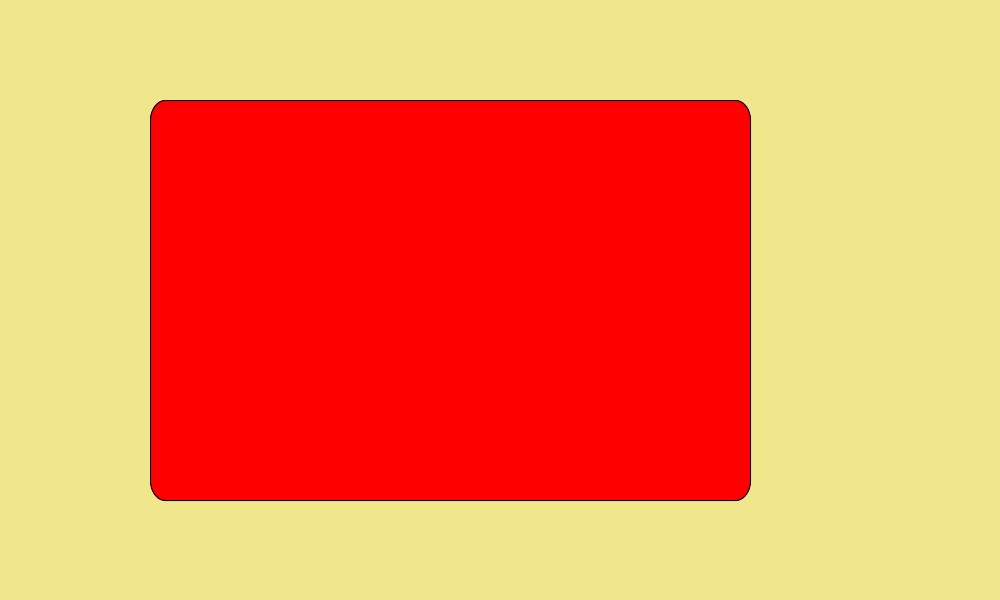
Example 2:
convert -size 1000×600 xc:khaki -fill red -stroke black -draw “roundrectangle 150,100 750,500 15, 20” roundrec.jpg
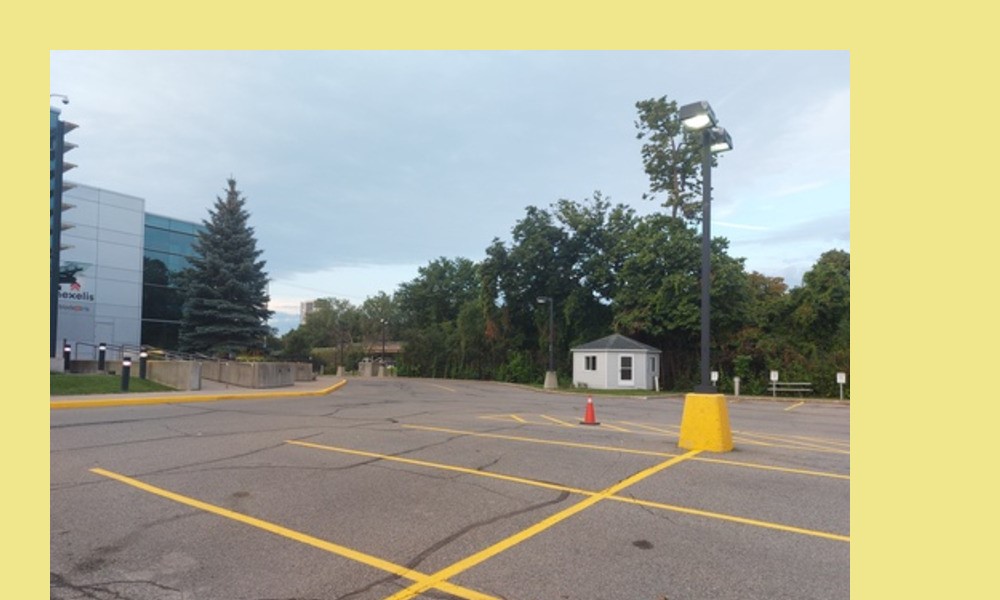
Example 3:
Let’s pick the one that says “image”.
convert -size 1000×600 xc:khaki -draw ‘image SrcOver 50,50 800,600 photo33.png’ image.jpg
In this case, srcover is a composite operator. The first set of numbers (50, 50) define the location of the image. The second set of numbers (800, 600) define the image size. Finally, the filename is the name of the image that we draw onto the canvas. Don’t confuse the “image.jpg” with “photo33.png”. Photo33.png is the photo with the yellow parking lines that is on top of the khaki background. The whole (khaki background and the photo33.png) or the output image is the “image.jpg”.
Drawing Text
Drawing texts is not much more complicated than drawing lines and rectangles.
Let’s draw some texts!
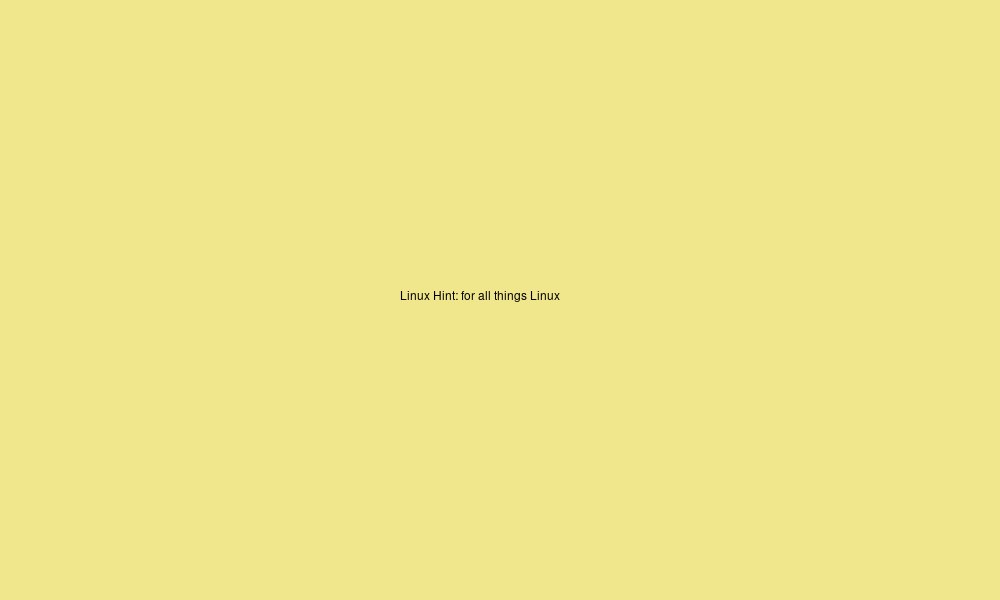
convert -size 1000×600 xc:khaki -draw “text 400,300 ‘Linux Hint: for all things Linux'” text.jpg
Here, the font size is too small. How do you make the font bigger? We use the pointsize switch.
Here’s how:
convert -size 1000×600 xc:khaki -pointsize 70 -draw “text 30,300 ‘Linux Hint: for all things Linux'” text2.jpg
Transformation and Pixel Operations
You can also add transformations and pixel operations to the string part of the draw command.
| rotate | degrees |
| translate | dx,dy |
| scale | sx,sy |
| skewX | degrees |
| skewY | degrees |
| color | x0,y0 method |
| matte | x0,y0 method |
Example:
convert -size 1000×600 xc:khaki -draw ‘rotate 25 image SrcOver 50,50 800,600 photo33.png’ -pointsize 49 -draw “text 600,300 ‘LinuxHint'” image2.jpg
Or
convert -size 1000×600 xc:khaki \
-draw ‘rotate 25 image SrcOver 50,50 800,600 photo33.png’ \
-pointsize 49 -draw “text 600,300 ‘LinuxHint'” \
image2.jpg
What do we do here? Ignore the second part after pointsize, and just focus on the first draw command. We add the rotate 25 to what we previously had. This rotates the image by 25 degrees.
Compositing
Now, you don’t have to stick to only one draw event. You can add as many “draw” as you want to your canvas. Let me show you.
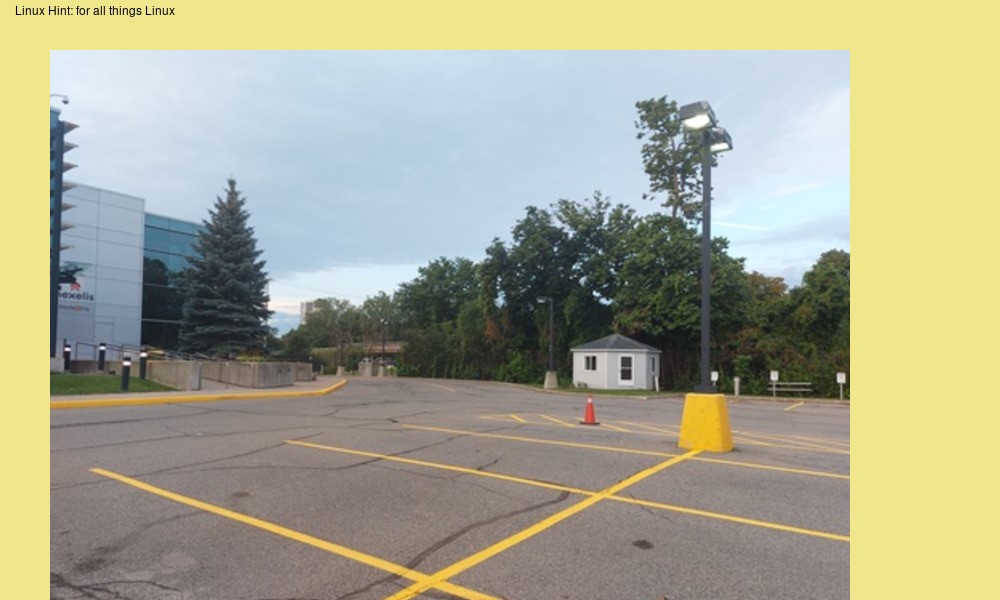
convert -size 1000×600 xc:khaki -draw ‘image SrcOver 50,50 800,600 photo33.png’ -draw “text 15,15 ‘Linux Hint: for all things Linux'” comp.jpg
Or
convert -size 1000×600 xc:khaki \
-draw ‘image SrcOver 50,50 800,600 photo33.png’ \
-draw “text 15,15 ‘Linux Hint: for all things Linux'” \
comp.jpg
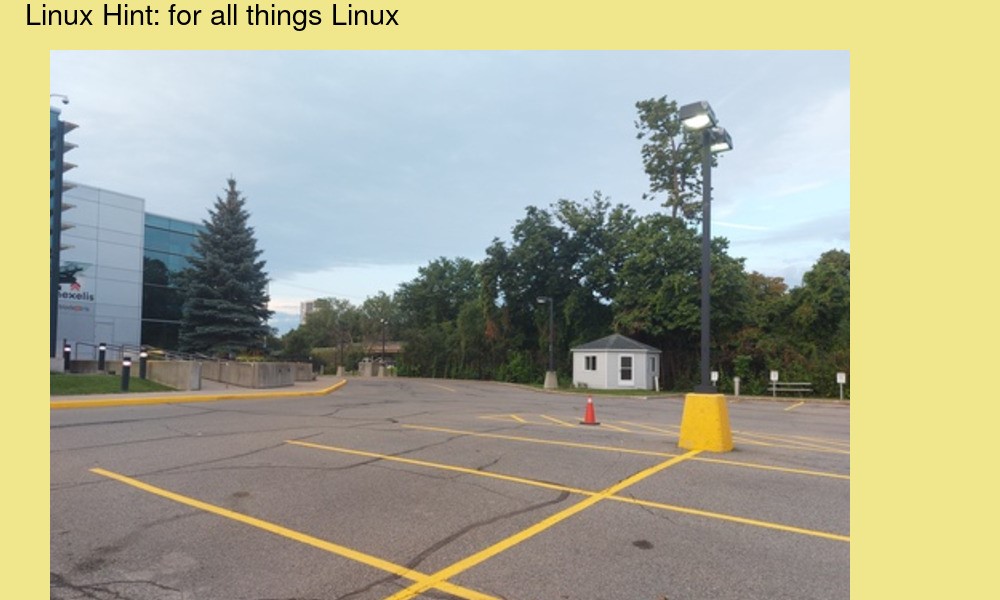
Now, let’s add the pointsize switch as well:
convert -size 1000×600 xc:khaki -draw ‘image SrcOver 50,50 800,600 photo33.png’ -pointsize 29 -draw “text 25,25 ‘Linux Hint: for all things Linux'” comp2.jpg
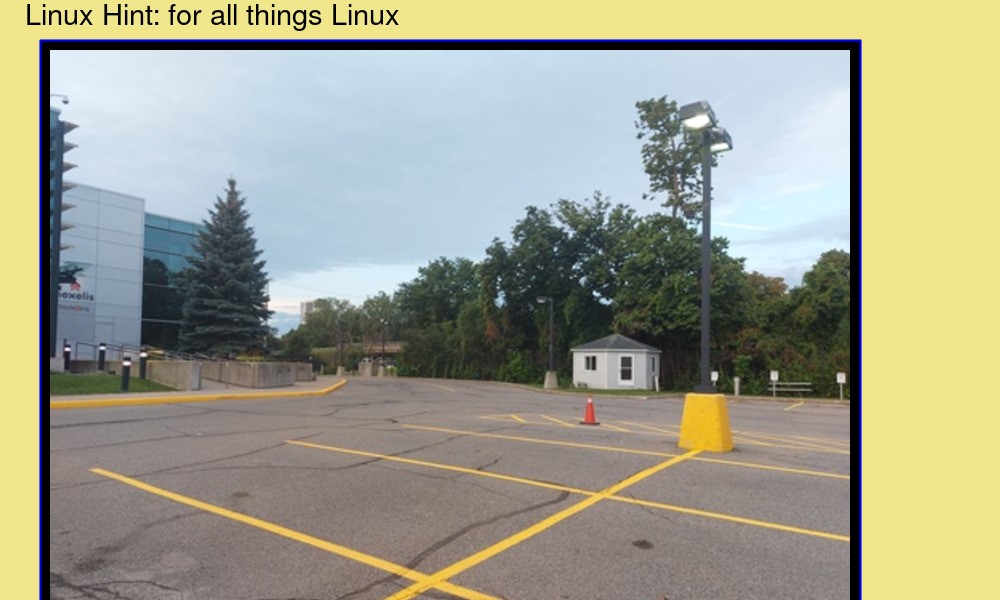
Example:
convert -size 1000×600 xc:khaki -pointsize 29 -draw “text 25,25 ‘Linux Hint: for all things Linux'” -stroke blue -strokewidth 2 -draw “rectangle 40,40 860,660” -draw ‘image SrcOver 50,50 800,600 photo33.png’ comp3.jpg
Or
convert -size 1000×600 xc:khaki \
-pointsize 29 -draw “text 25,25 ‘Linux Hint: for all things Linux'” \
-stroke blue -strokewidth 2 -draw “rectangle 40,40 860,660” \
-draw ‘image SrcOver 50,50 800,600 photo33.png’ \
comp3.jpg
Remember that the order in which you place these statements matter. You can also add as many draw statements as you possibly want.
Conclusion
Drawing is basically adding something like a shape or a piece of text to the canvas. It’s definitely one of the easier things to do in ImageMagick. In order to draw, you use the draw command followed by a string. The string contains information on the item that you want to draw, its precise location, width, and height when needed as well as any other necessary information. Thus, the part where you have to be careful if you want your image rendered properly is the string – it better have all the correct information at the correct place. If it’s not, you’ll get errors in rendering the picture. But otherwise, it’s pretty straightforward.

