How to use hwclock in Ubuntu
The hwclock in Ubuntu allows you to get the time of the hardware clock; this command returns the current time of the hardware clock, and it has various “hwclock functions” and “hwclock options” to consider.
The syntax of the hwclock command is given below:
It is to notice that the hwclock must be used with the “sudo” keyword:
To get the current date and time of the hardware clock: type the following command in the terminal:

How to use Functions with hwclock in Ubuntu
This section contains the functions that are supported by the “hwclock” command:
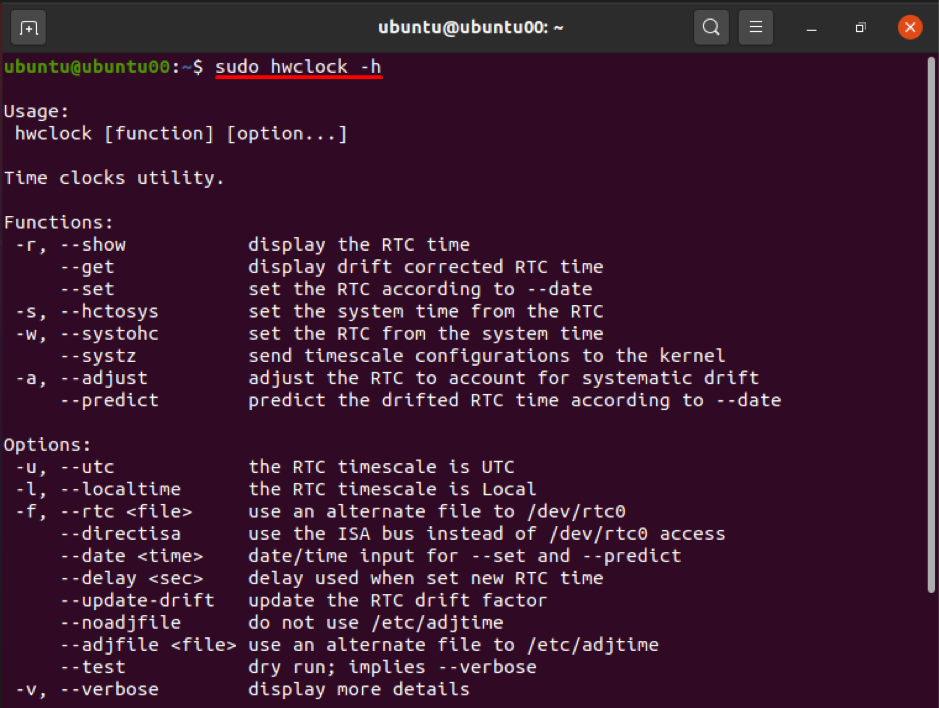
To get the list of available functions, run the following command in the terminal:
Function 1: -r or —show
This function displays the current date and time of the system; moreover, if the “hwclock” command is executed without any function or option, it automatically prints the result of the “-r” or “–show” function; run the following command to get the result:

The output will be the same if “–show” is used instead of “-r”:

Function 2: -a or –adjust
Whenever the hwclock is calibrated, it creates a file “adjtime” that stores the historical information at the time of adjustment. Every time the hwclock loses or sometimes gains, which is known as systemic drift, the adjust function of hwclock allows you to adjust the rate of systematic drift. The following command will help you to do so:

The adjust function can also be executed using the command given below:

Function 3: -s or –hctosys
This function will fetch the time from Real Time Clock (or Hardware Clock) and will set that time to system time:
You can perform the operation in two ways:

Or:

Function 4: -w or –systohc
This function of “hwclock” set the hardware clock time from system time; it is the opposite of the function “–hctosys”:
Execute the following command to perform the action:

Or:

Function 5: —systz
This function acts as an alternative to “–hctosys”; and it can perform the following actions.
It sets the time zone of the kernel and can correct the system clock timescale to UTC when needed. It can be performed using the following command:

Moreover, there are few functions that take input from options; they need an options parameter to give the result. For instance, the “–set” function sets the Real-Time Clock according to the “–date” option, and the “–predict” function is dependent also on the “–date” option. The “–predict” function forecasts the drifted time of RTC according to a specific date.
How to use options with the hwclock command in Ubuntu
This section presented various flag options supported by hwclock; these are applied to get the desired output or sometimes that can be used with functions of hwlcock to get the extended results.
Option 1: –date
This date option is used with two functions; “–predict” and “–set”; otherwise, this option cannot be executed alone.
In the following example: “–set” function is used to set the assigned date and time to them; for instance, the following command will change the date to “2021-08-05” and time to “15:15”:

Option 2: -l or –local time
This option of “hwclock” is used to display the time of your hardware clock in a local format.

Or:

Option 3: -u or —utc
You can keep the hardware clock timescale in UTC; this option will help you to display the timescale of RTC in UTC.

Or:

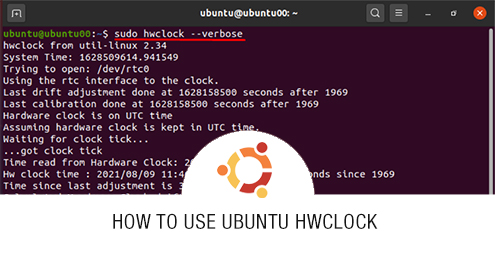
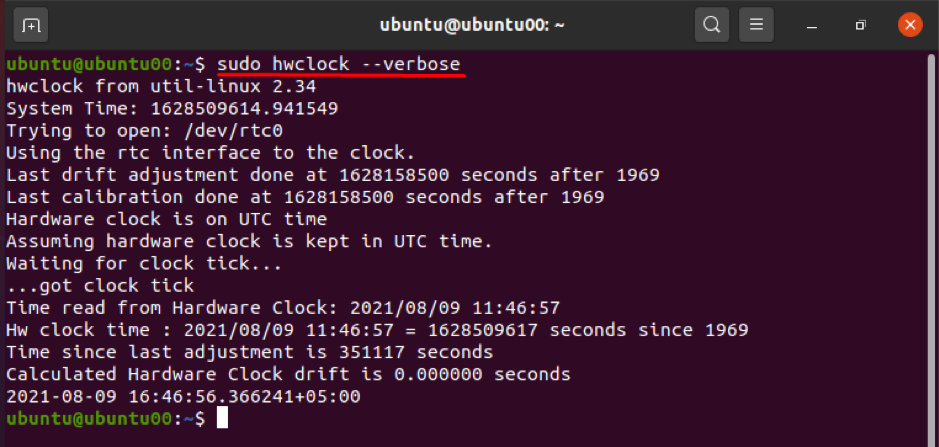
Option 4: —verbose
This option is used to get the detailed information of the hardware clock; firstly, the term “–debug” or “-D” was used to get such information, but now it is deprecated, and “–verbose” is used instead. The following command will help to perform such action:
Moreover, there are other few options that can be used to get in detail analysis of “hwclock”; such as, “-V” is used to print the version information of “hwclock”; and “-h or “–help” is used to list down the available functions and options of hwclock.
Conclusion
The “hwclock” is a tool in Ubuntu that is used to access the hardware clock. It can be used to perform various tasks, such as displaying the time, setting the hardware clock to a specific time, and so on. These operations can be performed by using functions and options of “hwclock”.
This guide lists the functioning of the hwclock in detail along with the functions and options of hwclock. The described functions and options discussed in this guide are used to adjust the operations of hwclock as per your need.