A supplicant is a network device seeking to be authenticated to access network resources secured by the IEEE 802.1X standard authentication mechanism. Wpa_supplicant is an IEEE 802.1X supplicant with support for WPA, WPA2 and WPA3 authentication. Client stations use wpa_supplicant for the key negotiation process. Wpa_supplicant also controls roaming and the association and authentication processes in wireless connections.
After reading this tutorial you will know how to connect to Wi-Fi using wpa_supplicant. After wpa_supplicant instructions, I added instructions to connect from the terminal using the alternatives NMCLI and NMTUI.
Connecting to Wi-Fi Using wpa_supplicant
To get started, install wpa_supplicant by running the following command on Debian-based Linux distributions.

On Red Hat-based Linux distributions you can install wpa_supplicant by running:
You can scan available networks by running:
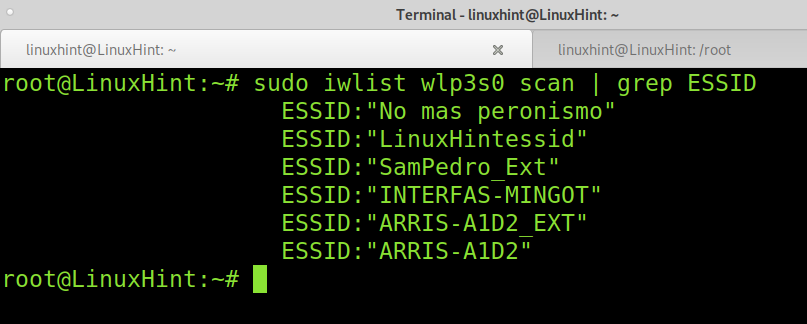
As you can see there is a network called LinuxHintessid, the one I will use for this tutorial.
Once you have wpa_supplicant installed and identified the Essid you want to connect to, run the following command to add the Access Point ssid and password to wpa_supplicant settings.
NOTE: Replace LinuxHintessid with your essid and LinuxHintKey with your actual password. You can use quotation marks for network names with spaces.
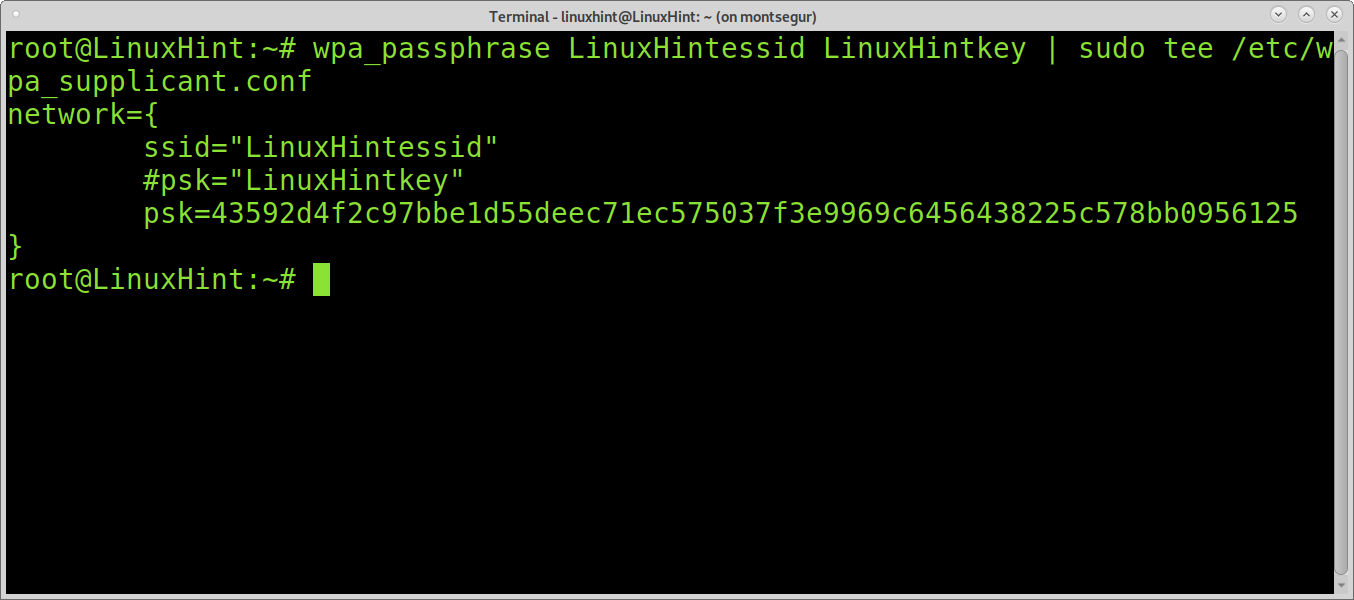
The file where wpa_supplicants save credentials is /etc/wpa_supplicant.conf.
After adding your access point essid and password, you can connect to Wi-Fi by executing the command below where -c specifies the configuration file and -i specifies the network interface.
Replace wlp3s0 with your wireless interface.
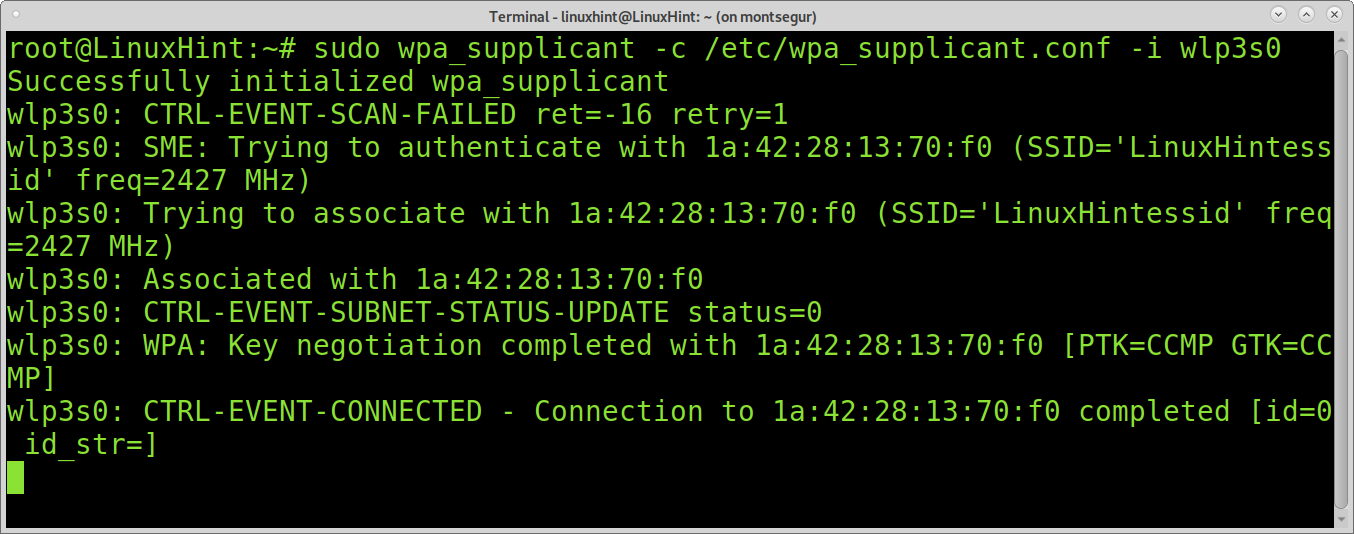
If you run the command iwconfig, you should see your device is associated with the access point.

As you can see, the device is associated but no IP address was assigned. To get an IP address and access to the internet, you can use the command dhclient as shown below.
NOTE: Replace wlp3s0 with your wireless card.
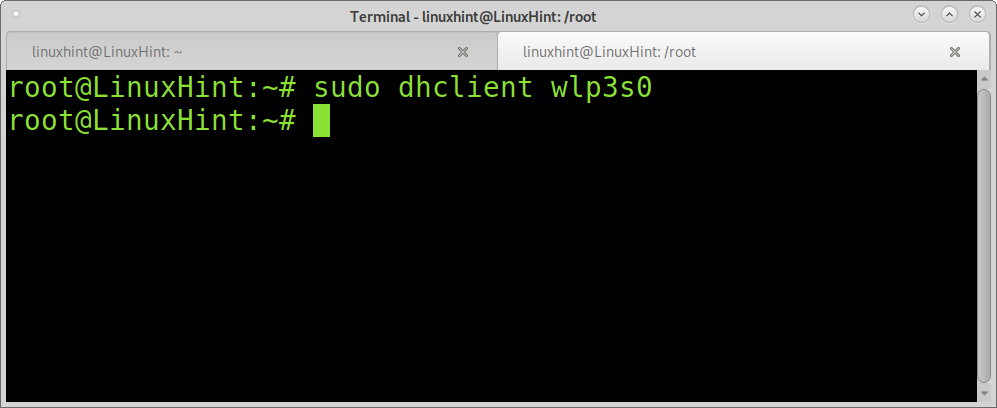
After executing dhclient, you should be connected to the internet through the associated access point.
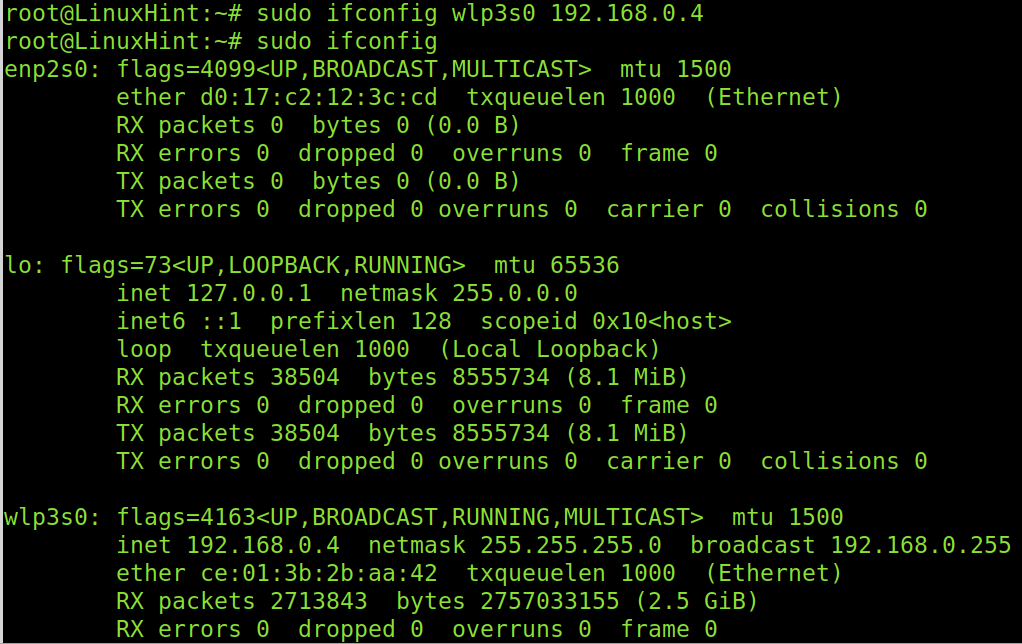
You can also try to add an IP address manually with the command ifconfig as shown below. To do it you need to know the type of network you are trying to connect to.
Connecting to a Hidden Network with Wpa_supplicant
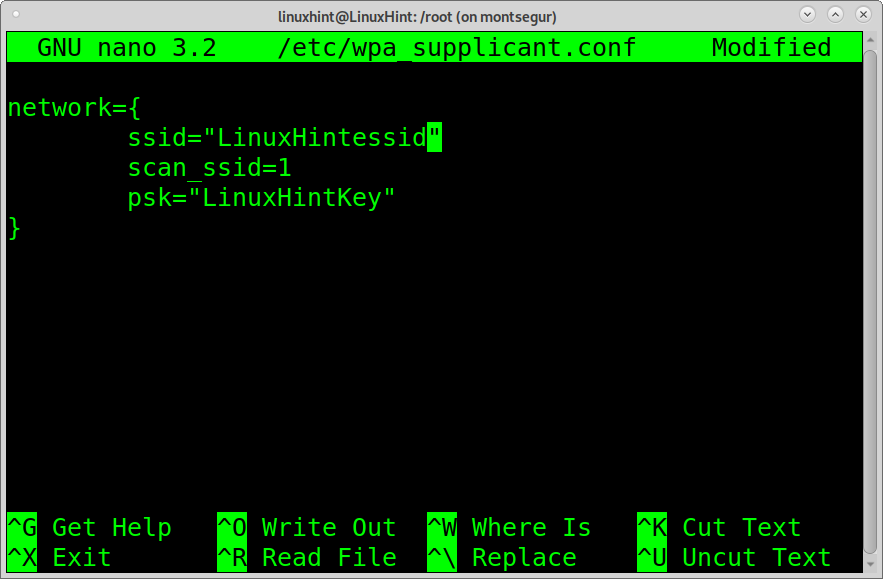
You can use wpa_supplicant to connect to hidden networks. To do it you need to edit the configuration file /etc/wpa_supplicant.conf, commenting your current lines and adding the following lines, then run: wpa_supplicant -c /etc/wpa_supplicant.conf -i wlp3s0 and then dhclient wlp3s0.
ssid="PutEssidHere"
scan_ssid=1
psk="PasswordHere"
}
NOTE: Replace PutEssidHere and PasswordHere with your essid and password.
Connecting to an Unsecure Network with wpa_supplicant
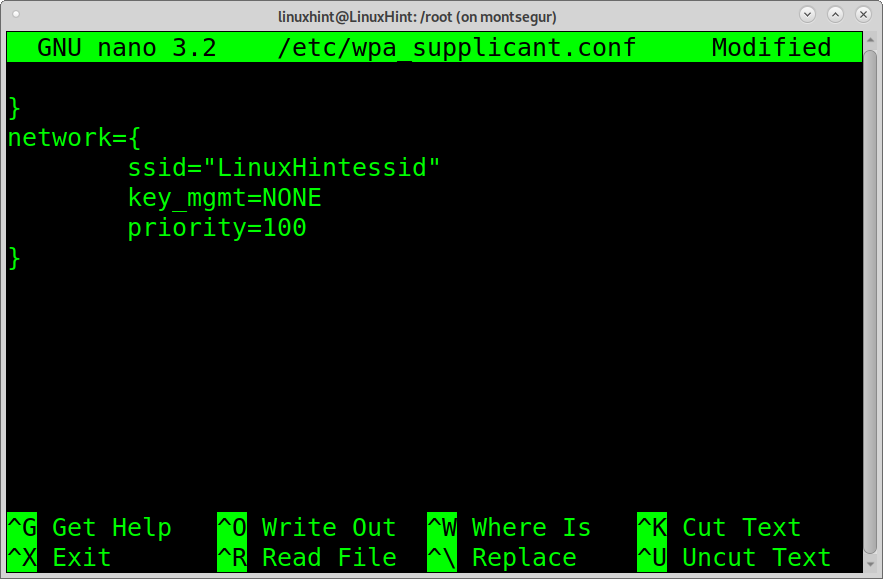
The following screenshot shows how to configure wpa_supplicant to connect to an unsecure network without password. Add the following lines to your /etc/wpa_supplicant.conf file.
network={
ssid="LinuxHintessid"
key_mgmt=NONE
priority=100
}
Wep Authentication Using wpa_supplicant
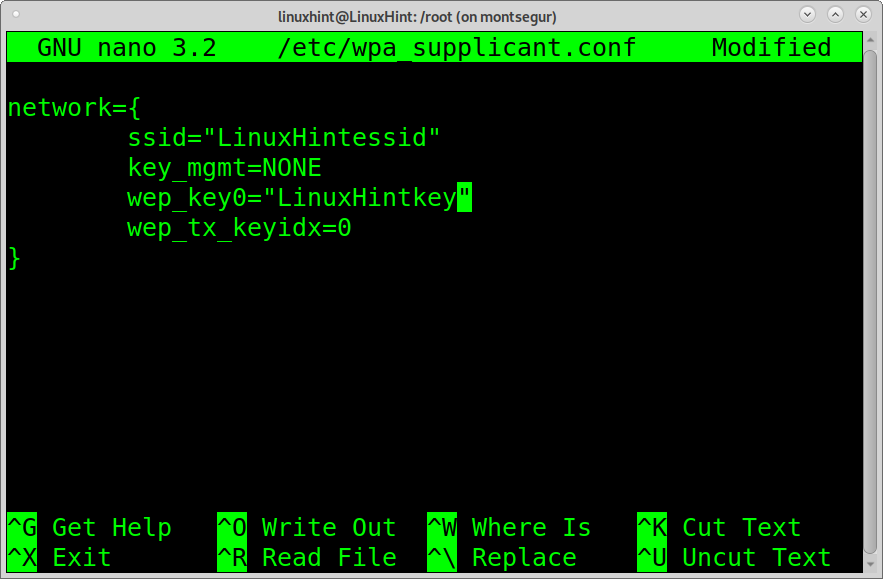
The following configuration shows how to configure wpa_supplicant to connect to wep encrypted routers. To connect using wep add the following lines to your wpa_supplicant.conf file.
ssid="LinuxHintessid"
key_mgmt=NONE
wep_key0="LinuxHintkey"
wep_tx_keyidx=0
}
The steps above describe how to connect to Wi-Fi using wpa_supplicant. In all cases after editing the configuration file, you need to run:
and then,
NOTE: Replace wlp3s0 with your Wi-Fi card.
Wpa_supplicant also supports Wi-Fi Protected Setup (WPS), RSN: PMKSA caching, pre-authentication and WPA with EAP (“WPA-Enterprise”).
The following Extensible Authentication Protocols are also supported by wpa_supplicant:
EAP-TLS, EAP-PEAP, EAP-TTLS, EAP-SIM, EAP-AKA, EAP-AKA, EAP-pwd, EAP-EKE, EAP-PSK, EAP-FAST, EAP-PAX, EAP-SAKE, EAP-GPSK, EAP-IKEv2, EAP-MD5, EAP-MSCHAPv2, and LEAP.
That’s all on wpa_supplicant. Below, you can find instructions on two alternatives to connect to Wi-Fi from the terminal: nmcli, a command line interface for Network Manager and nmtui, an interactive command line network manager.
Connecting to Wi-Fi from the Command Line Using nmcli:
Another way to connect to Wi-Fi from the console is the command NMCLI; a command line interface for the Network Manager. NMCLI allows you to create, remove, edit, enable and disable connections.
The following example shows how to connect to the network LinuxHintessid, whose password is LinuxHintkey.
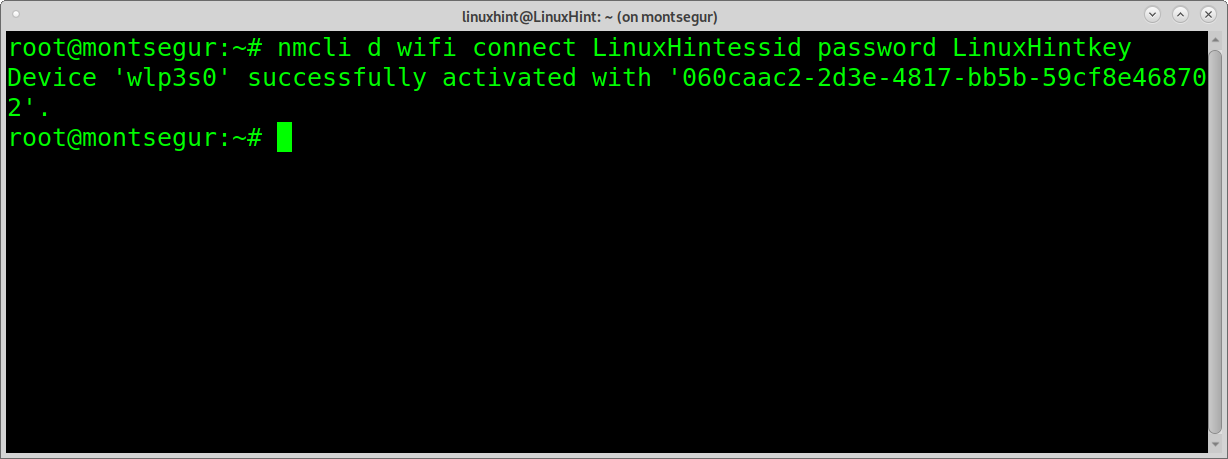
The parameter d wifi specifies a wireless device. Connect LinuxHintessid defines the essid and password LinuxHintkey the password.
Now, you are connected.
Note: Replace LinuxHintessid with your router ssid and Linuxhintkey for your actual password.
You can get additional information on nmcli at https://linux.die.net/man/1/nmcli
How to Connect to Wi-Fi from Terminal Using nmtui:
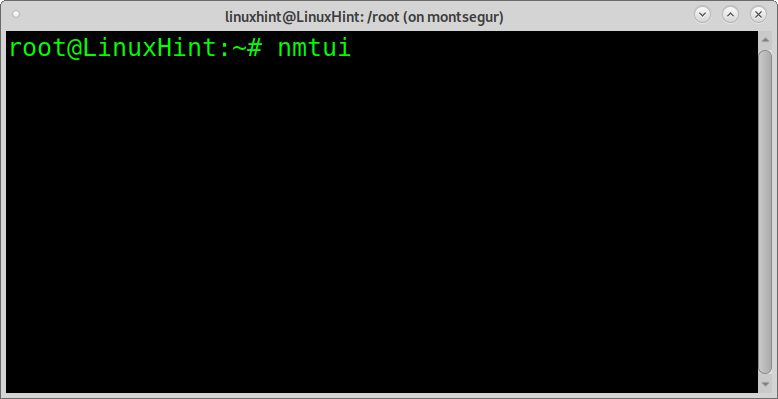
Nmtui is another option to connect to Wi-Fi from the command line. It is interactive. To launch it run the command:
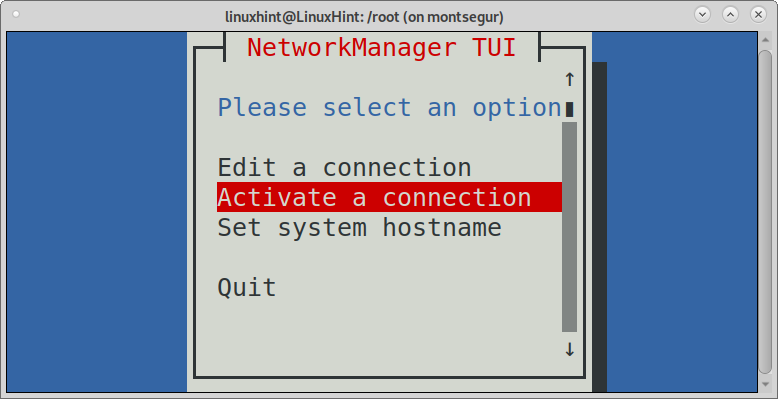
On the main screen, select “Activate a connection” and press ENTER.
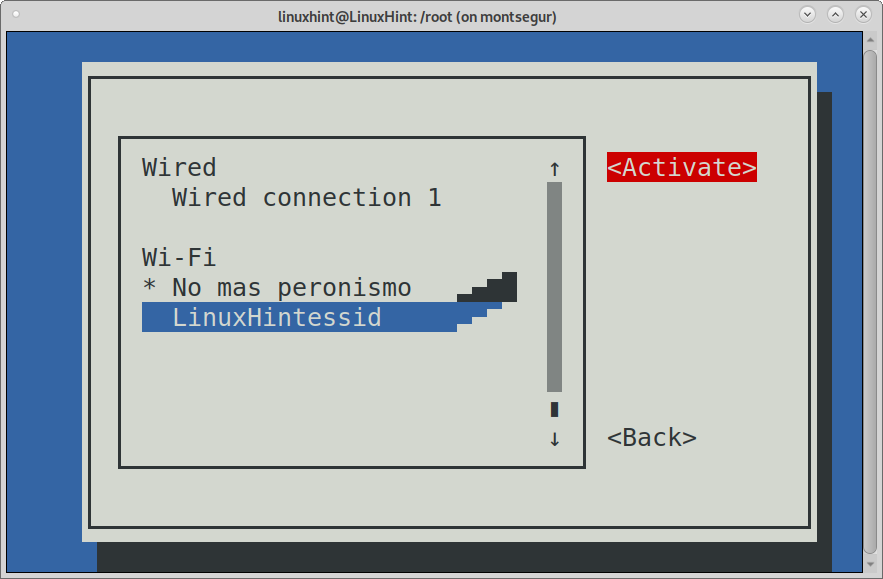
Nmtui will list available connections including wired and wireless networks. Select the network you want to connect to and press ENTER.
Nmtui will ask for the Access Point password. Complete it and press ENTER to continue.
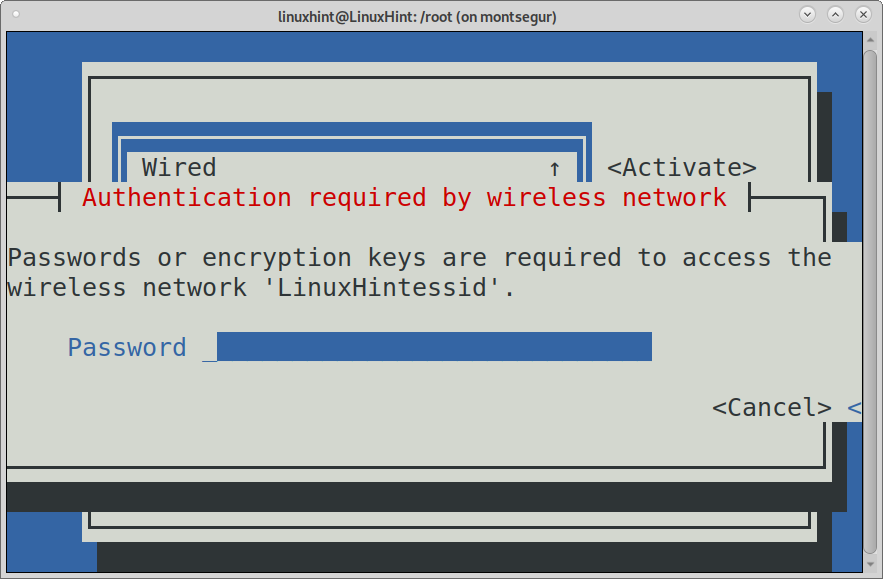
And you’ll be connected.

You can get additional information on Nmtui on it’s man page at
https://www.mankier.com/1/nmtui
Conclusion:
As you can see, there are different alternatives for users to connect to Wi-Fi from the command line. All of them are easy to implement and can be learned by all user levels.
Wpa_supplicant is the most important way because it is universal, multiplatform and is available even for embedded and integrated systems and mobile devices.
Nmtui and Nmcli are also great command line tools. Even easier to use than wpa_supplicant, being Nmtui fully intuitive.
I hope this tutorial was useful to learn how to connect to Wi-Fi from the command line. Keep following Linux Hint for more Linux tips and Tutorials.