This guide will demonstrate the process of configuring a Kubernetes cluster on an AWS EC2 instance.
How to Setup a Kubernetes Cluster on an AWS EC2 Instance?
Follow these simple steps to set up Kubernetes on an AWS EC2 instance.
Step 1: Connect to EC2 Instance
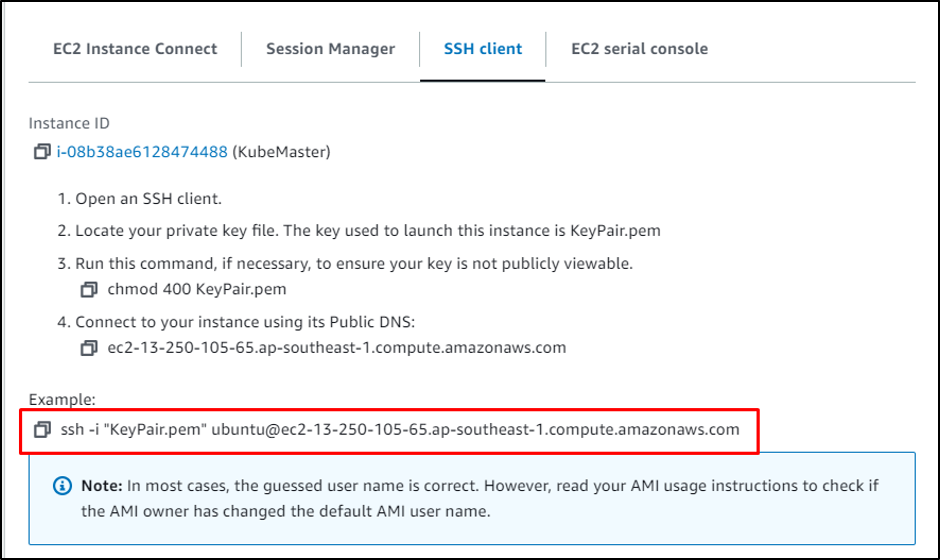
To connect to the instance, it is required to have an EC2 instance created and in the “Running” state. After that, select it and click on the “Connect” button:

Copy the provided command by the platform:
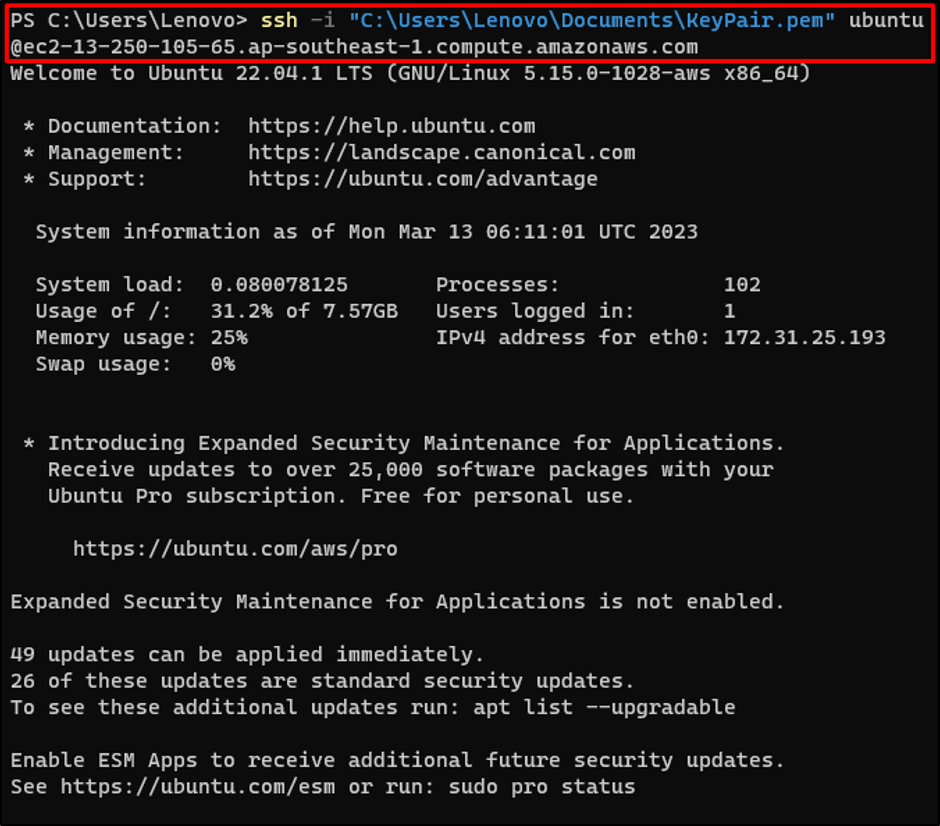
Paste the command on the terminal and change the path of the key pair file from the system:
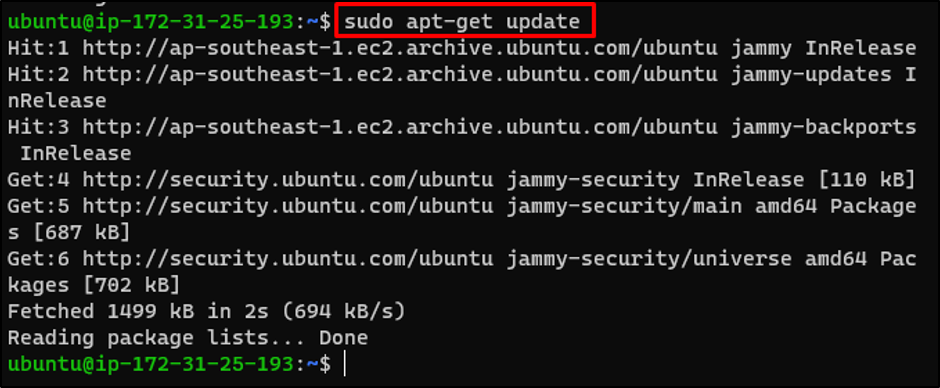
Update the apt packages:
Step 2: Install AWS CLI
Download the AWS CLI file in the zipped format using the link of the official website:
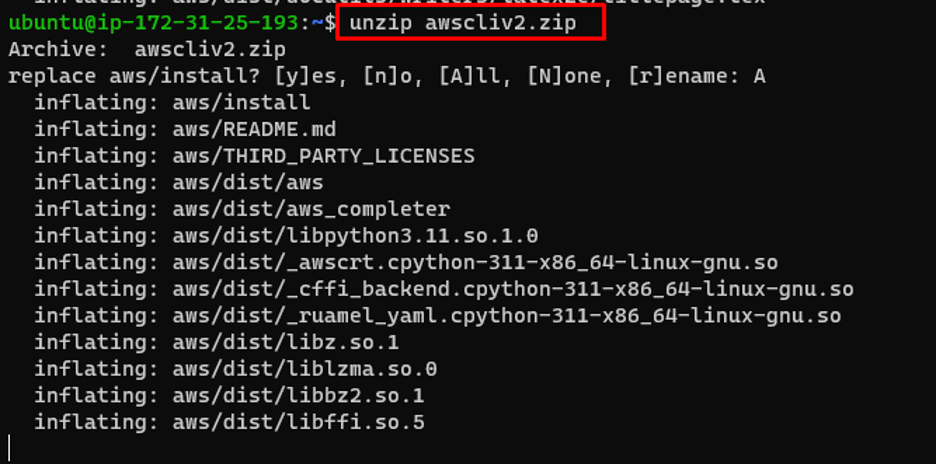
Unzip the AWS CLI file:
Install the AWS CLI:
Verify the installed version of the AWS CLI:
The installed version displayed in the screenshot below is “aws-cli/2.11.2”:
Step 3: Install Kubectl
Download the Kubectl file from the link provided in the following command:
Assign the required permissions to the kubectl:
Move the Kubectl file to the location mentioned in the command below:
Step 4: Grant Permissions to IAM User
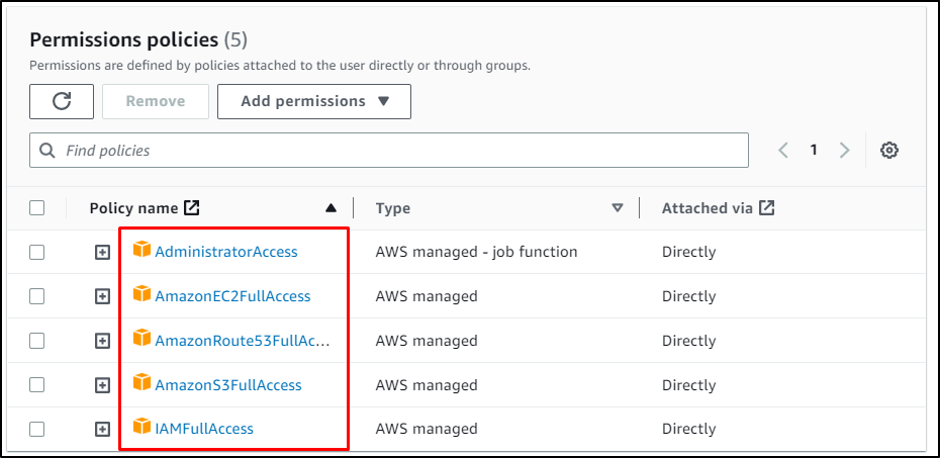
Head into the IAM dashboard and assign the following permissions to the IAM user:
- AmazonEC2FullAccess
- AmazonRoute53FullAccess
- AmazonS3FullAccess
- IAMFullAccess:
Step 5: Attach IAM User to EC2
Configure the AWS CLI by providing the credentials of the IAM user:
To get the complete process of AWS CLI configuration, click here:
Step 6: Install Kops
Download Kops utility from the GitHub:
Assign the required permissions to the Kops:
Move Kops to the desired directory:
Step 7: Create Hosted Zone From Route 53
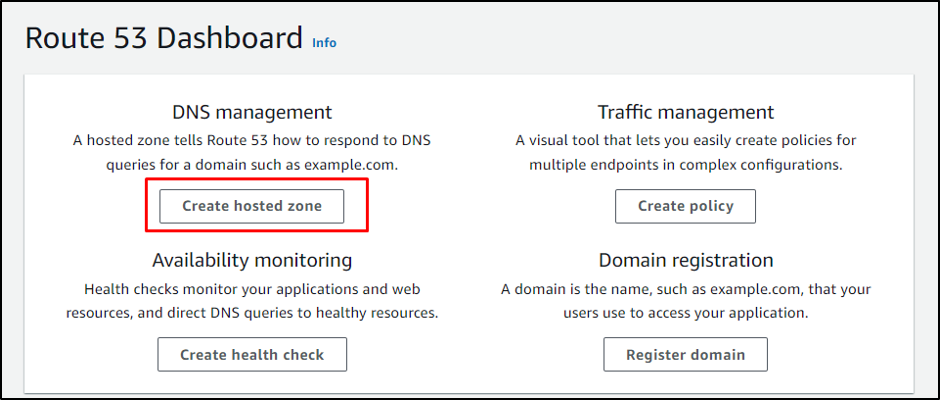
Head into the Route 53 dashboard and click on the “Create hosted zone” button:
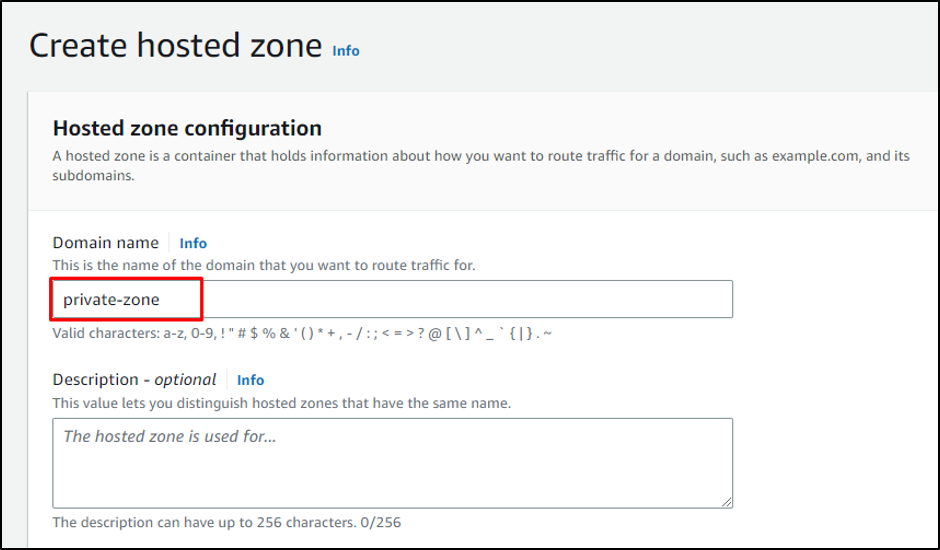
Type the name of the hosted zone:
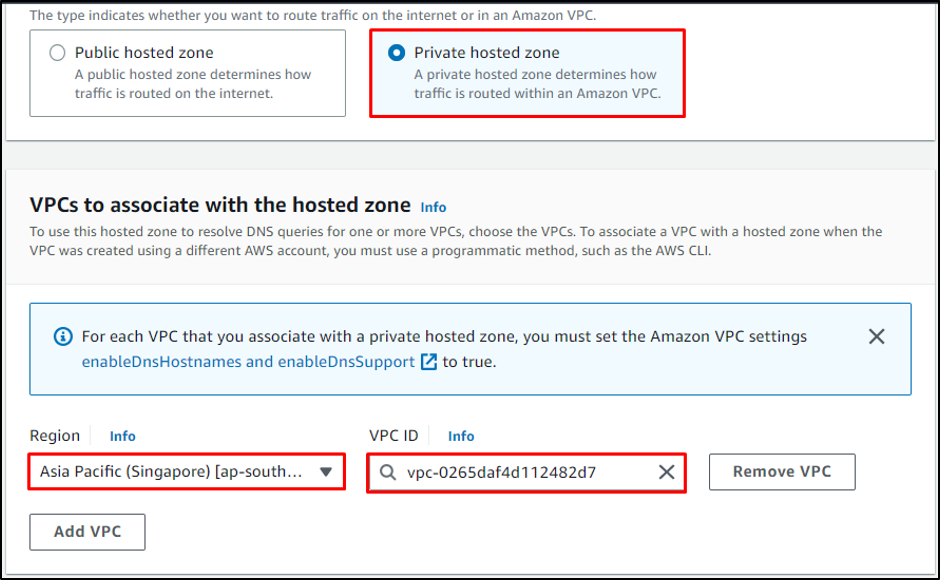
Select the “Private hosted zone” option and provide VPC ID with its Region:
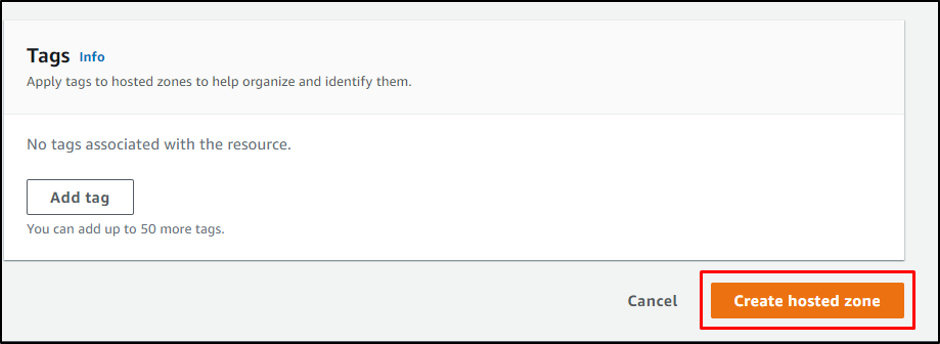
Scroll down to the bottom and click on the “Create hosted zone” button:
Step 8: Create S3 Bucket
Create a bucket using the following command:
Note: The name of the bucket should be unique:
Verify the bucket creation by visiting the “Buckets” page on the S3 dashboard:
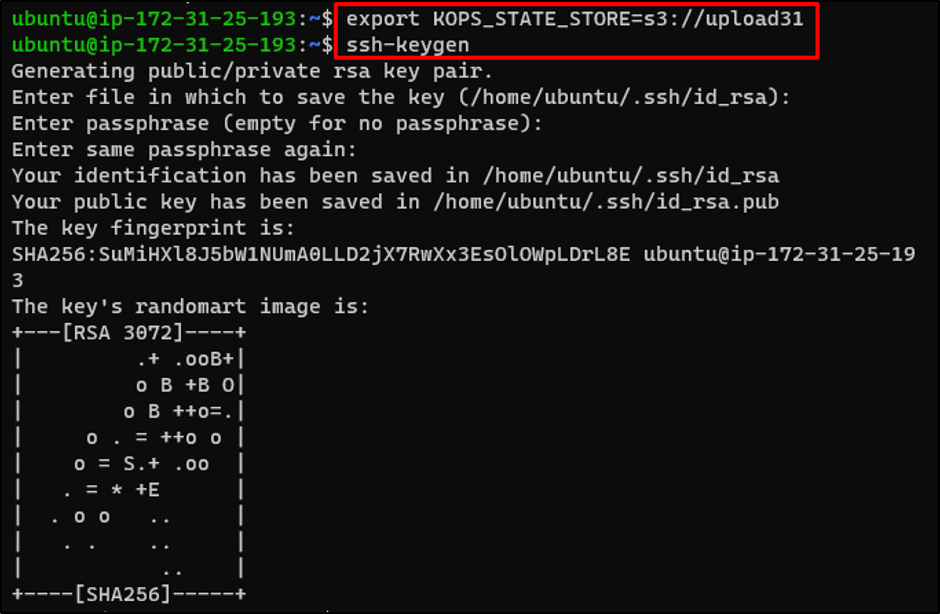
Allow Kubernetes to store cluster data on the bucket:
Create SSH keys by typing the following command:
Running the above command will prompt the user to provide credentials, simply choose default by hitting Enter:
Step 9: Define Cluster to S3 Bucket
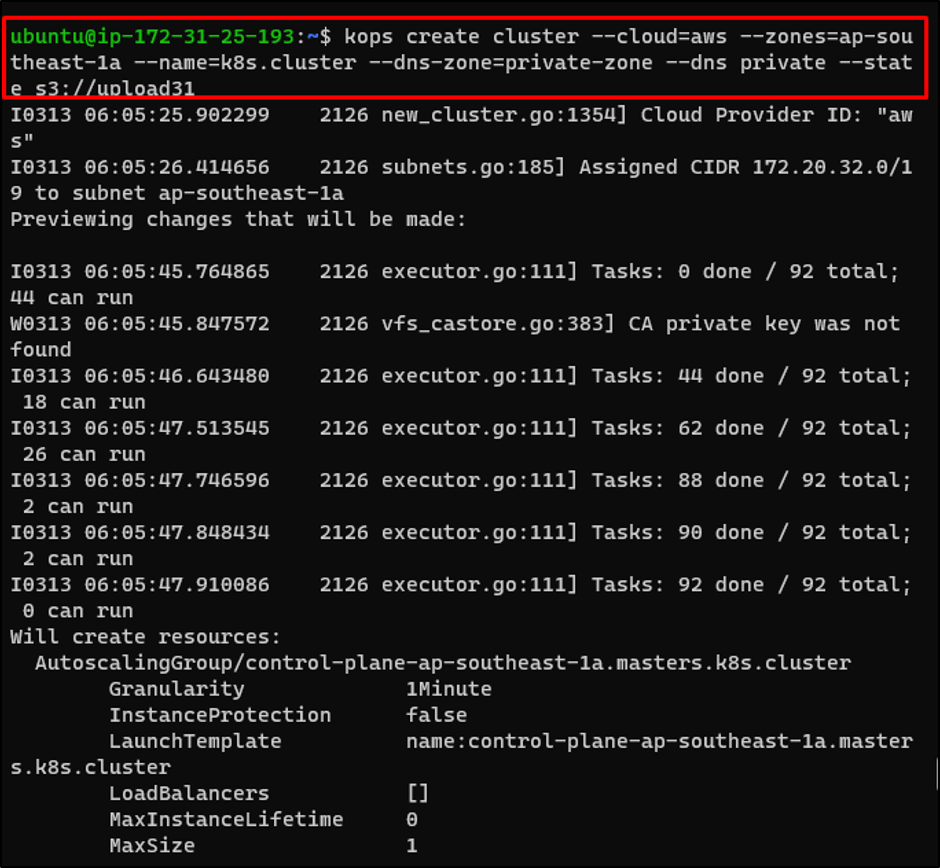
Create cluster definitions on the S3 bucket by providing the “Availability Zone” and “Cluster name”:
Step 10: Create Cluster
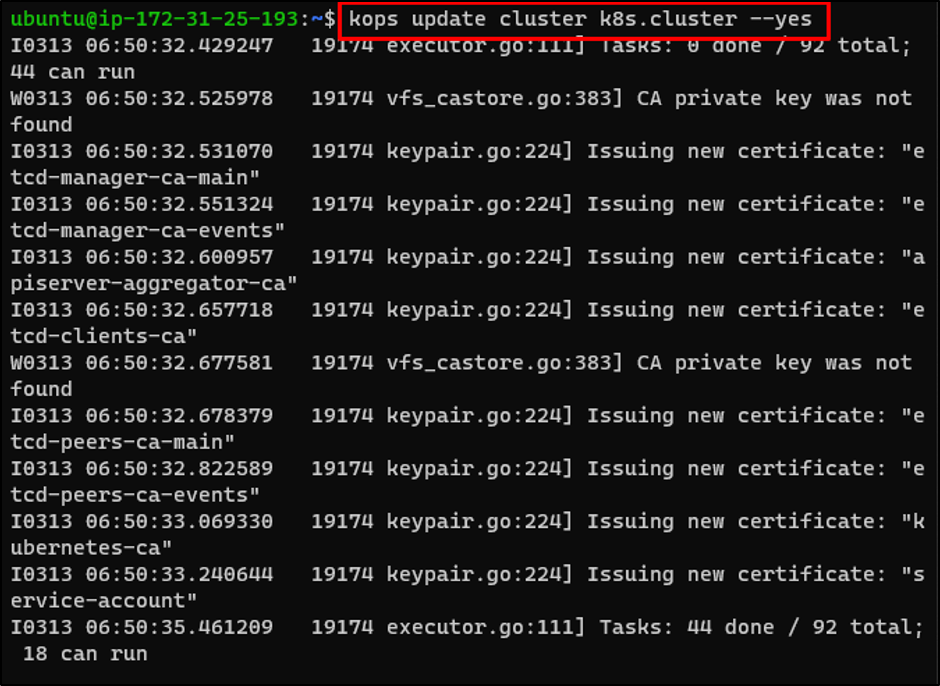
Now create the cluster using the following command:
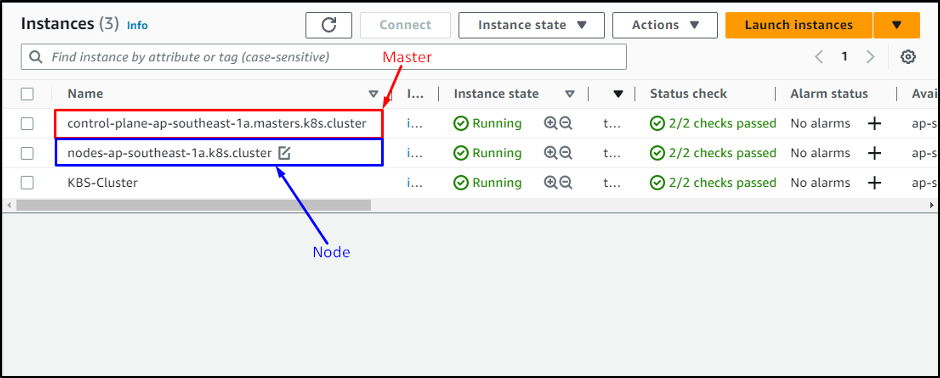
Verify the cluster creation by visiting the “Instances” page from the EC2 dashboard:
This is all about how to set up a Kubernetes cluster on an EC2 instance.
Conclusion
To set up a Kubernetes cluster on an AWS EC2 instance, create and connect to the EC2 instance. Install AWS CLI on the EC2 instance and configure it with the IAM user containing the required permissions. Install Kubectl and Kops on the instance and then create an S3 bucket to store the cluster’s data on it. Finally, create clusters and verify them from the EC2 dashboard. This guide has explained how to configure a Kubernetes cluster on an AWS EC2 instance.

