AWS Relational Database Service or RDS is used to simplify the operations of relational database systems through AWS cloud services. To query the AWS RDS database, it is important to understand the structure of the database created in RDS because the engine type selected while creating the database will connect to the database and query the data afterward. There are seven different database engines that AWS RDS provides, and the users can select any of the seven engines as per their understanding and expertise.
In this post, we will discuss the whole process of querying data in AWS RDS from scratch.
Process to Query AWS RDS
Starting from scratch will involve two major steps:
-
- Create the database in RDS
- Query the database
Create the Database
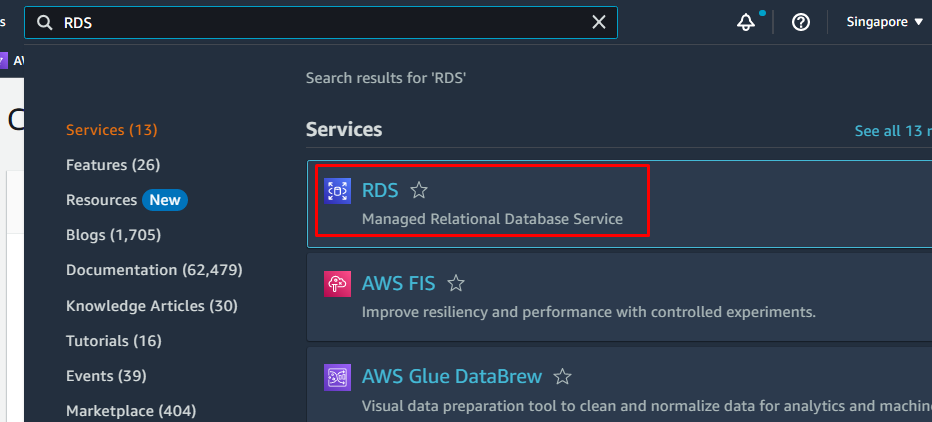
To create a new database in AWS RDS, log in to the AWS management console first and then search for the RDS in AWS services and select it:
After opening the AWS RDS Console, open the list of existing databases by simply selecting the “Databases” option from the left-side menu and then clicking on the “Create database” button:

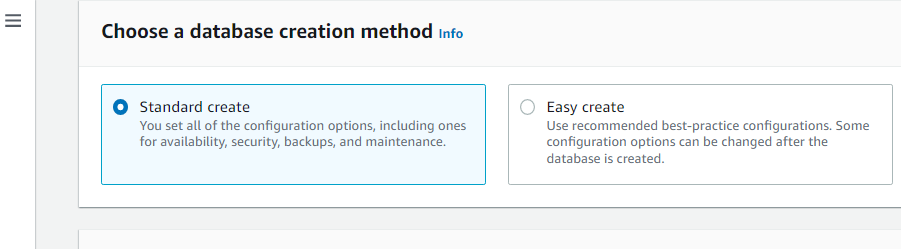
Now, the user can configure the options while creating the database. Before other settings, the users have to select either “Standard create” or “Easy create” as the database creation method according to their convenience. Here, we proceed by selecting the “Standard create”:
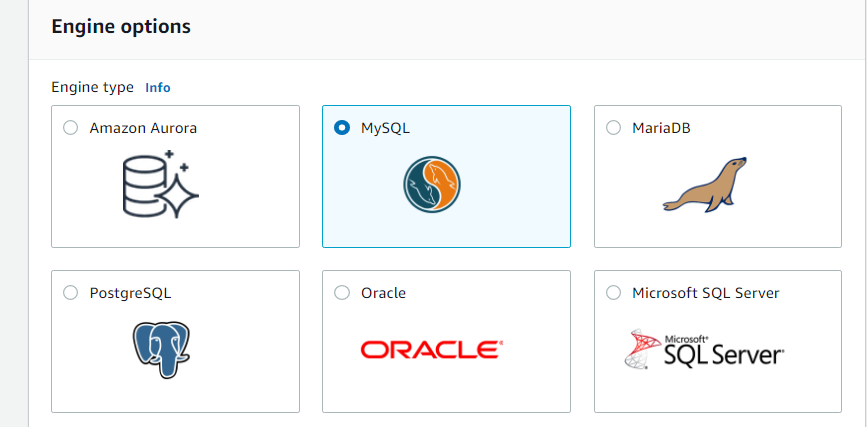
The most important step while creating the database for the purpose of querying the data is to select the Engine type. The users should select a particular database engine type, the whole setup of which is installed on their systems. For this post, we are selecting “MySQL”:
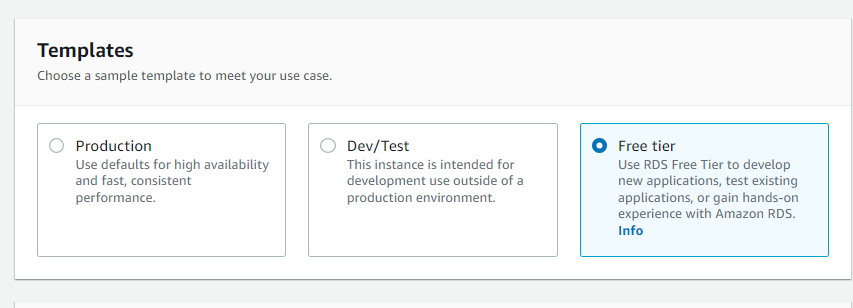
Select the template. Here, we are selecting the “Free tier” option:
Name the database in RDS and type a master username:

Add a strong password for the database:
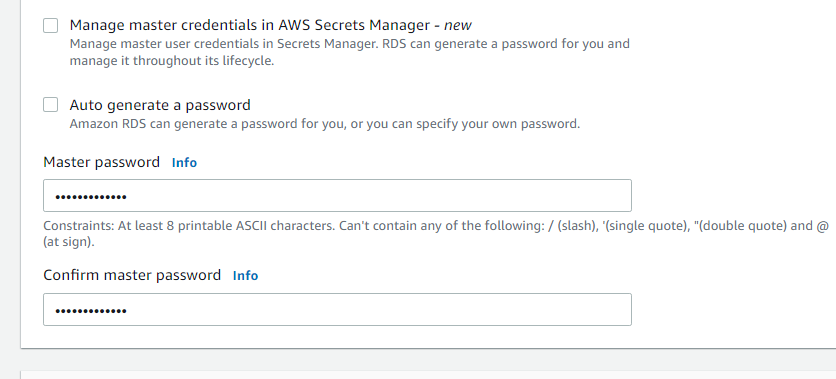
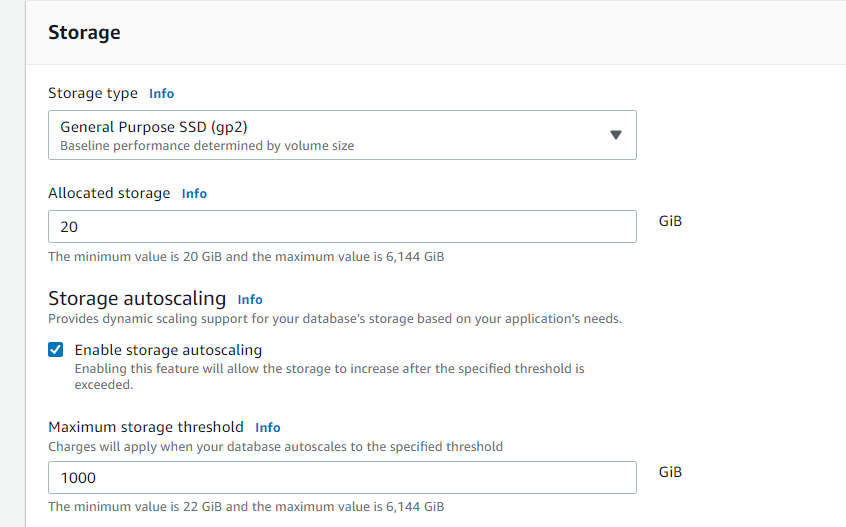
Configure the storage settings according to the nature of the data to be queried:
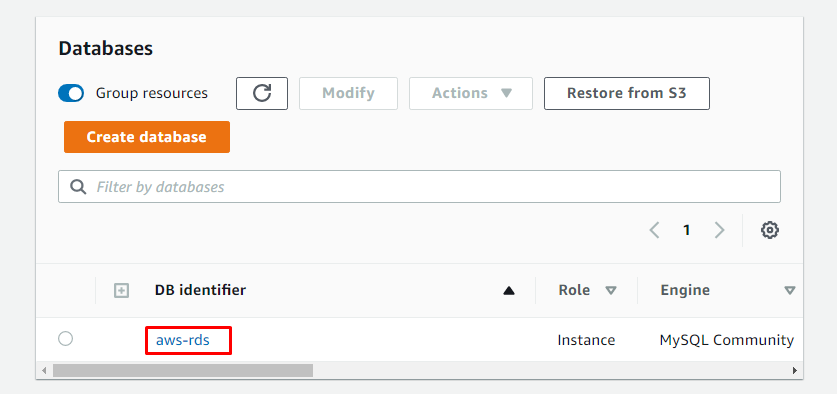
The newly created database will appear in the list of existing AWS RDS Databases. Simply click on the name of the database to view its details:
After opening the details of the newly created database, scroll down to the “Connectivity and Security” section and copy the endpoint of the database from there:

This was all about the database in RDS. Keep the AWS RDS Console open and move on to the main step which is “querying the data” in the RDS database.
Query the Database
Firstly, the user needs to build a connection between the database engine setup on the system and the AWS RDS. To do that, open the setup of the engine type selected while creating the database. We have selected “MySQL” as the database engine, so we should open the MySQL connection setup.
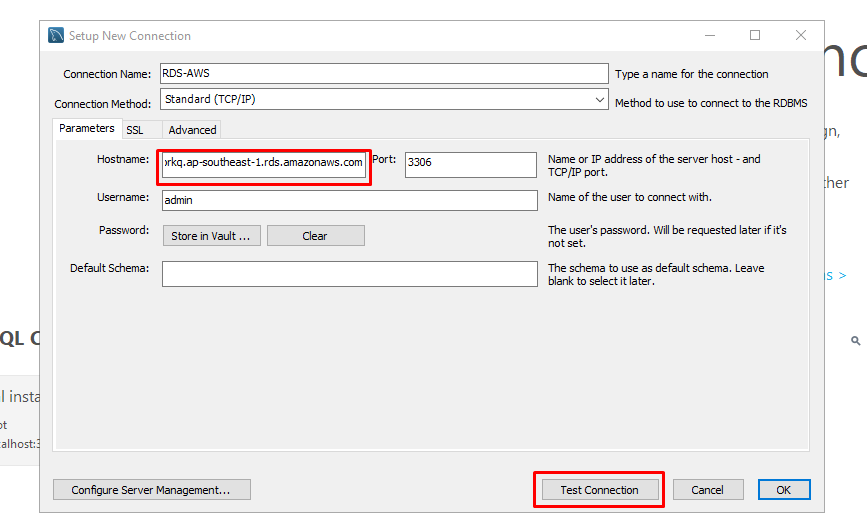
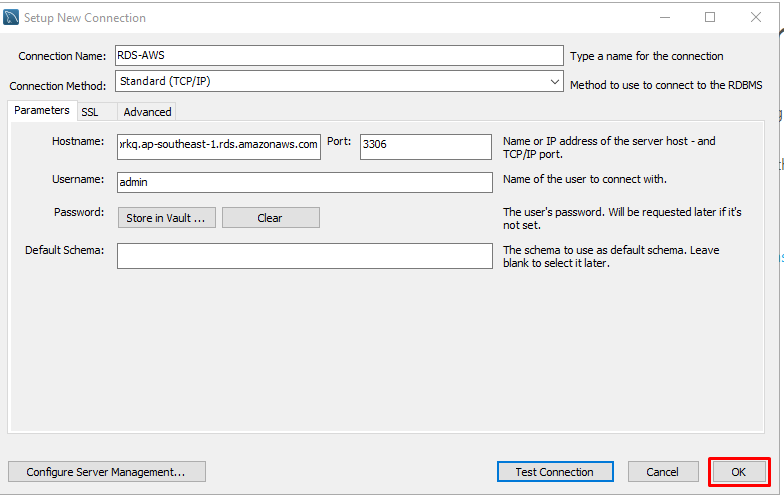
Type a name in the “Connection Name” space and then paste the copied endpoint in the Hostname. After that, click on the “Test Connection” option:
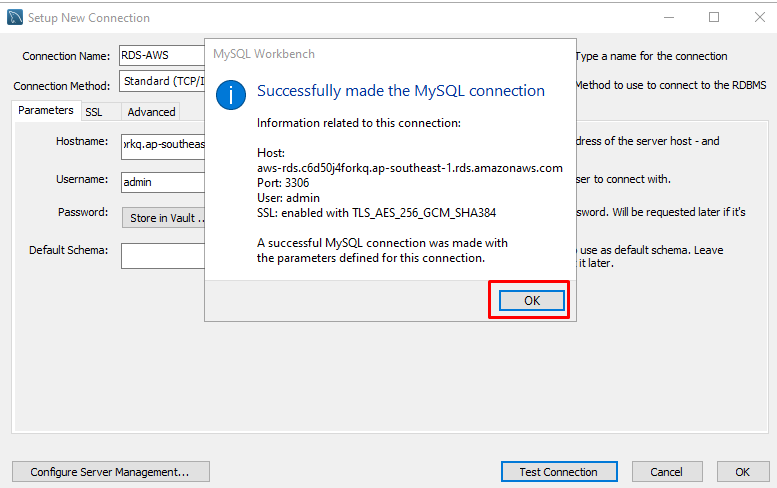
An authentication wizard will appear to ask the user for the password for the Hostname selected. The user has to enter the RDS database password and then proceed. After verification, a success wizard will appear, indicating the successful establishment of MySQL connection with RDS. Click “OK”:
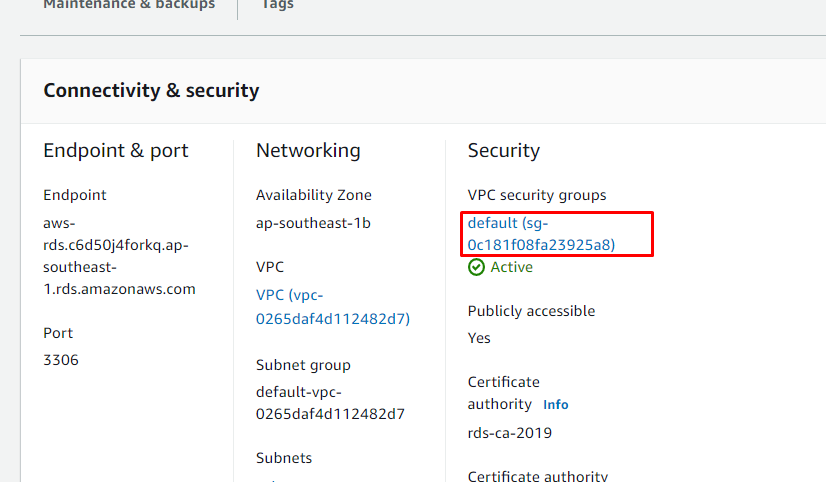
Go back to the details of the database in the AWS Console and click on the VPC security groups:
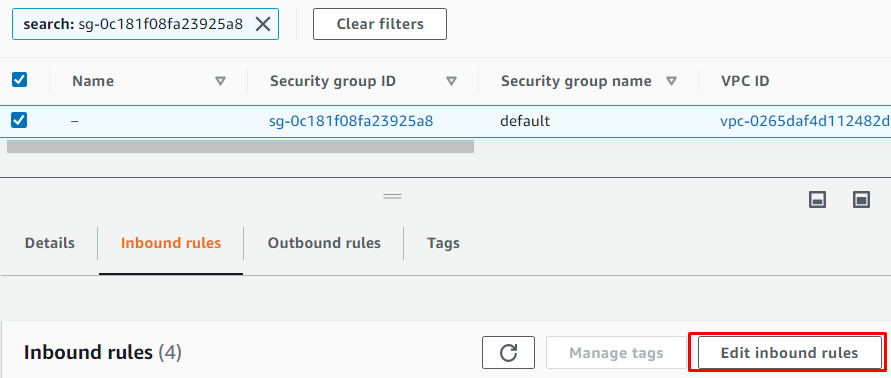
After opening the details, click on “Edit inbound rules”:
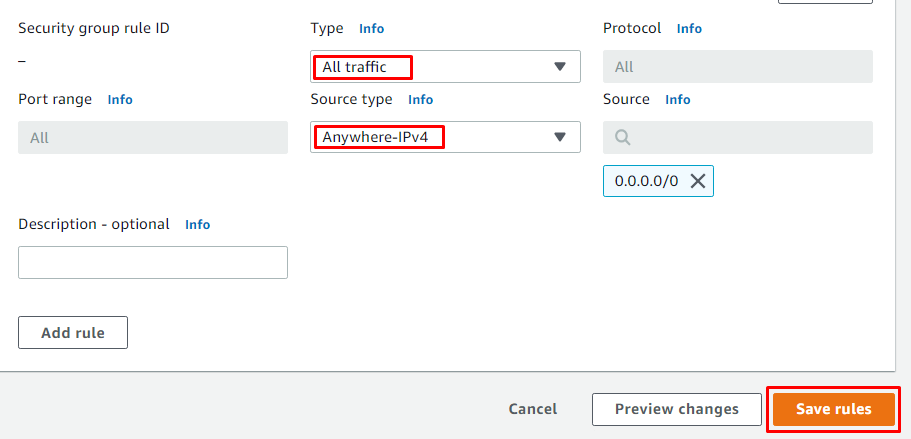
Add a new inbound rule to enable inbound traffic from anywhere and then click on “Save rules”:
The user can check the connection once again by clicking on the “Test Connection” option to know everything is working fine and then click “OK”:
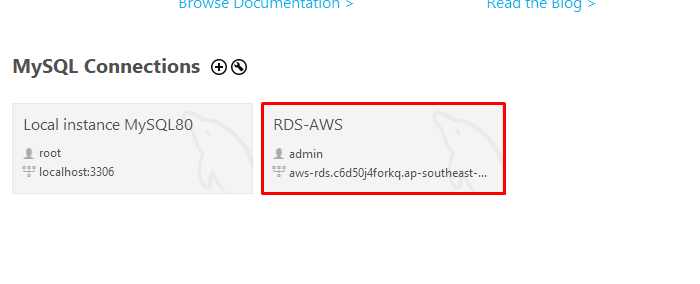
The newly created database connection in the MySQL interface will appear. Simply click on it to open it:
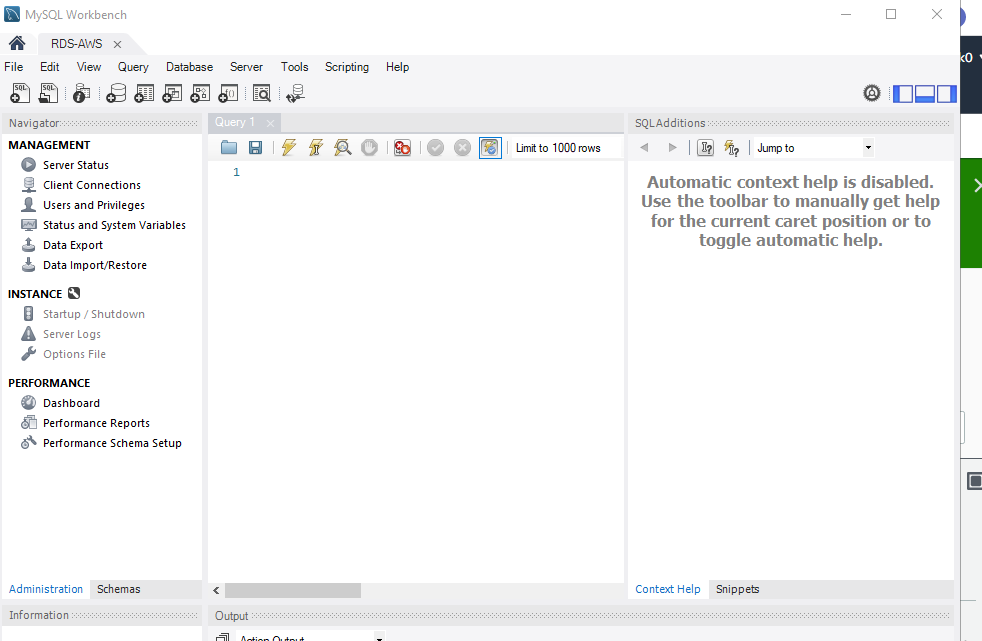
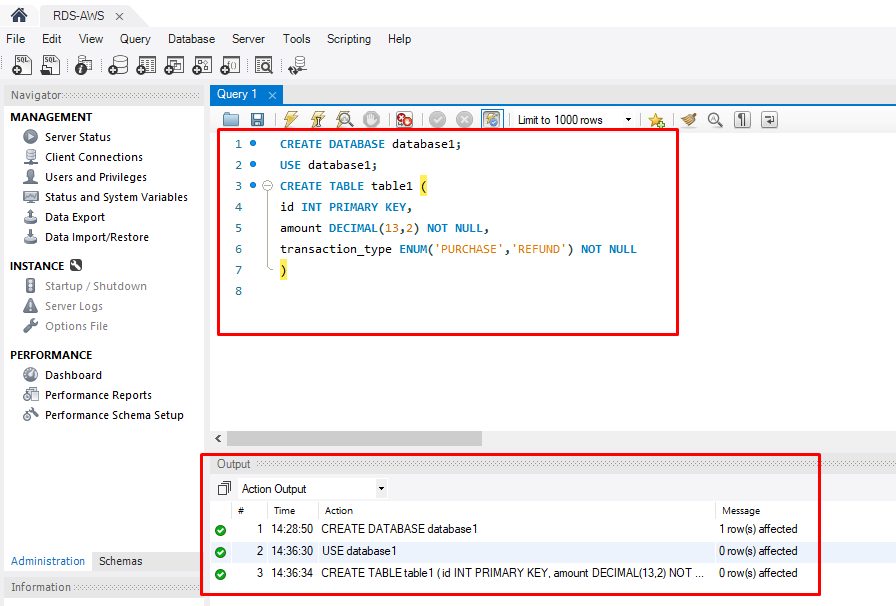
This will open a new query interface named “Query 1,” in which the user can write and run a database code:
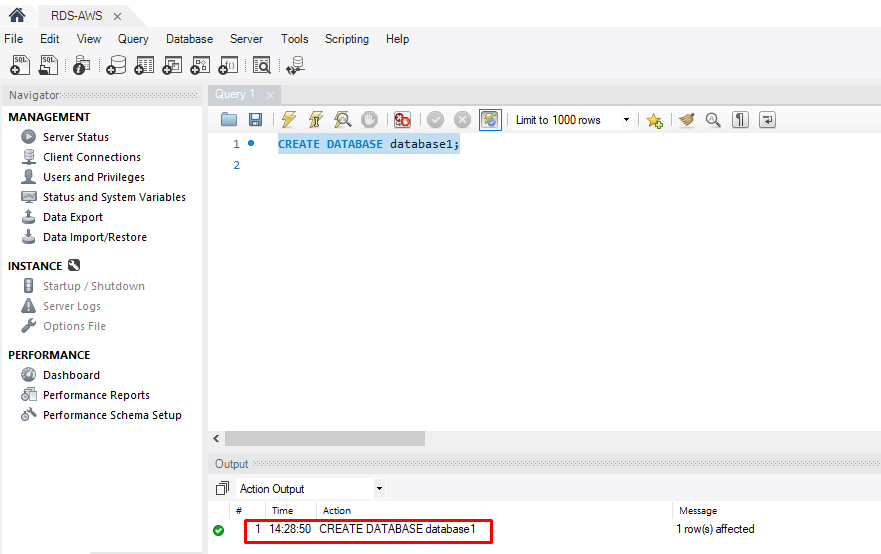
For example, we create a database with the “CREATE DATABASE” MySQL statement and name the new database “database1”. The Action output shows that the statement has worked correctly:
Now, we proceed with writing a small MySQL code for the transaction system as an example. We write the “CREATE TABLE” statement to create a table in the “database1(database)” with the id, amount, and transaction type as the variables:
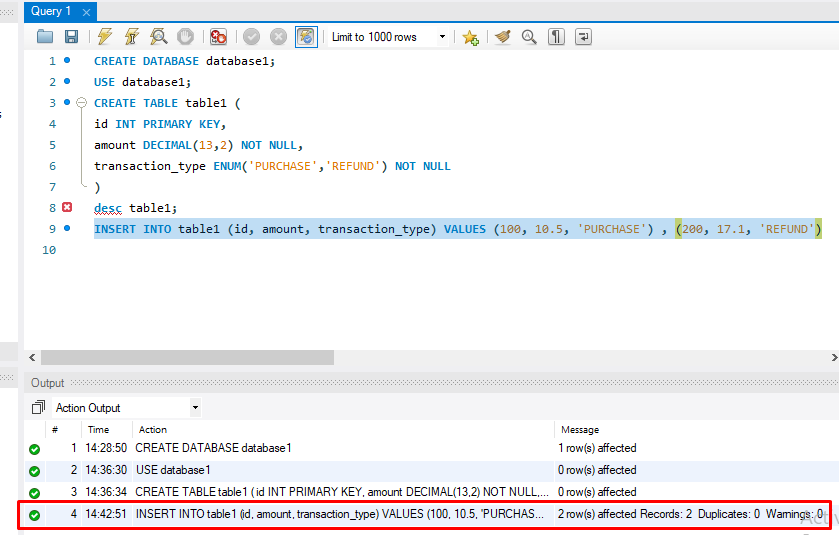
Now, we add values to the variables according to the datatypes we defined for them in the previous step. Check the Action output to confirm everything has been entered correctly:
Now, to view the result grid of the database that we created through this MySQL code, use the “SELECT * FROM table1;” statement where “table1” is the name we defined for the table containing the data. By running the code, the output database will be displayed in the “Result Grid”:
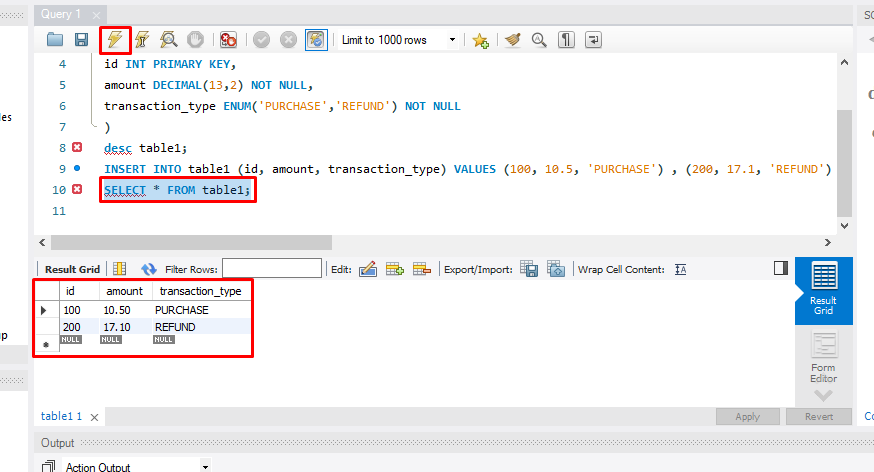
This is how the RDS databases are queried.
Conclusion
The AWS RDS is queried by connecting the Amazon RDS database with the actual database engine setup through the endpoint of the AWS RDS database displayed in its details. After establishing a connection between the local setup and the AWS cloud, the user can query the data on the selected database engine according to its input type.