In this article, I will show you how to install UniFi Network Application on a Raspberry Pi 4 with Raspberry Pi OS (32-bit) installed. This way, you can manage your UniFi network devices without buying an UniFi controller from Ubiquiti. So, let’s get started.
Table of Contents:
- Keeping Everything Up-to-Date
- Installing OpenJDK 8
- Installing MongoDB
- Installing UniFi Network Application
- Accessing UniFi Network Application
- Conclusion
- References
Keeping Everything Up-to-Date:
Before installing the UniFi Network Application on your Raspberry Pi 4 running the Raspberry Pi OS (32-bit), it’s a good idea to update all the existing packages.
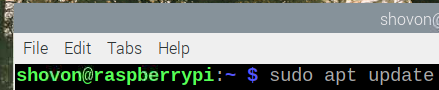
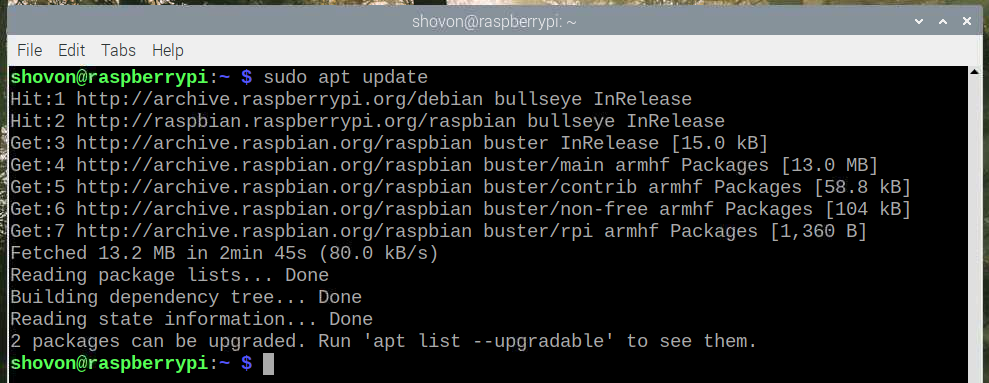
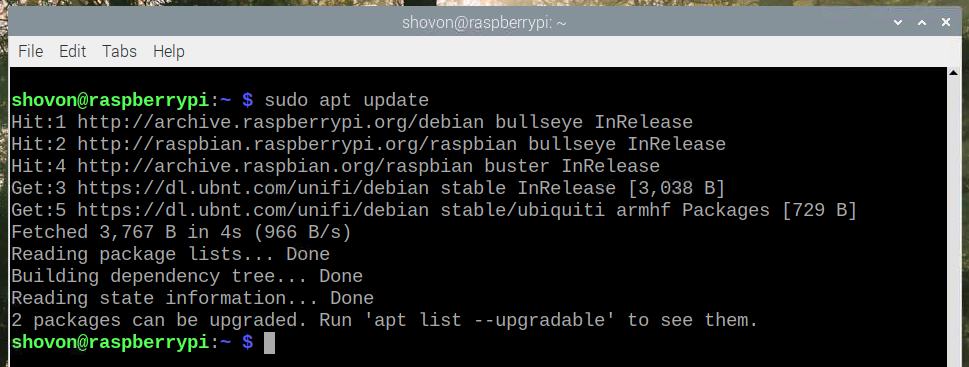
First, update the APT package repository cache with the following command:
As you can see, updates are available for 3 packages.

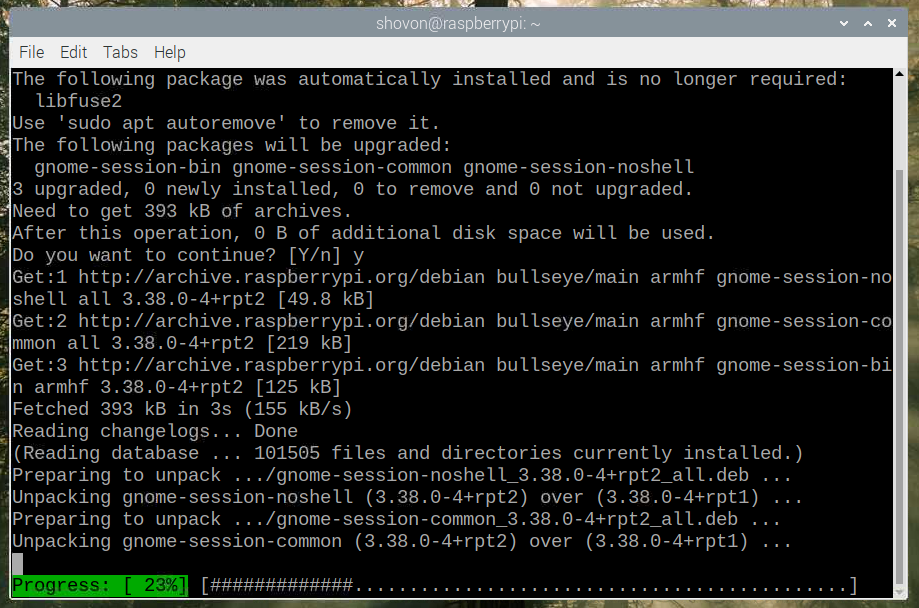
To update all the available packages, run the following command:

To confirm the updates, press Y and then press <Enter>.

The updates are being installed. Depending on how many packages are being updated, it may take a while.
At this point, all the updates should be installed.

For the changes to take effect, reboot your Raspberry Pi 4 as follows:
Installing OpenJDK 8:
UniFi Network Application depends on Java 8. So, you must have Oracle JDK 8, or OpenJDK 8 installed on your Raspberry Pi OS for the UniFi Network Application to work.
You can install OpenJDK 8 from the official package repository of Raspberry Pi OS as follows:

To confirm the installation, press Y and then press <Enter>.
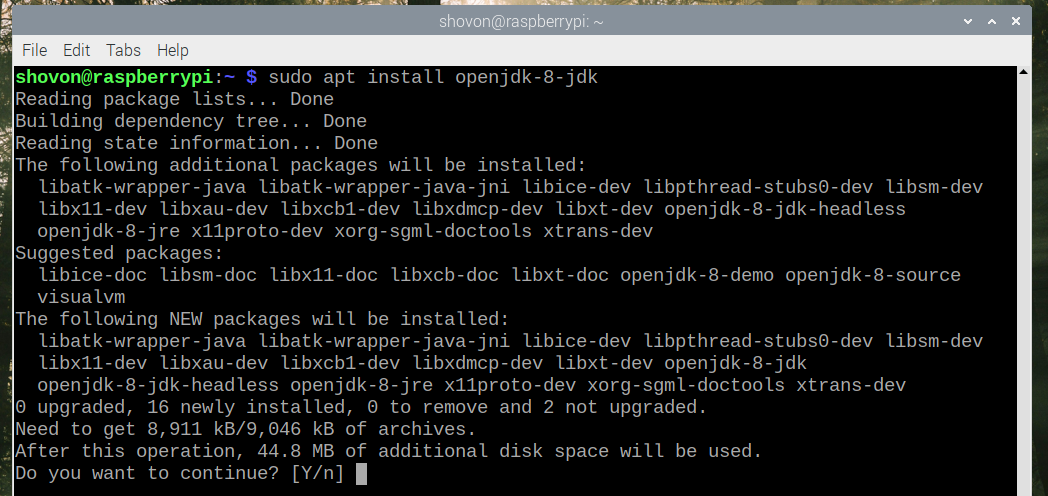
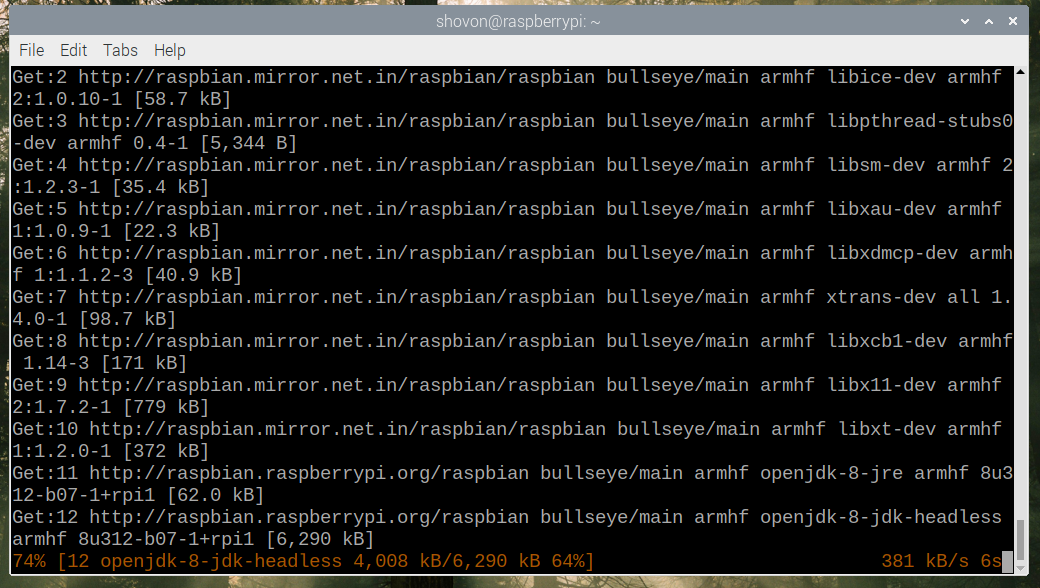
All the required packages are being downloaded. It will take a while to complete.
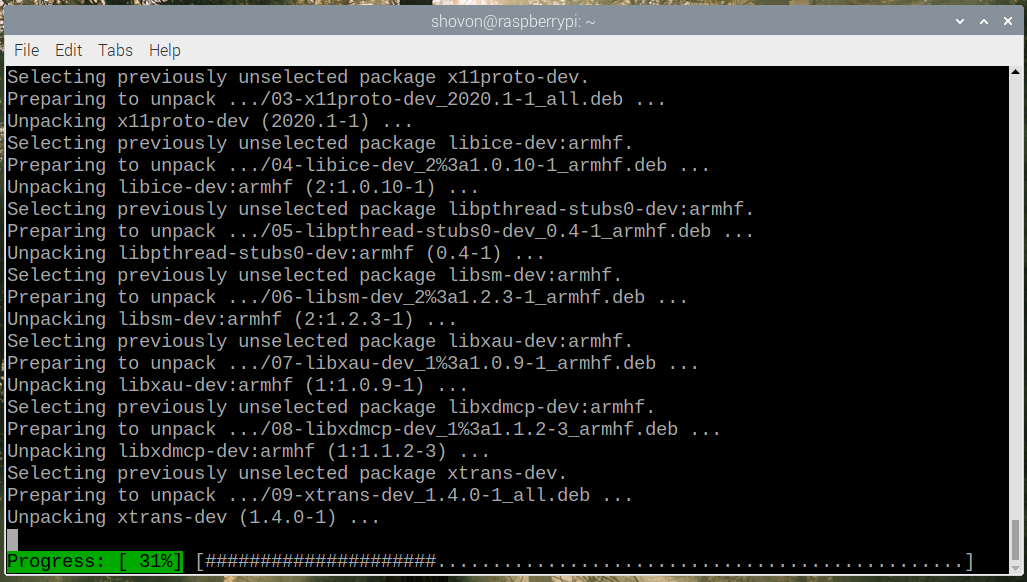
All the required packages are being installed. It may take a while to complete.
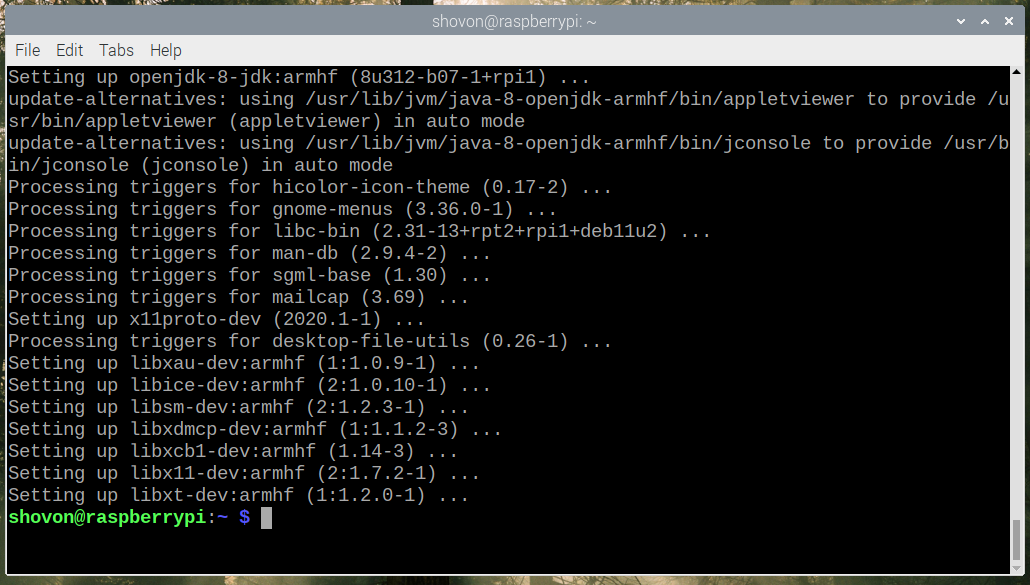
At this point, OpenJDK 8 should be installed.
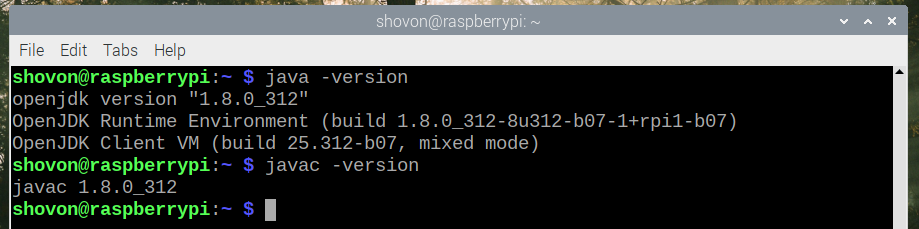
Once OpenJDK 8 is installed, you can run the following commands to check if JDK 8 is working.
$ javac -version
Installing MongoDB:
UniFi Network Application also requires MongoDB to work. But the problem is that the latest version of Raspberry Pi OS (based on Debian 11 Bullseye) does not have MongoDB available in the official package repository. Luckily, it is available in the official package repository of an older version of Raspberry Pi OS (based on Debian 10 Buster). You can add the official package repository of the older Raspberry Pi OS (based on Debian 10 Buster) and install MongoDB from there.
To add the official package repository of the older Raspberry Pi OS (based on Debian 10 Buster), run the following command:

Update the APT package repository cache for the changes to take effect.
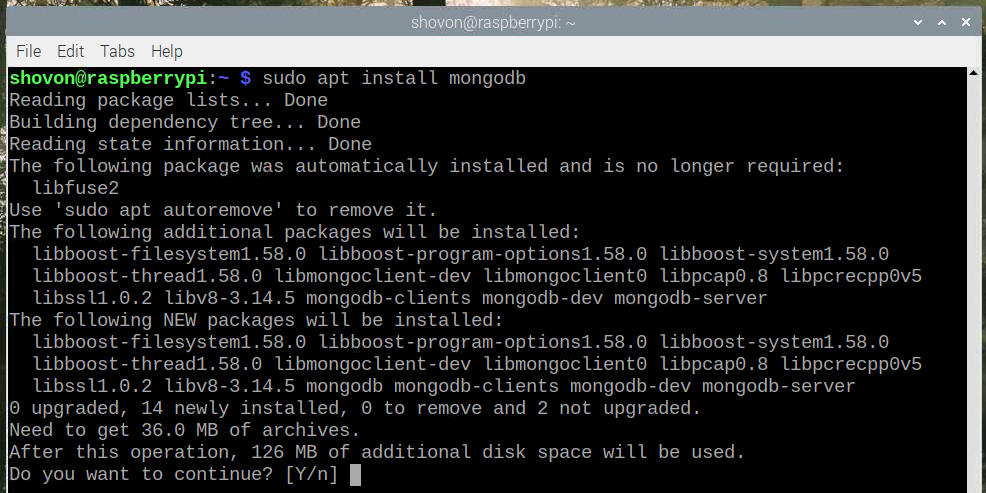
To install MongoDB, run the following command:

To confirm the installation, press Y and then press <Enter>.
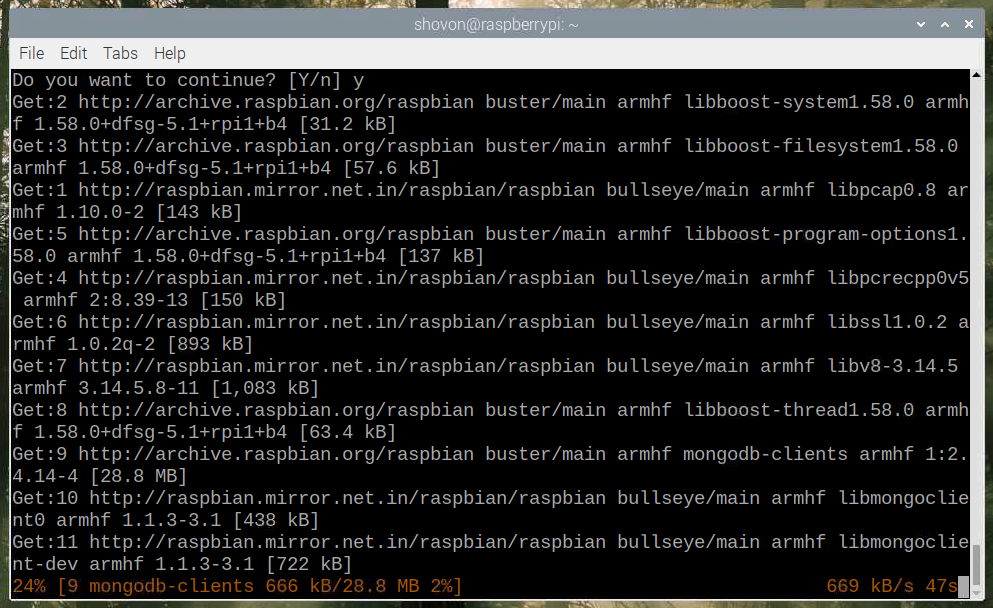
All the required packages are being downloaded. It will take a while to complete.
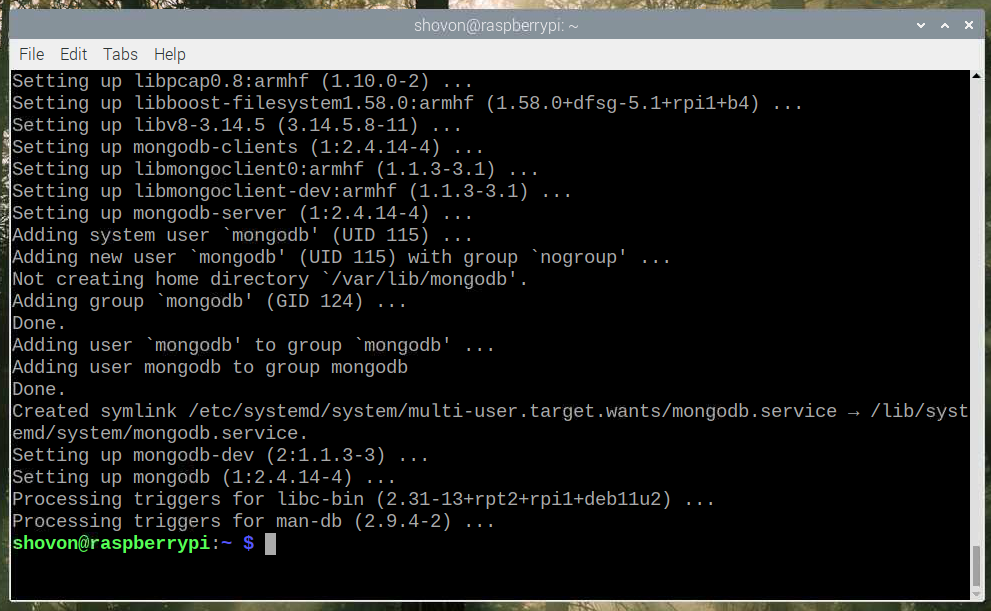
All the required packages are being installed. It will take a while to complete.
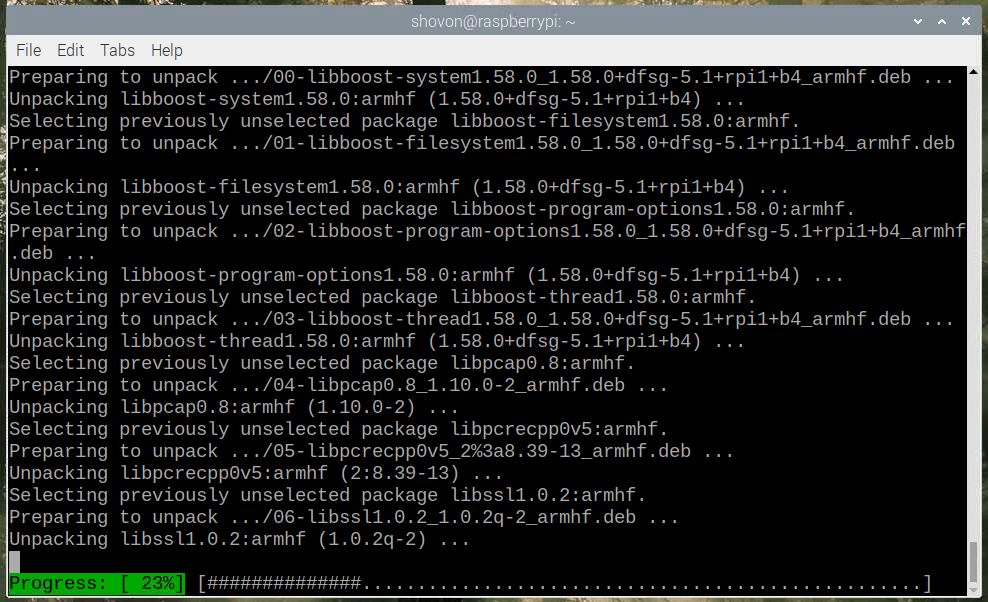
At this point, MongoDB should be installed.
Once MongoDB is installed, make sure that the mongodb service is running with the following command:
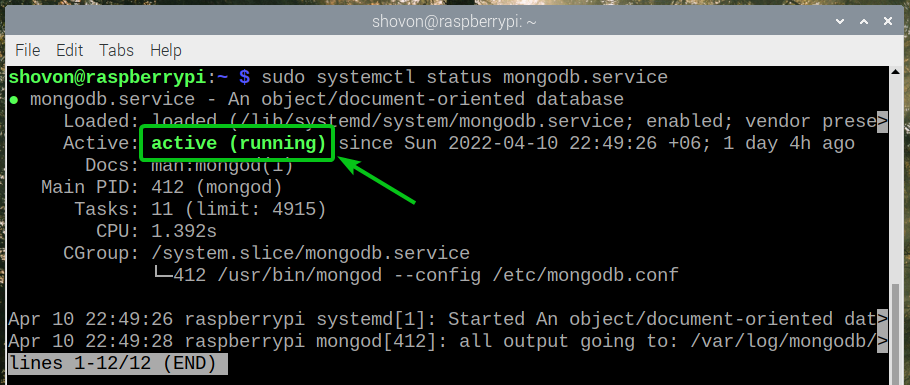
If the mongodb service is not running, you can start it with the following command:

Installing UniFi Network Application:
UniFi Network Application is not available in the official package repository of Raspberry OS. You will have to add the official UniFi package repository and install it from there.
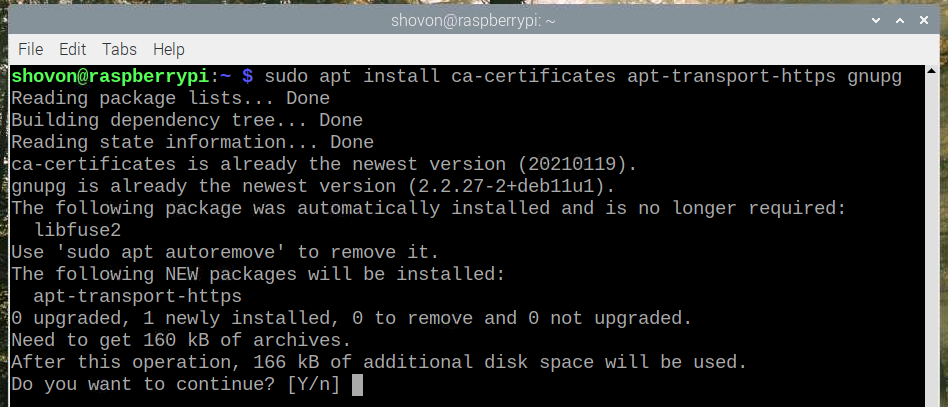
First, install all the required packages with the following command:

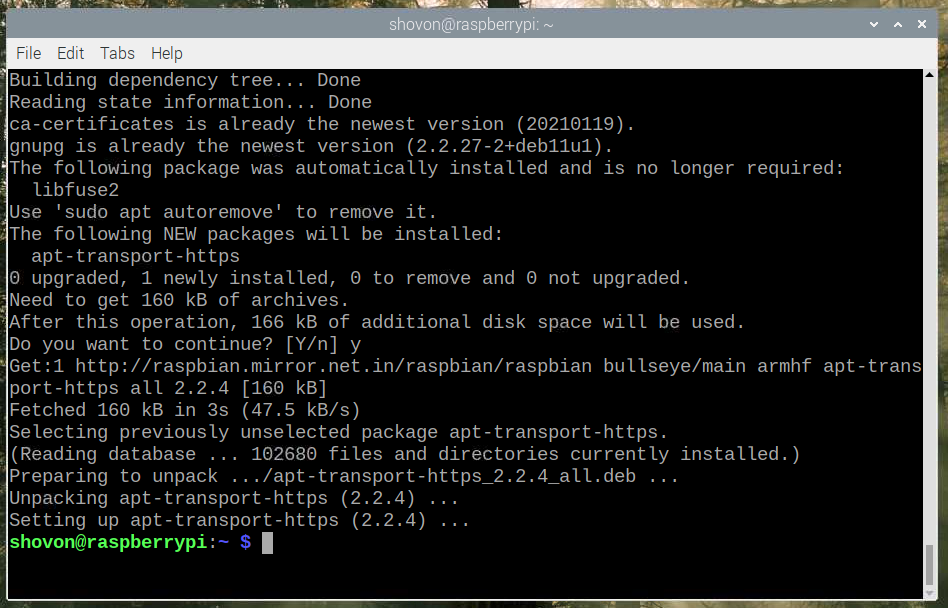
To confirm the installation, press Y and then press <Enter>.
All the required packages should be installed.
Run the following command to download and install the UniFi GPG key on your Raspberry Pi OS:
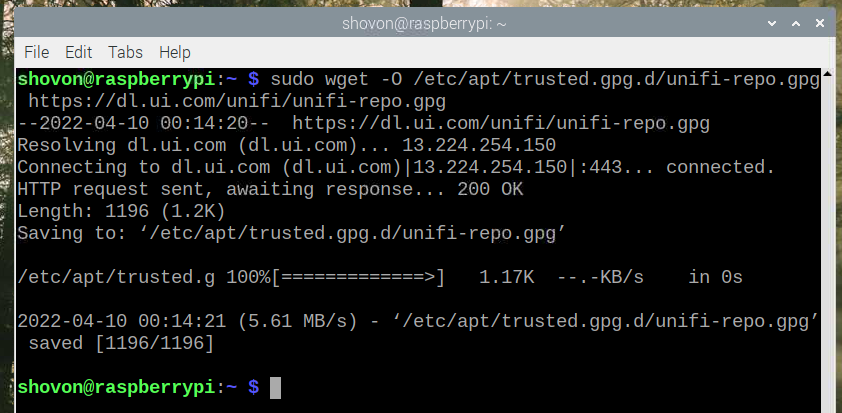
Run the following command to add the official UniFi repository on Raspberry Pi OS:

For the changes to take effect, update the APT package repository cache with the following command:
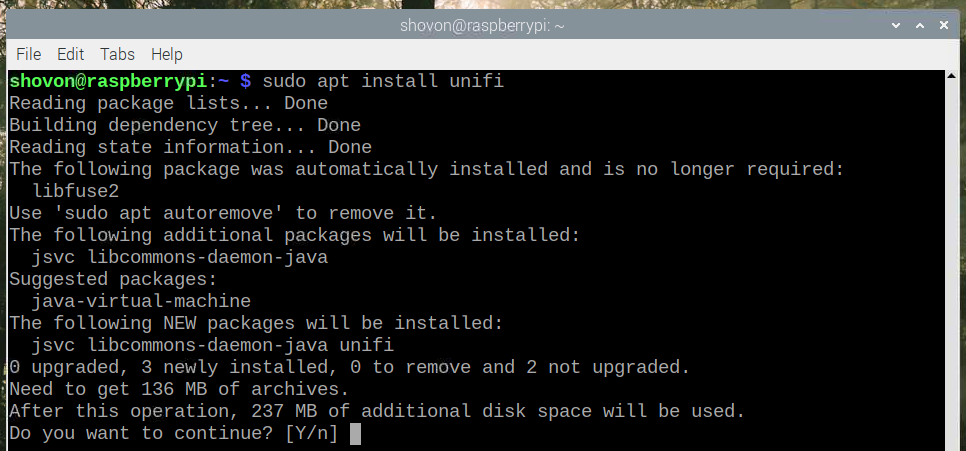
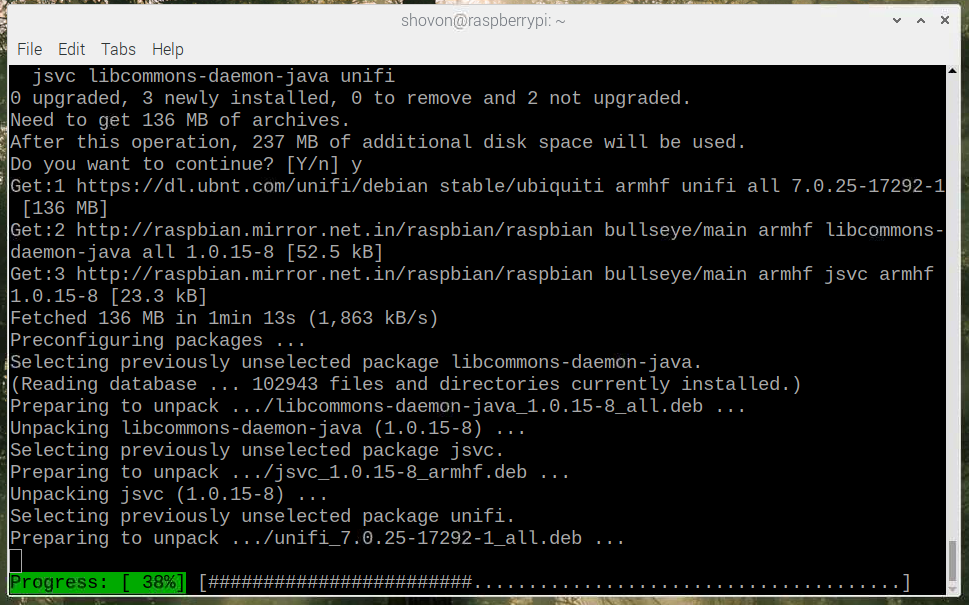
To install the UniFi Network Application, run the following command:

To confirm the installation, press Y and then press <Enter>.
All the required packages are being downloaded. It will take a while to complete.
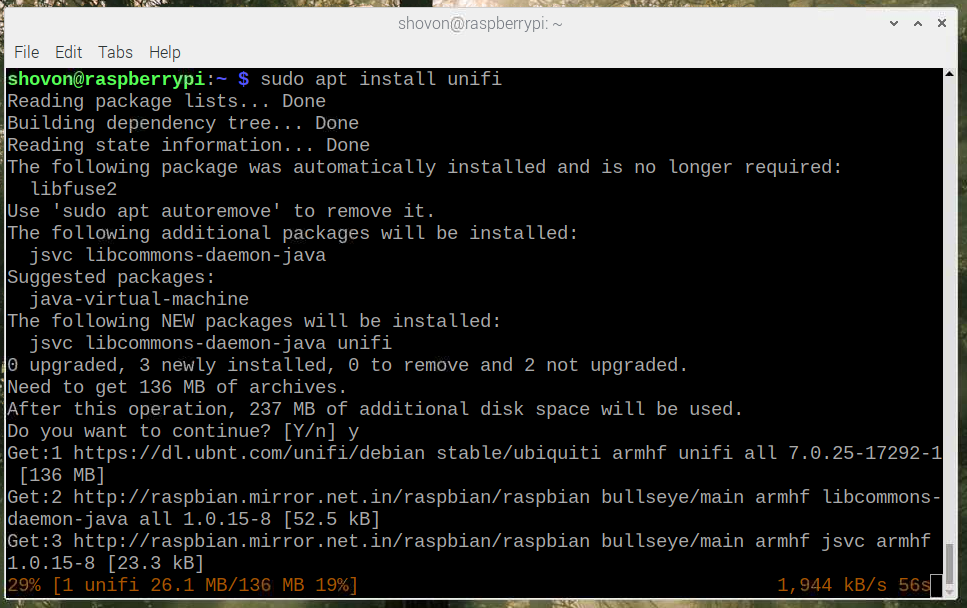
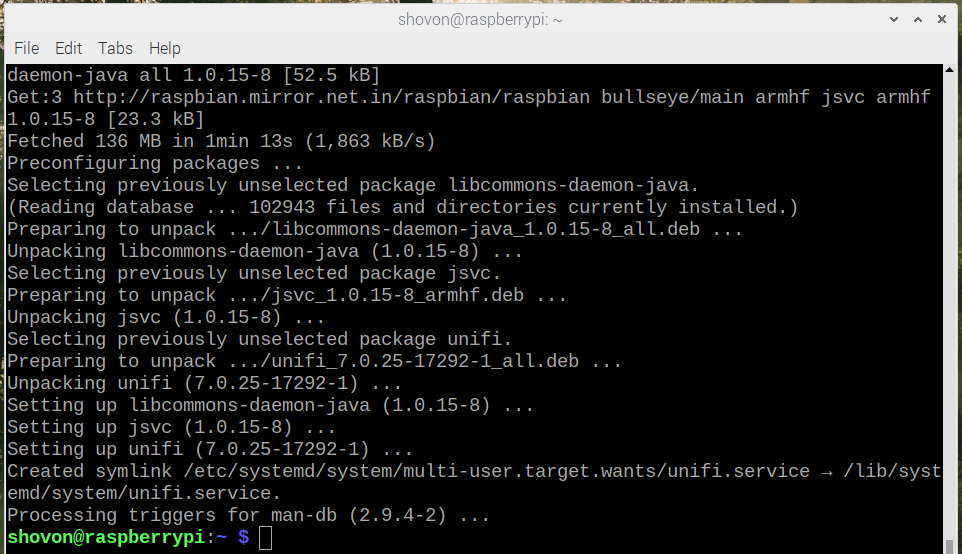
All the required packages are being installed. It will take a while to complete.
At this point, the UniFi Network Application should be installed.
Once UniFi Network Application is installed, make sure that the unifi service is running with the following command:
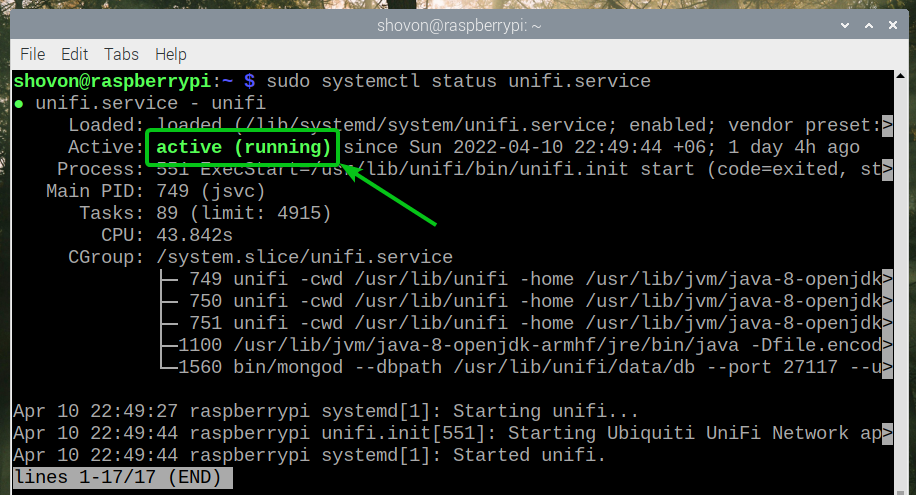
If the unifi service is not running, you can start it with the following command:

Accessing UniFi Network Application:
To access UniFi Network Application, you need to know the IP address of your Raspberry Pi 4.
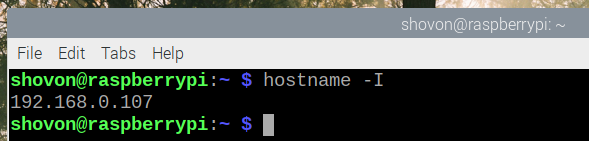
To find the IP address of your Raspberry Pi 4, run the following command:

The IP address of your Raspberry Pi 4 will be printed on the terminal.
In my case, the IP address is 192.168.0.107. It will be different for you. So, make sure to replace it with yours from now on.
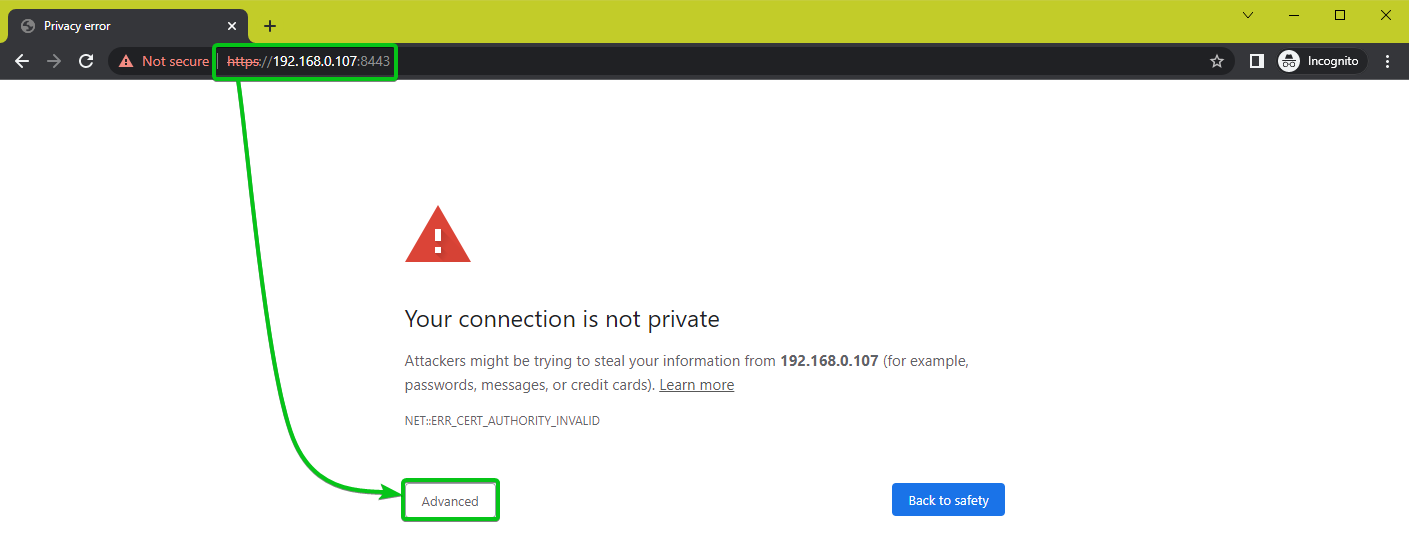
To access the UniFi Network Application, visit the URL https://192.168.0.107:8443 from your favorite web browser.
You will see the following warning. Click on Advanced.
NOTE: Make sure to replace the IP address 192.168.0.107 with yours.
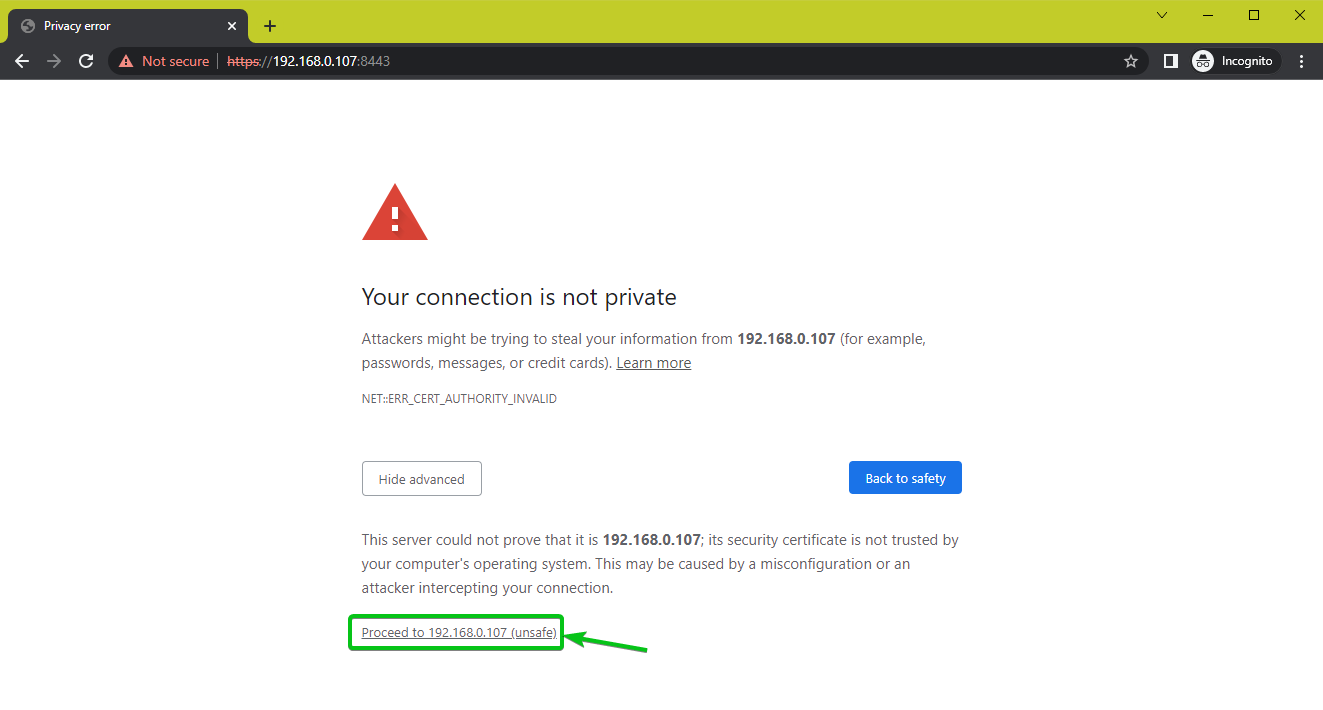
Click on Proceed to 192.168.0.107 (unsafe) as marked in the screenshot below.
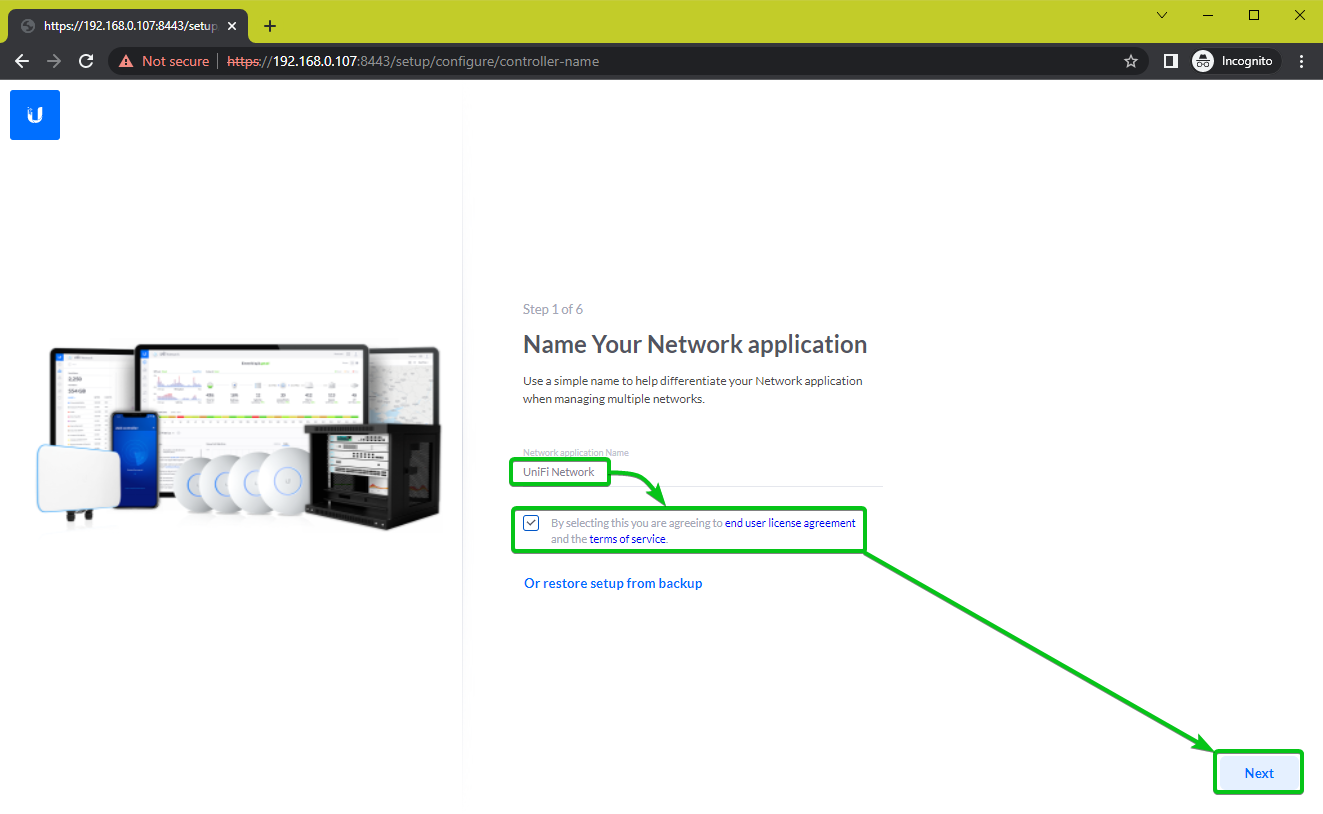
You should see the first-time setup wizard of the UniFi Network Application.
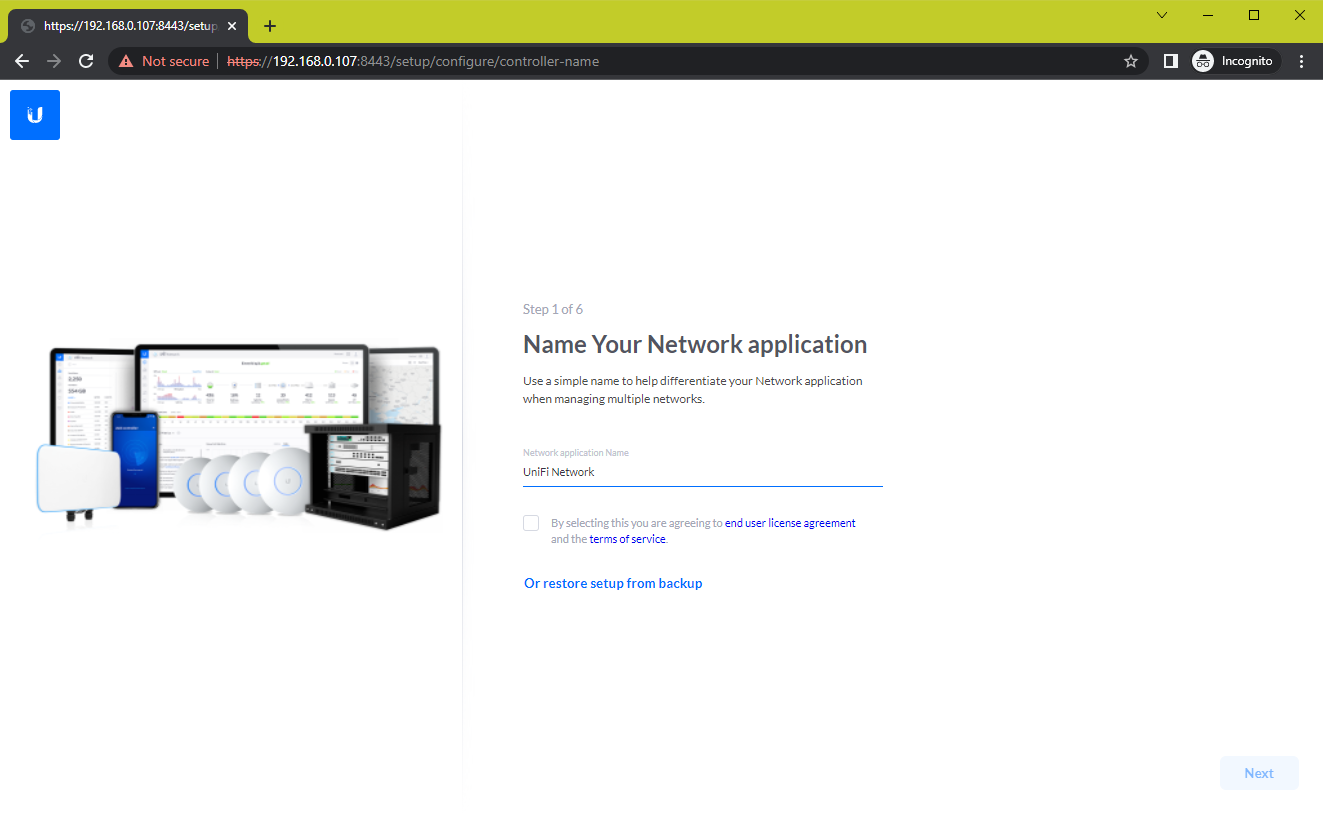
Type in a name for your UniFi Network Application, check the By selecting this you are agreeing to end user license agreement and terms of service checkbox and click on Next.
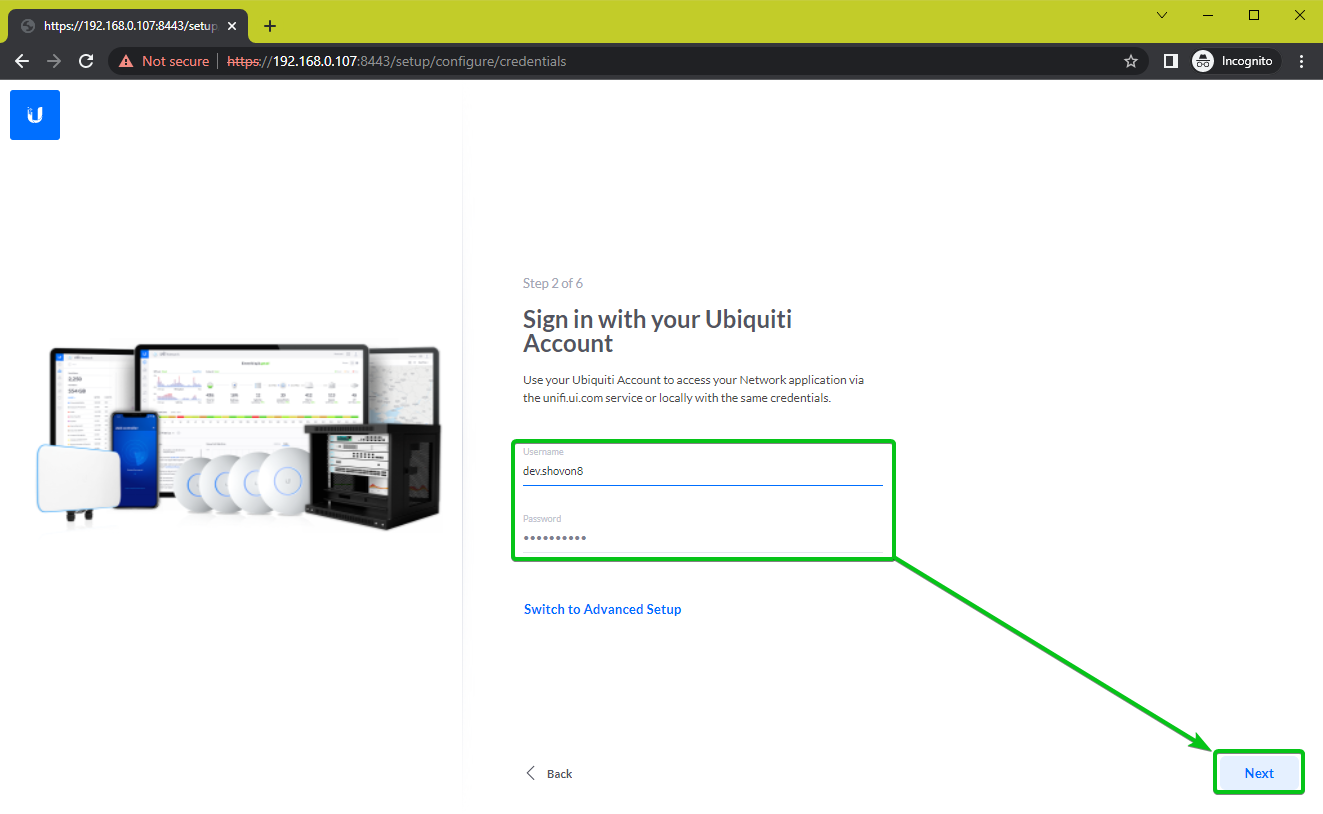
Type in the login username and password of your UniFi account and click on Next.
NOTE: If you don’t have an UniFi account, you can create one from https://account.ui.com/.
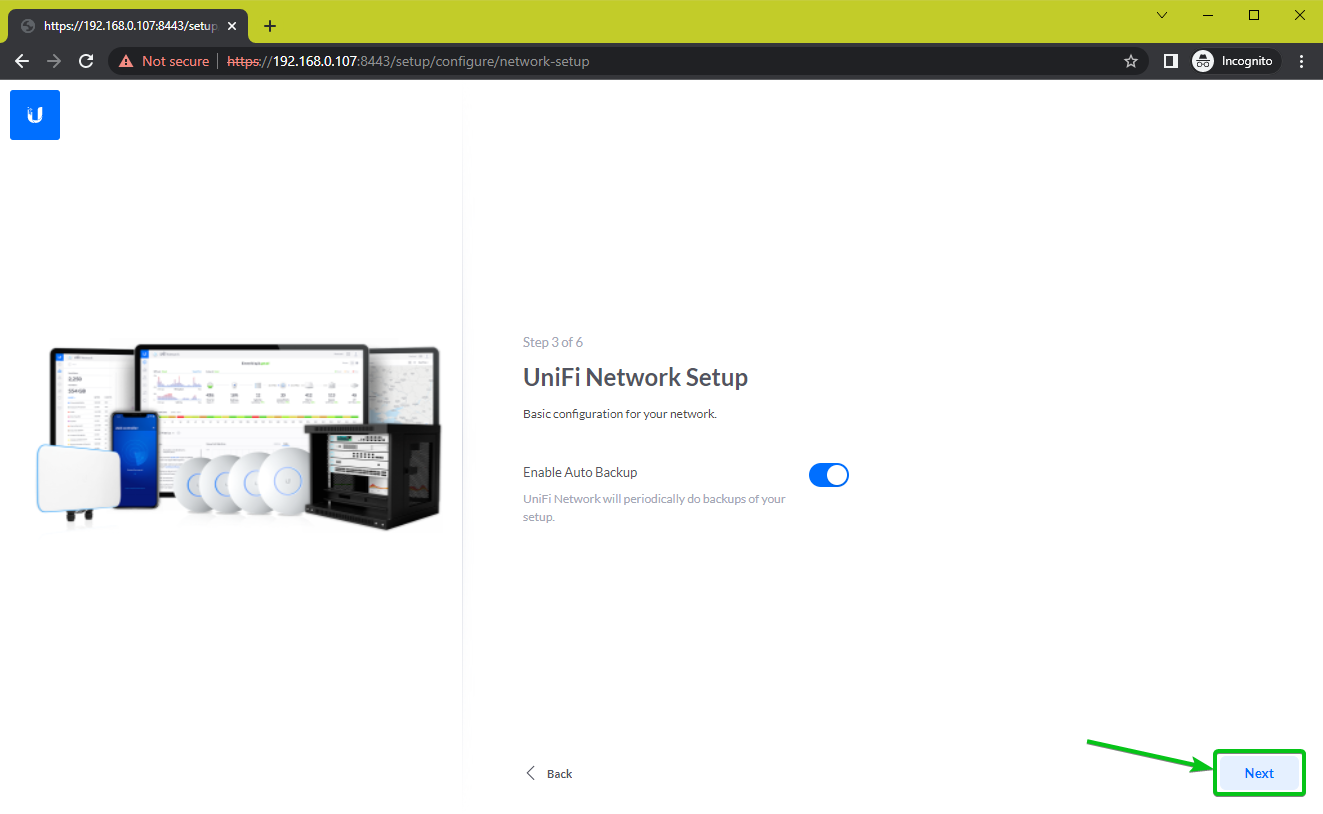
Click on Next.
All the UniFi devices you have available on the network should be listed.
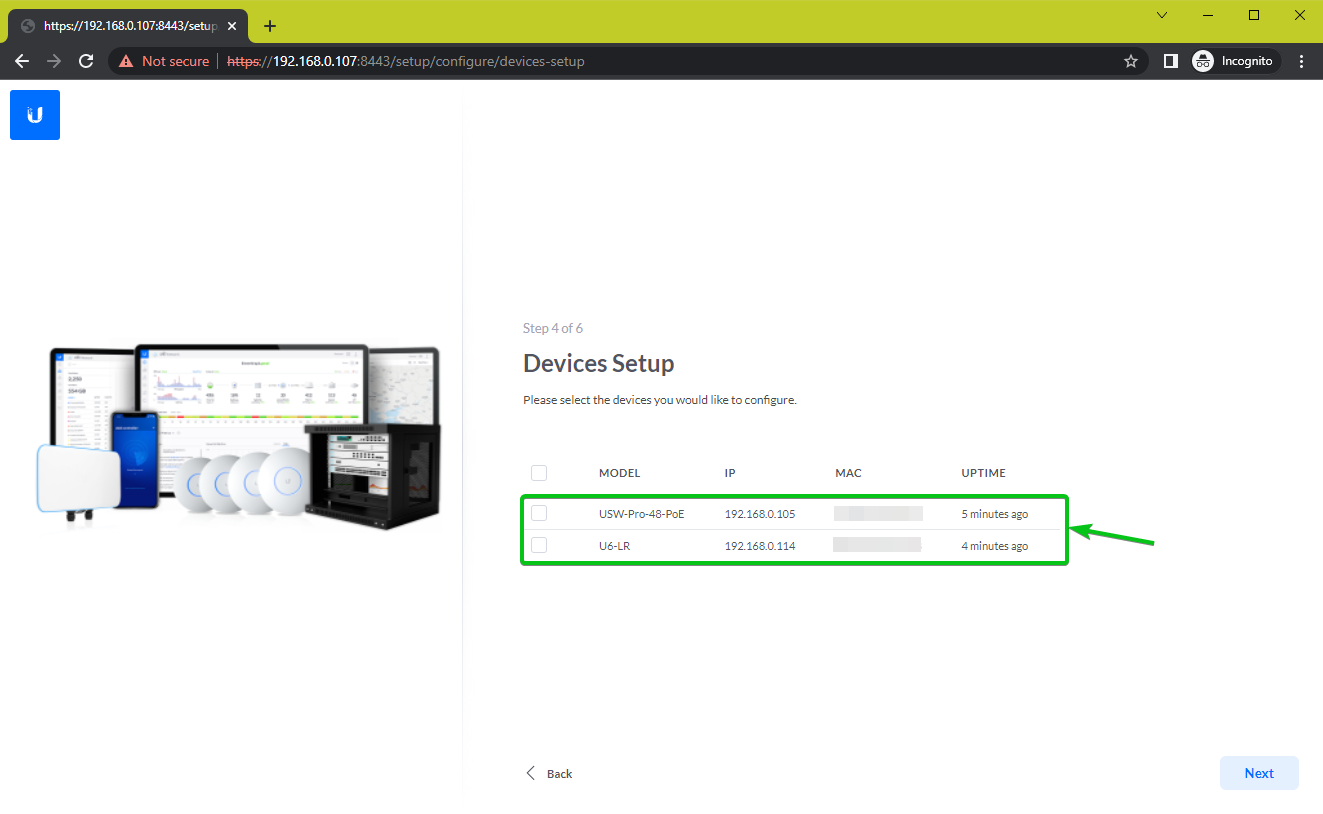
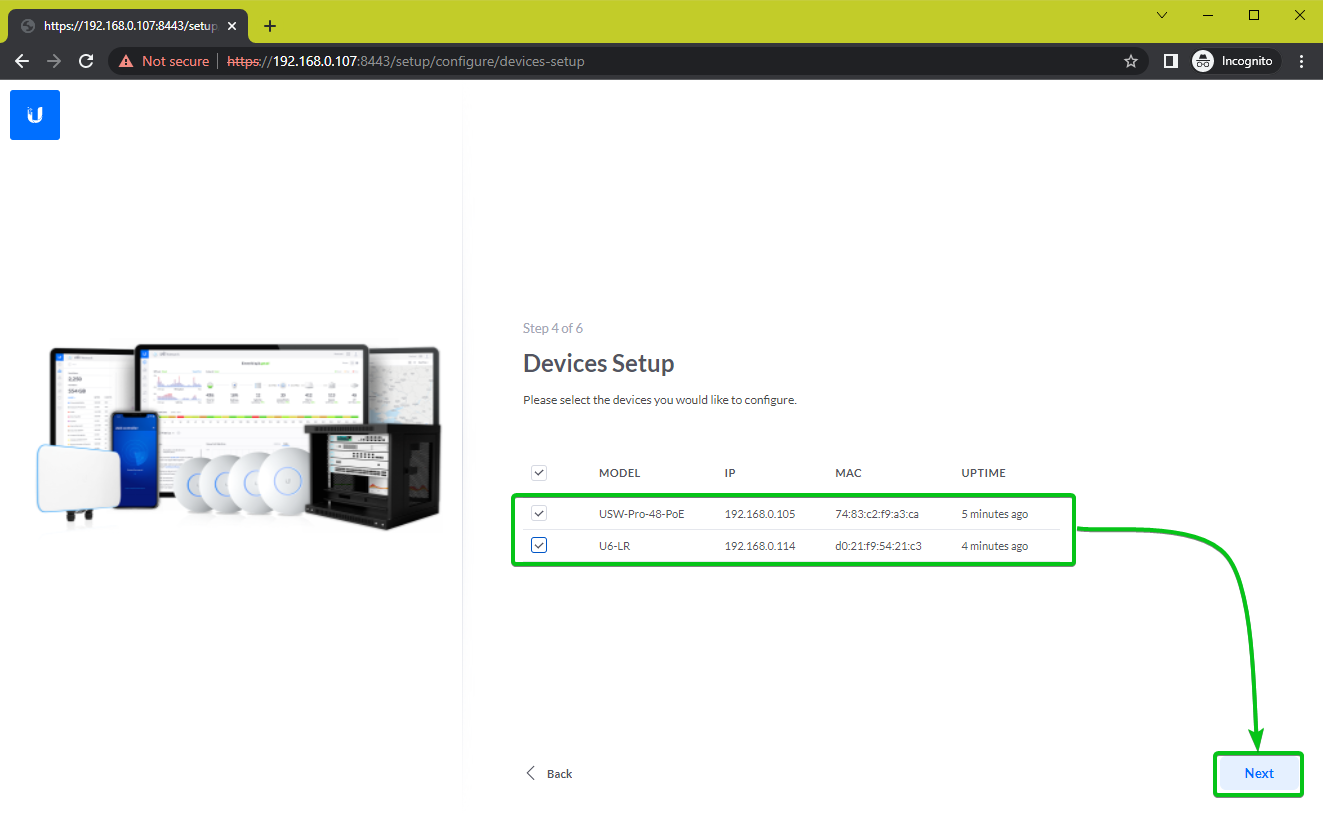
Check the ones you want to manage with UniFi Network Application and click on Next.
If you have Ubiquiti WiFi Access Points, you will be asked to configure them.
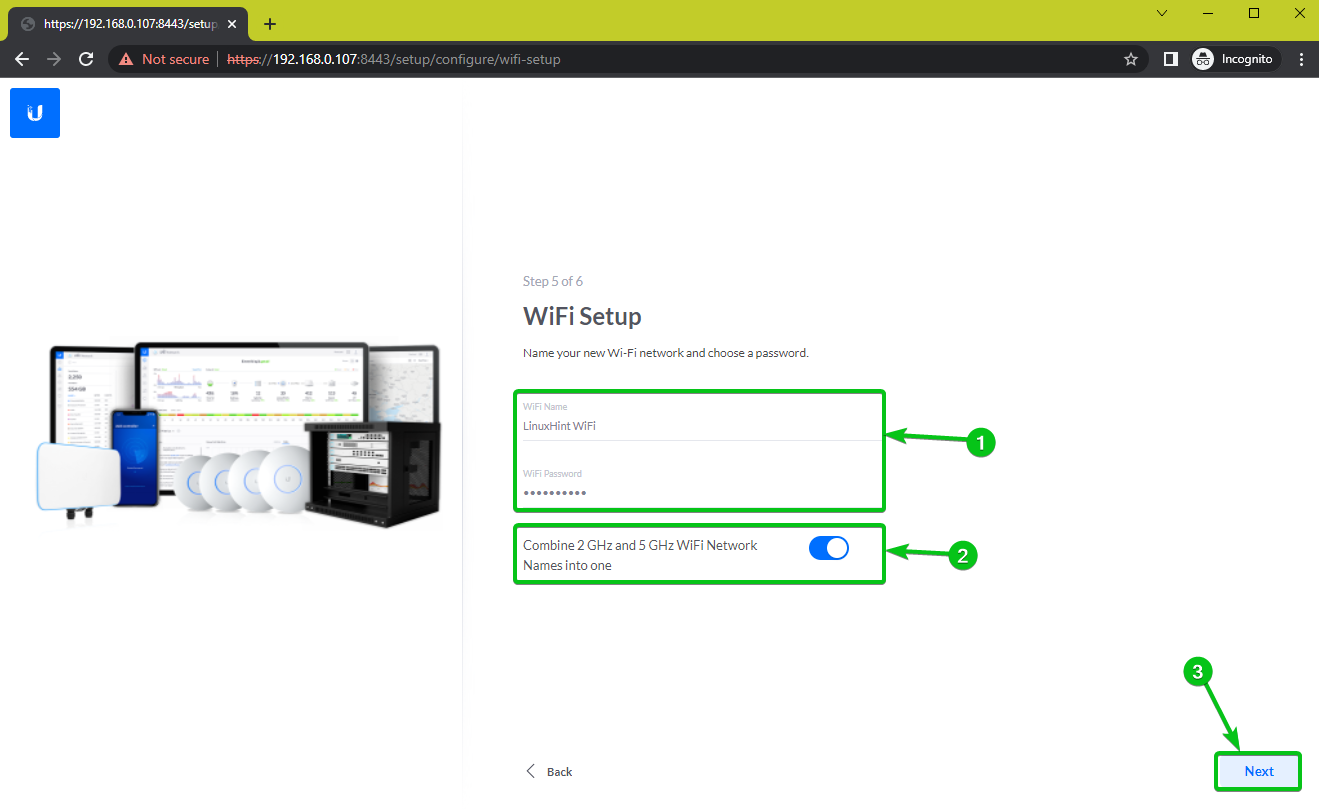
Type in your desired WiFi Name and WiFi Password1.
If your access point supports 2 GHz and 5 GHz bands, you can combine them into one WiFi network name. This way, your WiFi clients (laptops, tablets, phones, etc.) can automatically select the supported WiFi band depending on the hardware capabilities of the clients when you connect to the WiFi access point. To enable this feature, toggle on Combine 2 GHz and 5 GHz WiFi Network Names into one2, as shown below.
Once you’re done, click on Next.
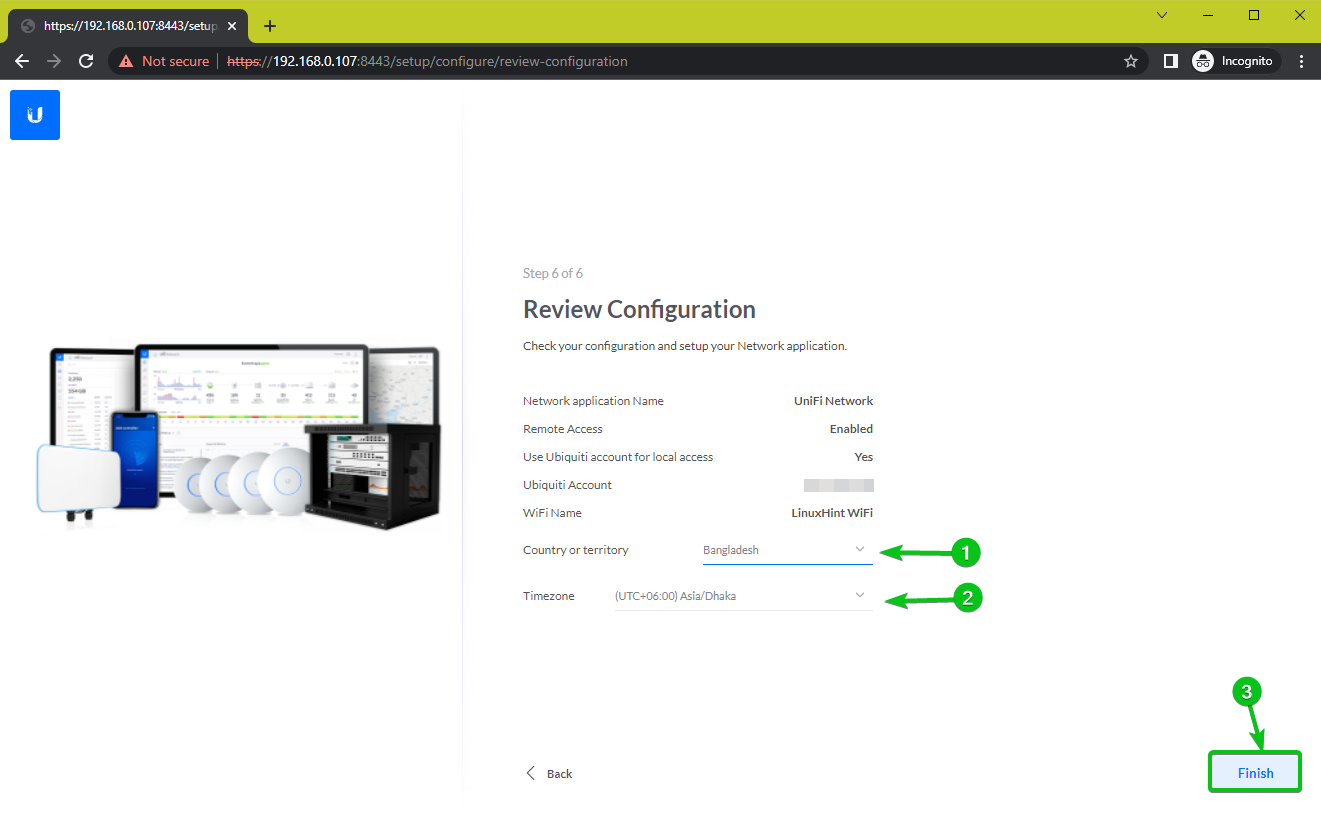
Select your Country or territory1 and Timezone2.
Once you’re done, review the configuration and ensure everything is okay. Then, click on Finish.
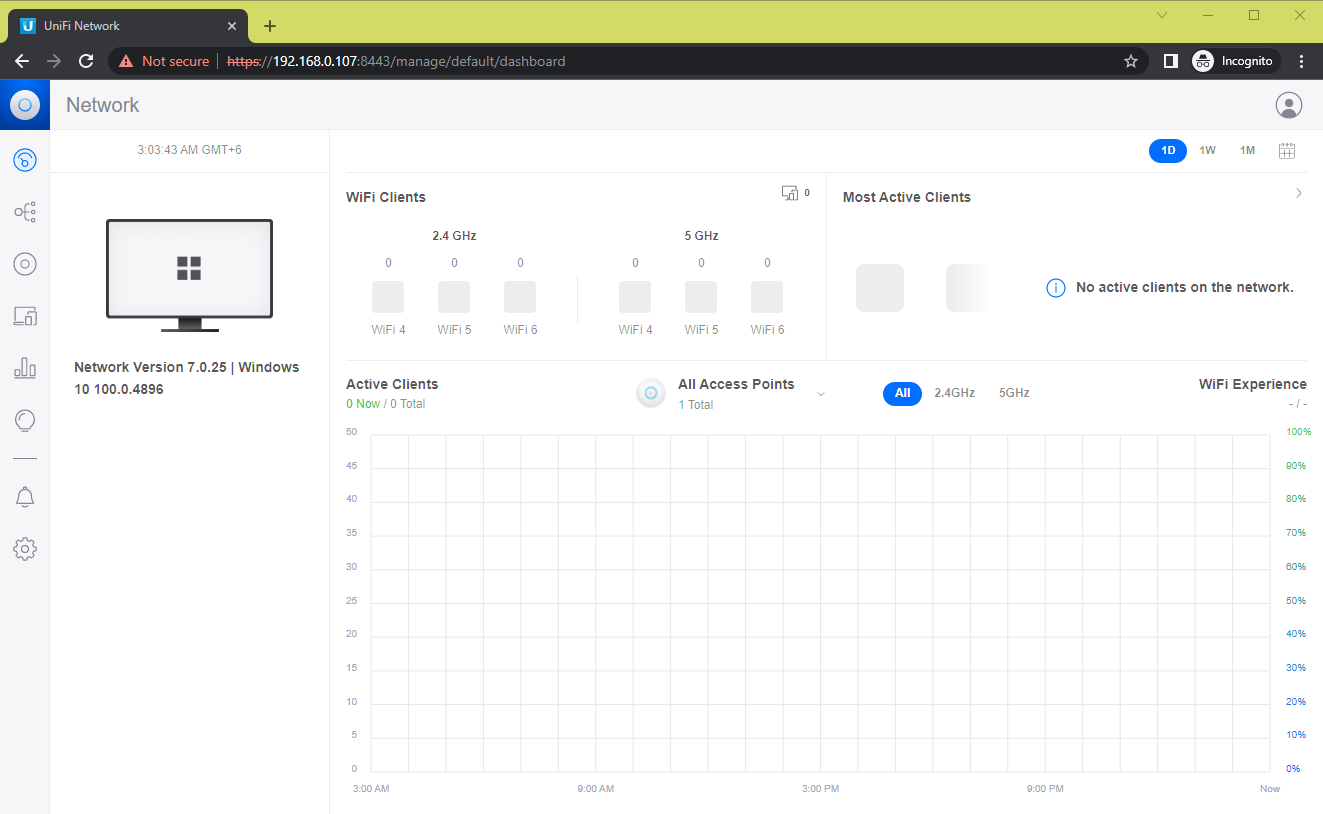
UniFi Network Application will automatically configure the Ubiquiti devices that you’ve selected. It will take a while to complete.

Once all the devices are configured, you should see the UniFi Network Application dashboard. You can monitor and configure your Ubiquiti devices from here.
Conclusion:
This article shows you how to install the UniFi Network Application on a Raspberry Pi 4 with Raspberry Pi OS (32-bit) installed. I have also shown you how to access UniFi Network Application from a web browser and do the initial configuration.
References:
- https://www.ui.com/download/unifi/default/default/unifi-network-application-7025-debianubuntu-linux-and-unifi-cloud-key
- https://community.ui.com/releases/UniFi-Network-Application-7-0-25/3344c362-7da5-4ecd-a403-3b47520e3c01
- https://community.ui.com/questions/UniFi-Installation-Scripts-or-UniFi-Easy-Update-Script-or-UniFi-Lets-Encrypt-or-UniFi-Easy-Encrypt-/ccbc7530-dd61-40a7-82ec-22b17f027776
- https://community.ui.com/questions/Step-By-Step-Tutorial-Guide-Raspberry-Pi-with-UniFi-Controller-and-Pi-hole-from-scratch-headless/e8a24143-bfb8-4a61-973d-0b55320101dc