With Starship, you have the flexibility to create a highly personalized and dynamic shell prompt that aligns perfectly with your preferences and workflow. It could become your default shell prompt replacing the previous shells like Bash and can add some sparkle to your Zsh shell on your Mac system.
Read this guide if you want to install Starship on your Zsh shell and give this shell a go on your Mac system.
How to Install Starship Shell Prompt for Zsh on Mac
Installing Starship Shell prompt for Zsh on Mac is relatively straightforward and can be done on your Mac terminal from the following steps:
Step 1: Install Homebrew on Mac
We will use the Homebrew package manager to install the Starship Shell prompt on Mac, thus the package manager should be installed on your system. Read this guide to quickly install Homebrew on your Mac system.
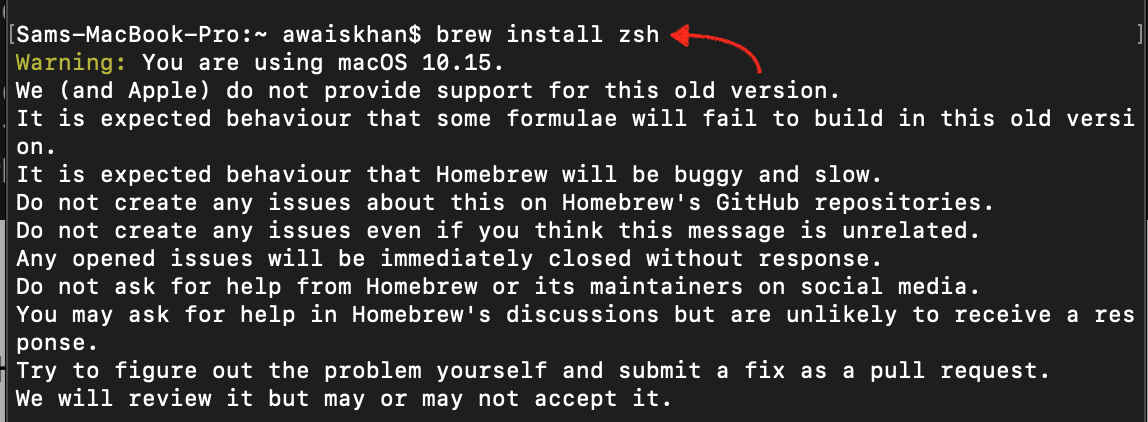
Step 2: Install Zsh on Mac
The Starship is a command prompt that is designed specifically to work with Zsh, thus it is necessary that you must install Zsh on your Mac system before performing the Starship installation. The following command will help you quickly install Zsh on your Mac system from the Homebrew package manager.
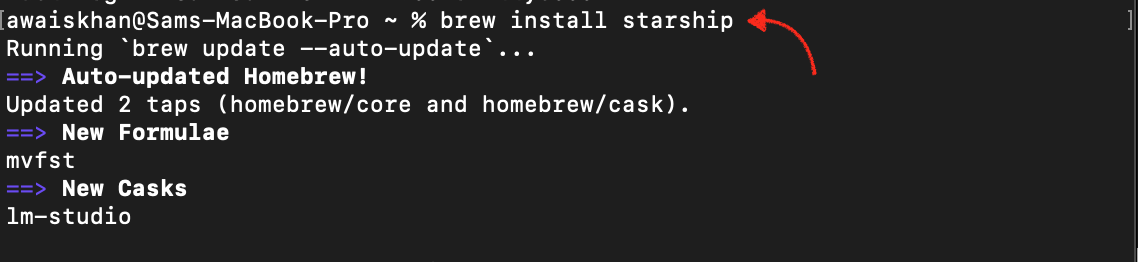
Step 3: Install Starship on Zsh Using Homebrew
After successfully installing Zsh, you can install Starship on your Mac system from the Homebrew package manager using the following command:
Step 4: Confirm the Starship Installation
After completing the Starship installation, you can use the below-given command to confirm it is installed successfully on your Mac system.

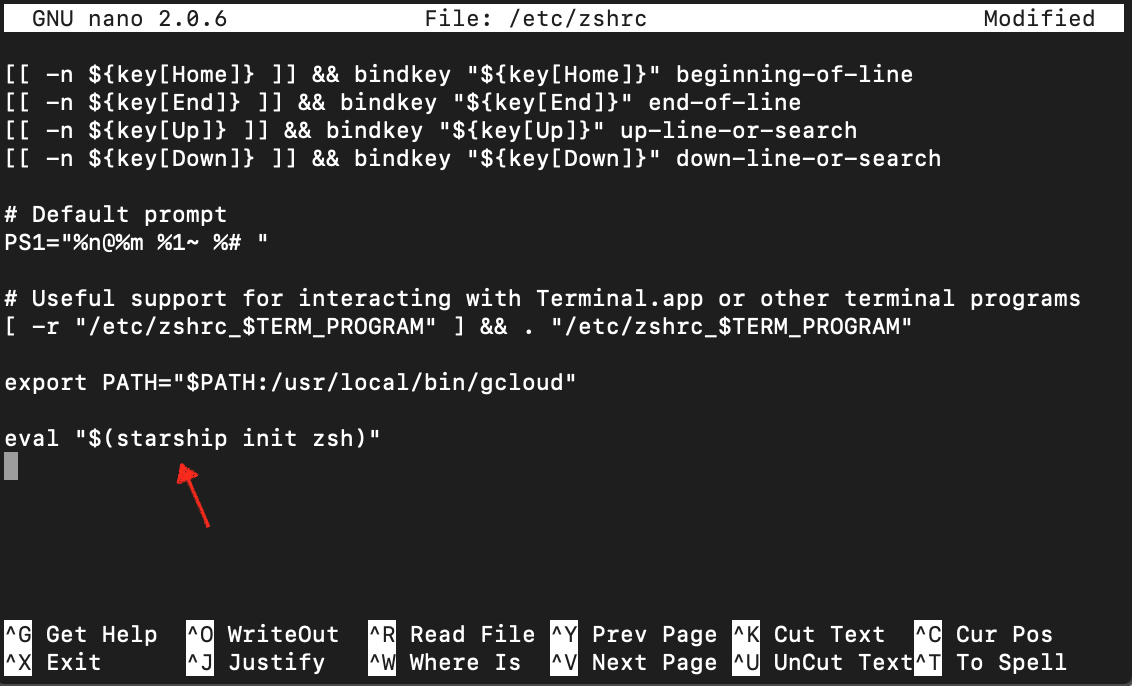
Step 5: Configure Starship on Zsh
To configure Starship to run on your Zsh environment, you have to open the Zsh configuration file zshrc using the nano editor on your Mac terminal.
Then add the following line inside the file at the bottom of the page.
Step 6: Save and Reload the Changes
Save the file by simultaneously using Ctrl+X, Y, and pressing Enter; then use the following command to reload the changes you made to the configuration file.
As soon as you press enter, the Zsh command prompt will enter into the Starship command prompt and you can use it as your default shell from now on.

To configure Starship, you can follow the guide here.
Conclusion
Starship is a powerful and robust command-line shell designed to enhance your command-line experience. You can easily install Starship for Zsh on your Mac by first installing the Homebrew package manager, then Zsh and finally using the Homebrew to install Starship on your system. However, to start the Starship shell, you have to open the zshrc file and add the eval “$(starship init zsh)” line inside the file. Then as soon as you reload the changes, the Starship shell will automatically launch on the terminal.