Jenkins supports numerous platforms, and this post focuses on installing it on Ubuntu 24.04. We will guide you through a step-by-step process to ensure you don’t get stuck. Let’s begin!
Step-By-Step Installation of Jenkins on Ubuntu 24.04
The Jenkins repository is not included in Ubuntu 24.04. As such, we must fetch it and add it to our system. Again, we’ve mentioned that Jenkins is a Java-based tool. Therefore, you must have Java installed, and in this case, we will work with OpenJDK 11. Once you have the two prerequisites in place, installing Jenkins will be an easy task.
Proceed with the below steps.
Step 1: Install Java
We must have a Java Runtime Environment before we can install and use Jenkins. However, not all Java versions are supported. To be safe, consider installing OpenJDK 8 or 11.
Verify that you have installed the correct Java version.

If not installed, use the following command to install OpenJDK 11.

Step 2: Fetch and Add the Jenkins Repository
Jenkins is available as a stable or weekly version. This step requires us to download the Jenkins GPG key and then its software repository. After verification, we can then add the repository to our source list.
First, let’s execute the following command to import the Jenkins GPG key.
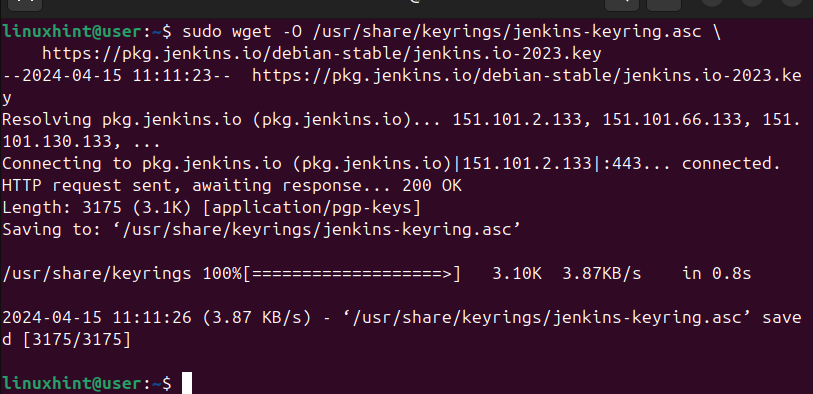
The next task is adding the Jenkins repository by executing the following command.

Step 3: Install Jenkins
After adding the stable Jenkins release to our source list, we can proceed with installing it, but first, let’s update the Ubuntu 24.04 repository to refresh the source list.

Next, install Jenkins and ensure the installation completes without interruptions.
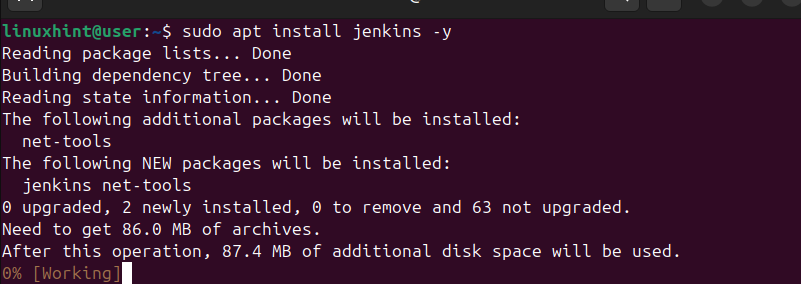
Once installed, check the version to confirm that we managed to install it successfully.

Step 4: Configure the Firewall
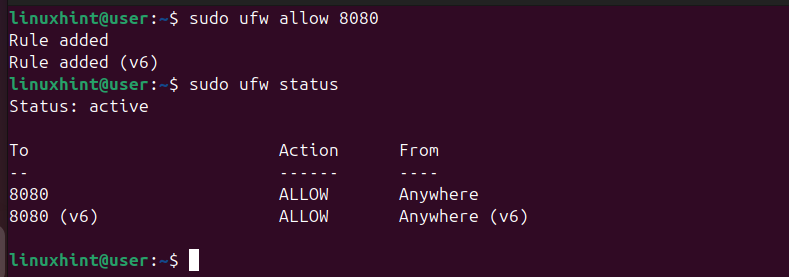
We must modify our Firewall to create a rule allowing Jenkins to communicate via port 8080. First, start the Jenkins service.
$ sudo systemctl status jenkins

Next, add a new UFW rule and check that your firewall is active. If the firewall is inactive, enable it.
$ sudo ufw status
Step 5: Configure Jenkins
We will access Jenkins via a browser to set it up. On your browser tab, access the below URL. Be sure to add the correct IP or domain name of your server and port number 8080.
You will get a window displaying the “Getting Started” information. On the page, find the path to the file containing the administrator password.
login
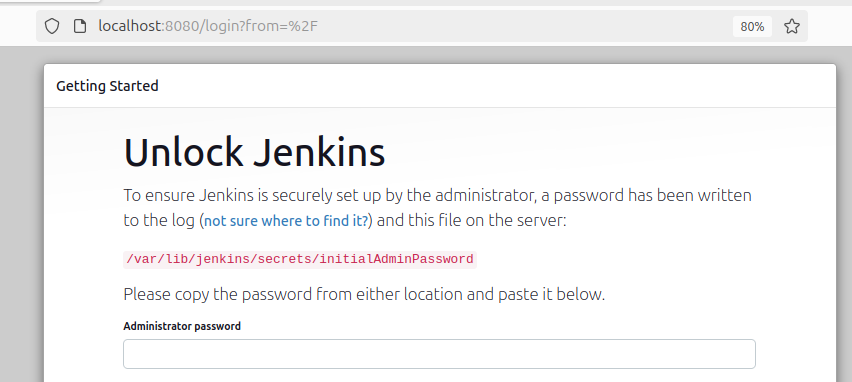
Go back to your terminal and open the file using a text editor or a command such as “cat.”

The administrator password will be displayed on your terminal. Copy the generated password and paste it into your browser in the “Administrator password” input box.
At the bottom of the window, click on the Continue button.
A new window will open. Click on the selected option to “Install suggested plugins.”
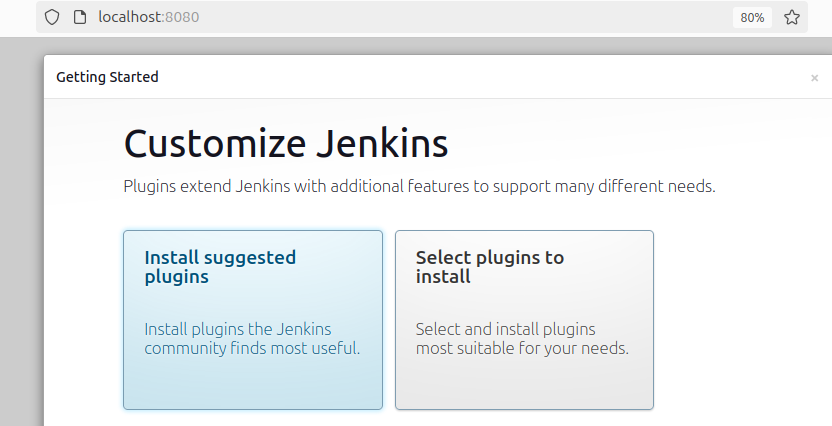
Jenkins will initiate the setup.
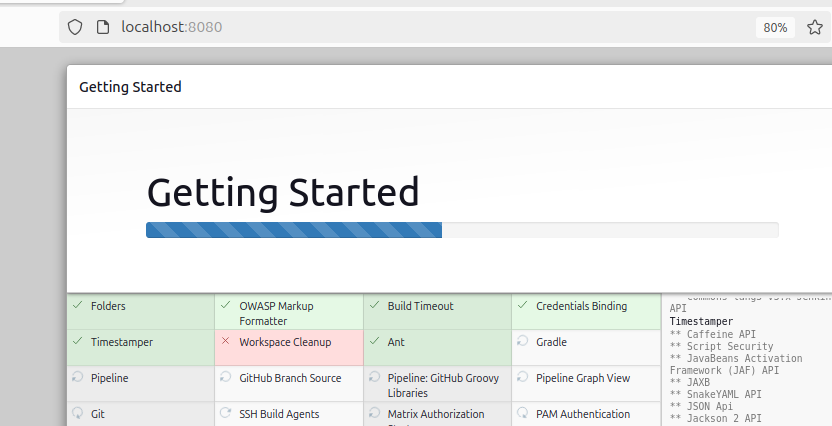
Once the process is complete, you will be prompted to create your administrator credentials.
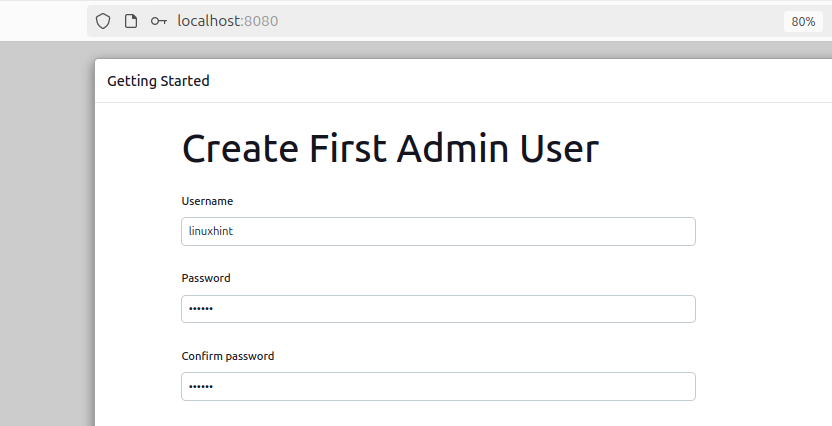
Type the admin username and password, then click the “Save and Continue” button.
On the next window, note the Jenkins URL and click the “Save and Finish” button

That’s it. Jenkins is now installed and configured on your Ubuntu 24.04. Click on the Start using Jenkins button to enjoy using Jenkins.

You will get a window similar to the one below.

Conclusion
Jenkins has numerous applications, especially for developers. If you use Ubuntu Noble Numbat, this post has shared a step-by-step guide on how to install Jenkins. Hopefully, this post will be insightful to you, and you will be able to install Jenkins.
