
Vim, which stands for “Vi Improved”, is a classical text editor which is mainly used by programmers. It is generally called “programmer’s editor”. Although built long ago, it is still a popular editor and outruns many competitors. It can be used from general text editing jobs to managing configuration files.
Vim is available for major operating systems like Mac, Windows, Linux, or Unix. Vim can run in the GUI and non-GUI console mode. For example, on Mac, you can install MacVim for the GUI version of Vim. Similarly, for Windows, you can use the “gvim” executable installer. Linux also has a graphical version of Vim known as gvim. Similar to other clones of the “vi” editor, Gvim on Linux has many powerful GUI features.
What Will We Cover?
Today’s guide will walk you through installing Gvim on Ubuntu 20.04. Later in this article, we will also see the basic usage of Gvim. Let us move ahead and get the Gvim working on our system.
Preflight Check
- Ubuntu 20.04 installed on your PC or Virtual machine.
- Internet connection for downloading various files.
- The “sudo” privileges and basic knowledge of using Linux terminals.
1. Installing Gvim From the Ubuntu Software Center
For installing software, the simplest way and recommended method for any new Ubuntu user is the Ubuntu software center. It is as simple as finding an application and hitting the install button. After launching the Ubuntu software center, search for “gvim”. Most likely, it will be listed on the first result. Open and hit the install button. This will install Gvim on your system: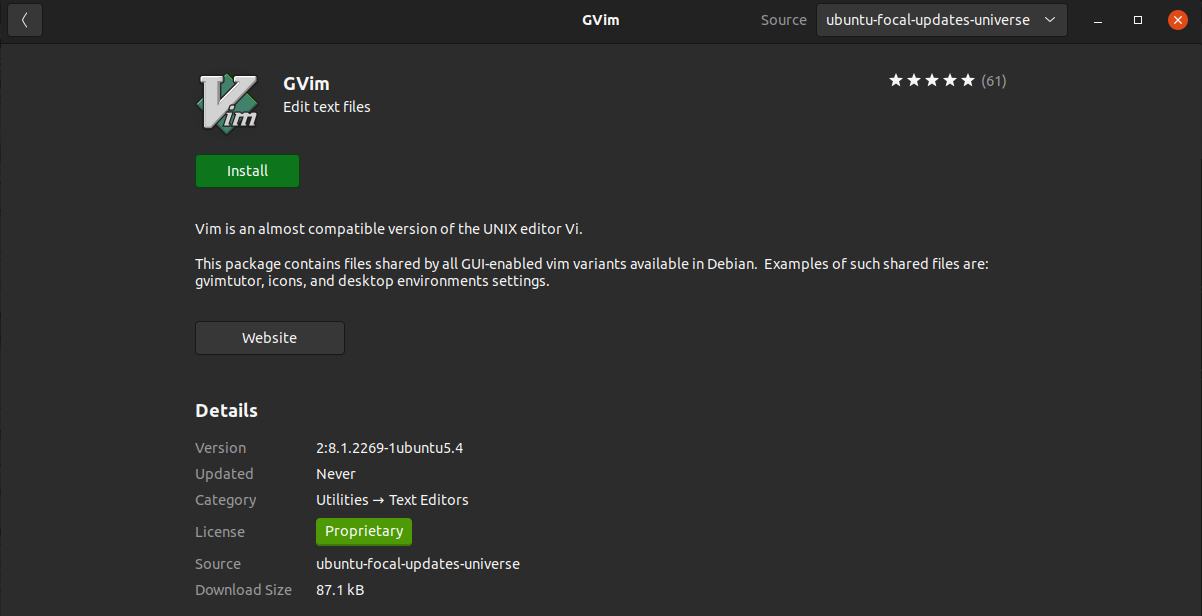
2. Installing Gvim From the Command Line
Another way is to use the command line interface. Like any other software, one can install Gvim with the “apt install” command. Ubuntu provides Gvim from two packages:
2. vim-gui-common
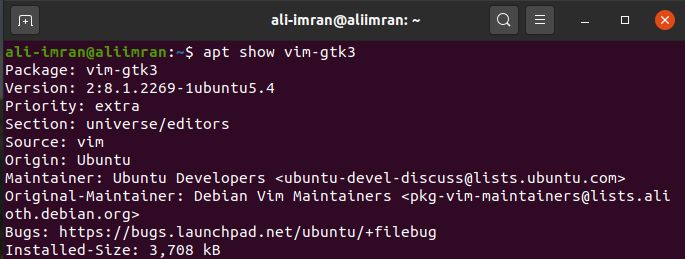
Let us see the details of each package. Open your terminal and enter the command for:
$ apt show vim-gtk3
Sample Output:
Version: 2:8.1.2269-1ubuntu5.4
Priority: extra
Section: universe/editors
Source: vim
Origin: Ubuntu
$ apt show vim-gui-common
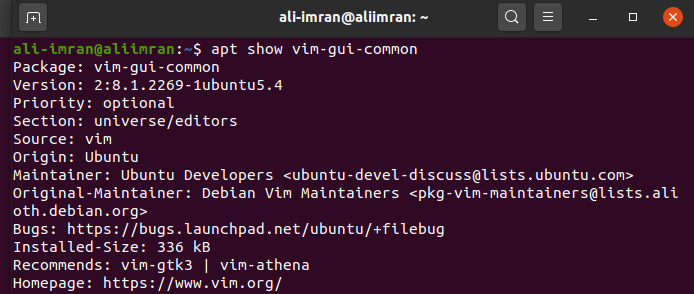
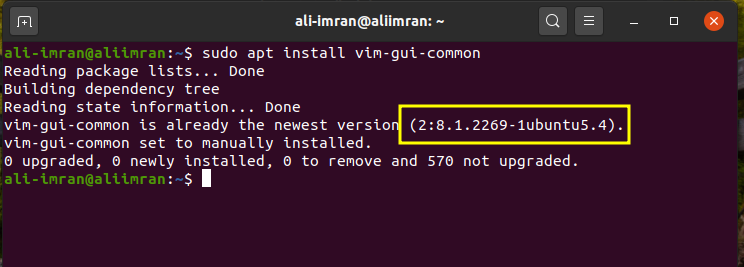
We can see both packages have the same version of Gvim, and either of them can be used to install Gvim. If you use the first package, the install command will be:
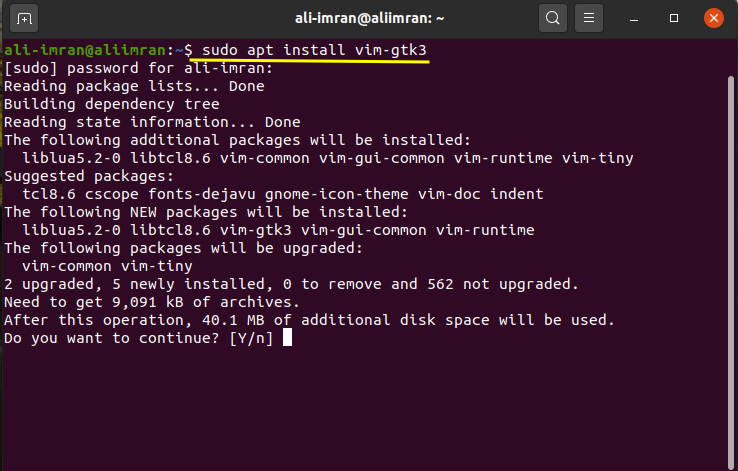
If you are using the second package, the command will be:
Launching Gvim
Now that Vim is installed on our system, we are all set to start it. You can launch it directly from the applications list in the Activities menu. Click the “Activities” menu on the top left corner and type “gvim”. You can click its icon to start it from here:

Another way is to start it directly from the command line by entering “gvim” as shown below:
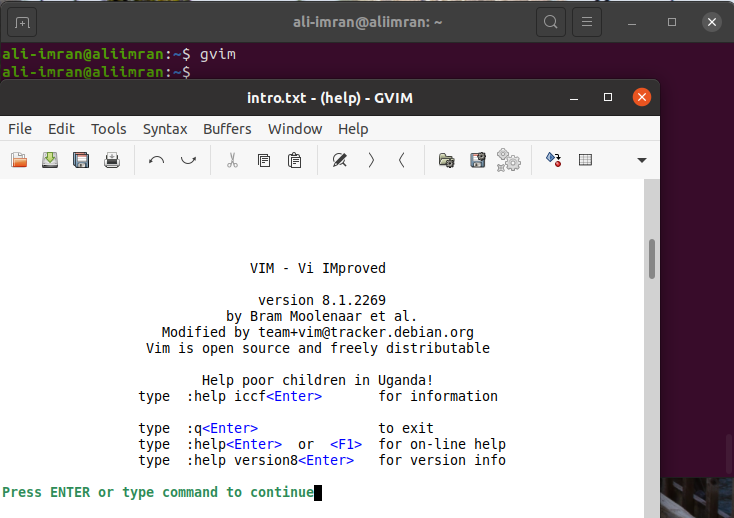
The current version at the time of writing this guide is 8.1.2269. You can check your Gvim version by clicking “Help -> About”.
Using Gvim
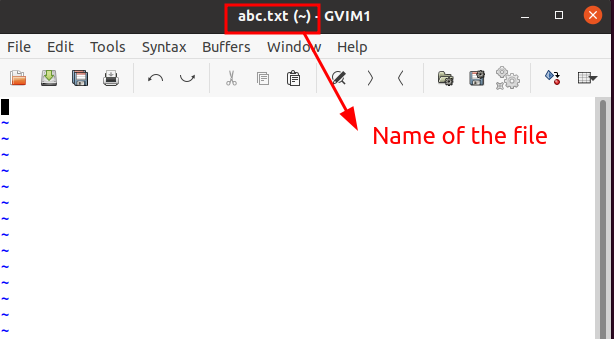
Now, Gvim is installed. Let us quickly see how to use it. To create a new file named “abc.txt”, enter:
A new window will open now with tilde symbols, and the name of the file will be mentioned at the top as shown here:
By default, when a file is opened in Vim, we must click the insert button or the “i” key to insert text in the file.
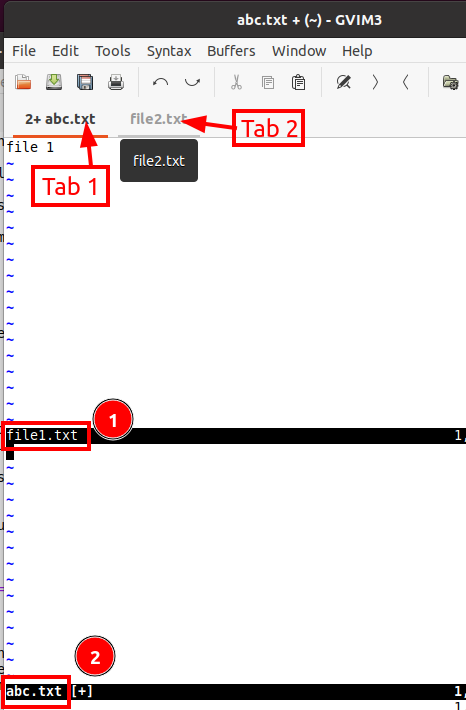
We can also open multiple files and tabs in Gvim using the File menu options as shown here:
We can also change the color scheme from the Edit menu using “Edit -> Color Scheme”. If we want a different Font style, you can select a new one from the Font menu inside the Edit menu. To explore more possibilities with Gvim, use “Help-> Overview -> Getting Started” in the Help section, or simply enter the following command on the terminal:
Conclusion
In this guide, we have learned about installing Gvim on Ubuntu 20.04. Although Gvim is a graphical version and many new Linux users, especially those migrating from Windows, will find it more convenient. However, there are also drawbacks here. The reason is that you cannot use Gvim if your server runs in console mode. Also, if you are managing a remote machine with limited privileges, you cannot use Gvim there. Therefore, we recommend you learn to use the non-GUI version of Vim. We hope you found this article helpful. Check out more Linux Hint articles for tips and tutorials.