This post will discuss the method to merge local branches.
How to Git Merge?
To merge Git branches, firstly, navigate to the repository, and create a file. Next, track a new file in the repository and update the repository by committing changes. Then, execute the “$ git merge <branch>” command to merge the Git local branches. Lastly, check the branch log history.
Now, let’s move ahead to implement the provided scenario!
Step 1: Navigate to Repository
First, move to the Git desired local repository using the “cd” command:

Step 2: Create File
Next, execute the “touch” command to create a new file in the repository:
Step 3: Track File
Run the “git add” command to track the file from the working directory to the staging area:
Step 4: Update Repository
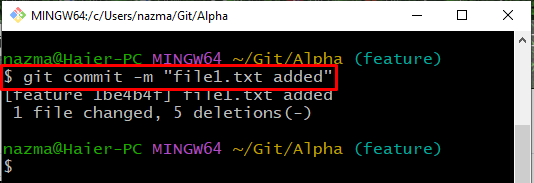
Next, save the added changes to the repository by utilizing the “git commit” changes with the required message:
Step 5: Create and Switch Branch
Now, create and switch branch with the help of the provided command:
Step 6: Merge Master Branch
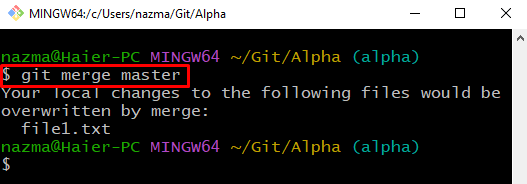
Execute the “git merge” command with the branch name. In our case, we have added “master” as the branch name:
Step 7: Check Branch Log History
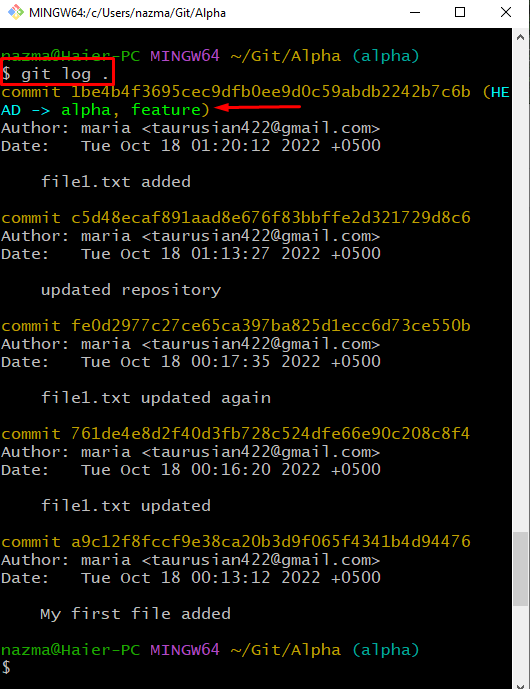
Lastly, run the “git log” command to check the branch log history:
That’s it! We have offered the procedure to merge branches.
Conclusion
To merge branches, firstly, move to the directory and create a new file. Then, track a new file in the repository and commit changes. After that, run the “$ git merge <branch>” command to merge the Git local branches. Lastly, check the branch log history. In this post, we have described the method to utilize the git merge command for merging branches.


