Shopt is a built-in command in Unix-like operating systems, such as macOS and Linux distributions. The “shopt” command provides control over many settings that are used to tweak the operations in a Bash shell.
This article shows you how to work with the “shopt” command in Linux. Since this command is built-in, it is not required to install this command to use it. The number of options available for the “shopt” command varies from version to version; older versions will have fewer commands compared to newer versions.
Some options in Bash are enabled or disabled by default, but these options can temporarily be tweaked, once you restart the shell, these options will be reverted. However, it is also possible to permanently change these options if you are interested in keeping a tweaked version of the shell.
First, let us look at the basic syntax of the “shopt” command:
| Options | Description |
|---|---|
| -s | Set [optname…] |
| -u | Unset [optname…] |
| -p | Show list of all settable [optname…] |
| -q | Indicate status of [optname…] |
| -o | Restrict values of [optname…] to be those defined for the “-o” to be built-in. |
We will now thoroughly discuss the “shopt” command and its various options.
Checking Options with the shopt Command
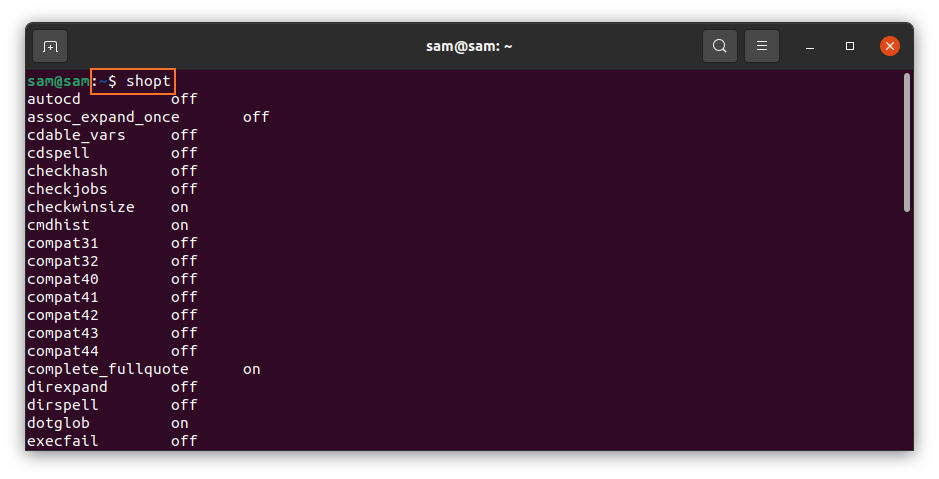
To check all the options available for use with the “shopt” command, simply type “shopt” in the terminal, as follows:
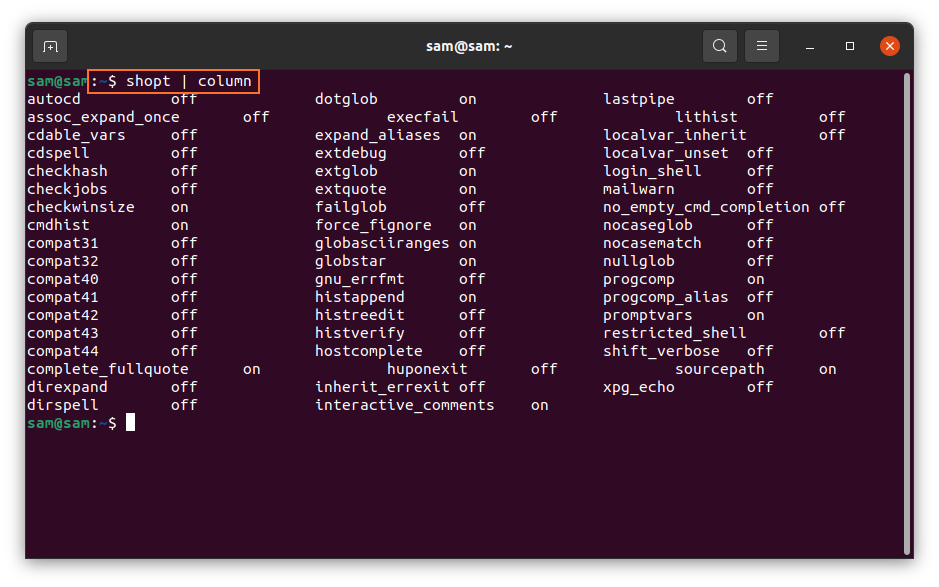
All these options can also be presented in the form of columns. To do so, enter the following command:
Finding shopt in Linux
Use the following command to print the Bash manual:
Then, issue the command provided below:
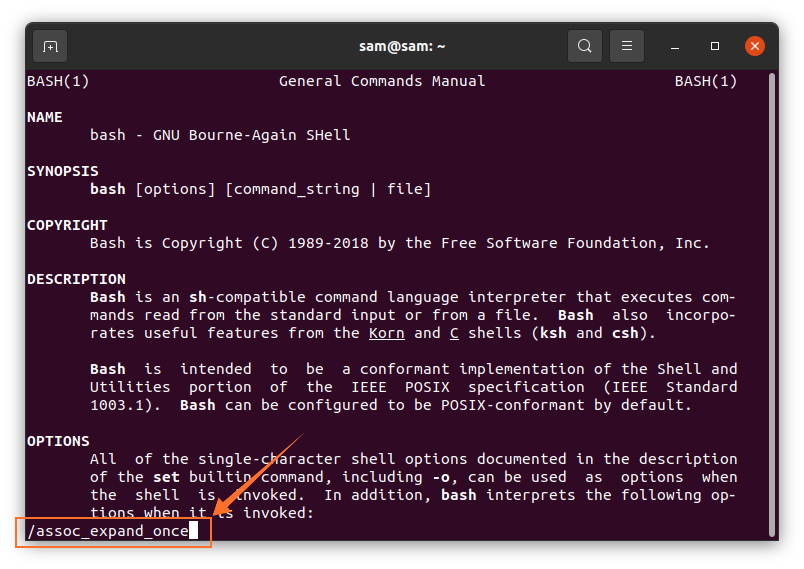
This will provide a detailed overview of the available “shopt” options.

Enabling and Disabling “shopt” Command Options
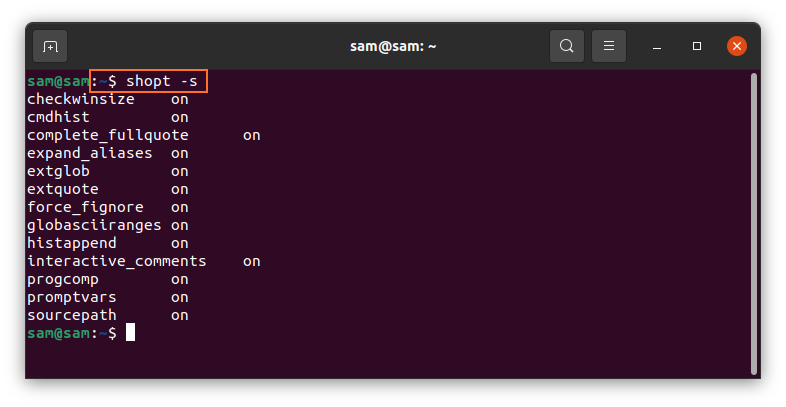
To enable and disable the options associated with the “shopt” command, use “-s” to set and “-u” to unset/disable any option. As discussed previously, some of the options will already be enabled and disabled by default. Enter the following command to check all enabled options:
To disable any enabled option, simply use the option name from the list. For example, you would use the following command to disable the “histappend” option:

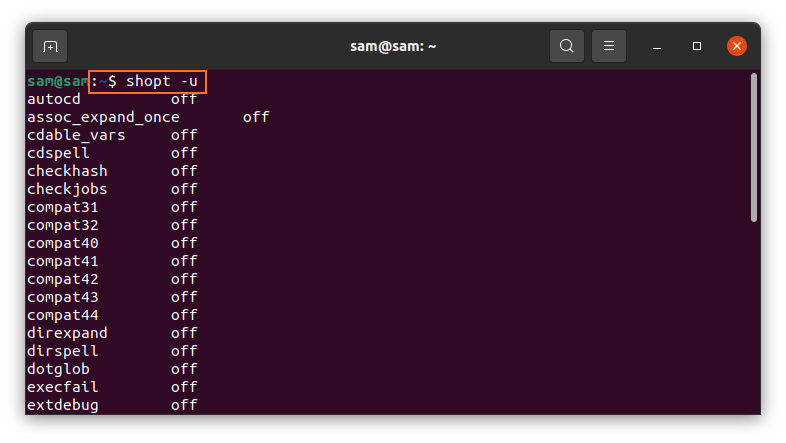
To disable all options, issue the following command:
To get the output in column form, use the command provided below:

Finally, to check disabled services in column form, use the following command:

Now, let us enable the “cmdhist” option. To do so, we will use the command provided below:
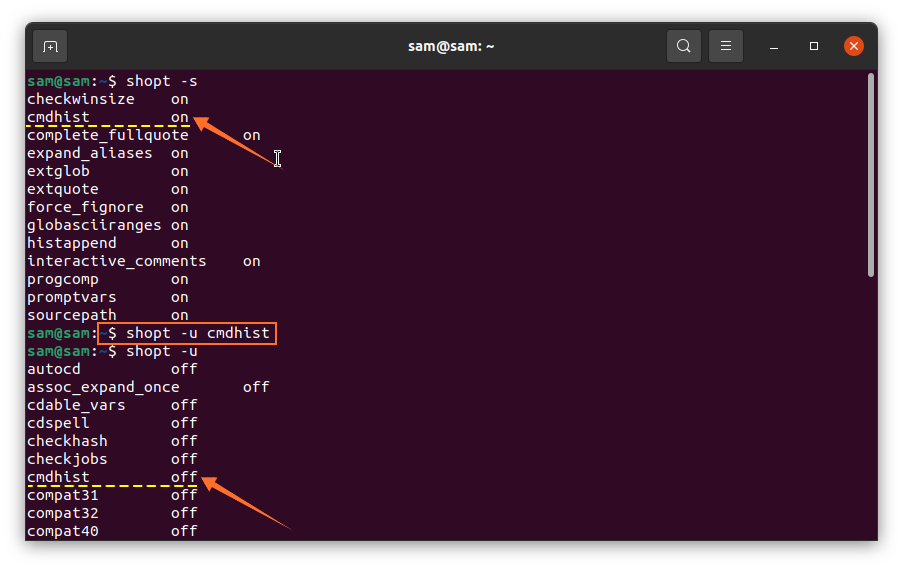
These changes can be verified using the “shopt” command with the “-s” and “-u” options. Next, we will discuss some other options associated with this command and their functionalities.
Enabling the “histverify” Option with the shopt Command
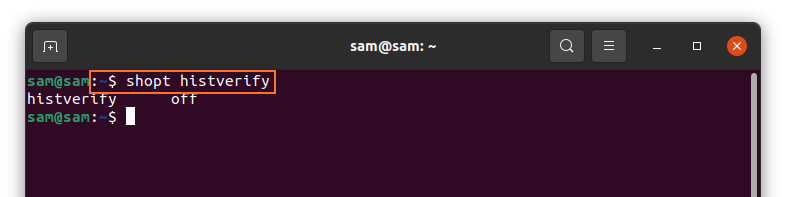
The “histverify” command executes a command from the command history immediately. This option is “off” by default, so, to check whether this option is enabled, issue the following:
To enable this option, use the command provided below:

Now that the history verification has been turned on, instead of immediately executing the command “histverify,” the command will be shown first for verification. For instance, if you type “!783” in the terminal, the output will first show the “783rd” command from the history before executing it.
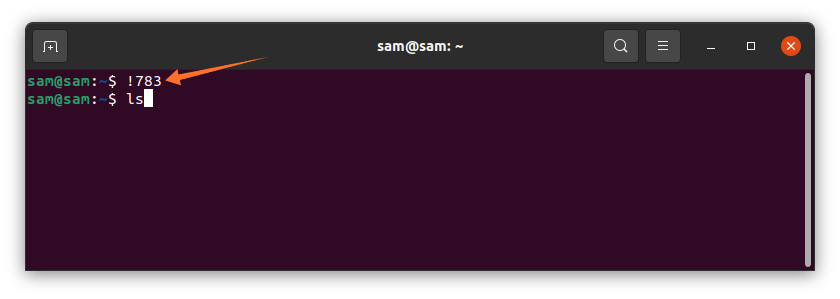
To check the number of all commands in the history, type “history” in the terminal.
Enabling the “cdspell” Option with the shopt Command
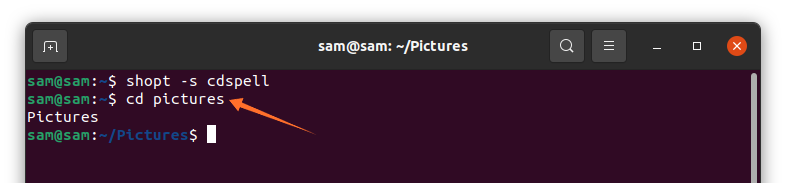
Another option that you can use to modify the shell settings is the “cdspell” option. The “cdspell” option automatically corrects any spelling mistakes in the command. To enable this option, issue the following command:
Now, you can change the directory with small letters, as well:
Enabling Escape Sequences with the “echo” Command
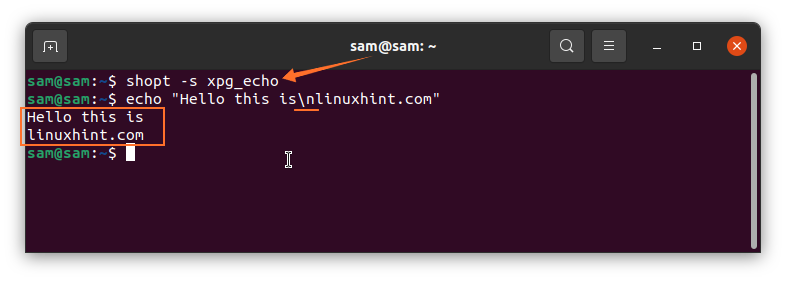
Another important setting to enable is the “xpg_echo” command. Enabling this command will allow the echo command to interpret escape characters, such as the “\n” and “\t” options.
To set this command, use the following:
To verify this command, issue the following:
How to Make Changes Permanent
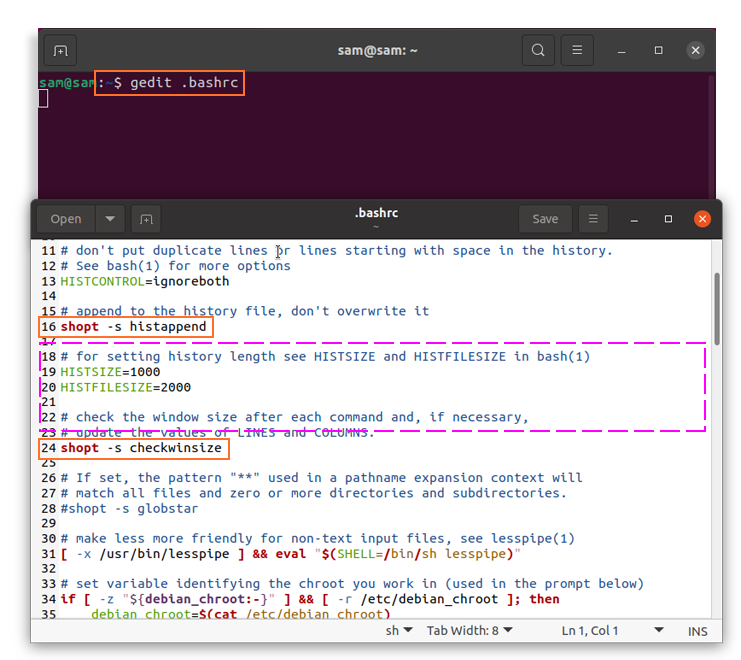
So far, the changes we have made using the terminal are not permanent, but they can be made permanent via a simple command. Issue the following command in the terminal:
Upon execution of the above command, a file will open. Any shopt option can be included here to make the changes permanent, as shown in the images below:
Conclusion
This article showed you how to use the “shopt” command and how to modify the settings of this command. The “shopt” command can be used to enable and disable various settings of Bash to alter its default functionality. This command also contains many options, but it is not necessary to deal with every option, and many of them would probably not interest you. Most of the available “shopt” options are useful for older distributions only. Check out the Bash manual to learn more about each option discussed above, and decide which options make the most out of your experience.