Elasticsearch is a search engine like Google based on the Apache Lucene library which uses the data from the analytics database to provide information. Big data is always managed on Elasticsearch as it is coming in real-time so understanding its formatting and its nature becomes a challenge. Data views can be created to understand the data using a graphical representation on the Kibana user interface.
This post demonstrates the process of creating the data view in Elasticsearch.
What is Data View in Kibana?
Kibana is the user interface for Elasticsearch and it can be used to get useful insights using the pictorial or graphical representation of the information. Elasticsearch is also used to get insights from the data coming into life and get information from it in the form of graphs and charts. The data view is the place where the user can access the condition and statistics of the data stored in the database.
How to Create a Data View in Elasticsearch?
To create a data view in Elasticsearch, simply connect to Elasticsearch using the following command inside the bin directory of Elasticsearch:
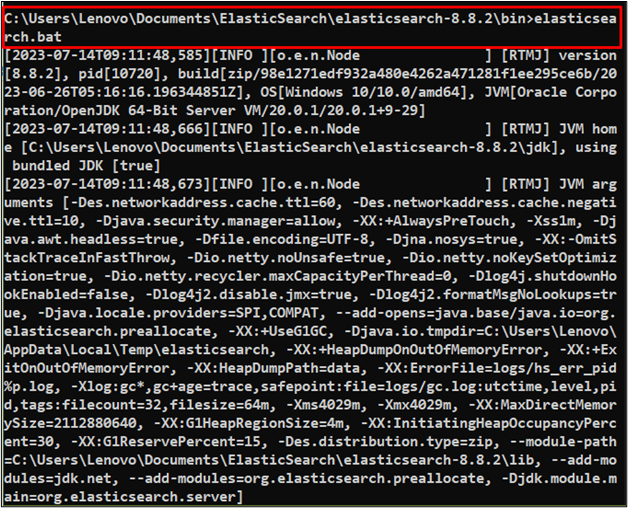
Sign in to Elasticsearch
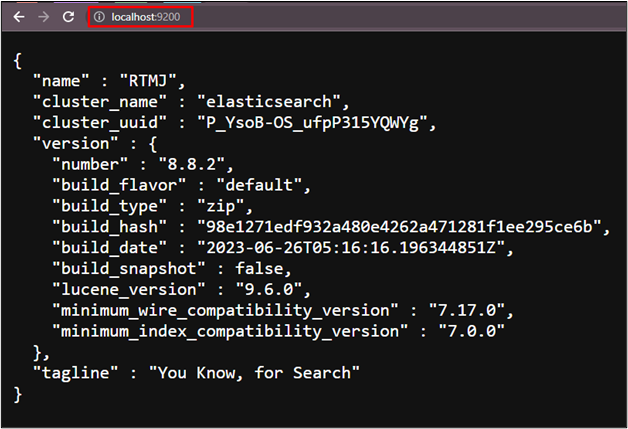
After that, simply use the following address on the web browser to sign in to Elasticsearch:
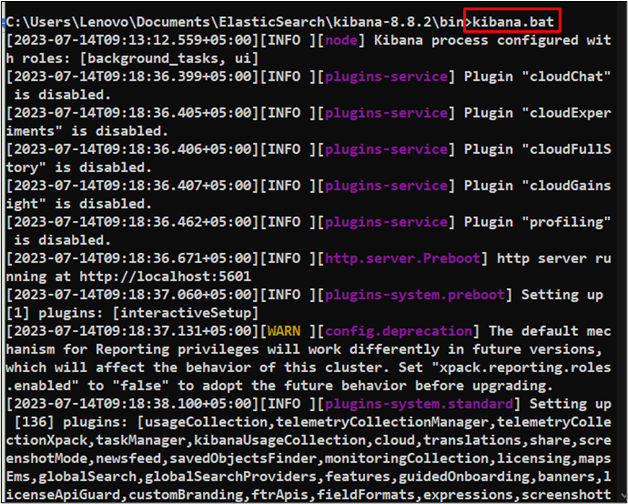
Now, use the following command to connect to the Kibana inside the “bin” directory of the Kibana:
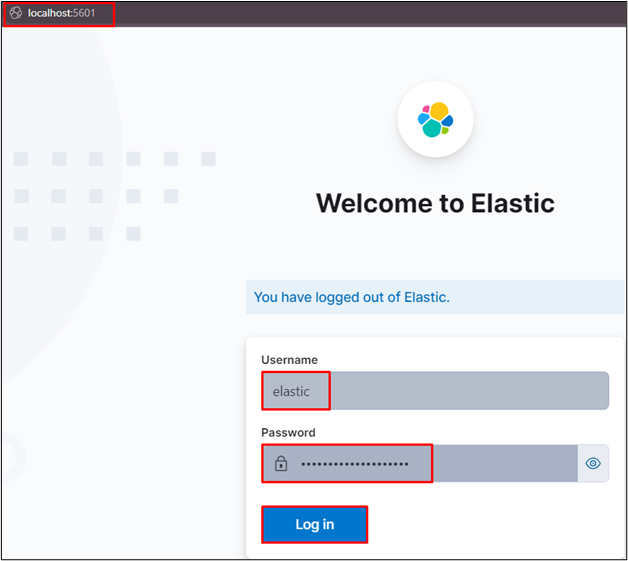
Log in to Kibana
Use the local host with the port number 5601 on the web browser to provide the credentials for logging in to the Kibana. The credentials are provided by the platform at the time of its setup on the local system:
Once the user is connected to Kibana, simply click on the “Discover” button from the “Analytics” section:
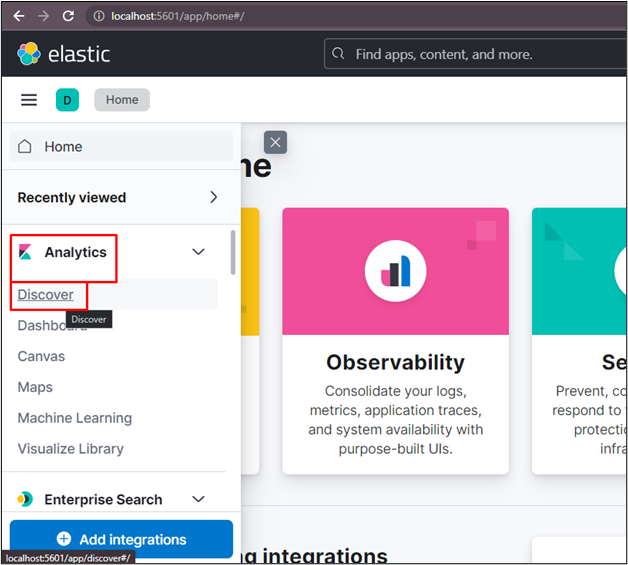
The user can create a data view from the Kibana user interface from the “Analytics” section and the next step explains the process in detail:
Create Data View
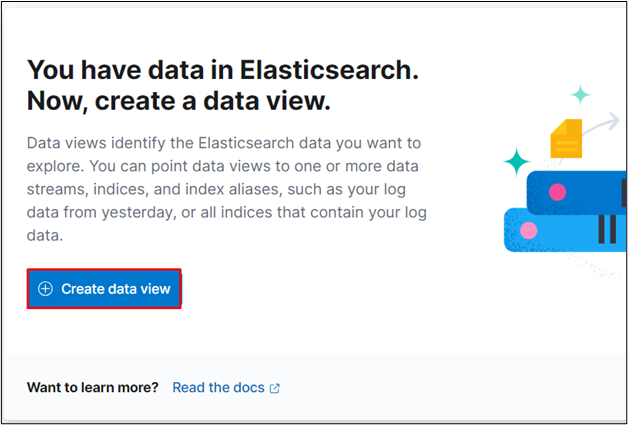
Click on the “Create data view” button from the “Discover” page:
Configure the data view by typing its name and index pattern to click on the “Save data view to Kibana” button:

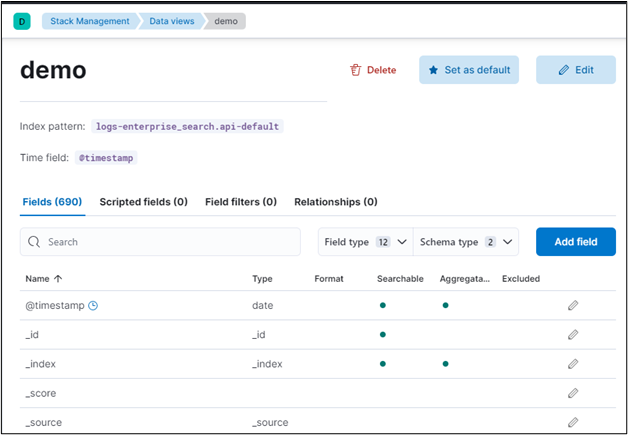
Verify the Creation of Data View
The data view has been created successfully from the Kibana user interface:
That is all about creating a data view in Elasticsearch from the “Discover” page.
Conclusion
To create a data view in Elasticsearch, connect to Elasticsearch and Kibana from the bin directories from both services and then log in to the Kibana user interface. After that, visit the “Discover” page on the “Analytics” section from the left panel of the Kibana UI and configure the data view. To configure the data view, simply provide the name and index patterns to save it on Elasticsearch.