Prerequisites
You should have sudo access to run administrative commands on your system.
Installation of Perl on Ubuntu 20.04
We have implemented different steps in this article on the command line application ‘Terminal’. Before going to start the Perl installation steps in detail, open the terminal window. You can access this application by pressing ‘Ctrl+Alt+t’ or you can also open it from the application menu.
Execute the following different steps to install Perl and run a Perl script on your Ubuntu system:
Step 1: Update your system
Before going to start the installation of Perl, it is recommended to update your system by typing the following command via terminal:
The above command will download and install all available updates for your Ubuntu 20.04 apt repository.
Step 2: Install Perl on Ubuntu 20.04
On our system, Perl is already installed. But, if you don’t have Perl installed on your system then, you can install it directly from the Ubuntu repository by typing the following command:
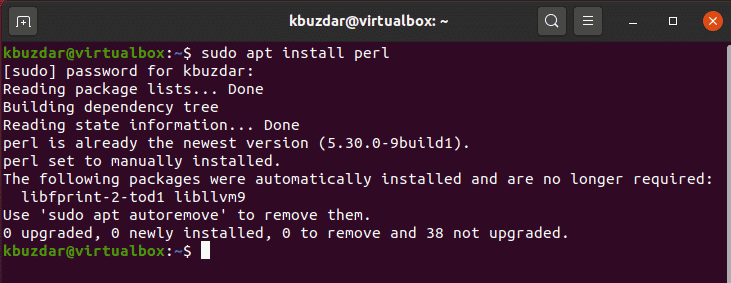
The above command will automatically install the all required Perl packages and dependencies on your system.
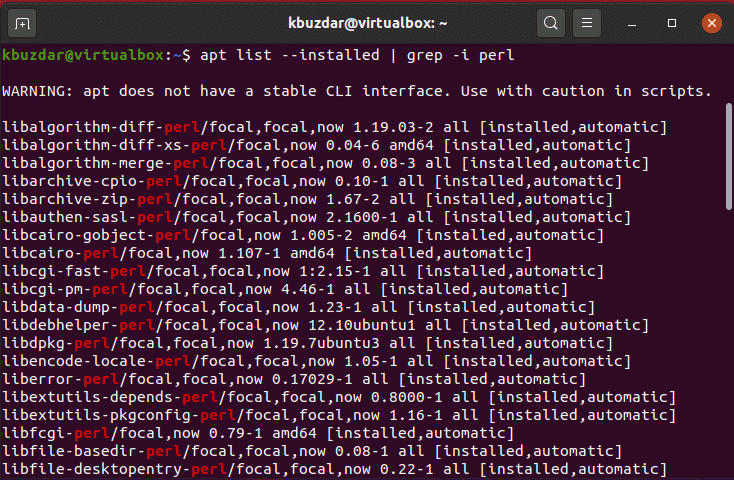
Step 3: Verify the Perl Installation
Once the installation of Perl is completed, now you can verify the installation by using the following ‘grep’ command on your terminal:
The above command will find the all installed packages of Perl and list on the terminal window which you can see in the following snapshot:
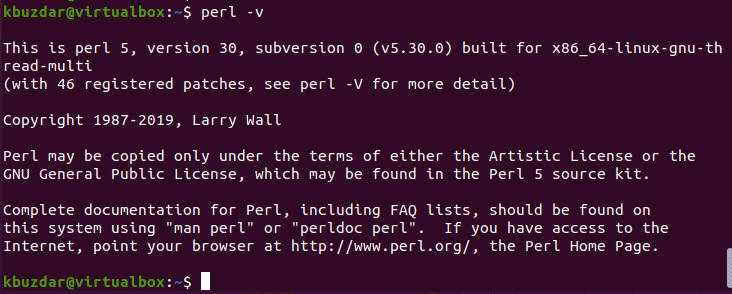
Step 4: Check Installed Perl Version
If you want to know which Perl version is installed on your Ubuntu system then, by executing the following command you can check it:
As you can see in the below-given screenshot that Perl version ‘v5.30.0.’ is installed our system.
Step 5: Run Your First Perl Script on Ubuntu 20.04
Now, it’s time to run your first Perl script on your system. To do this, create a simple text file in your favorite text editor and paste the following code into it:
use warnings;
print("Hi, this is test script Hello world\n");

Save the above file with named ‘helloworld.pl’. The file will be saved in your home directory by default. Run this file via the terminal by typing the below-mentioned command:
The following result will be shown on the terminal after running the above mentioned script:

Step 6: Install Perl Sql module on Ubuntu 20.04
You can install the MySQL module for Perl on your Ubuntu 20.04 system. To do this, follow the below apt command to install the Perl Mysql module:
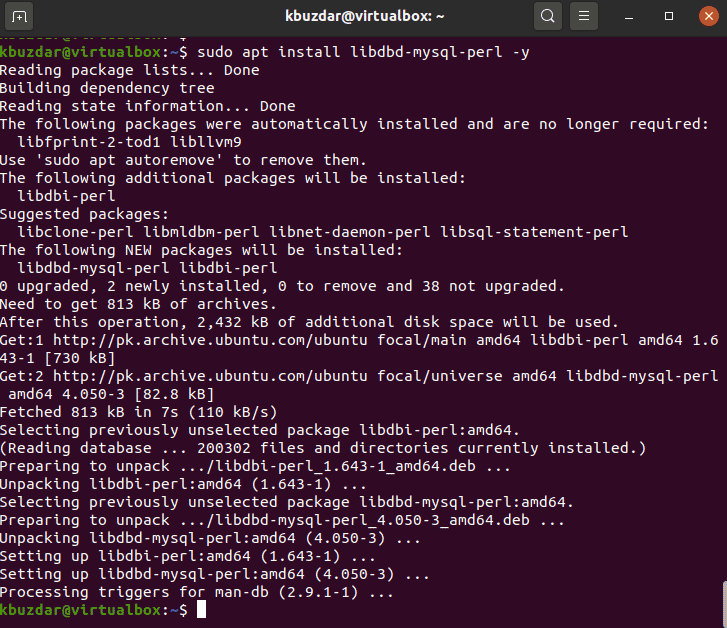
The above mentioned command will install the necessary mysql Perl packages on your Ubuntu system.
Conclusion
In the above article, we have explained the installation of Perl and how to create and run Perl script using the command line on Ubuntu 20.04. We have also discussed how to configure necessary Perl modules on your system. Please let us know about your difficulties or queries related this article.