Printers are peripheral devices which are utilized to convert softcopy of data to hardcopy, usually on paper. It is a very useful device which is almost a requirement of every office, school, shopping mall and now in homes also; they have become our daily need now. It can work with any operating system, just you need to know how to add printers with your system and nowadays advance level printers are coming which don’t require cable for connection just you need to connect them with your PC using WIFI which are easier to setup and use.
So, in this Article we are going to give you a detailed procedure on how to successfully add the printer to your Ubuntu System (Linux OS) without any problem. Follow the procedure below to add Printer successfully to Ubuntu.
Adding Printer to Ubuntu
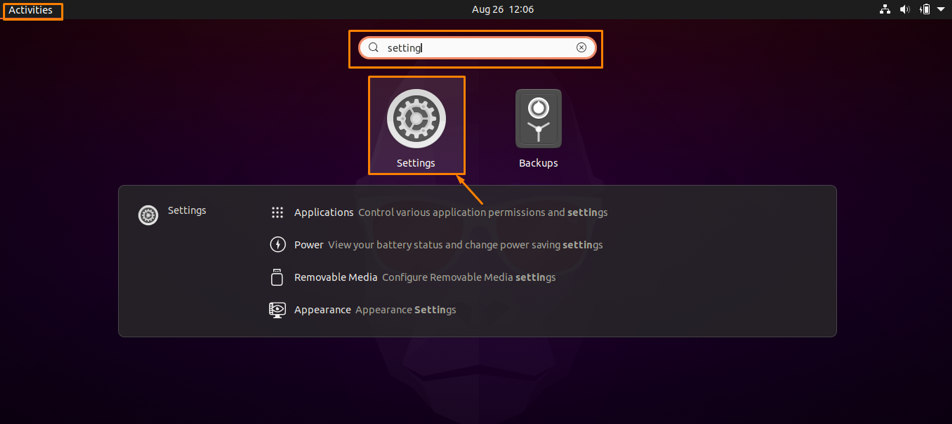
Step 1: Open settings : First log in to your Ubuntu system then open Activities overview and in the “Search Tab” enter “Settings”, settings option will appear click on it:
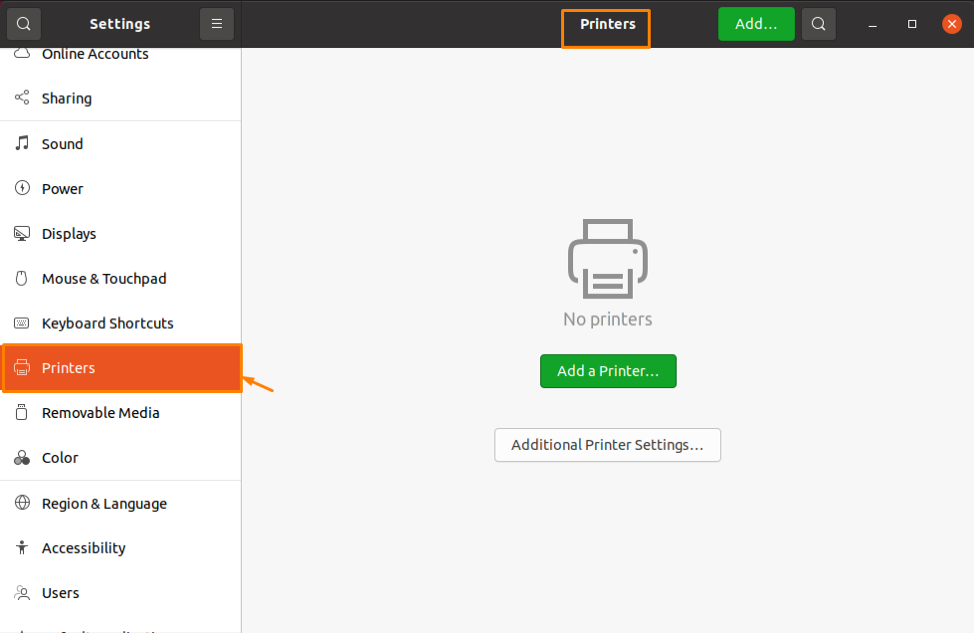
Step 2: Open Printer Setting : Now in the settings window click on “Printers” option on left side and printers settings will be opened:
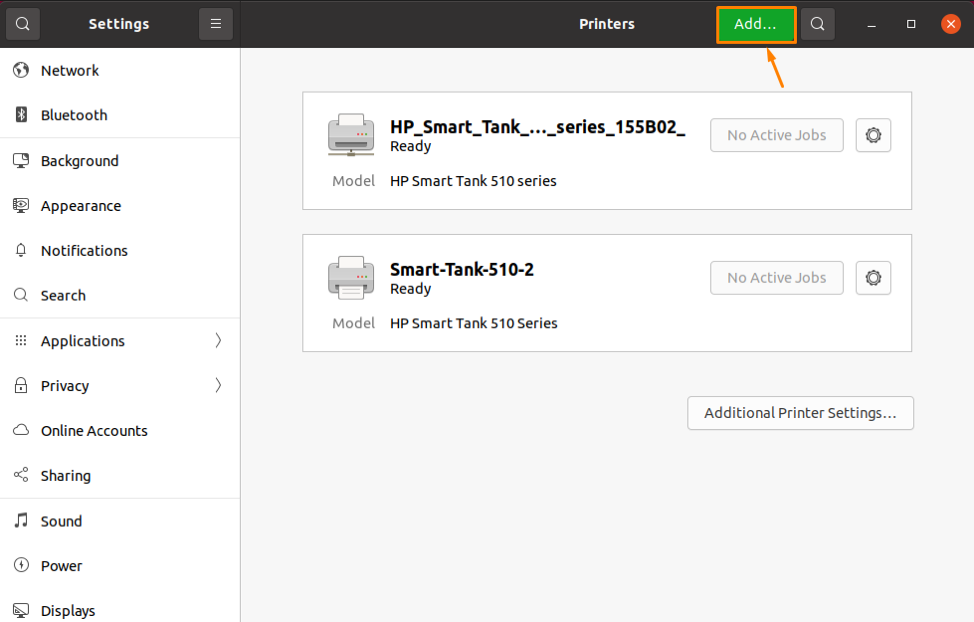
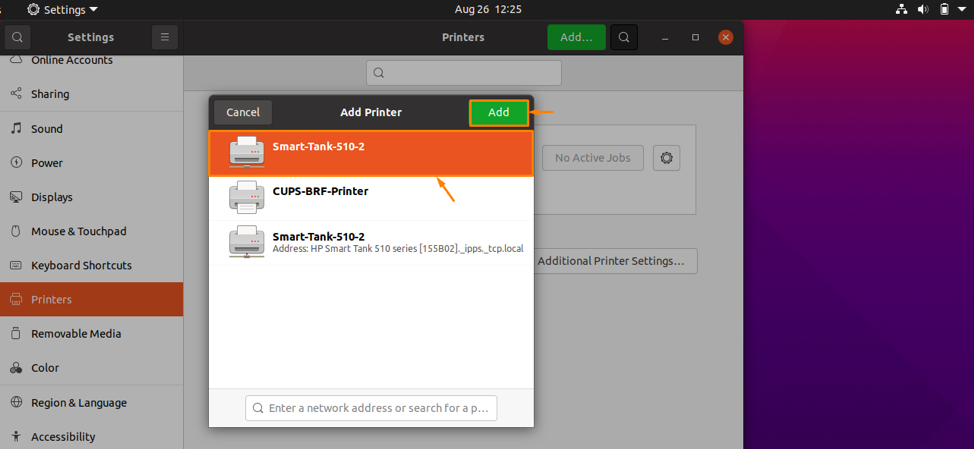
Step 3: Find and Connect to Printer : As your PC can recognize many printers, to choose the printer you want to connect to your system click on the “Add” button from the top right corner to connect it to your system:
It will open a pop-up menu which shows the available printers, you can select the printer you want to connect to and then click on “Add” button to add the printer to your system:
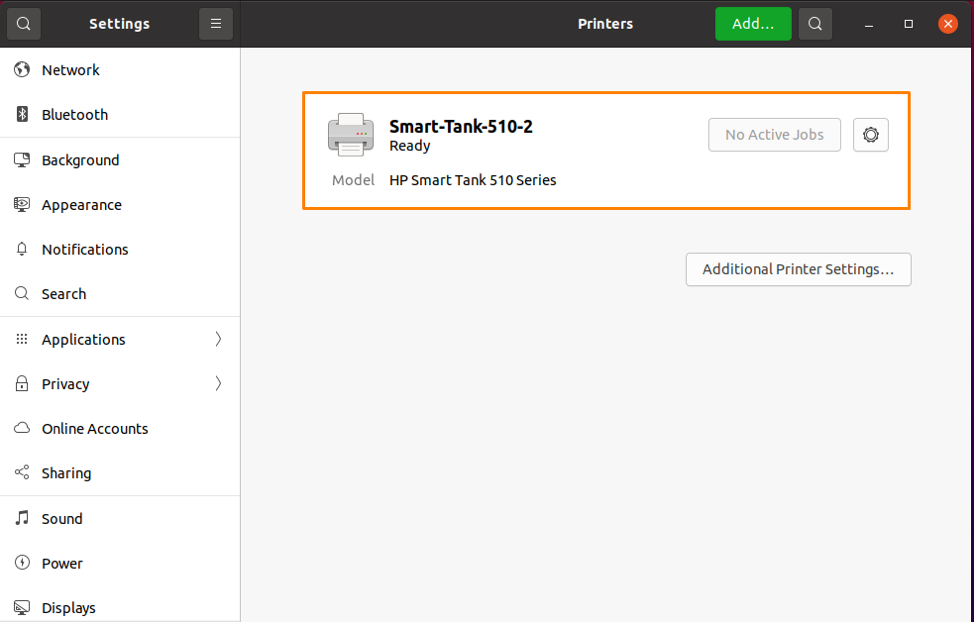
Step 4: verify the connection : When the printer is connected, the “Ready” option will be shown on the printer. Now you can use connected printing to print whatever you want:
Step 5: Configure Print Setting : You can configure the print setting of any document you want to print; so open the document you want to print.
For instance, I want to print a “file.odt” document, so I need to open the required document; it will open in LibreOffice Writer. Now open the file menu and click on Print from the drop-down list and the print settings will open, or you can also simply open the print setting by pressing “Ctrl+P” from the keyboard as shown below:
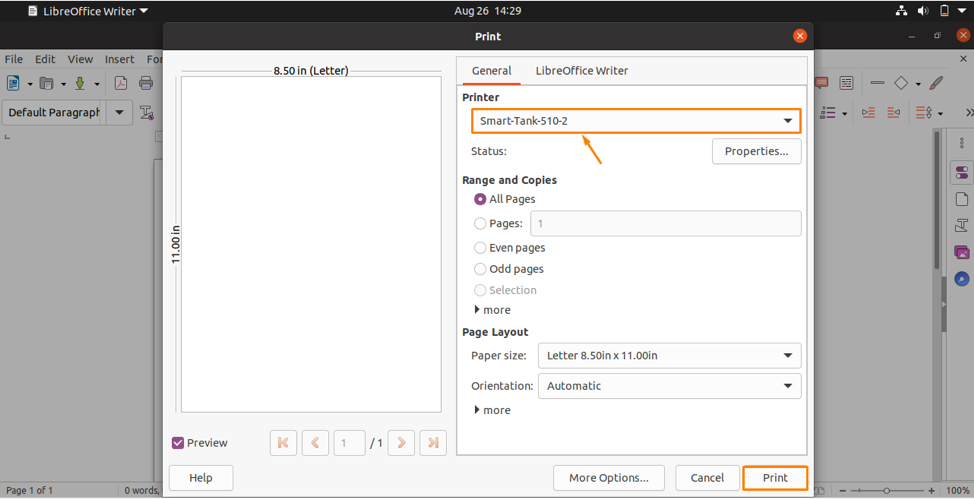
Now you can choose your printer and set the setting according to your choice and then click on the “Print” button to print the document.
Conclusion
Printer, a very useful and commonly used peripheral device which comes in different sizes and shapes is used to convert softcopy data to hardcopy (usually on paper). It is an external device and we need to connect it to our system and set its setting to use it. So, in this Article, a detailed procedure is discussed to add a printer to Ubuntu (Linux Operating System). After going through this Article, you will surely be able to add and use printers successfully on your Linux System.