This article guides you towards the process of installing and managing Webmin in Ubuntu 22.04.
How to install and manage Webmin in Ubuntu 22.04
There are several steps to follow in order to install and manage Webmin on Ubuntu 22.04, which are given below:
Step 1: Update Package List
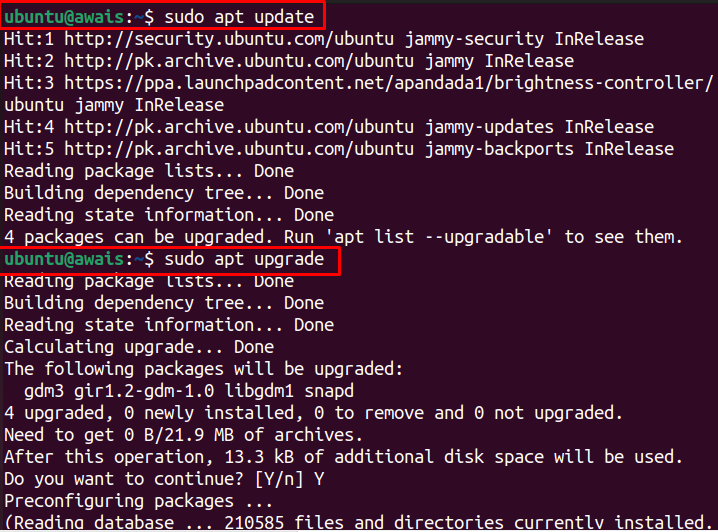
First, you will need to update the Ubuntu’s package list using the following commands.
$ sudo apt upgrade
Step 2: Add Webmin GPG Key
After the update, you will need to add Webmin’s GPG using the following command.
Step 3: Add Webmin Repository
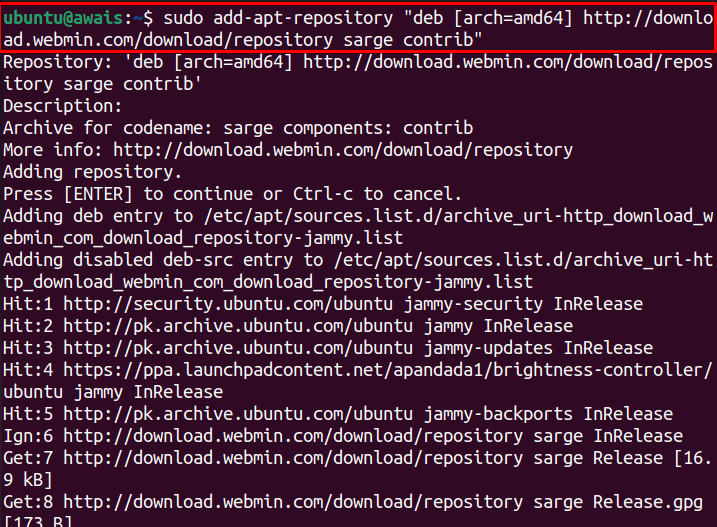
After adding the GPG key, you can then use the following command to add Webmin repository as this will help you install Webmin using the apt installer.
Step 4: Update the Package List
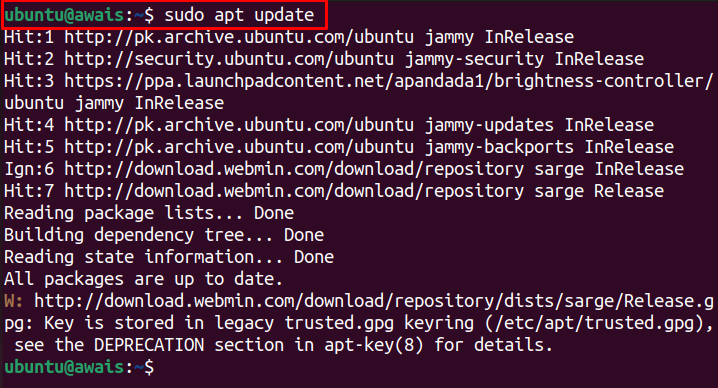
Now, update the Ubuntu packages using the below-mentioned command.
Step 5: Install Webmin
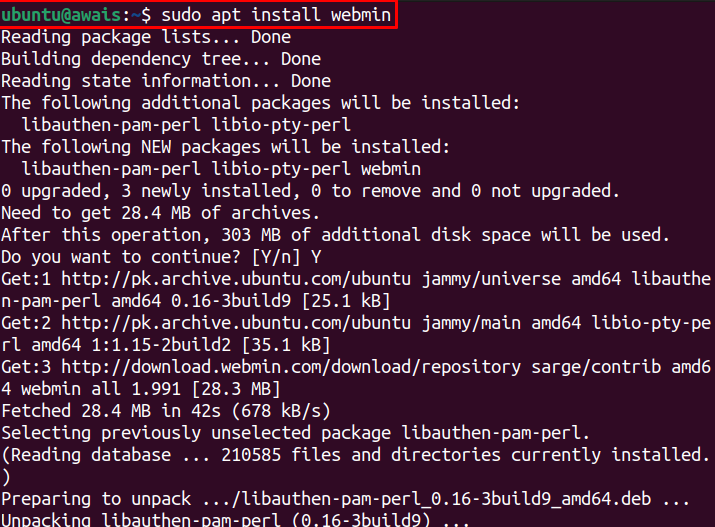
Once the Webmin repository is added and the package list is updated, you can then execute the following command to install Webmin in Ubuntu 22.04.
Enter “Y” to allow the installation.
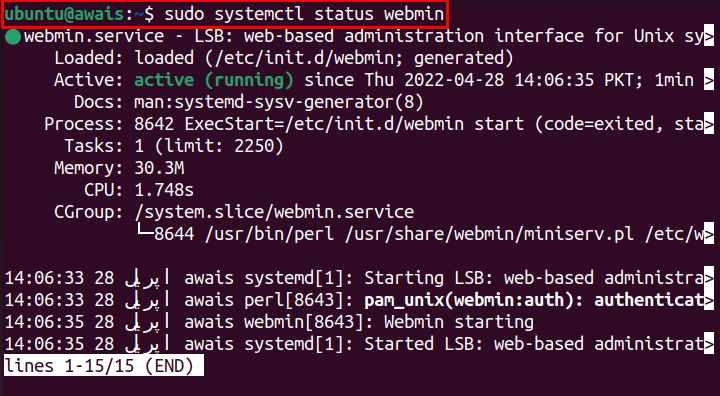
To check the Webmin status, the following command will be required.
The active status shows that Webmin is installed on Ubuntu 22.04 and is running perfectly fine.
Step 6: Enable Firewall
Now, enable Firewall on Ubuntu 22.04 through the following command.
Step 7: Configure Firewall
By default, Webmin uses the TCP port 10000, open this port using the Firewall through the following command.
Step 8: Reload Firewall
Once the rules are updated, you then reload Firewall using the following command.
Step 9: Webmin Access on Ubuntu 22.04
Now, to access Webmin on Ubuntu 22.04, you will need to set its root user’s password through the following script.
Note: Replace the “<new_passowrd>” field in the above command by your password.
Step 10: Access Webmin on Browser
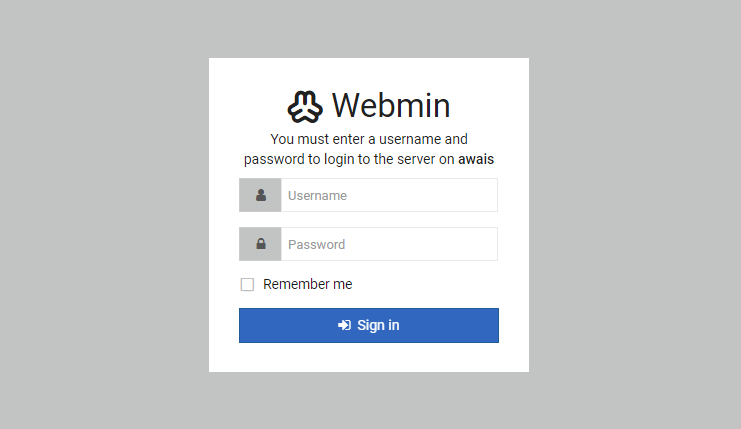
Once the above steps are completed, you can then be able to access Webmin on your browser. For that purpose, go to the browser and enter the address https://awais:10000/. The address in your case will be different; the general form to access Webmin is https://<IP-Address>:10000/.
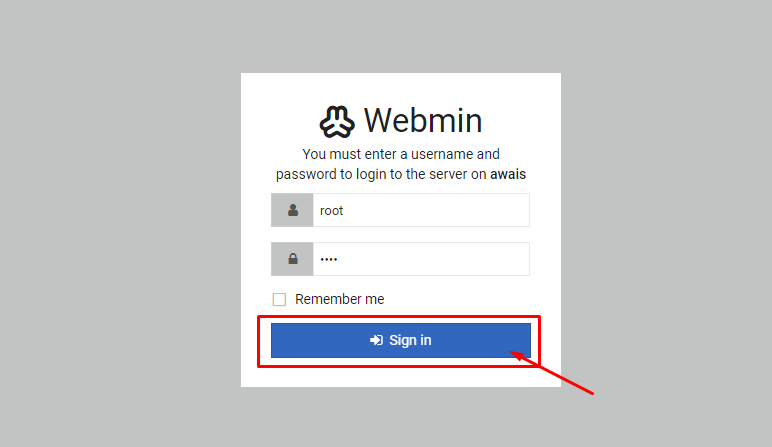
Sign in with username as “root” and password (refer to Step 9).
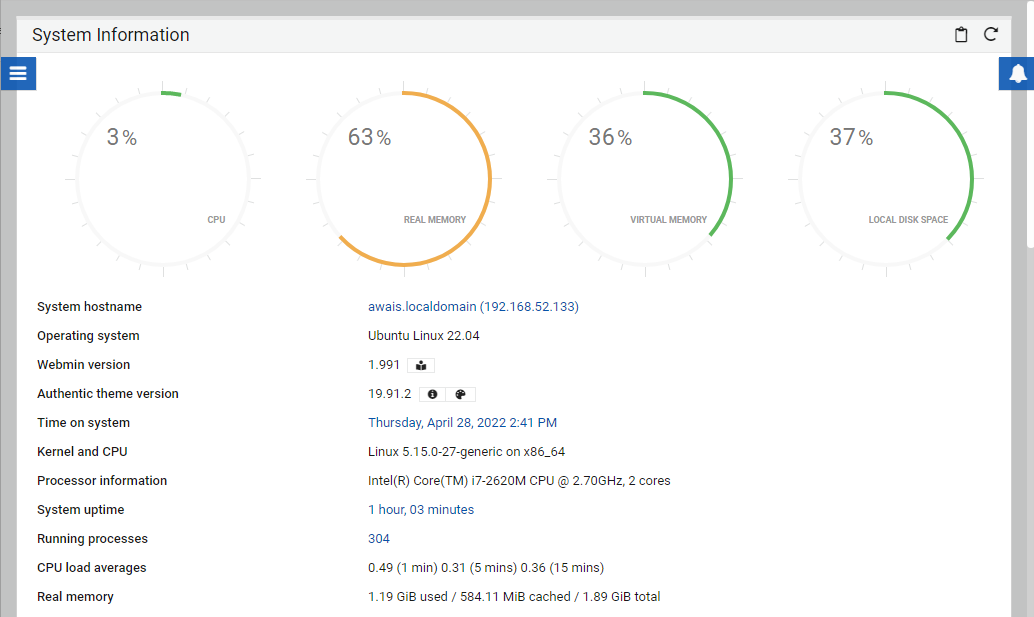
This will open the Webmin dashboard on your browser.
Managing Webmin in Ubuntu 22.04
Now that Webmin is perfectly set up in Ubuntu 22.04, it’s now time to manage the users and groups on the server. To do this use the below-given steps:
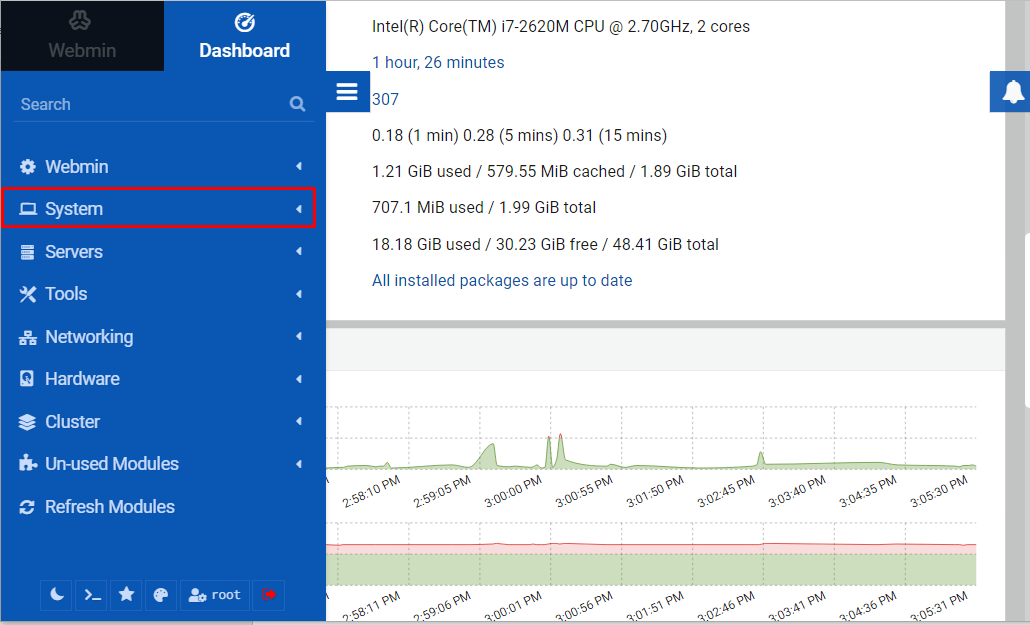
Step 1: Go to the “System” option.
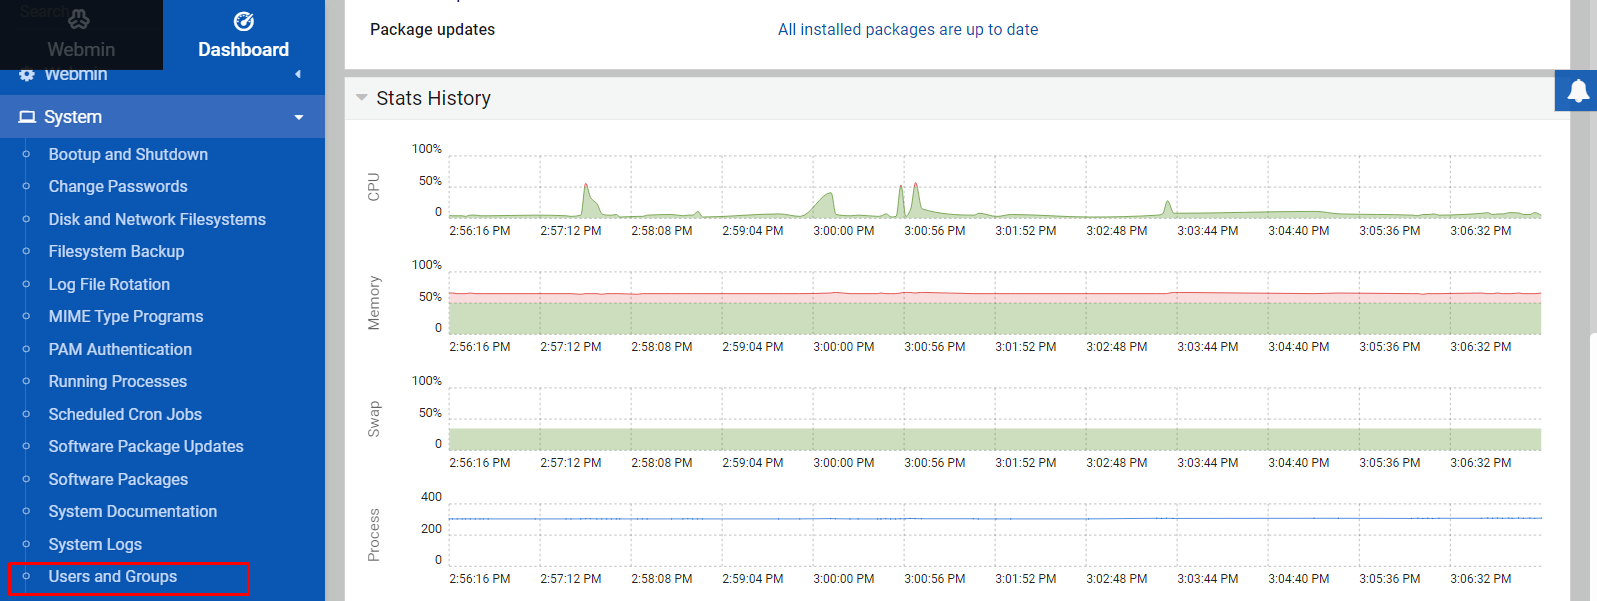
Down there click on the “Users and Group” option.
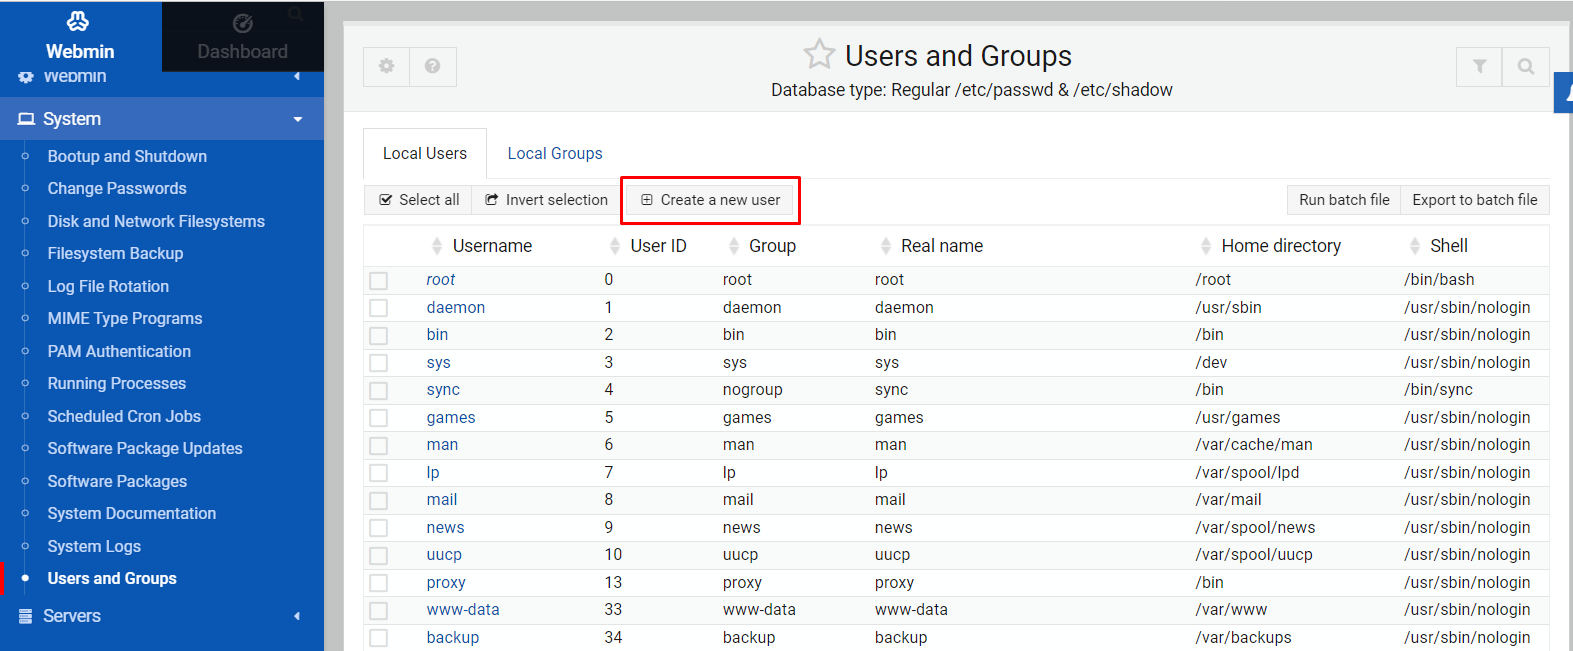
Step 2: Next, choose the “Create a new user” option to host web applications.
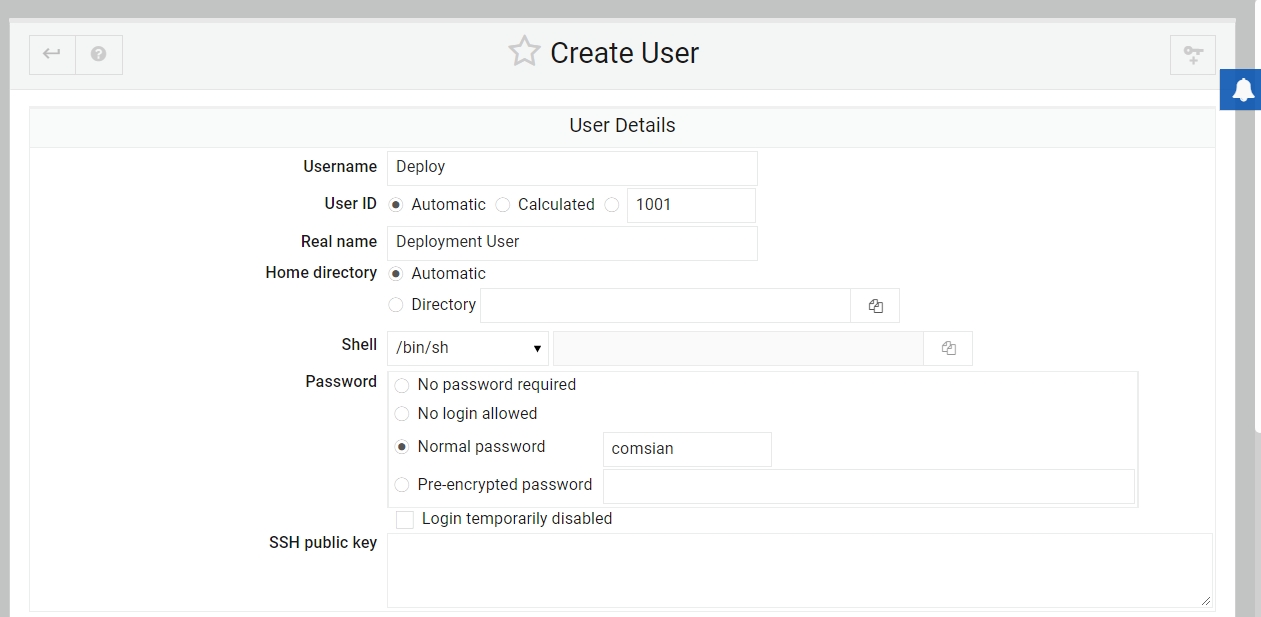
Step 3: In the next screen, put the username as “Deploy” and fill the details carefully similar to the one shown in the image below.
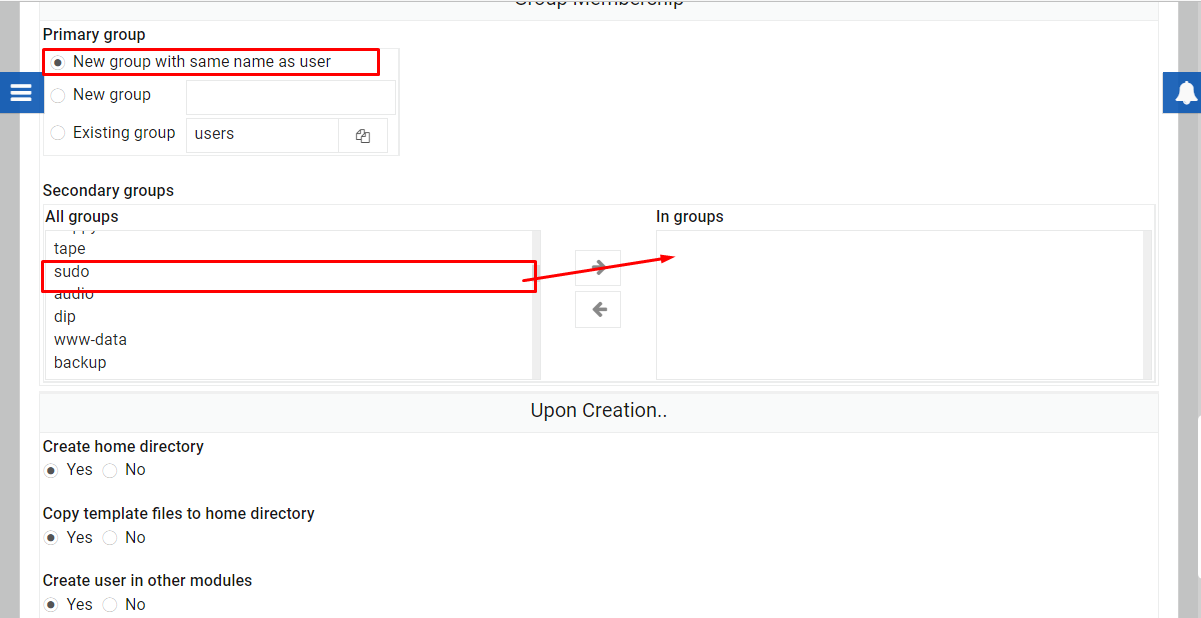
Step 4: Once the above details are carefully filled, scroll down and find the “Primary group” and “Secondary group” setting.
For primary, choose the “New group with same name as user” option and for secondary, select the “sudo” option.
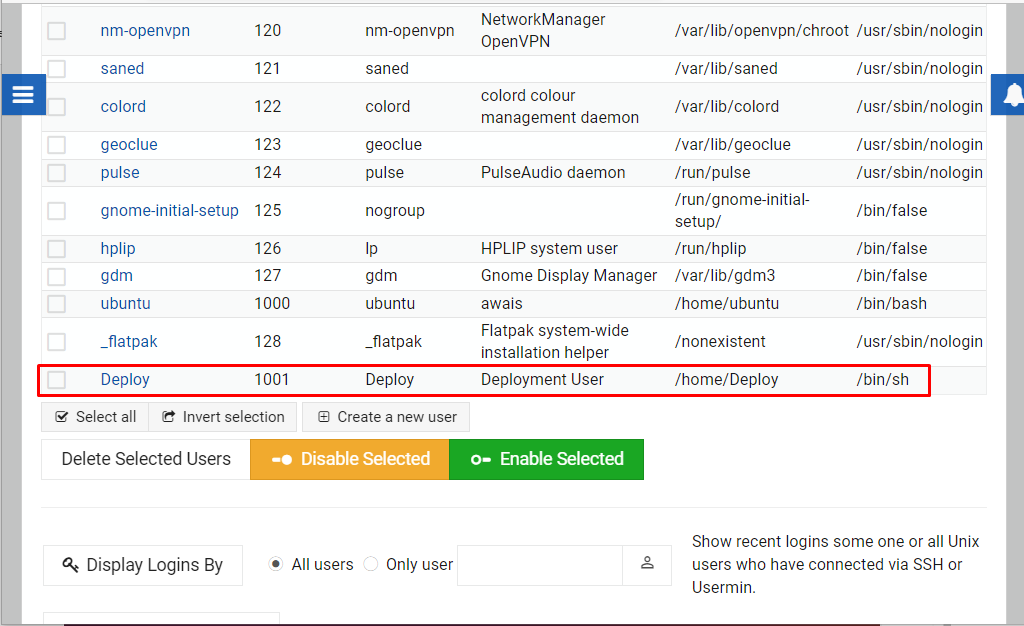
Then click on the “Create” option to create a username with name “Deploy” in the Users and Group section.
Step 5: Click on the “Deploy” option.
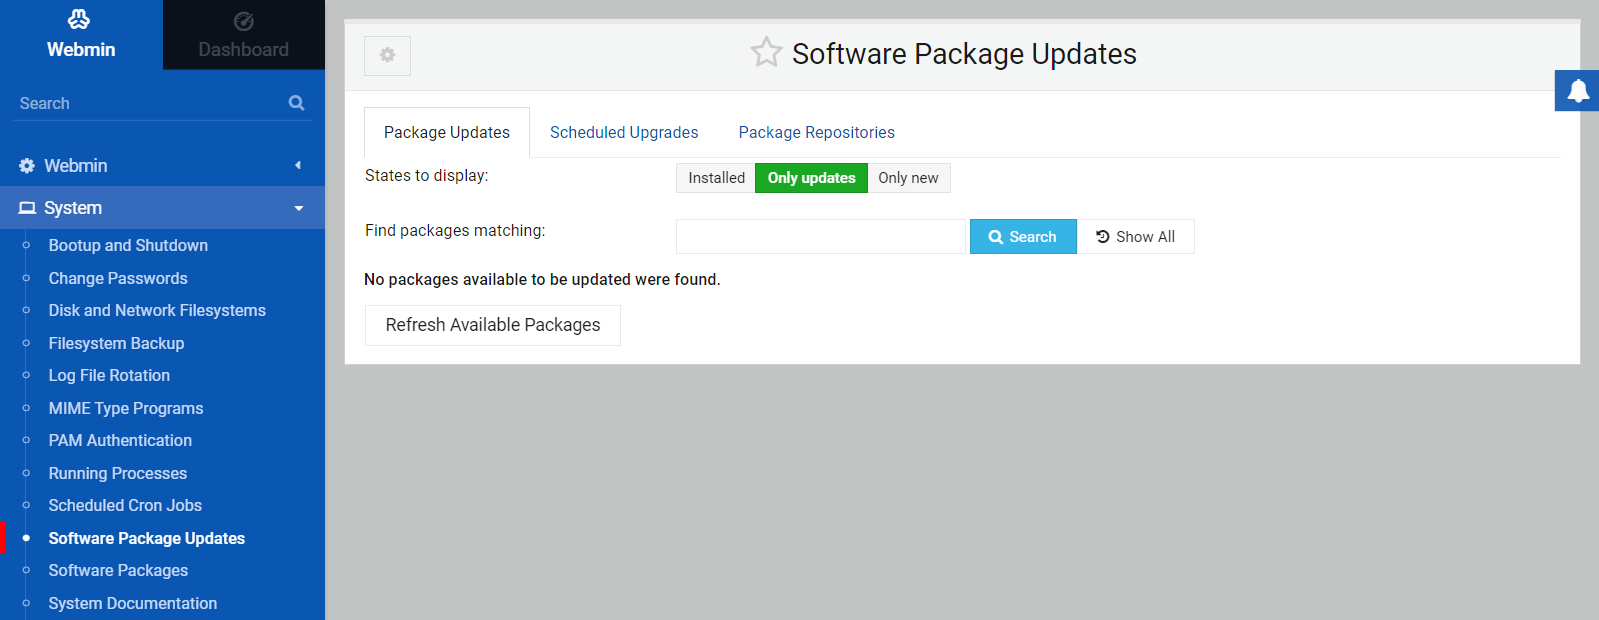
Step 6: Then click on the “Packages updates”.
If your system packages are not updated, you will see the list of packages which you can install right onto your Webmin dashboard.
In this way, you can control your system through the Webmin interface.
Conclusion
Webmin is a perfect web interface for Ubuntu 22.04. It allows you to control user accounts, manage packages and configure DNS through a web interface. The above guidelines will provide you enough help to install Webmin in Ubuntu 22.04 and start managing your system with the help of the above example for packages update.

