
In this write-up, we will learn how to create a new user and how to give him privileges to make modifications in the tables or database.
How to grant all privileges to the user
Before understanding the procedure of granting privileges to the user, let us learn how to create a new user.
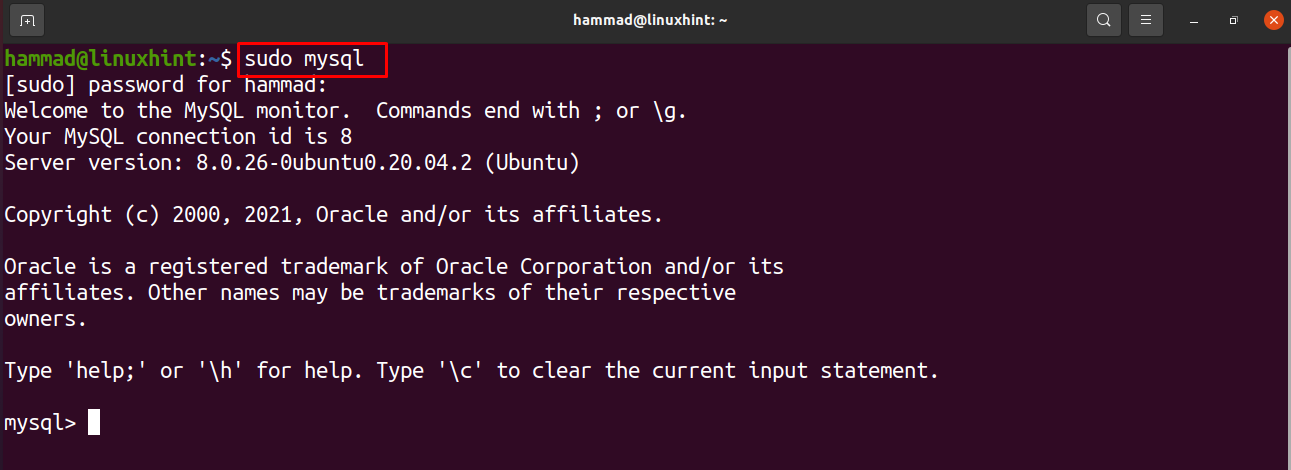
First, open the terminal and enter the MySQL environment.
Now let us check the databases we already have. To check this we will use the ‘show’ command.
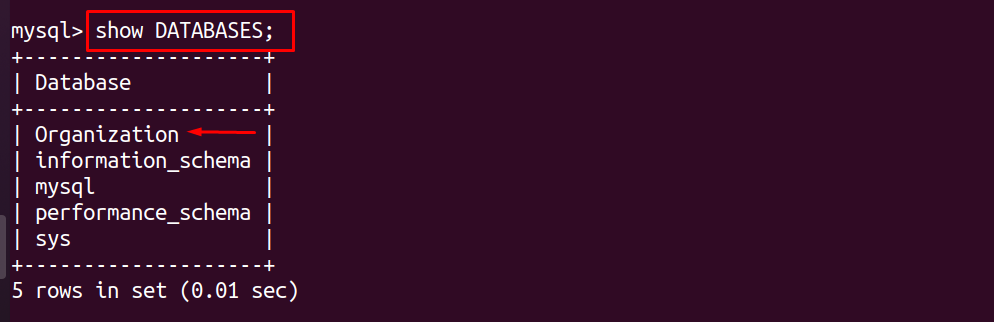
Open the Organization database by using the USE command.

We will create a user ‘maadi’, you can replace it with your user name and also replace the set password which is in our case is “password” with your desired password.

We have the database “organization” in the list so to grant its all privileges to the user we will execute the following command whose general syntax is as:
In our case, it will be like this:

In the above method, we have granted all the privileges of a specific database to the new user for example in our case, we granted the privileges of the Organization database to the newly created user which is maadi. So this user can make any type of amendments in any table of this database. If we want to grant all the privileges of all the databases to the newly created user then we will execute the following command.

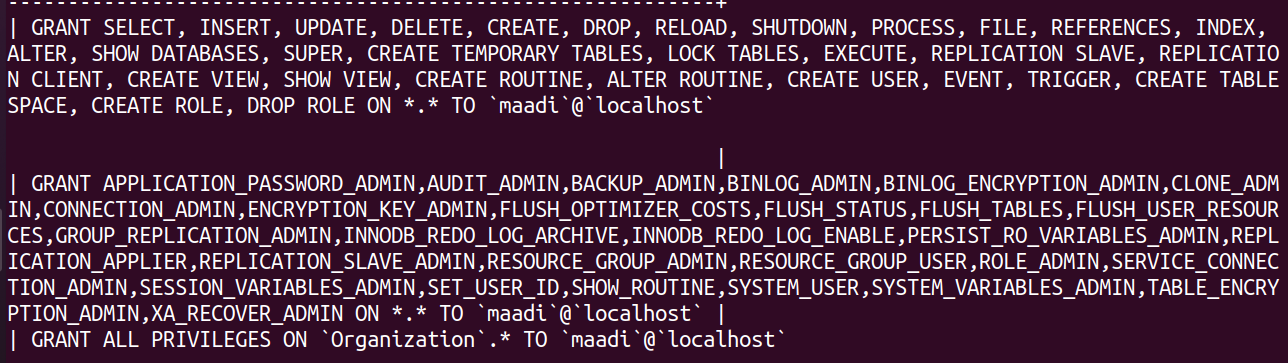
To check the privileges granted to the user we can check by the command.
![]()
The output will be displaying all the privileges.
If we want to grant only a few permissions like Insert, delete, Insert and update instead of granting all the privileges we can give specific permissions:

In this command we give the newly created user, “maadi” only the access of select and delete in the tables, to verify these permissions we will again display the permissions granted to the newly user maadi,
So we can see from the output only the permissions are allowed which are related to SELECT, INSERT and DELETE whereas in the output of the command where we grant all the permissions there are all the permissions that are not associated only with select, insert and update like SET_USER_ID.

Now if for some reason you want to take back all the permissions from the user you can do it by using the command.

In this method, we are taking back the privileges from the user ‘maadi’ granted it by database ‘Organization’. Now if you want to drop the user we can simply remove it by using the following command.

Conclusion
MySQL is a DMS that is used at the backend of the development, many famous organizations like Facebook, Yahoo, and many more are using MySQL. In such organizations, a single person can’t handle the whole setup so different responsibilities are assigned to different persons. This write-up is about how we can grant privileges to users. If I summarize it, we learned how to create a new user in the specific database and then we can grant the user either all the privileges of the databases or we can grant him the privileges to any specific database. Further, we can also grant the user only some permissions, and then we learned how to check which user has which type of privileges, and we can not only take back the privileges from any user but also remove the user at any time.