Utilizing GPG encryption to encrypt your data before its transfer assures that no one without a valid matching key pair can view or read it. You can encrypt a file with your private key and the recipient’s public key to send it securely. Then, the recipient will decrypt the received file using their private key and your public key. This concept demonstrates that public keys must be shared for the successful decryption of any file. Making your public keys just that “public” does not bring any risk to your system. It is obligatory to keep private keys “private”. If your public key is available to the public, your private key must be kept private and secure.
In this article, we will discuss how to use the gpg command on Ubuntu. So let’s start!
How to install gpg on Ubuntu
To install gpg on your Ubuntu system, open up your terminal by pressing “CTRL+ALT+T”. You can also search it manually in the Application’s search bar:

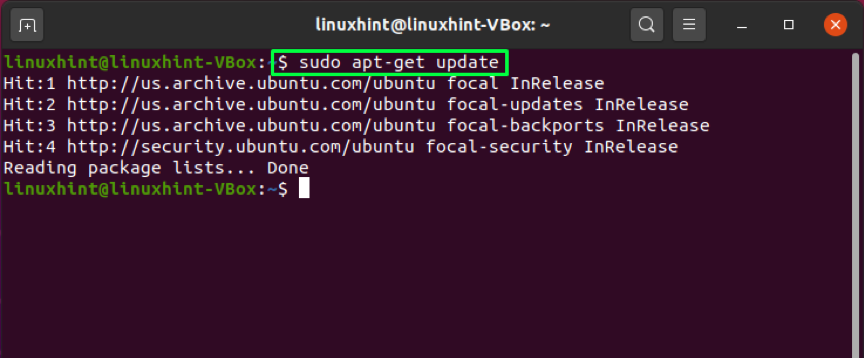
Update the repositories of your Ubuntu by using the below-given command:
Next, utilize this command for the installation of gpg:

Enter “Y/y” to permit the installation process to continue:

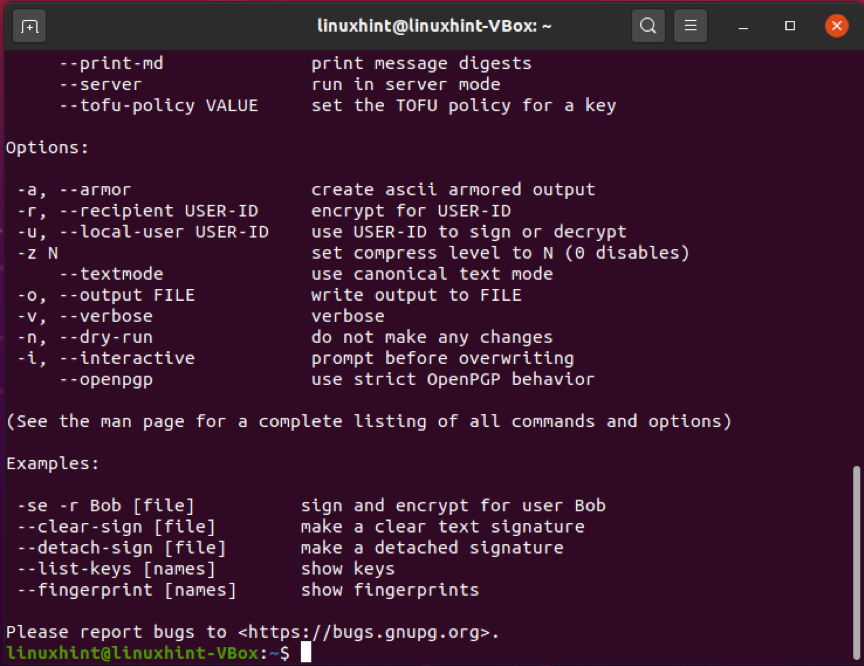
To confirm the existence of gpg, execute the below-given command. The execution of this command will also list out the supported algorithms, gpg syntax, and available options:

How to use gpg command to generate key pair on Ubuntu
After successful installation of gpg on your Ubuntu, move forward to generate a gpg key pair. The gpg keypair will have a public and private key. A private key is the master key of your system. It enables you to encrypt and decrypt files as well as create signatures with it. The public key is shared with the individuals you want to view and access your files or data encrypted with the private key. Public key also helps verify if the encrypted data is sent from your system or not.
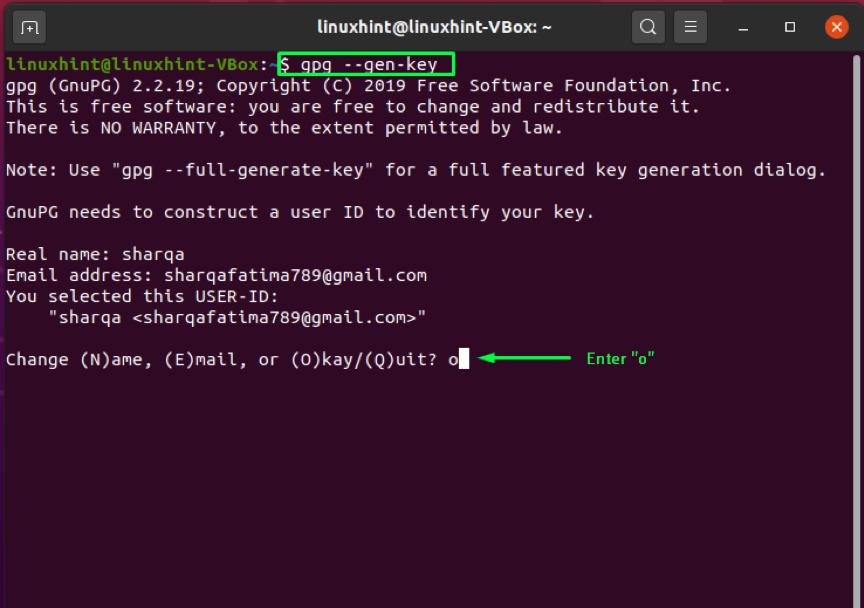
Write out the below-given in your Ubuntu terminal for generating key pair:
Enter your name and email address in the terminal. After that, enter “O”. to proceed forward:
A prompt window will appear asking you to enter some passphrase to protect the key pair:

Execution of the above-mentioned command will store some information on your system which comprises your real name and Email address. After you have confirmed that the entered information is correct, gpg command will generate a key pair: a public and private key, a fingerprint of the user, and a revocation certificate:

How to use gpg command to generate revocation certificate on Ubuntu
If unknown outsiders discover your private key, you must disaffiliate the old keys and regenerate the key pair. For this process, you will need a revocation certificate. In the below-given example, we will generate a revocation certification and store it safely on our Ubuntu.
In the gpg command, add the “–output” option with a filename. This option will store the revocation certificate in the specified file. Next, the “–gen-revoke” option is added to generate the revocation certificate and at the end of the gpg command, write out the email address that you have entered previously for generating key pair:
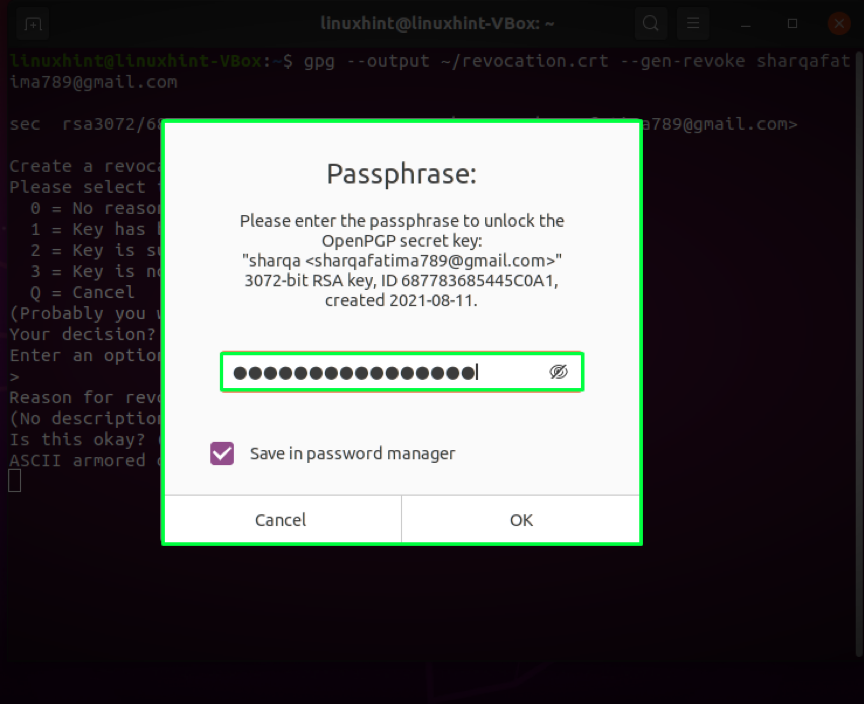
When you execute the command mentioned above, the system will ask you if you generate the revocation certificate. Write out “Y” and press “Enter“. After that, you have to specify the reason for generating the certificate. You can select between the available options, in this case, we will specify the reason as “Key has been compromised” represented by option “1”. Then, we will confirm the changes we made by entering “y“. In the end, the system will ask you to enter the passphrase you saved when generating the key. Enter your passphrase, and Ubuntu is all ready to generate the revocation certificate:

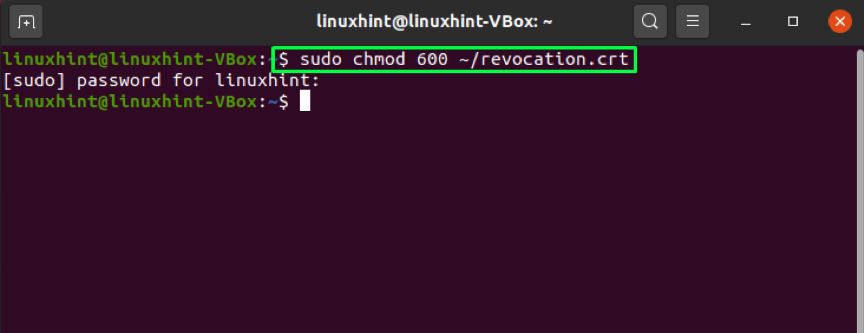
After generating the revocation certificate, we will adjust file permissions by using the “chmod” command:
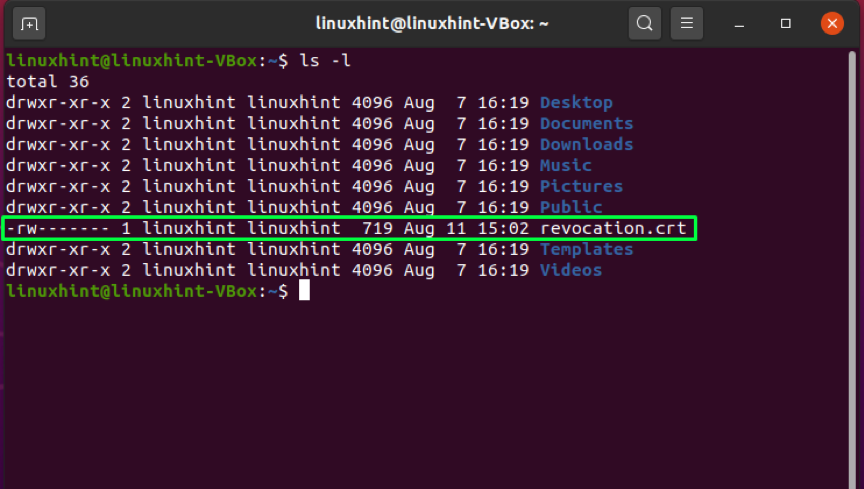
To confirm the applied file permission changes, list out the files and look for the file permissions of the “revocation.crt” file”:
The output declares that only we can use the certificate that comes under an ideal situation:
How to use gpg command to verify a public key on Ubuntu
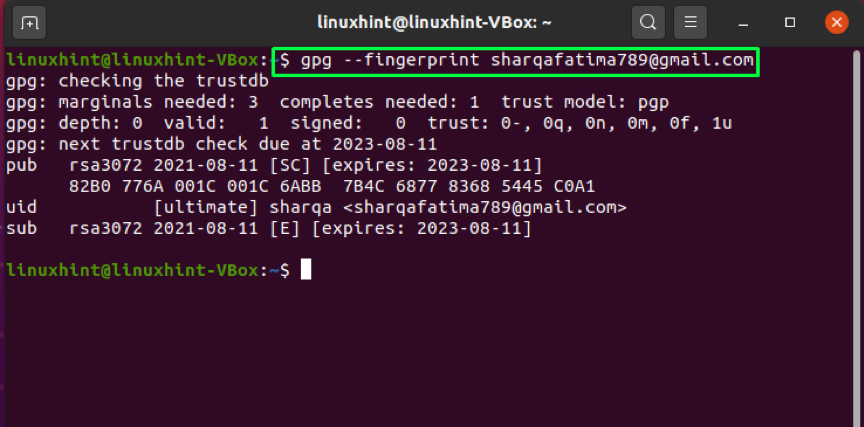
In some cases, you may want to verify the public key shared by someone. The “gpg” command can also perform this operation with the help of the “–fingerprint” option. By adding “–fingerprint“, the gpg command will generate a sequence comprising tens of sets of four hexadecimal characters. You can compare the generated key with the fingerprint of the other person’s key. If both get matched, then the public key of that person is verified:
How to use gpg command to export your public key on Ubuntu
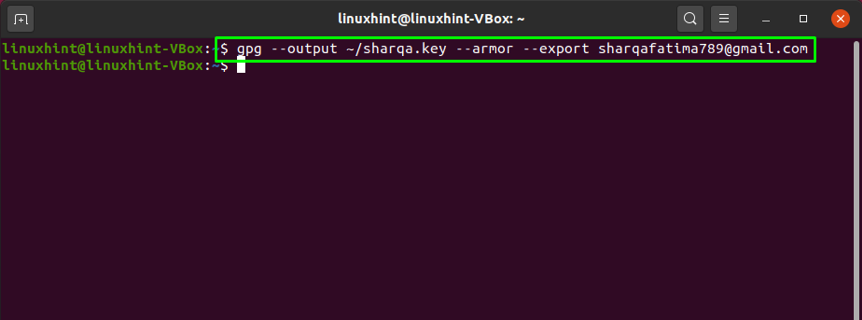
Want to share your public key with someone? For this, you will need to export your key from the local store of gpg as a file. This operation is performed using the “–export” option in the gpg command in combination with the email address you entered at the time of generating the key pair. The “–output” option can be added to export the key in the file specified with it. Instead of generating a binary file, the “–armor” option instructs the gpg command to generate ASCII armor output:
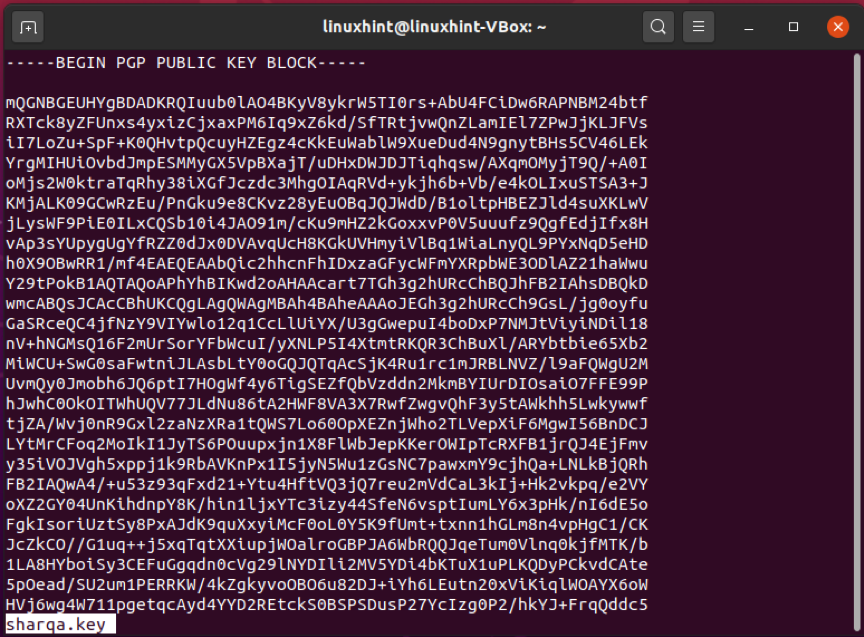
Now, view the content of the generated “sharqa.key” file:
Here it is!
You can also export your public key using the below-given command:

How to use gpg command to send your public key on Ubuntu
You can also utilize a public key server for sharing your public key. The key is sent to the key server using the “–send-keys” option in the gpg command. With the “–key-server” option, you have to add the web address of the public key server. At the end of the command, add the fingerprint of your key, which you generated earlier using the “–fingerprint” option.
Note: You have to enter the fingerprint of your key without any space

Conclusion
Privacy is always the main concern for any computer user. Everyone wants to keep their data secure while sharing it with another user. In Ubuntu, gpg command makes it simple to encrypt your files with exceptionally powerful encryption. We have talked about how to use the gpg command on Ubuntu in this article. The process of gpg installation, generating key pair and revocation certificate, exporting, and sharing public is also included. Moreover, we have also shown how to verify the public key of the file recipient.