
This article will focus on the Nano text editor. GNU Nano is a part of the GNU/Linux system. This program is a very simplistic, yet powerful, text editor. GNU Nano is highly suitable for those who prefer simplicity over features and power. Below, you will learn how to use the GNU Nano editor.
GNU Nano on Linux
Linux is the kernel program, created and maintained by Linus Torvalds. However, the kernel itself is of no use. The other pieces of software that sit on top of Linux are what make up the entire, functional OS. Most of the Linux distros use the software provided by the GNU Project to complete the OS.
Nano is a text editor that is a part of the GNU system. The GNU system, developed and maintained by the GNU Project, is a complete operating system that is free and open source. Interestingly, almost all current Linux distros are just a portion of the entire GNU system. That is why Linux is also referred to as GNU/Linux.
Installing GNU Nano
As you may have already guessed, your system should already have Nano installed. If you do not have Nano installed, it is available on all Linux distros directly from their respective package servers. In most situations, the package name will be nano.
Depending on what distro you are using, run the appropriate command in a terminal.
For Debian/Ubuntu and derivatives, use the following command:
For Arch Linux and derivatives, use the following command:
For openSUSE, SUSE Linux and derivatives, usethe following command:
For Fedora and derivatives, use the following command.
Check out the official GNU Nano homepage
If you are feeling adventurous, then try out this method instead. We will be installing GNU Nano from the source. While this is a fun thing to do, the downside is, your package manager cannot manage it directly. Moreover, if there is an updated release, you will have to re-download the source, compile it, and install it again.
Ready? Grab the Nano source code.

If you do not have curl installed, then you can use wget as well.

Extract the package.

For the next part, you will require some building tools, such as the GNU C/C++ compiler. In the case of Debian/Ubuntu, you will need to install the build-essentials package group. If you are using an Arch-based system, then install the base-devel package. If you are running other distros, please do your own research on these distros, first.
Once the required tools are installed, run the following commands.
$ ./configure


Using Nano
Once Nano is installed, it is time to use it. From a terminal, run the following command.
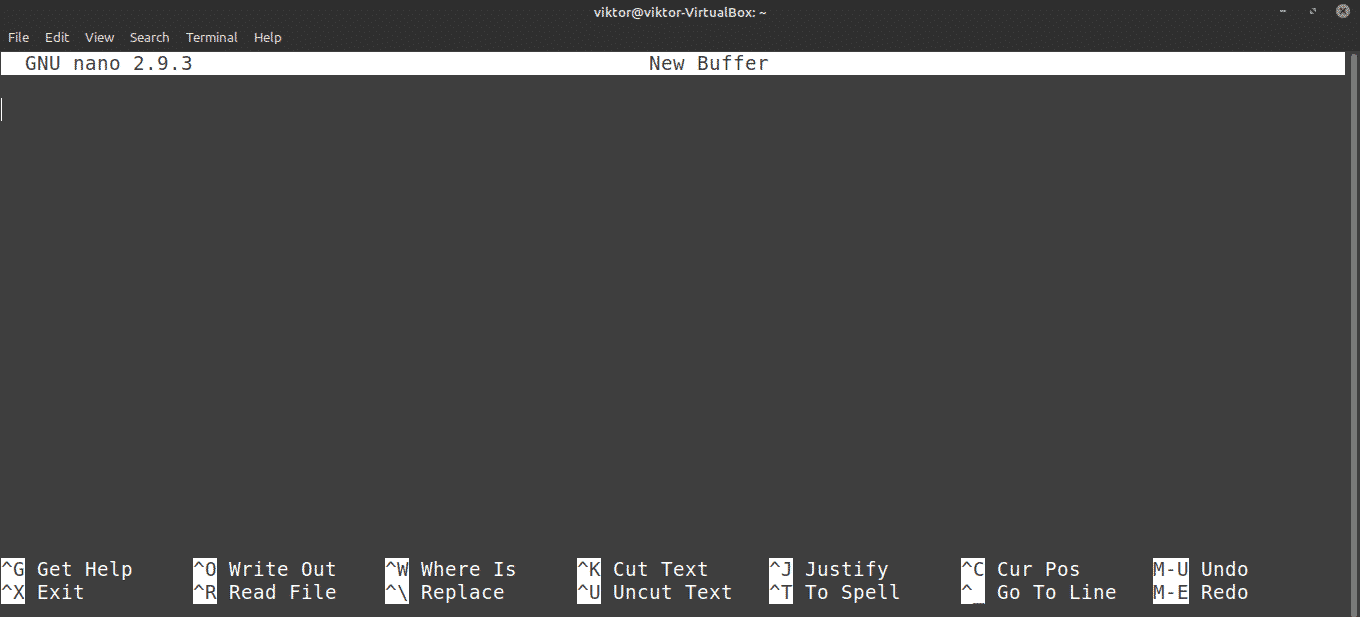
This will start the Nano editor with a blank text file.
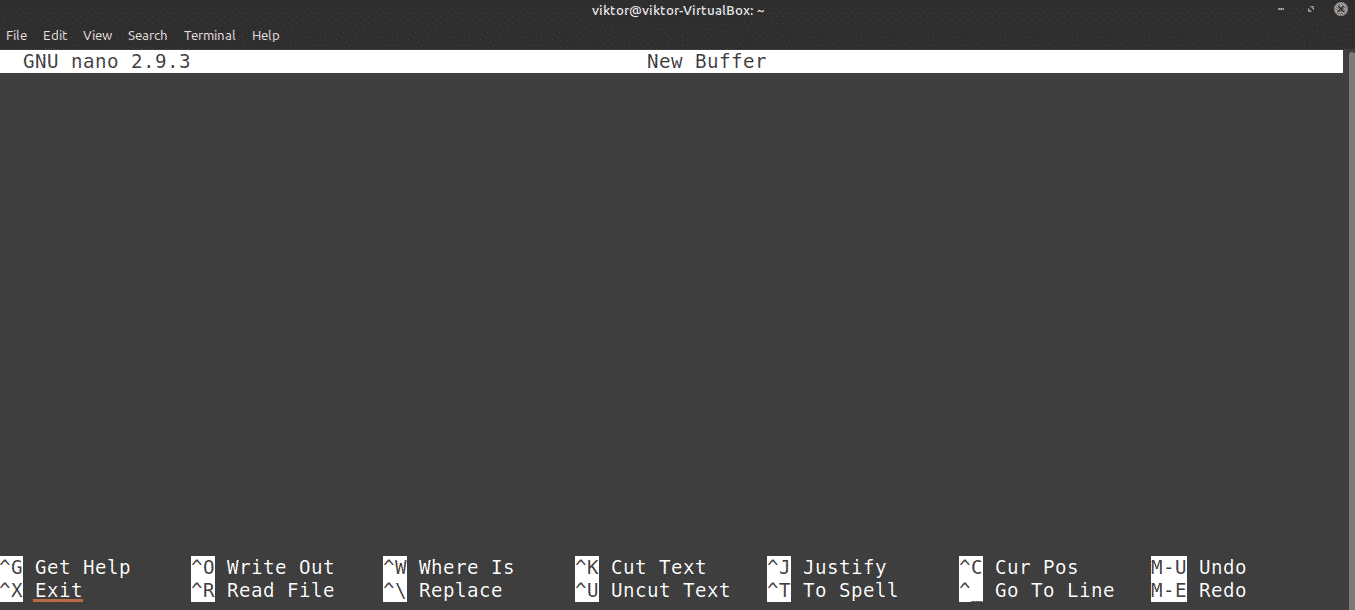
Exiting Nano
Have you ever been to Vim? Then you may be familiar with the “can’t exit Vim” meme. Well, in the case of Nano, there is nothing complicated like this, at all. Press <Ctrl + X> to exit the Nano editor.
Creating A Text File
To create a text file at a specific location, use the following command structure. Be sure that the current user has write permission to the target directory.
For example, I will create a text file with the name demo.txt at the location ~/Desktop.

As the demo.txt file does not exist, Nano will open a blank text file. The file is not created yet, and will be written once you save the file.
Saving A Text File
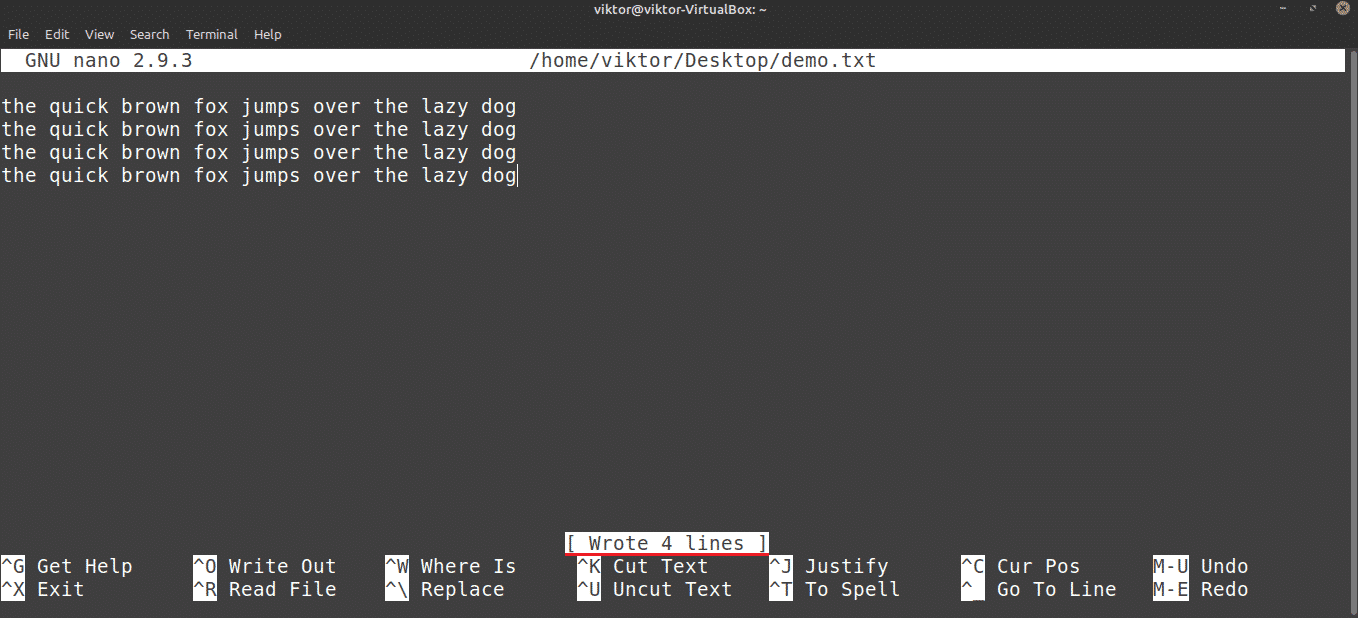
Once you have made changes to a text file, save the file by pressing <Ctrl + O>.

Nano will ask for the file name. In most cases, you just hit Enter. If you have edited an existing file, then you should probably not change the file name. If you do, Nano will save a new file with the new name and the newly edited content.
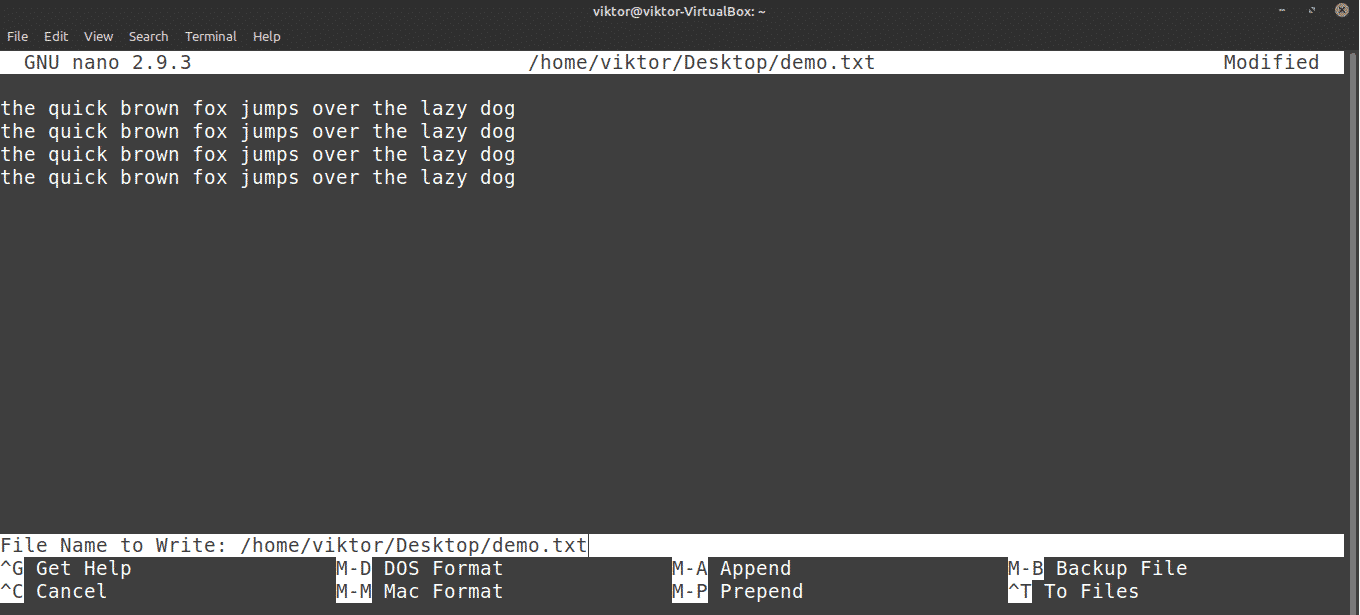
Once the file is saved, you will see the success message.
Nano will also ask you to save if you are about to close the editor without saving the edited file.

Editing An Existing File
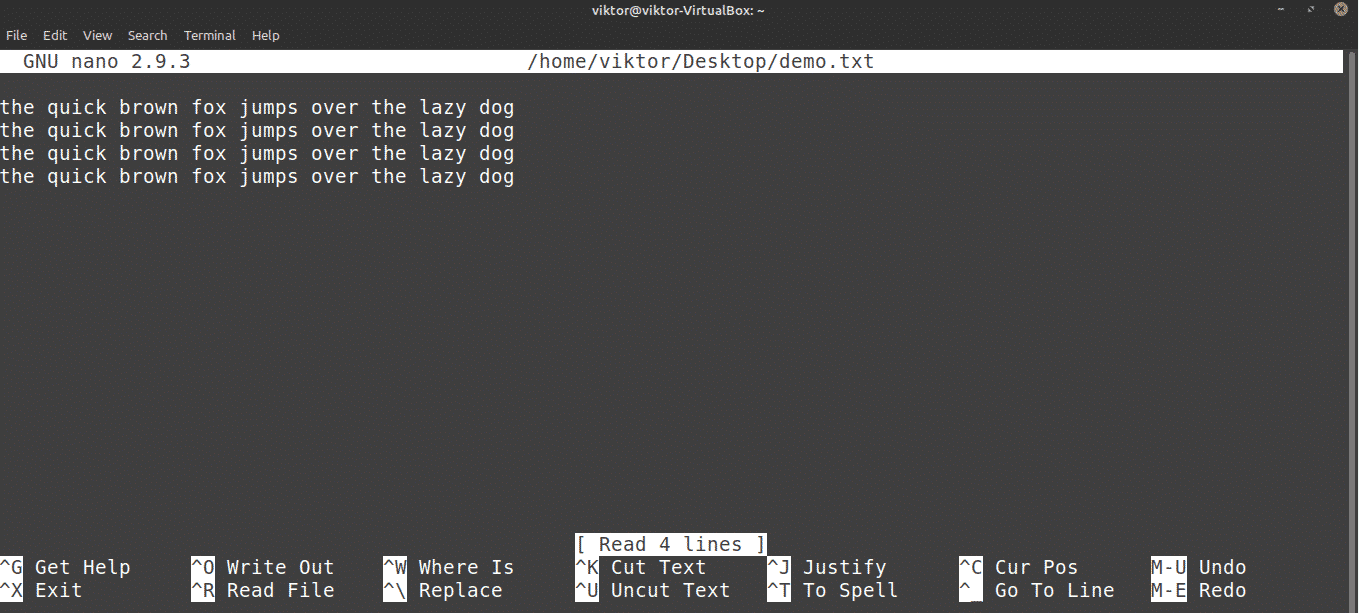
To edit an existing file, use the following command structure. Note that this method is quite like the method of creating a new file with Nano.
Searching
This is a common feature offered by most text editors. Nano also has a simplistic yet handy search option. To search for a specific term, press <Ctrl + W>.

Nano will pop up the search function. Enter the search keyword and hit Enter.

Nano will jump the cursor to the search result. If there is more than one same term, you can press <Alt + W> to go to the next search result.
Replacing Text
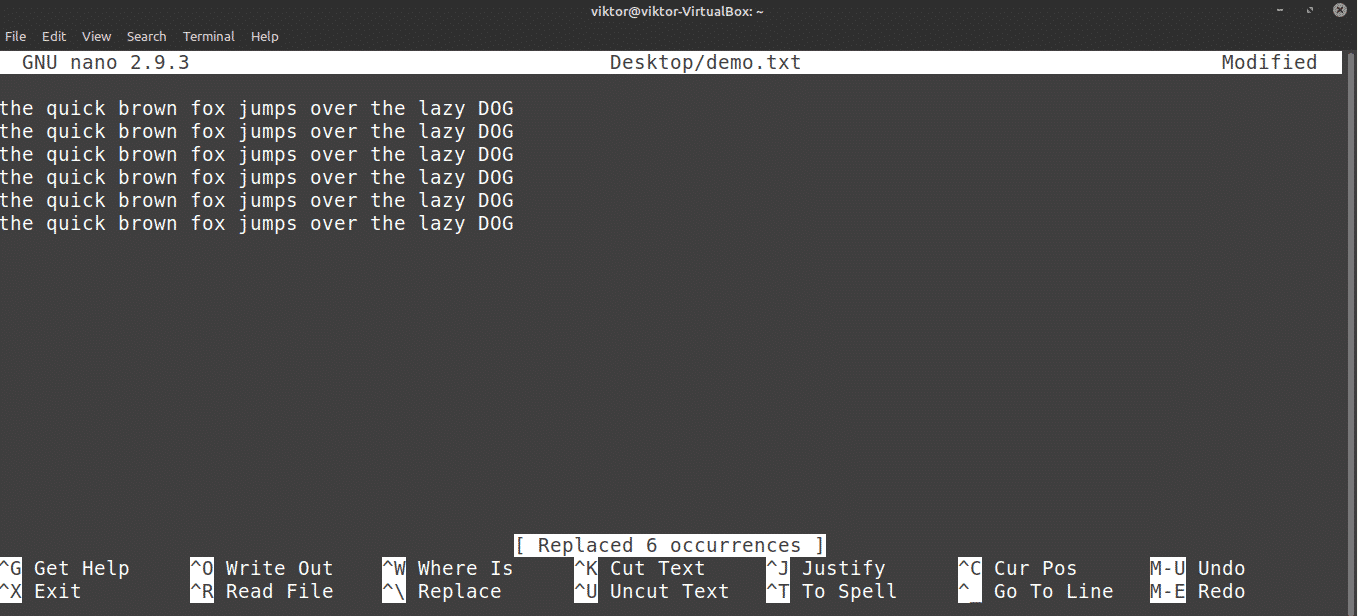
Nano also has a pretty handy replace function. To replace a text, press <Ctrl + \>.
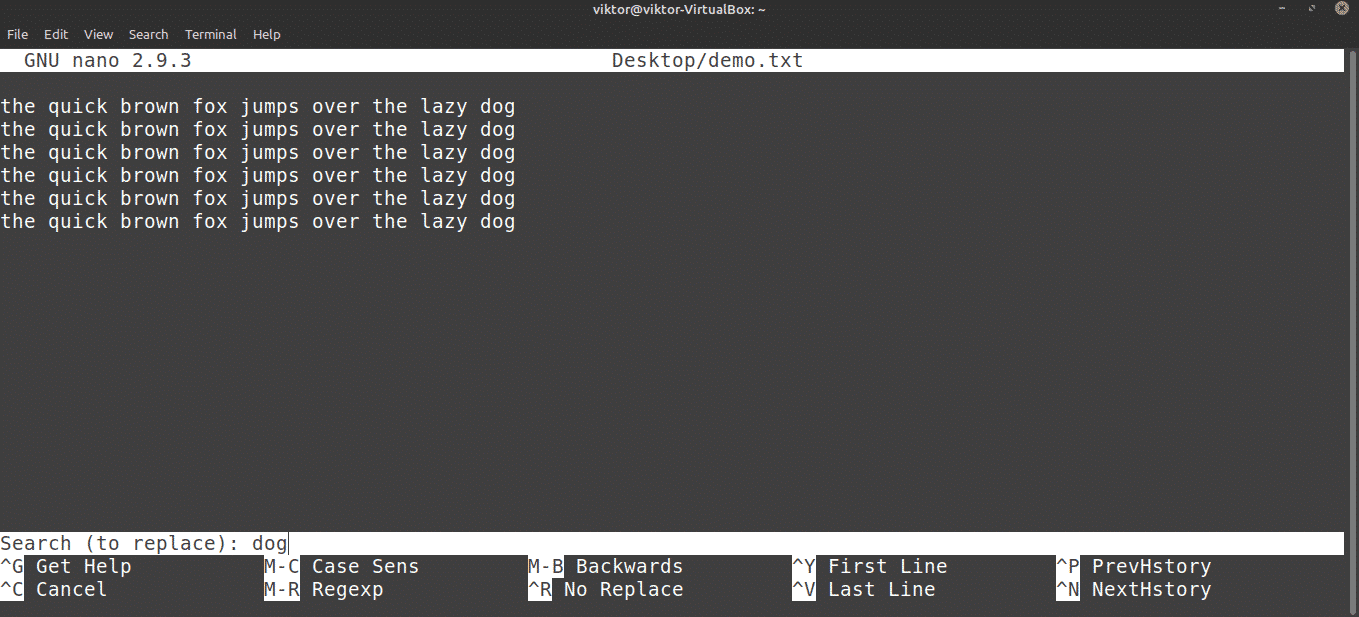
Enter the term to replace. Next, enter the replacement value.

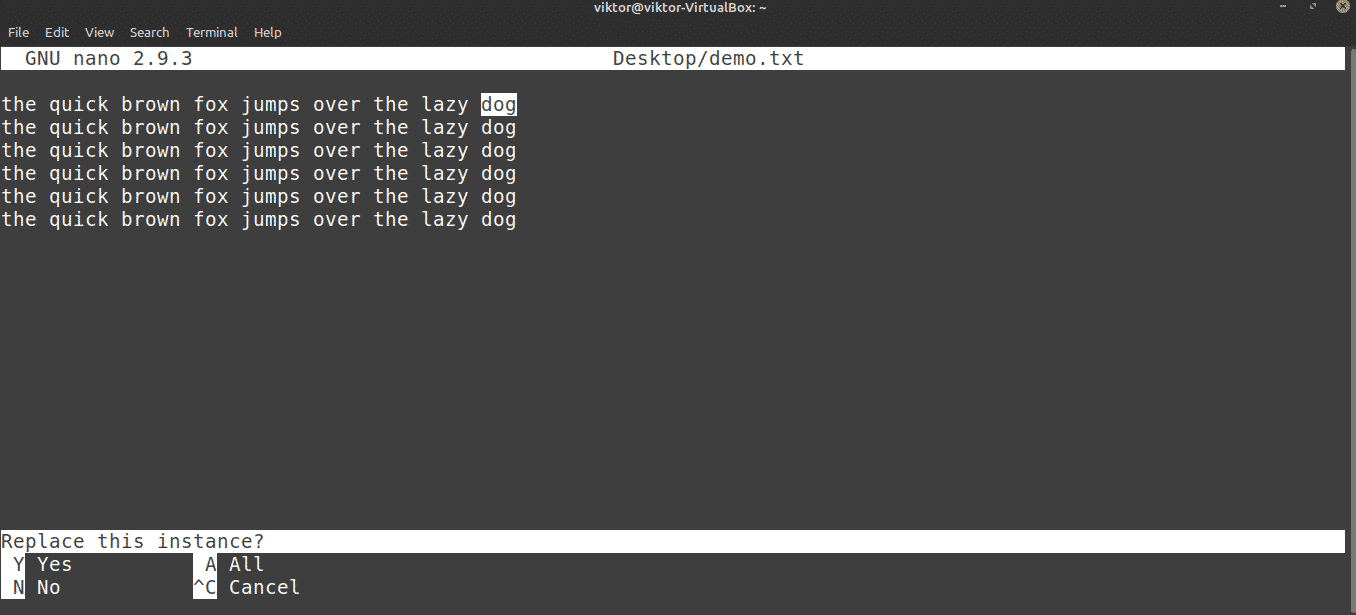
Nano will highlight the matches and ask if you want to replace them. If there is more than one match, Nano will also offer to replace all the matches at once.
Copy and Paste
Nano does not offer a copy-paste function by itself. This function is instead managed by the terminal emulator you are using. In most terminal emulators, <Ctrl + Shift + C> is the shortcut for copying and <Ctrl + Shift + V> is the shortcut for pasting.


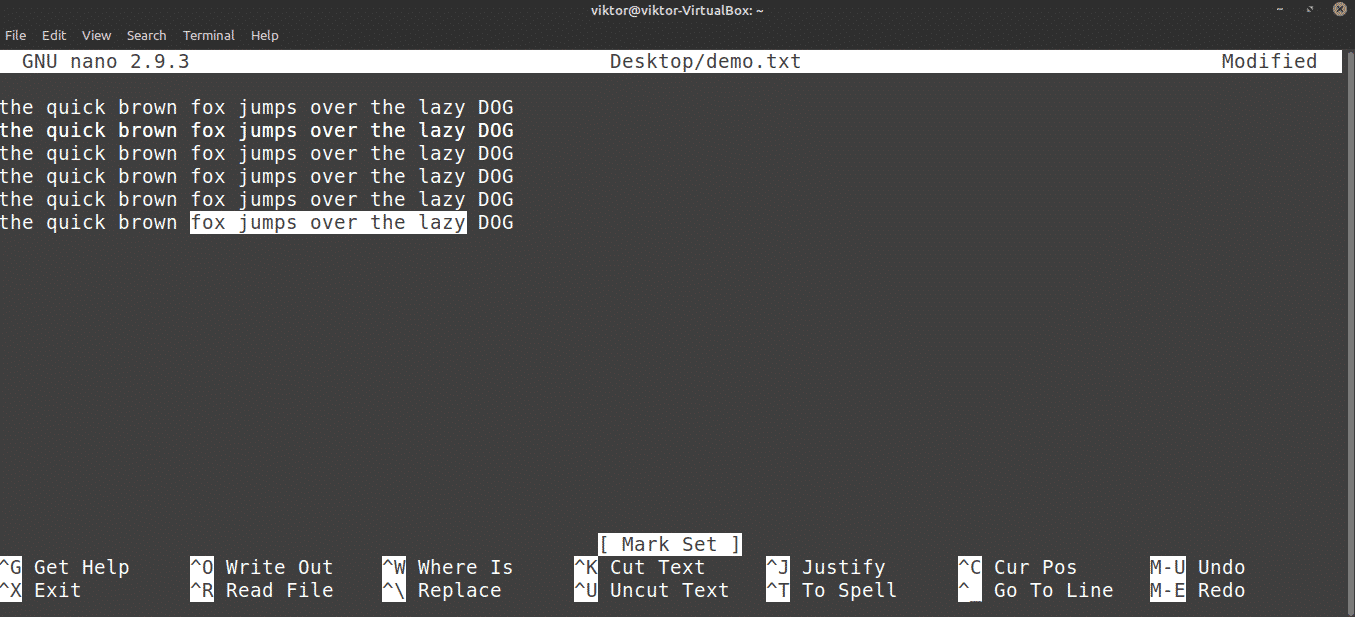
Nano also offers cut-and-paste functions of its own. Personally, I find it a bit uncomfortable to use. To do a cut, perform the following: move your cursor to the desired location, and press <Alt + A> to set the marker; then, use the arrow keys to move your cursor to the desired location, and press <Ctrl + K> to cut the text.
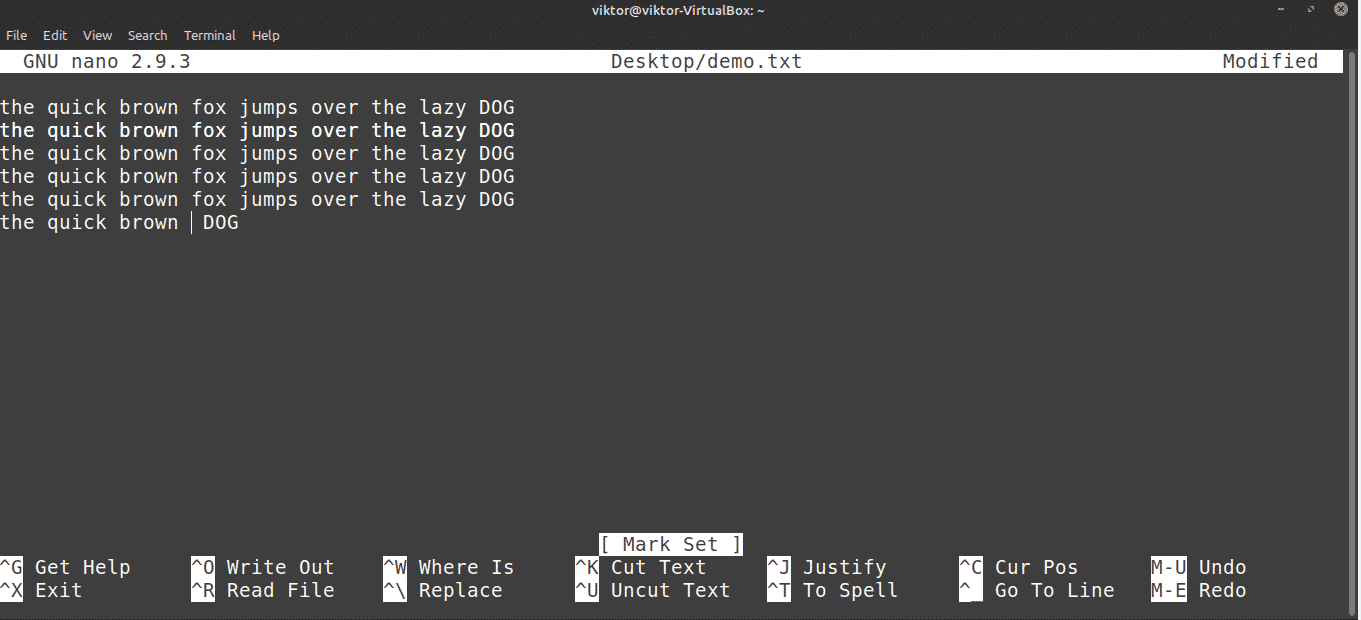
To paste, press <Ctrl + U>.

Undo and Redo
Deleted the wrong line by accident? Pasted the content in the wrong place? Undo and redo are here to save you!
In the case of Nano, the shortcut for undo is <Alt + U>.
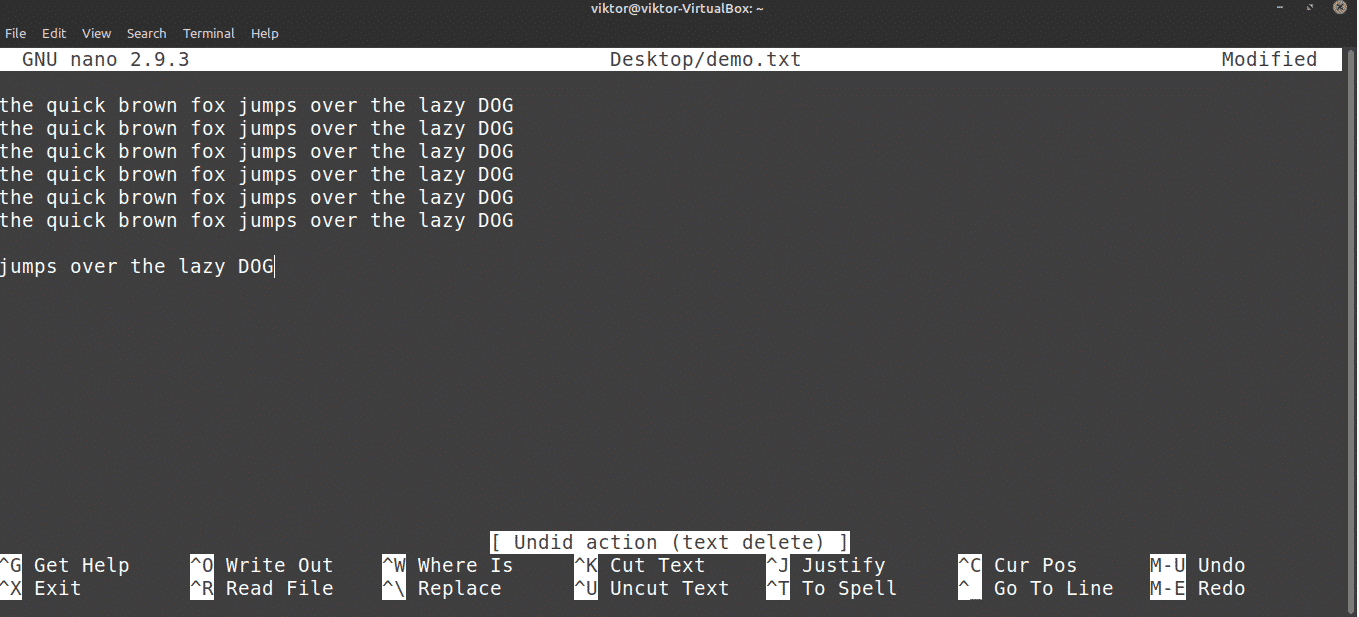
To perform a redo, press <Alt + E>.

Nano Keyboard Shortcuts
As you can already tell, all the functions of Nano are directly accessible through the keyboard shortcuts. Mastering the shortcuts is the best way to take full advantage of the Nano editor. On the screen, Nano shows a handful of keyboard shortcuts.

Here, the “^” symbol indicates the Ctrl key, and the “M” symbol indicates the Alt key. For example, “^O” means “Ctrl + O.”
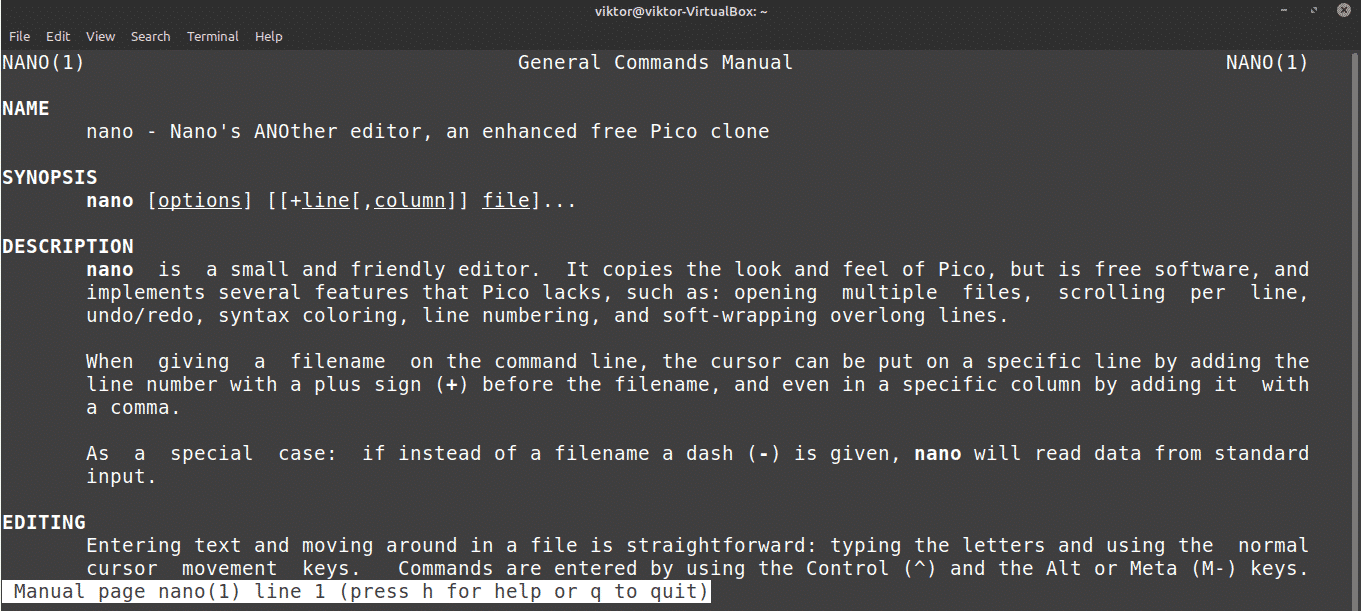
To get the list of all the supported keyboard shortcuts, press <Ctrl + G>.

You can also check out the Nano main page. The main page offers an in-depth explanation of all the command arguments.
Nano Syntax Highlighting
Nano is not just a plain and simple text editor. This program can also be enhanced with colors. Syntax highlighting is a common feature among text editors. There are numerous syntax highlighting functions available for Nano. In this example, I will showcase some Improved Nano Syntax Highlighting Files from GitHub.
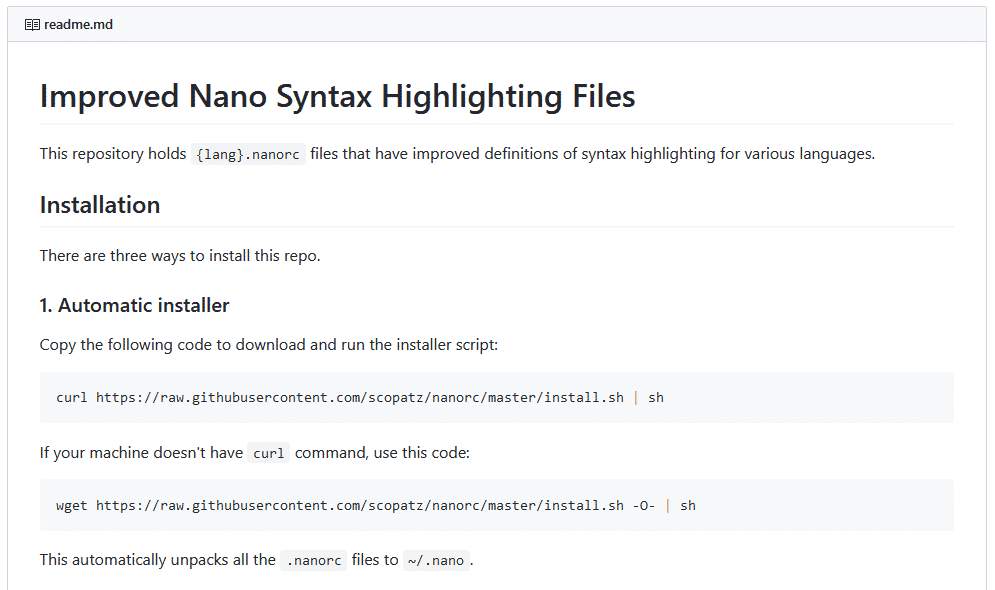
As the tutorial says, run the following command to install syntax highlighting for Nano.
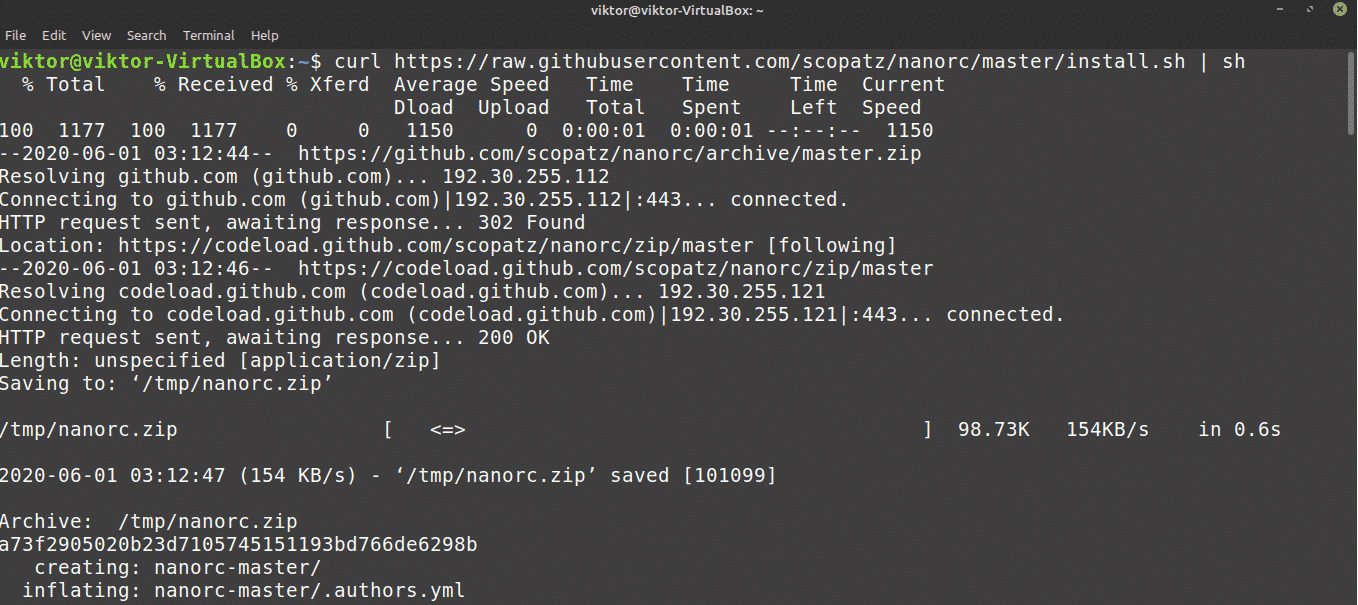
If you do not have curl installed, then wget is also available.
The feature will download and locate a bunch of .nanorc files at “~/nano” directory.
Final Thoughts
Nano is an awesome text editor that offers just enough for your everyday needs. However, if you are an advanced user in need of some really advanced functions, then check out Vim. Vim is arguably one of the best editors of all. Get started with Vim in this Beginners’ Guide to Vim.
Enjoy!