This post will discuss:
- How to Add Git Remote Origin Using “git remote add origin” Command
- How to Set Git Remote Origin Using “git remote set-url origin” Command
Let’s get started!
How to Add Git Remote Origin Using “git remote add origin” Command?
To add the remote origin, first, navigate to the Git directory. Run the “$ git remote -v” command to view the list of the remote connections or execute the “$ git remote add origin <remote-url>” command to add a new remote origin.
Let’s move forward and go through the implementation procedure!
Step 1: Move to Directory
Move to the desired directory:
Step 2: Check Remote Connections List
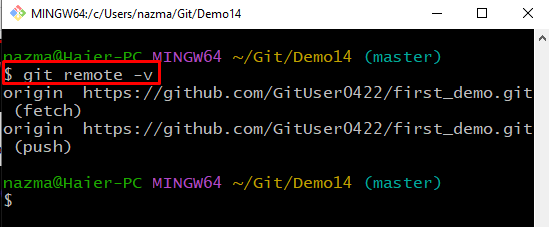
To view the current remote connections and their URLs along with the name, run the “git remote” command with the “-v” option:
Step 3: Add Remote Origin
Next, add the new remote origin using the “git remote add origin” command with the repository URL:
Step 4: Verify Added Remote Repository
Verify the newly added remote repository connection by executing the provided command:
Let’s move to the next method to set the remote origin using remote set-url origin.
How to Set Git Remote Origin Using “git remote set-url origin” Command?
To set the origin url, check out the below instructions.
Step 1: Set Remote Origin
Firstly, execute the provided command with the remote repository URL to set the remote origin:
Step 2: Verify Set Remote Connection
Now, run the provided command to ensure the set remote origin:
It can be observed that we have successfully added the remote connection to the specified repository:
That’s it! We have offered the method to add and set the remote origin in Git.
Conclusion
To add and set the remote origin, firstly, move to the Git directory and view the list of existing remote origins. Next, to add a new remote origin, run the “$ git remote add origin <remote-url>” command and execute the “$ git remote set-url origin <remote-url>” command to set the remote origin. This post demonstrated how to add and set the remote origin in the local repository.


