This blog discusses the procedure to set the remote as the upstream directory.
Why do I have to “git push –set-upstream origin <branch>”?
To set upstream the local branch, firstly, move to the local directory and clone the remote repository to the Git local repository. Execute the “$ git switch -c <branch-name>” command to create a new branch and switch to it simultaneously. Lastly, push the local branch to the remote repository to set the remote as the upstream directory by executing the “$ git push –set-upstream origin <branch>” command.
Now, practically perform the above-given scenario!
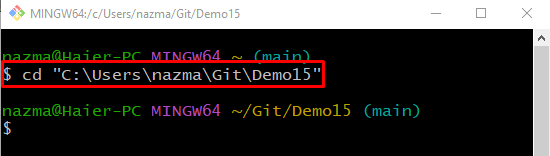
Step 1: Navigate to Git Repository
First, navigate to the Git directory where the local repository is located by executing the “cd” command:
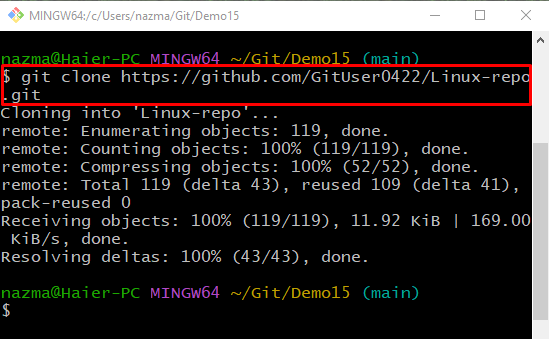
Step 2: Clone Remote Repository
Then, execute the “git clone” command by specifying the remote repository URL to clone the Git remote repository to Git local repository:
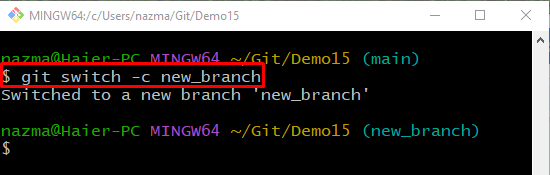
Step 3: git switch
Create a new local branch and switch to it by executing the “git switch” command:
Here, the “-c” option is used for creating a new branch and switch immediately:
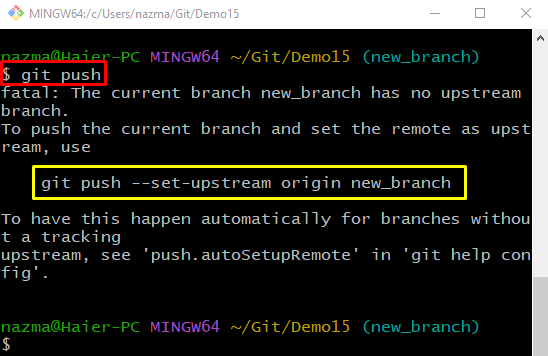
Step 4: git push
Now, run the “git push” command to push the local branch to the remote hosting server GitHub:
As you can see, the local branch is not pushed to the remote repository because it has not set to upstream:
Step 5: Branch Set Upstream
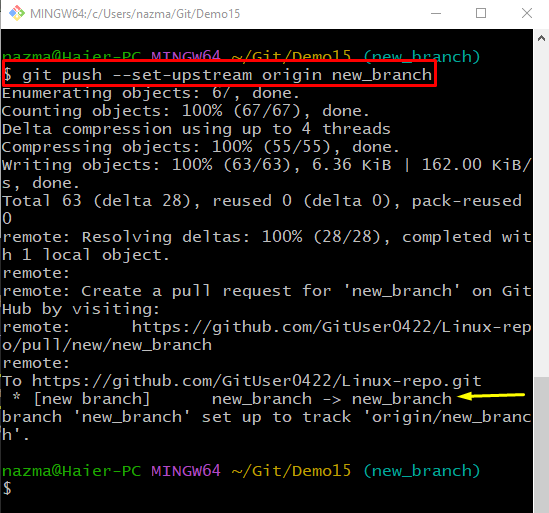
Run the “git push” command along with the “–set-upstream” option:
Here, the “–set-upstream” option is utilized to set the remote as the upstream directory and fix the above-encountered error:
We have demonstrated why do I have to “git push –set-upstream origin <branch>”.
Conclusion
To set upstream the local branch, firstly, move to the Git local repository and clone the remote repository. After that, execute the “$ git switch -c <branch-name>” command to create and switch to it simultaneously. Push the local branch to the remote repository to set the remote as the upstream directory by executing the “$ git push –set-upstream origin <branch>” command. This blog illustrated the method to set the remote as the upstream directory.